With the ceiling sealed in and still needing to get insulation in the attic, I also needed a way to provide an access portal into the attic. I figured having it above the closet of our bedroom was probably best, so that I could stand on top of it to be able to more easily get into the attic without having to have a taller ladder to reach the greater than 11 foot ceiling height.
After some planning and obtaining some supplies, I delved on in…
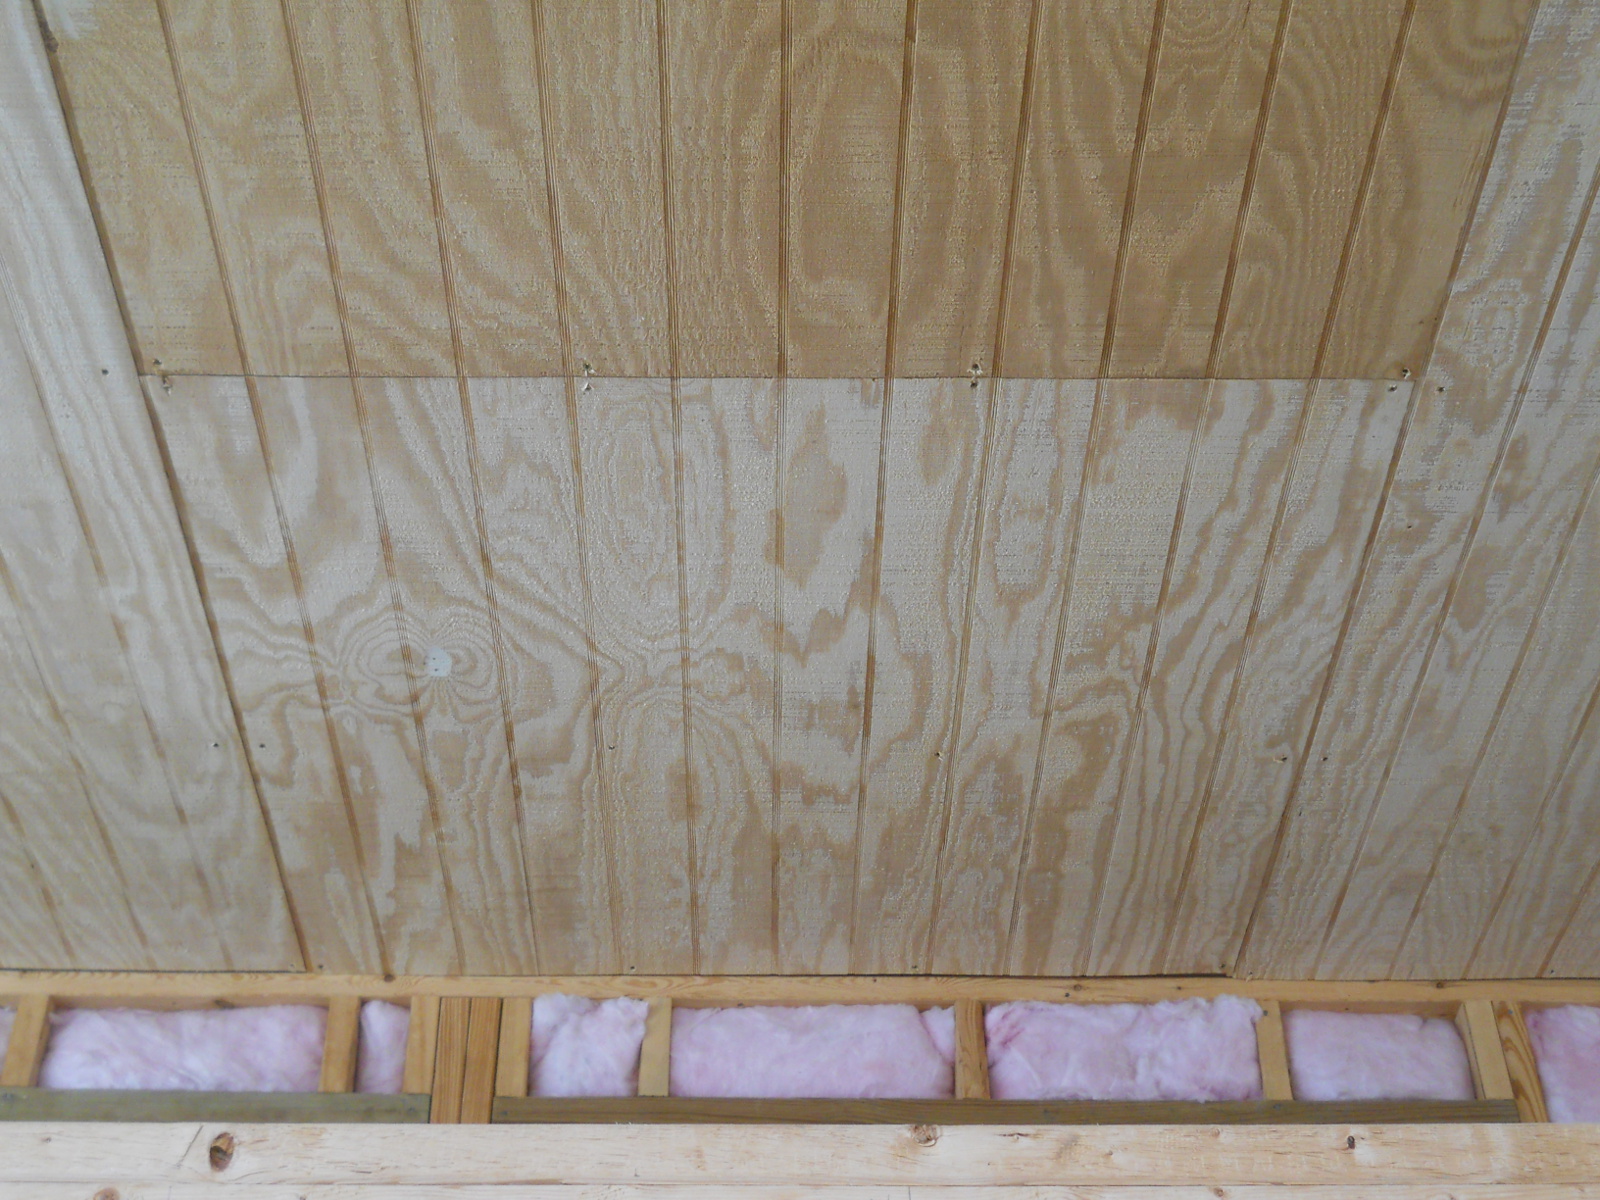
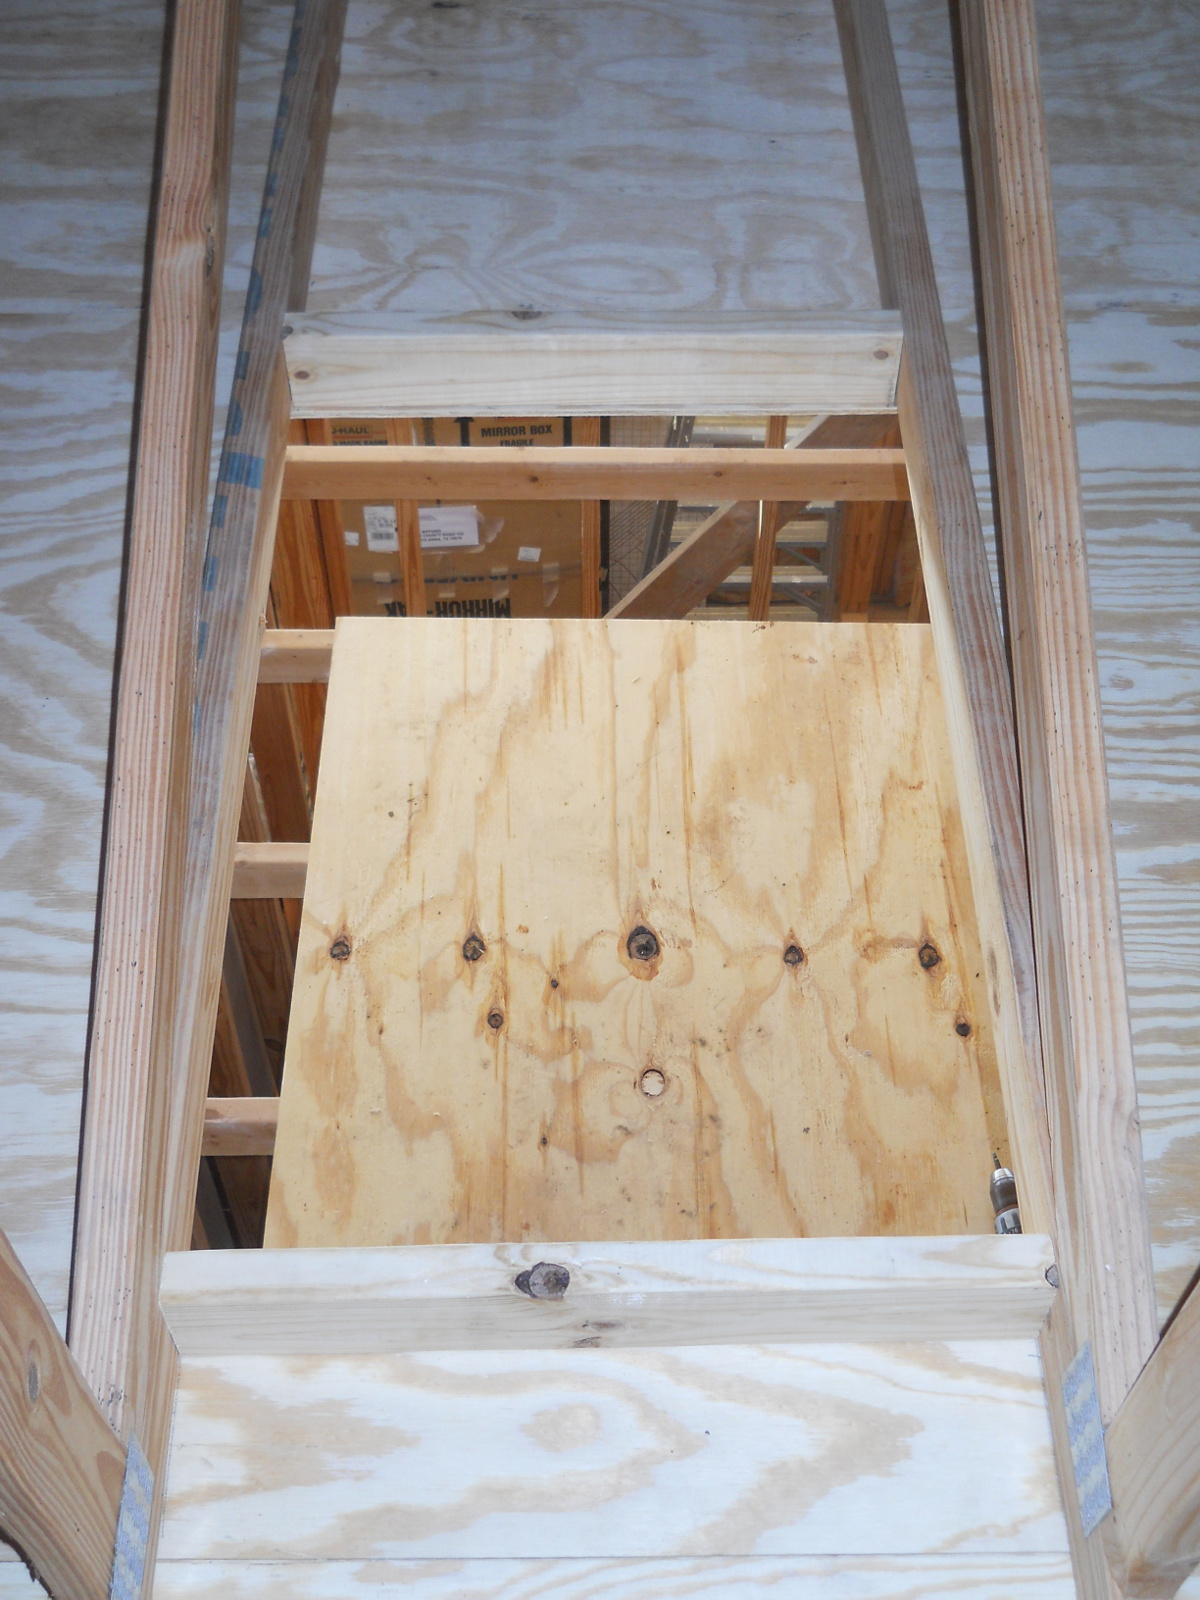
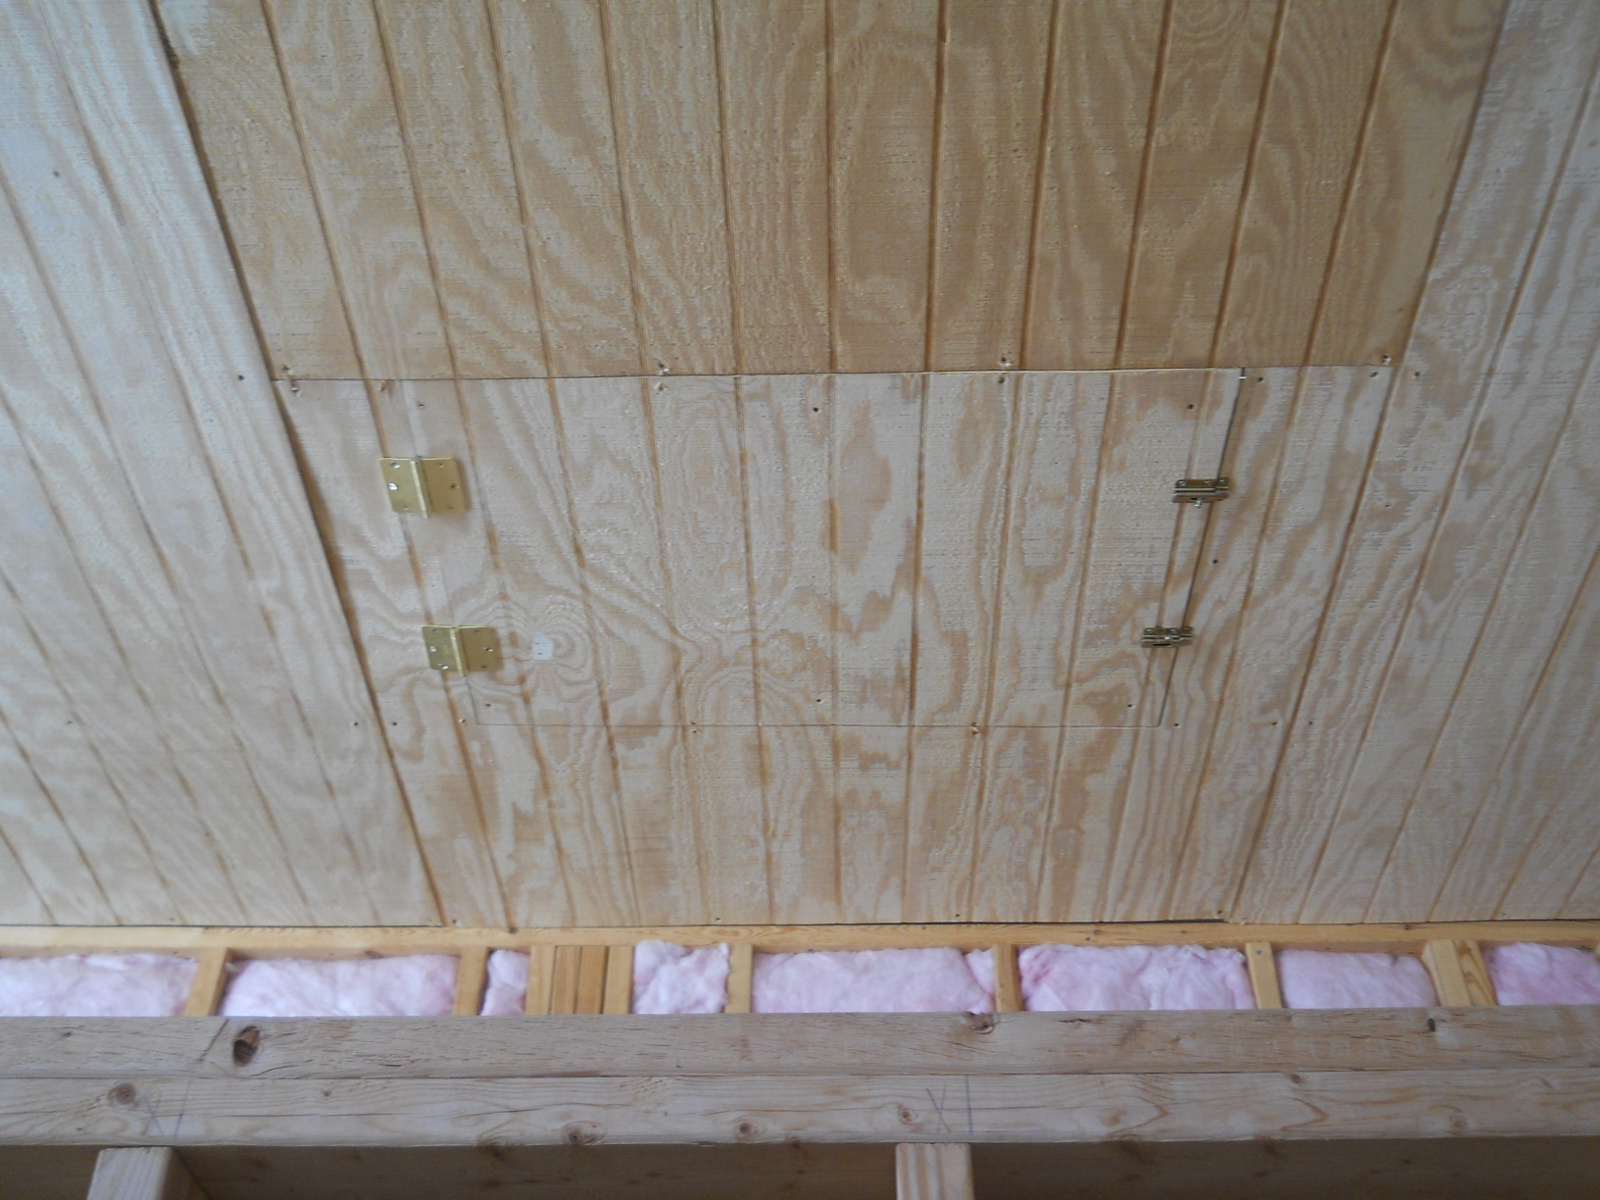
This is the panel I chose. Besides being above the closet, I wanted to use one of the half-panels so I could more easily remove and install the panel without assistance:
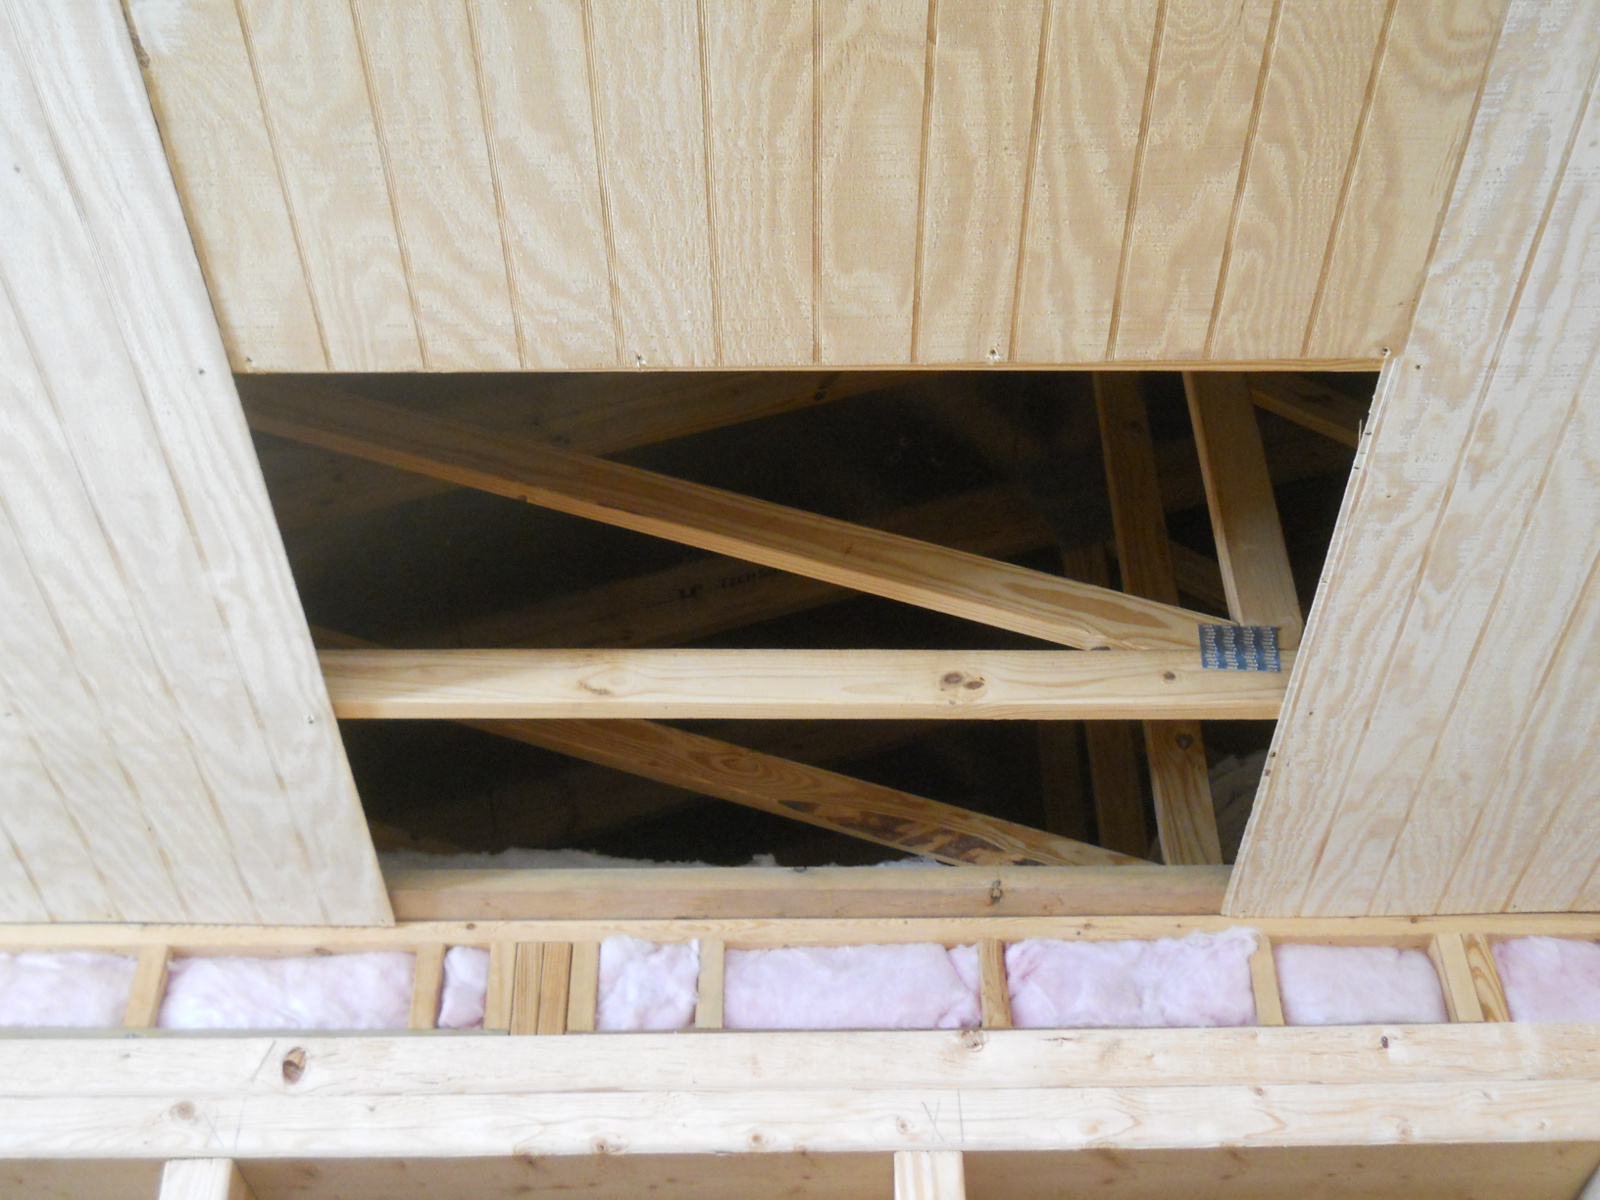
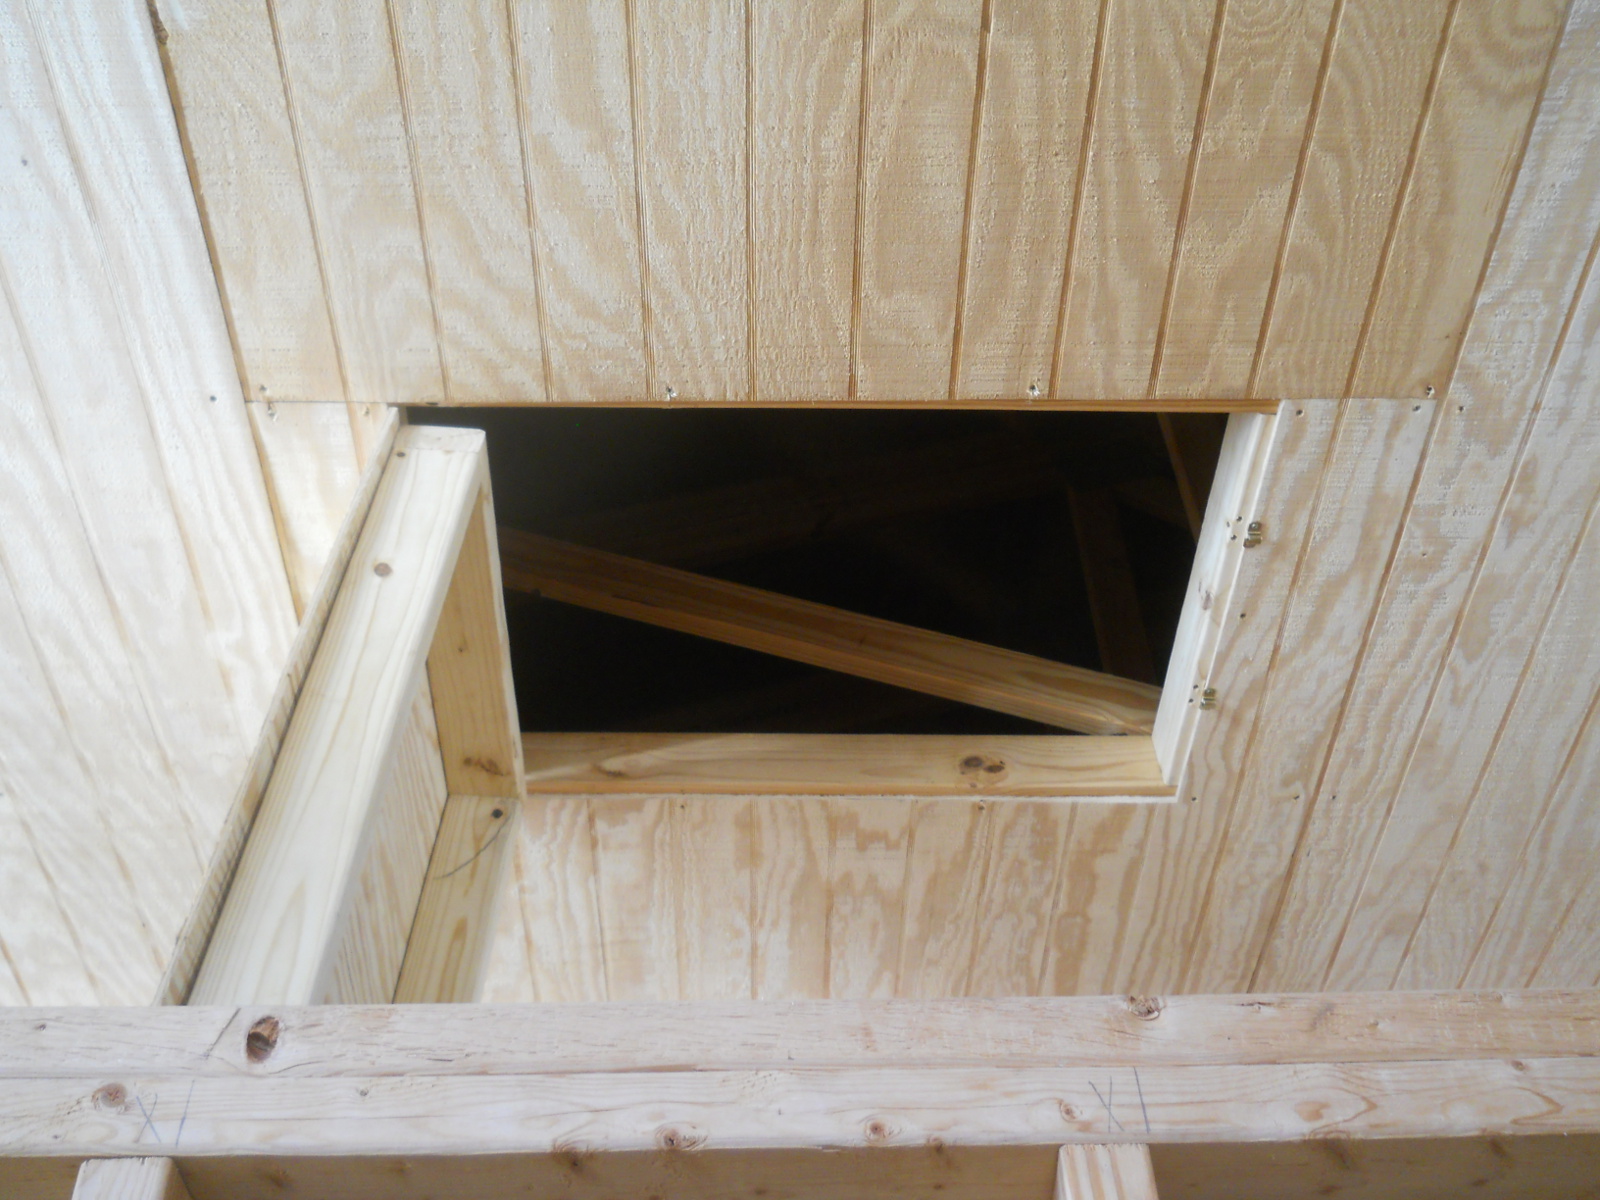
Here it is removed. Before removing it, I first had to remove another small panel so I could get into the attic and mark out lines where the trusses ran along the access panel, which would help me know exactly where I would need to cut:
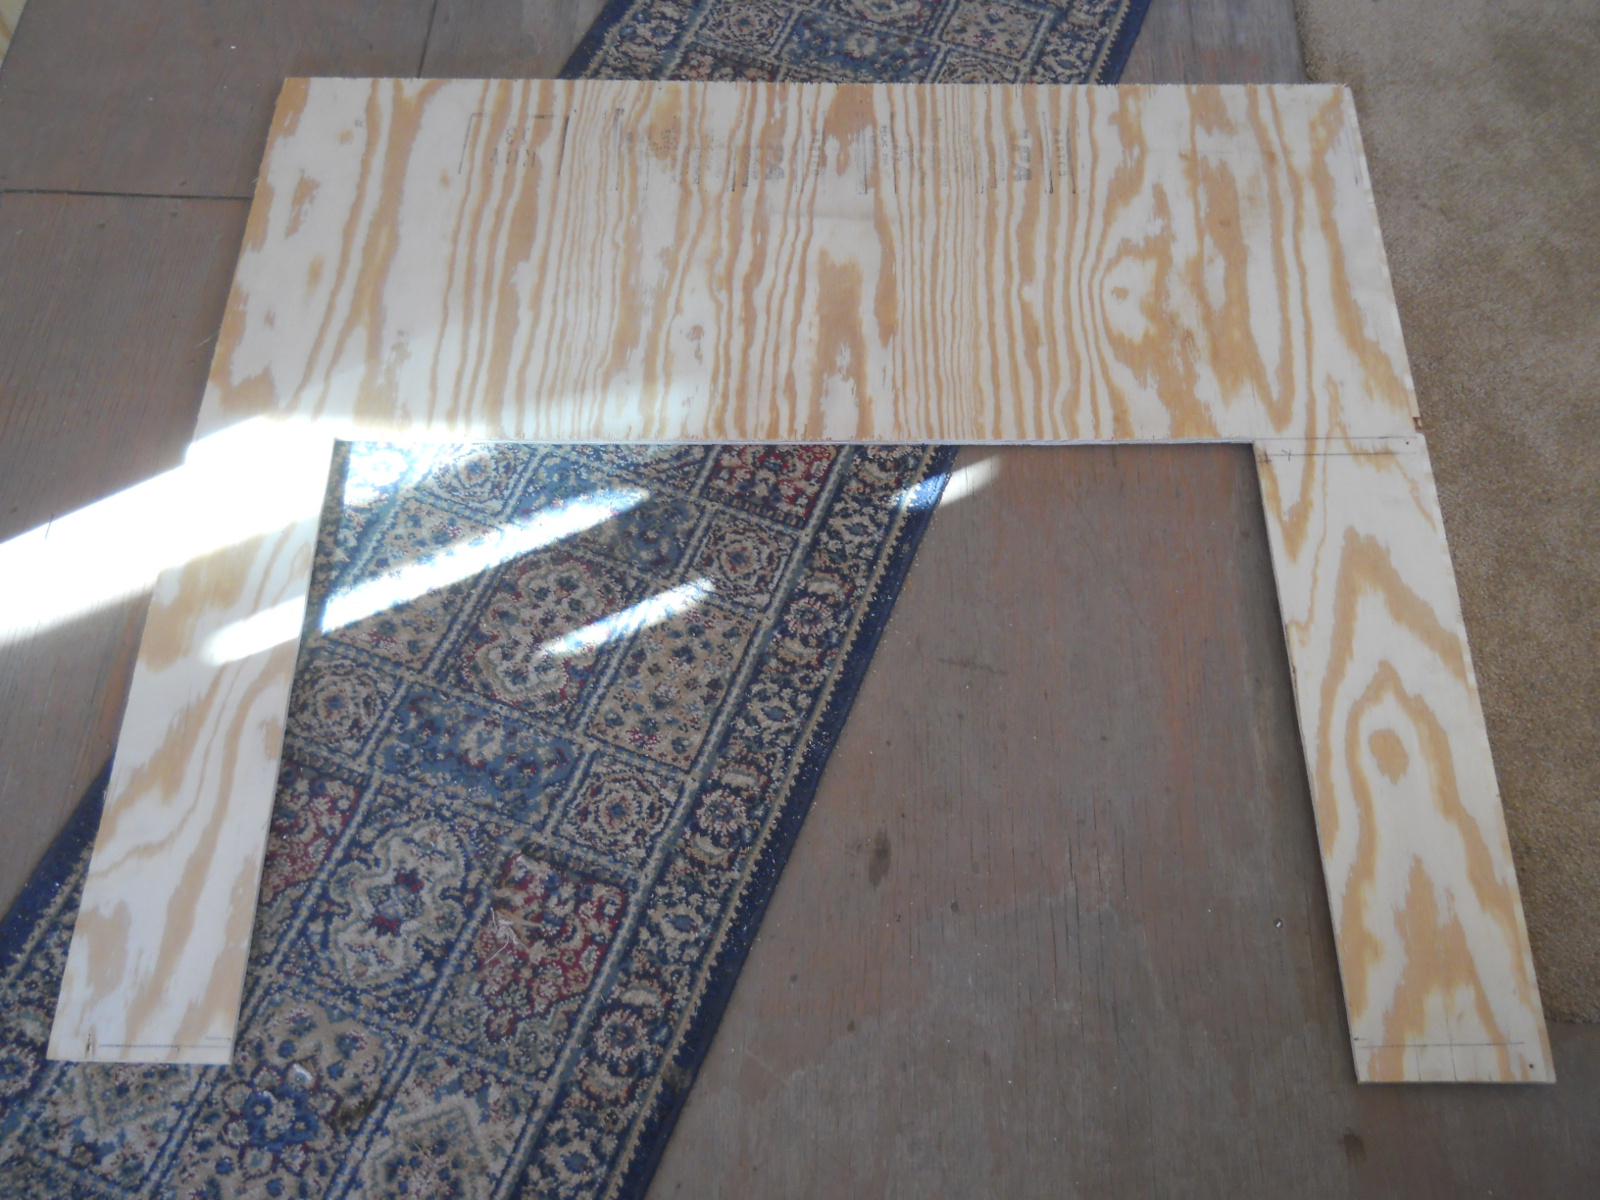
Once the panel was down, I drew the cut lines that would make the access door. The plan was to have one side of the door be the original side of the panel and close onto a truss and cover half way, thus requiring only three cuts. The opposite side (shown top here) would lay half way on the other truss, allowing the panel to be re-attached to the truss and for the door to cover the other, exposed half of that truss when closed:

And here is the cut panel:
And then back into place in the ceiling:
Here is the view from the attic, showing the cross pieces in place. The cross piece that was to hold the door hinges I put flush with the ceiling panel cut, and the other side, where the latches would be, I put exposing half of the cross piece, which would allow for that side of the closed door to cover that half of the cross piece:
Then, it was on to making the door…
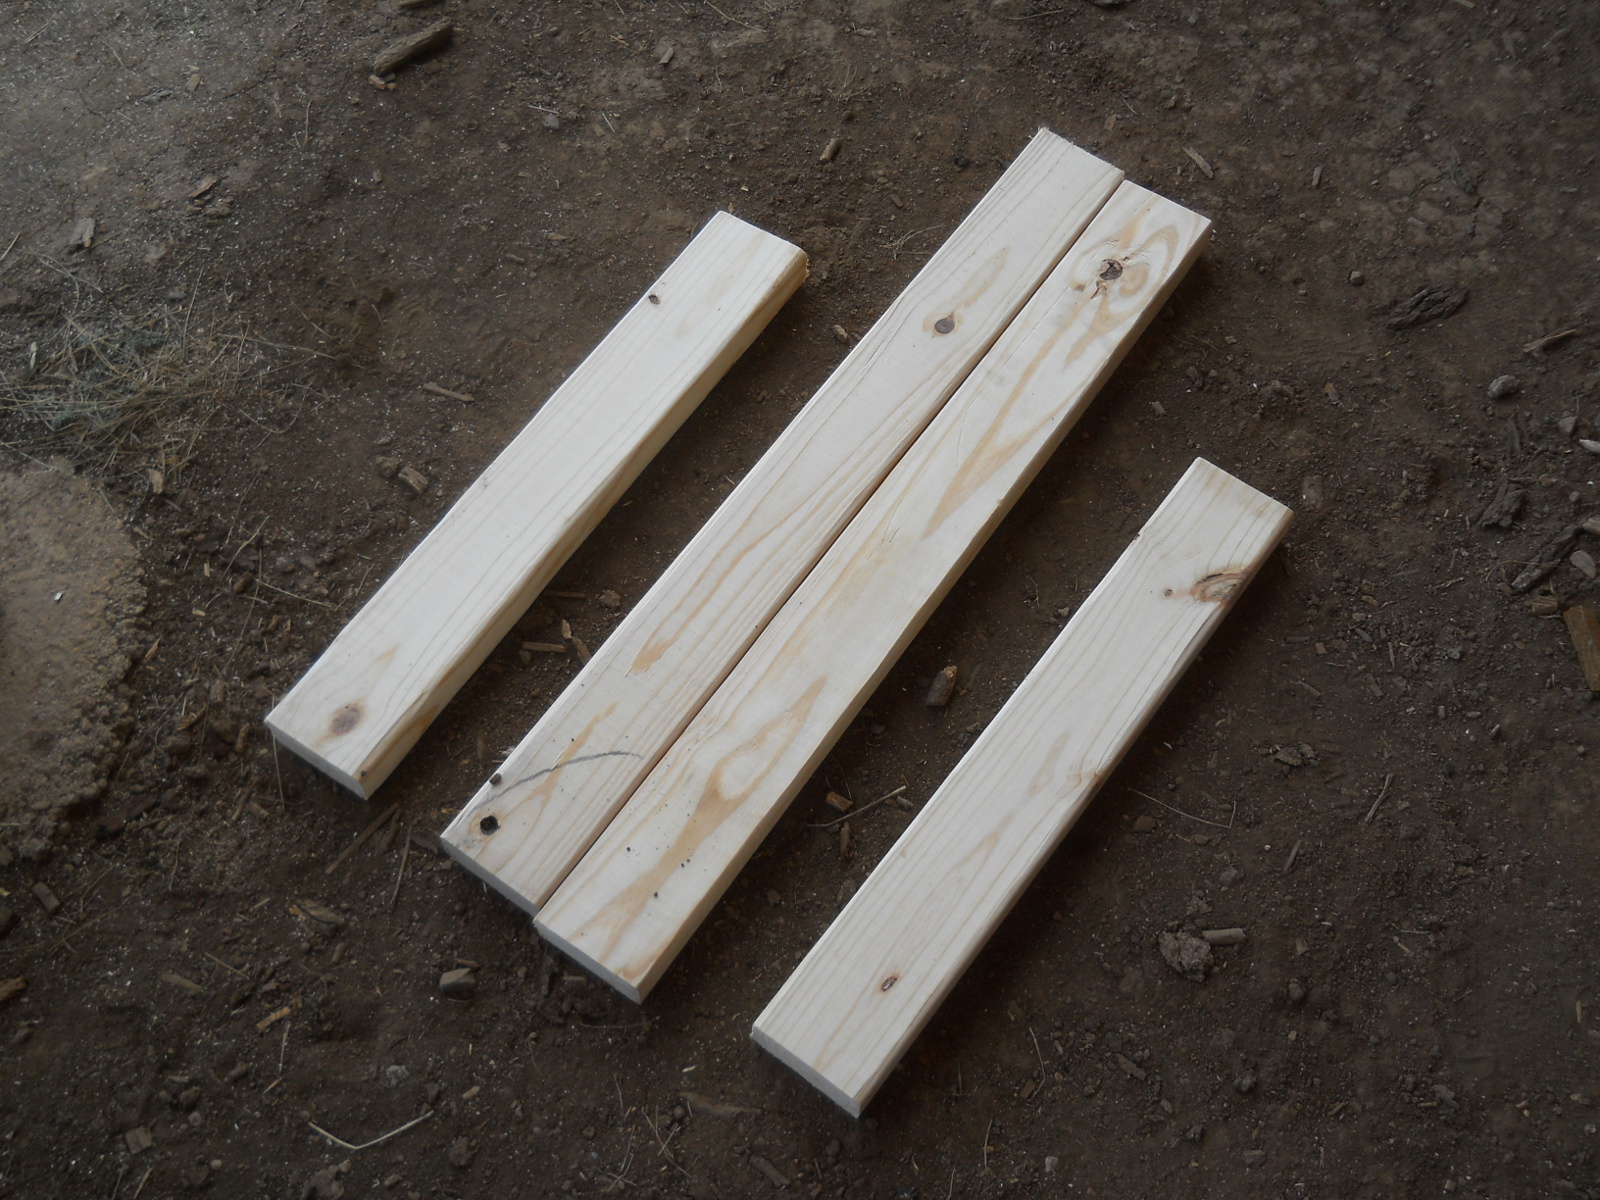
Here are the door frame pieces. They needed to be cut to length so the hinge side would be flush with that edge, and the other three sides would show about one inch of panel, which are what would cover the exposed halves of the trusses and cross pieces when closed, plus a little gap to keep the door frame from hitting a truss or cross piece when actually closing the door:
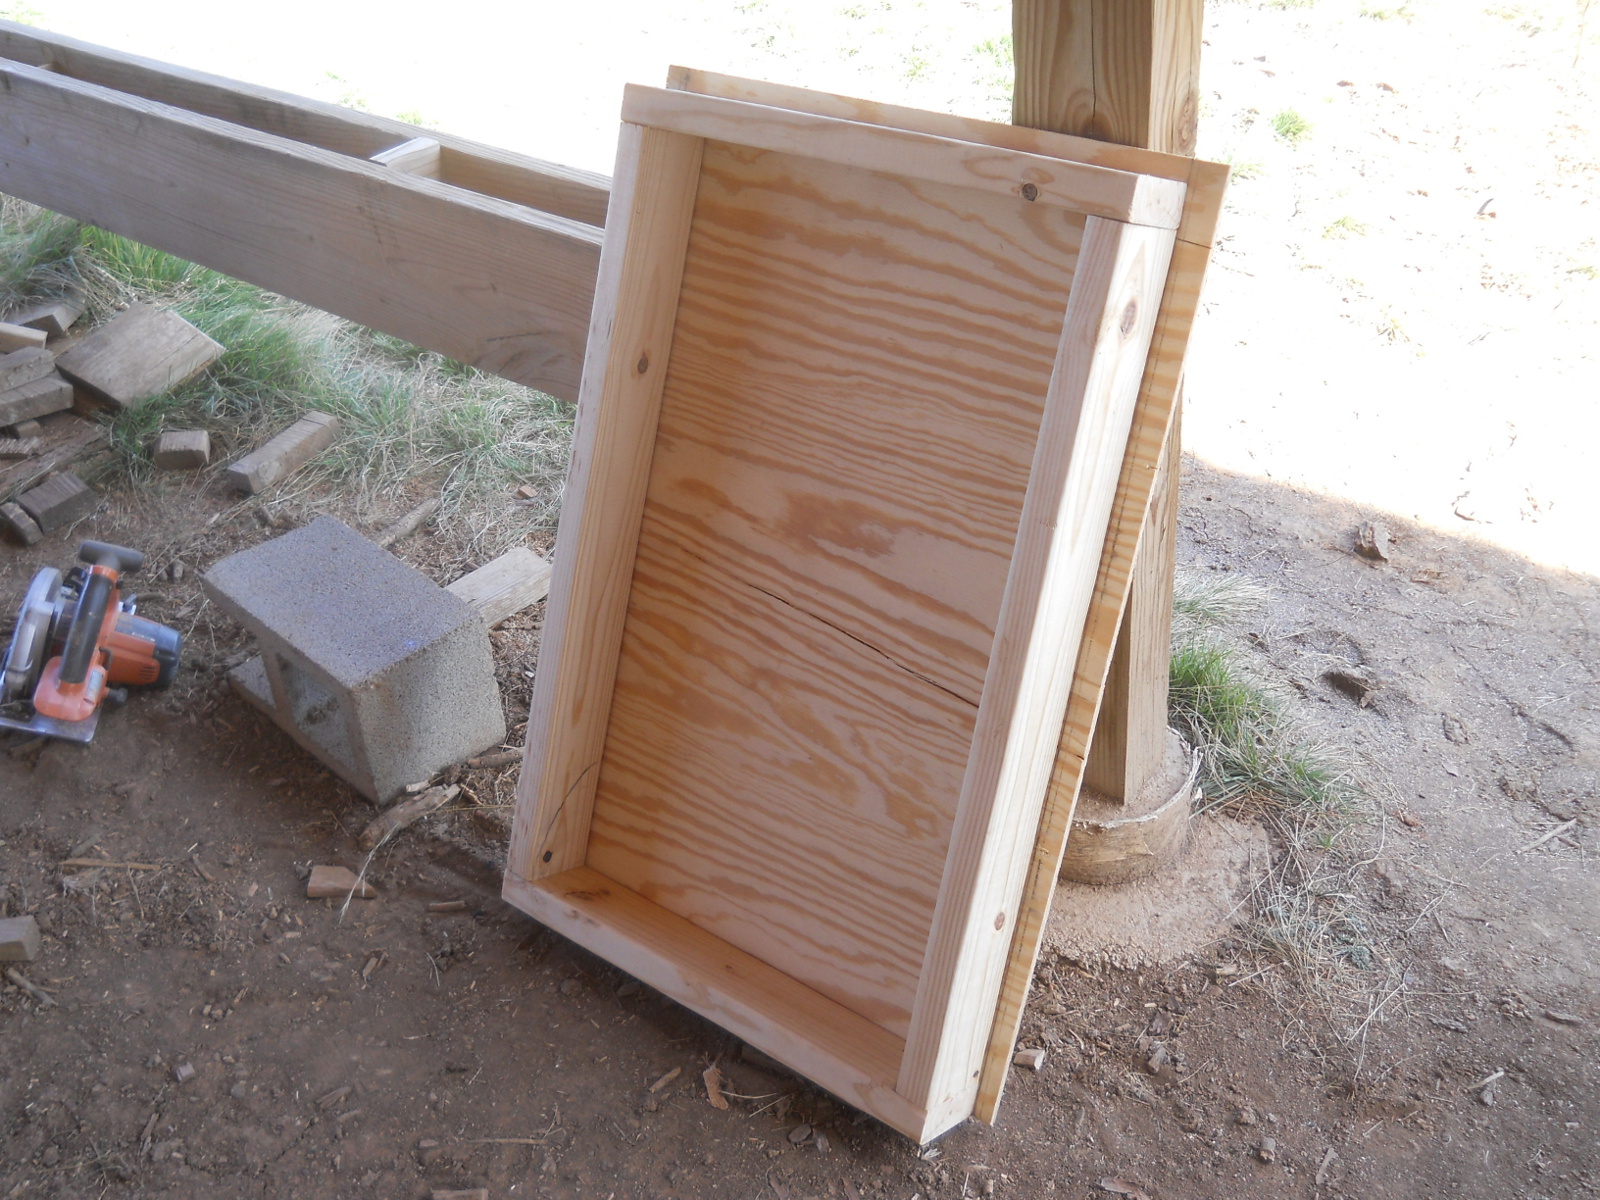
These are the pieces made into the door frame:

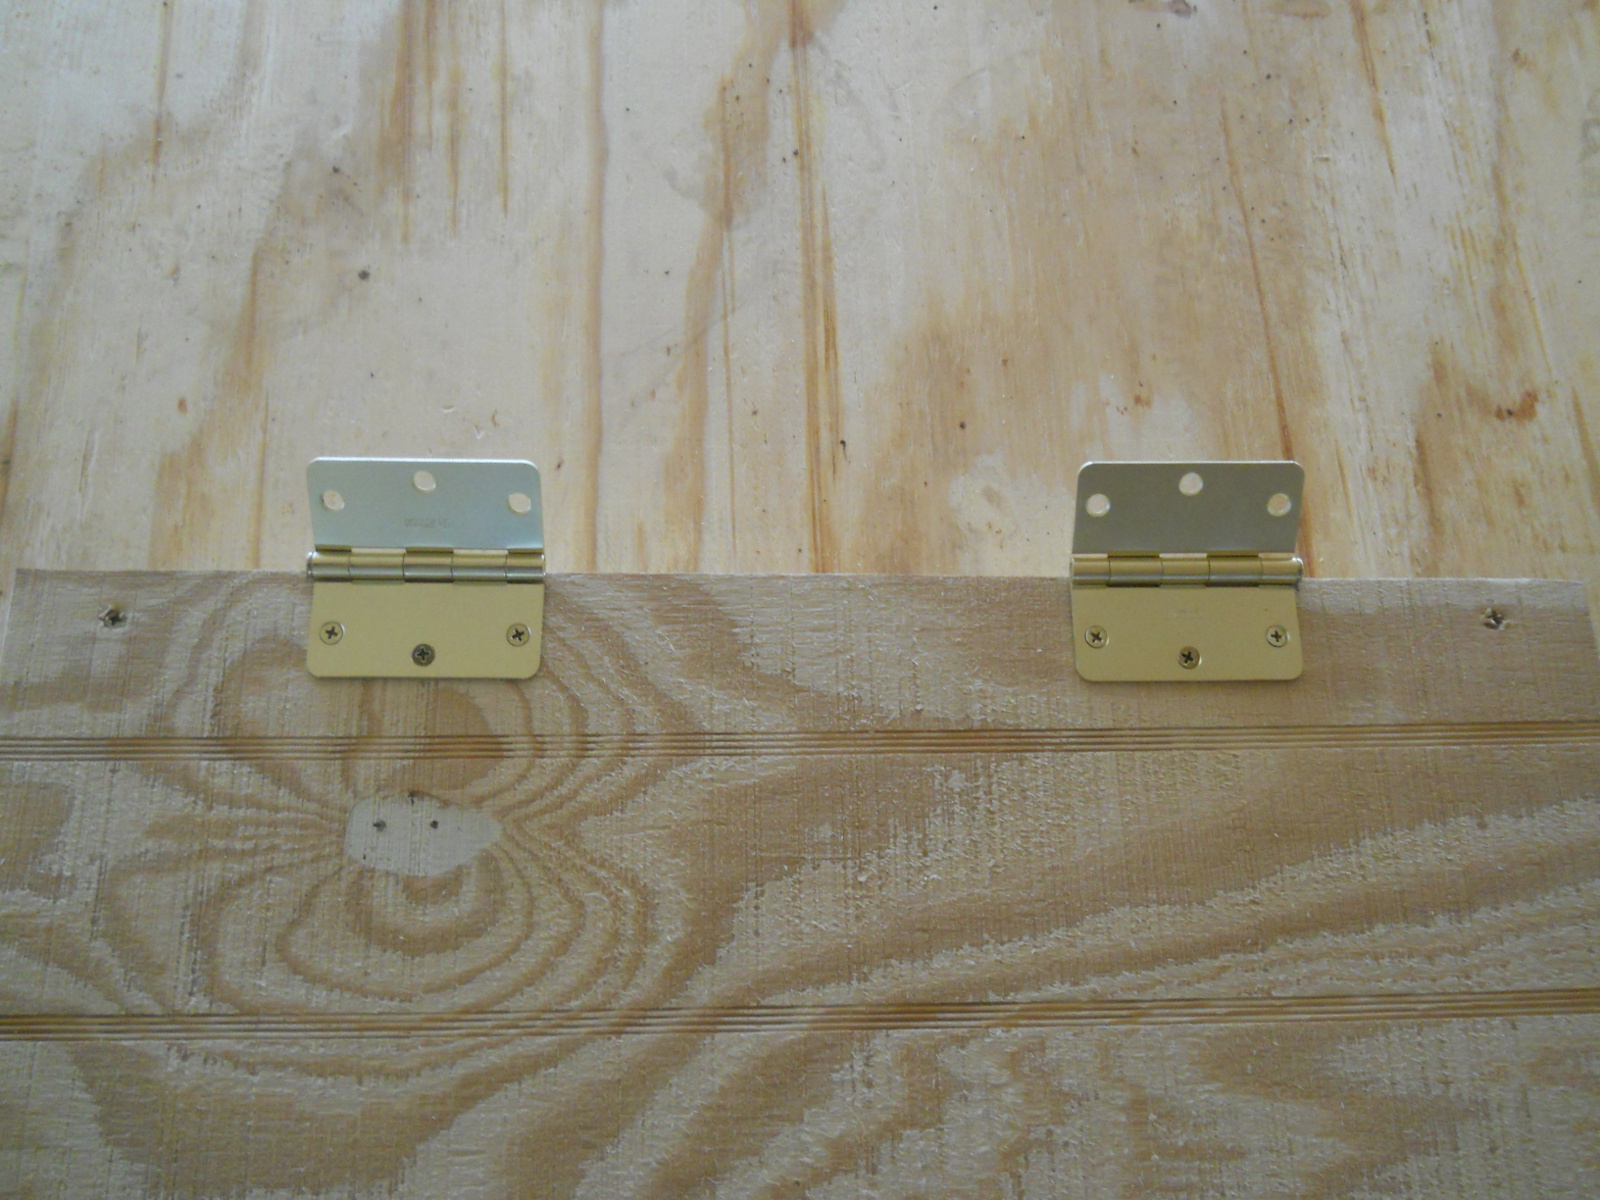
And then installed on the door:
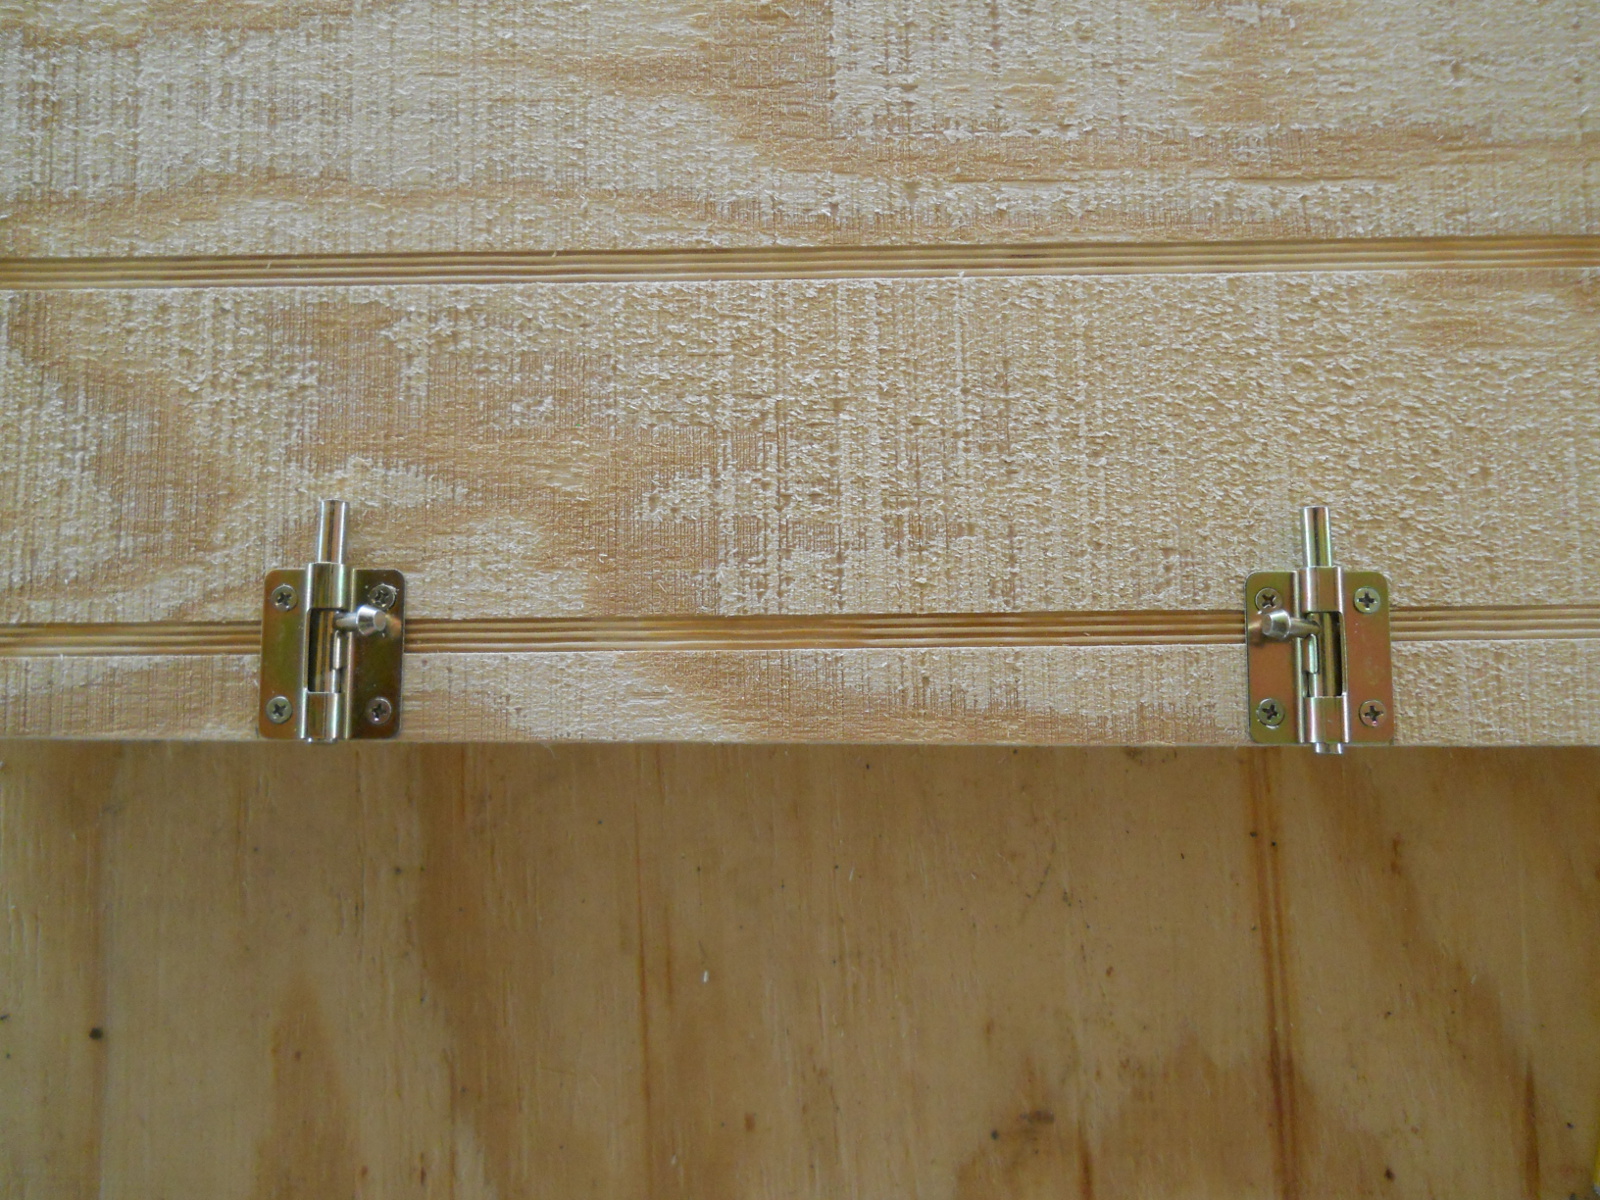
Here, the door hardware is installed — two hinges and two bolt latches:
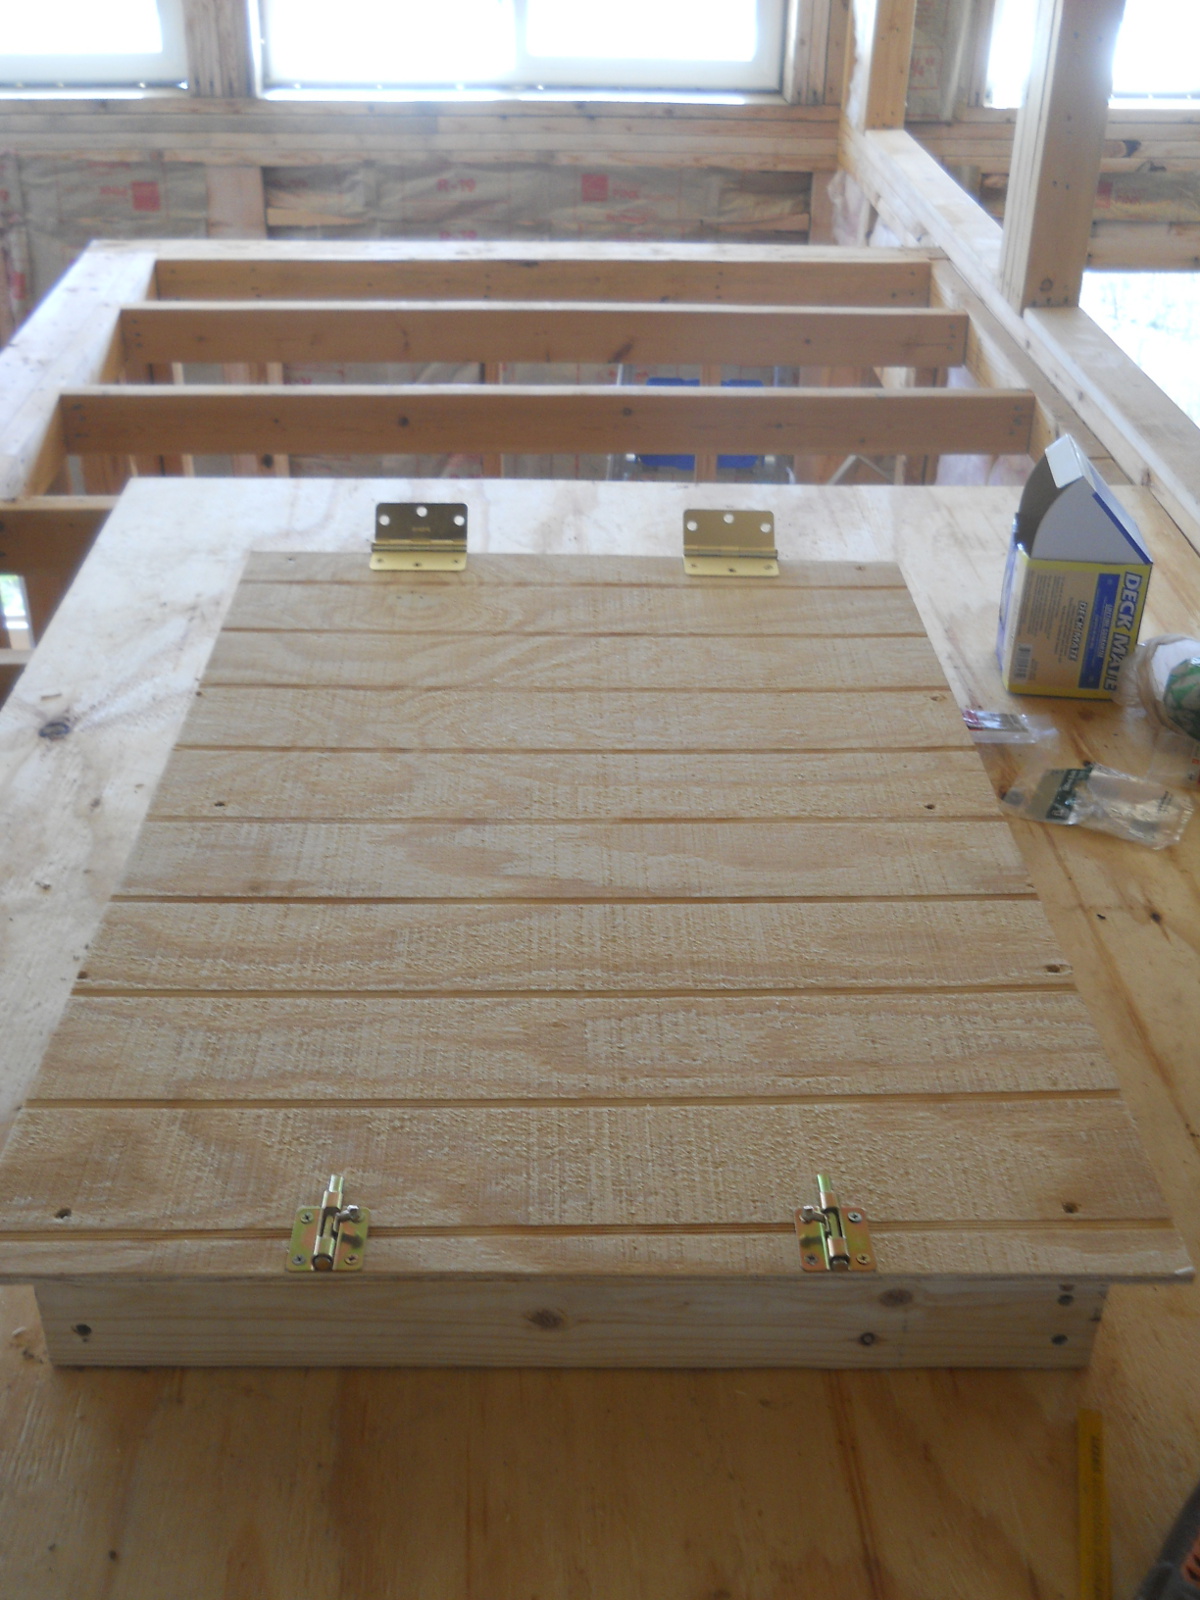
And close-ups of each:
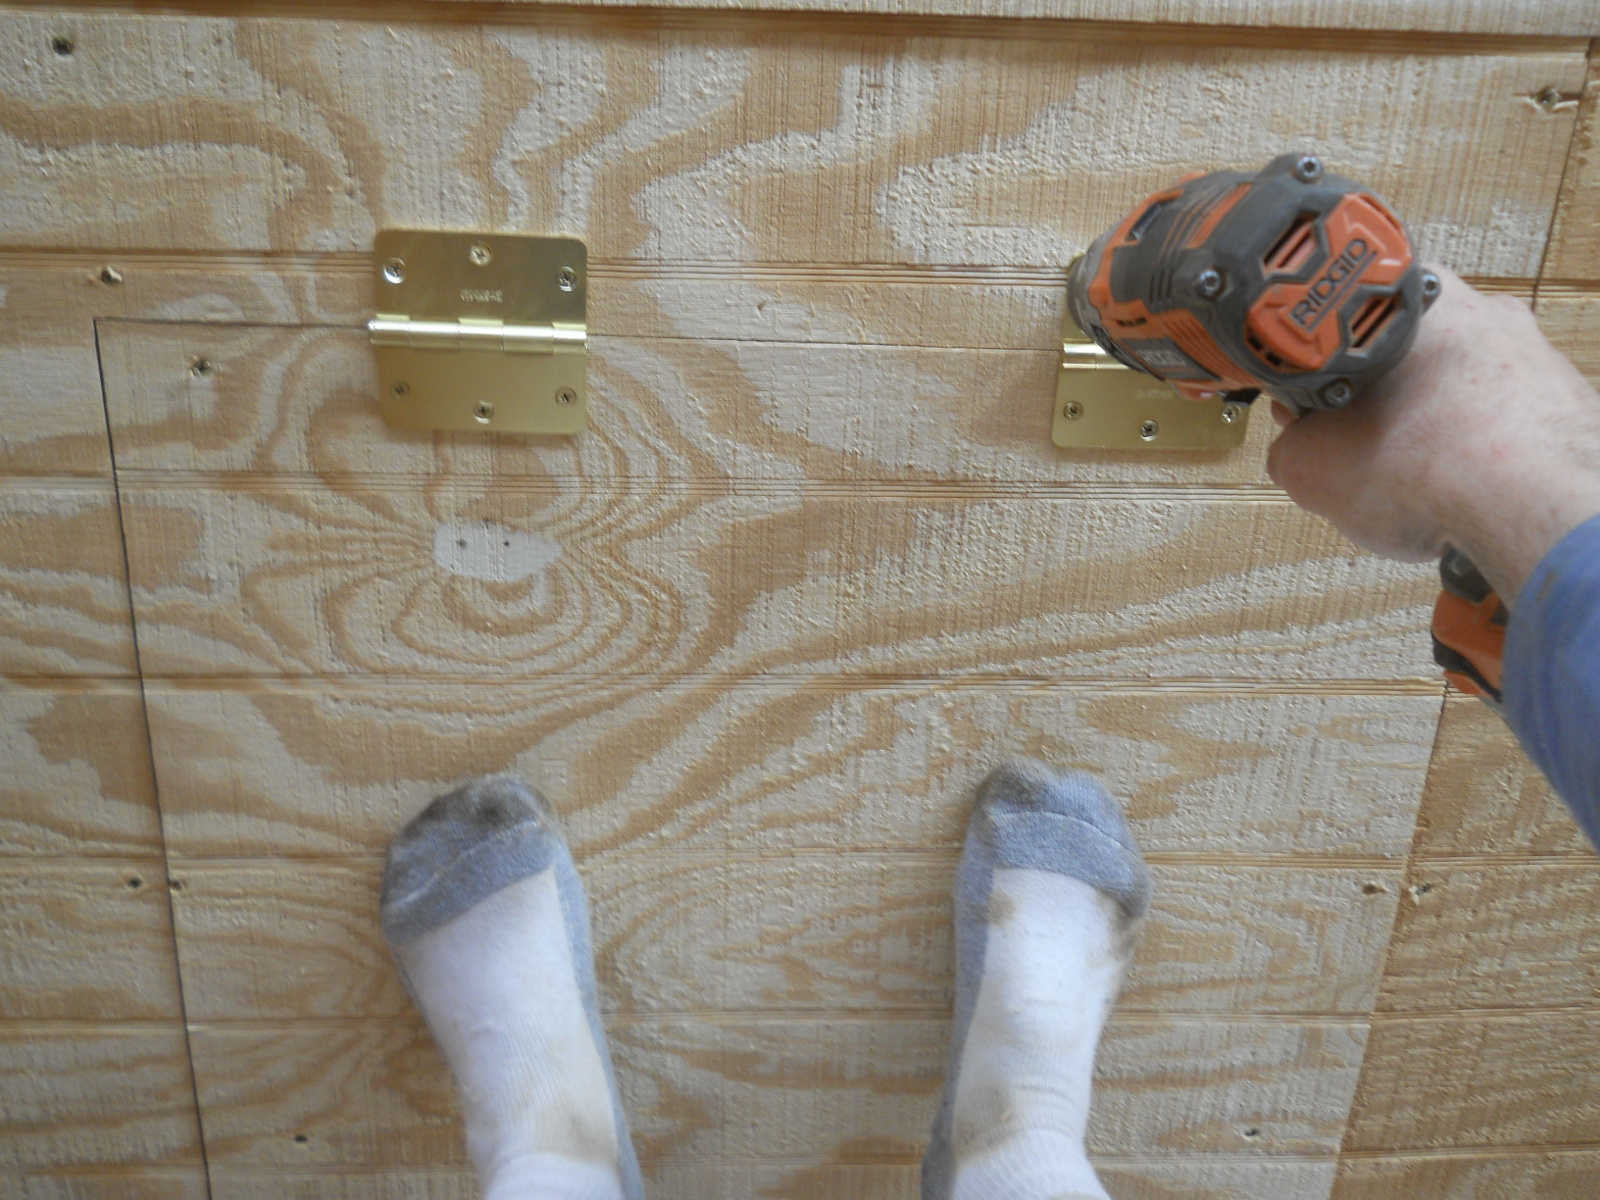
This is the fancy way I held the door in place to attach the hinges to the ceiling and cross piece: 🙂
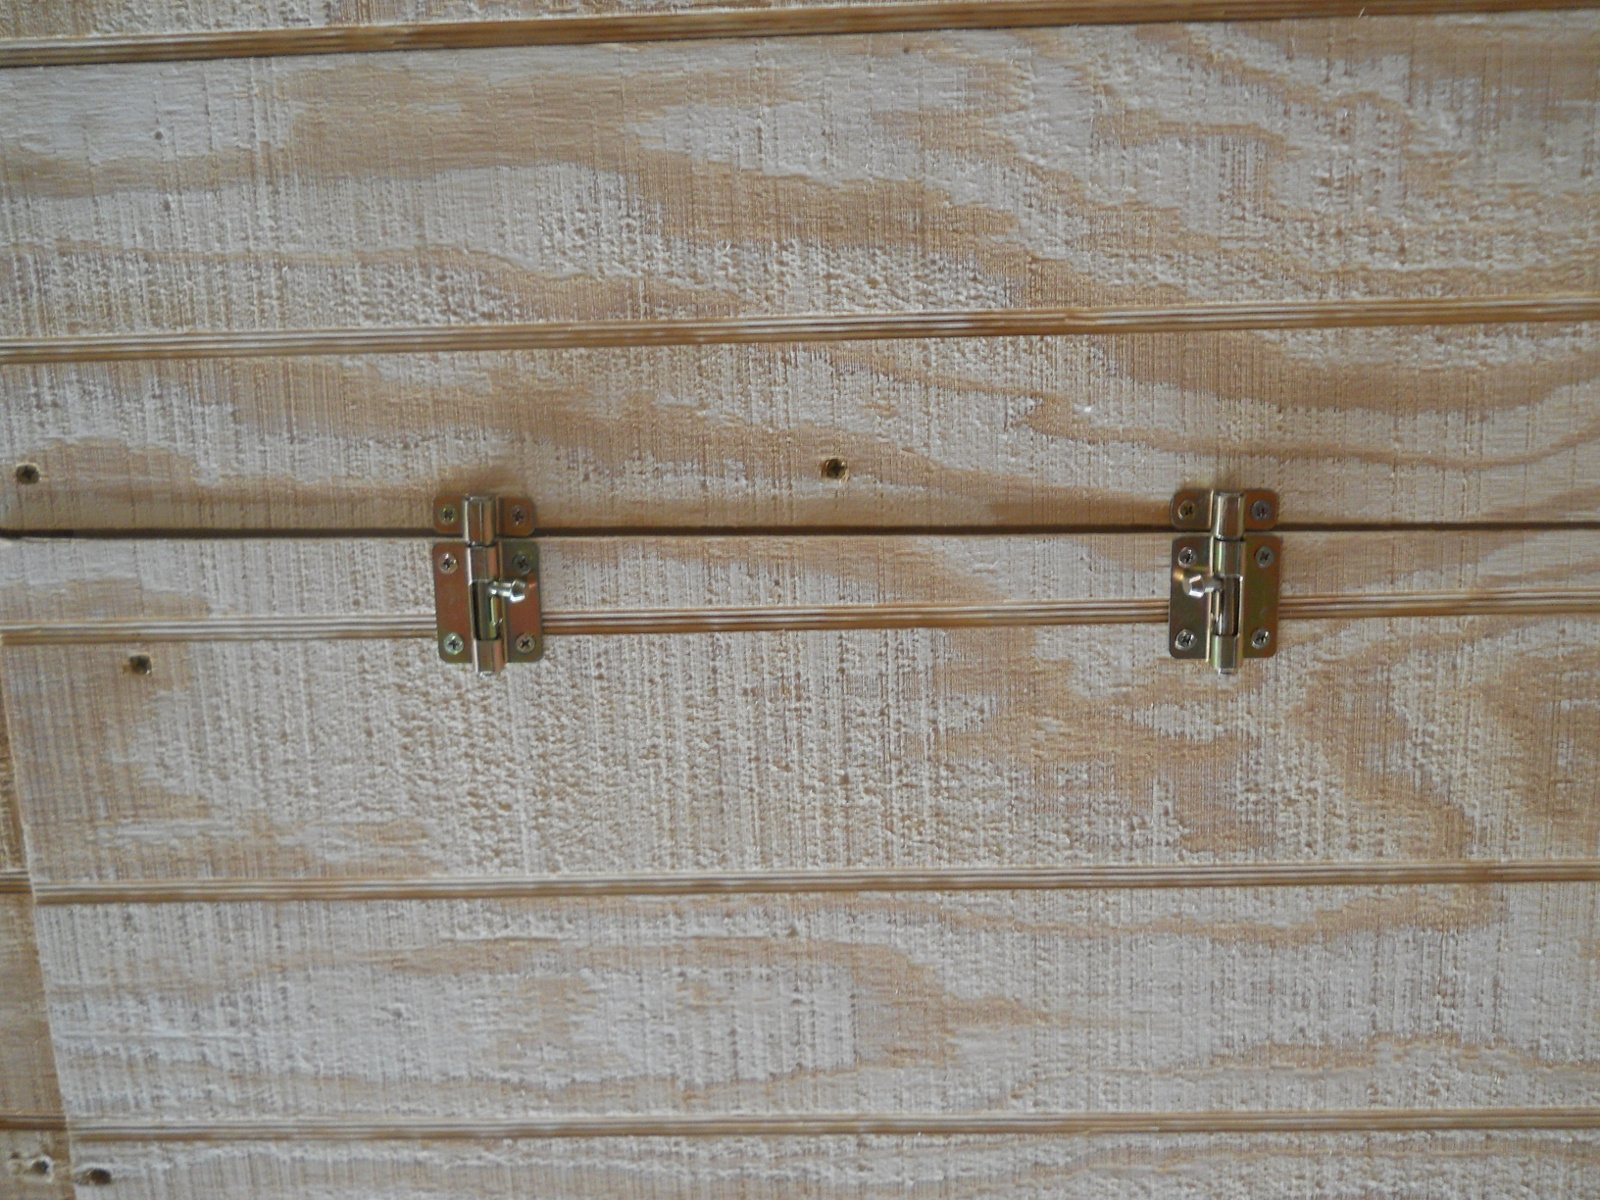
And here the door is closed and latched into place! One side of the bolt latch on the door didn’t have a door frame into which to put screws, so the ends of the screws were sticking out and preventing the door from completely closing; so I drilled out little holes into the cross piece where the ends of the screws would fit into:
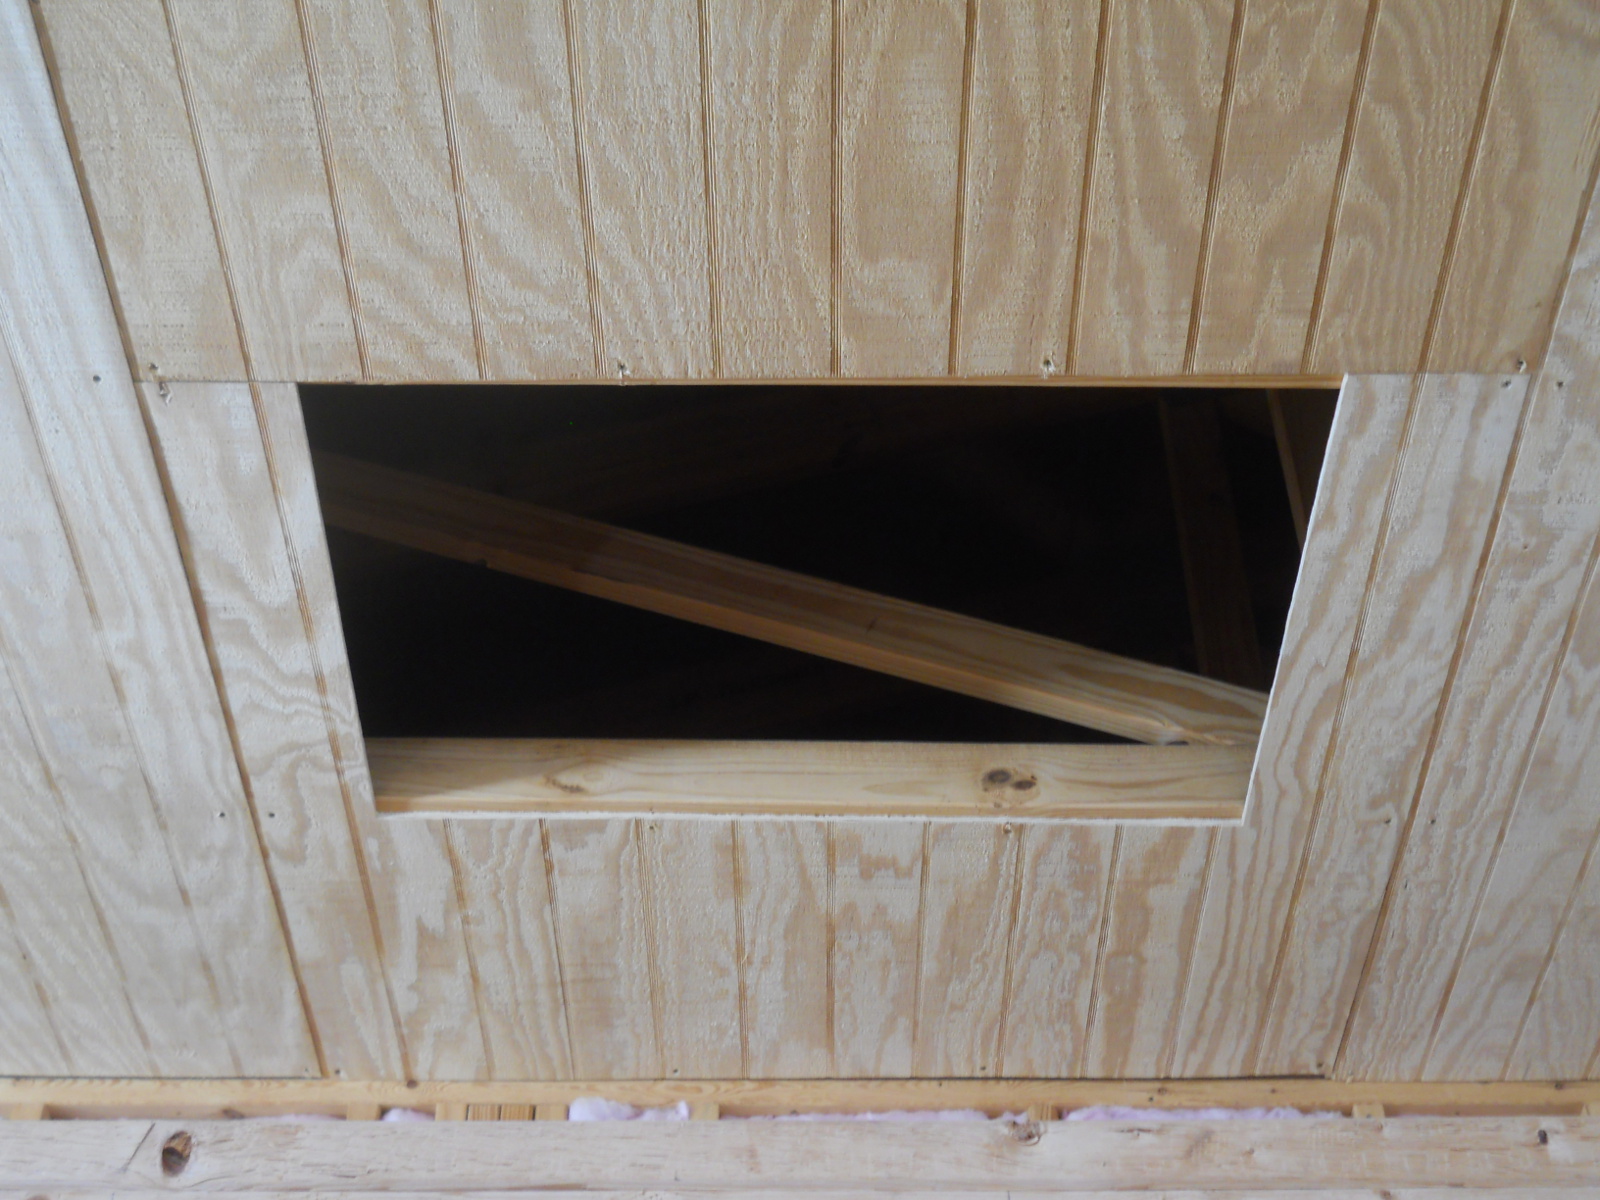
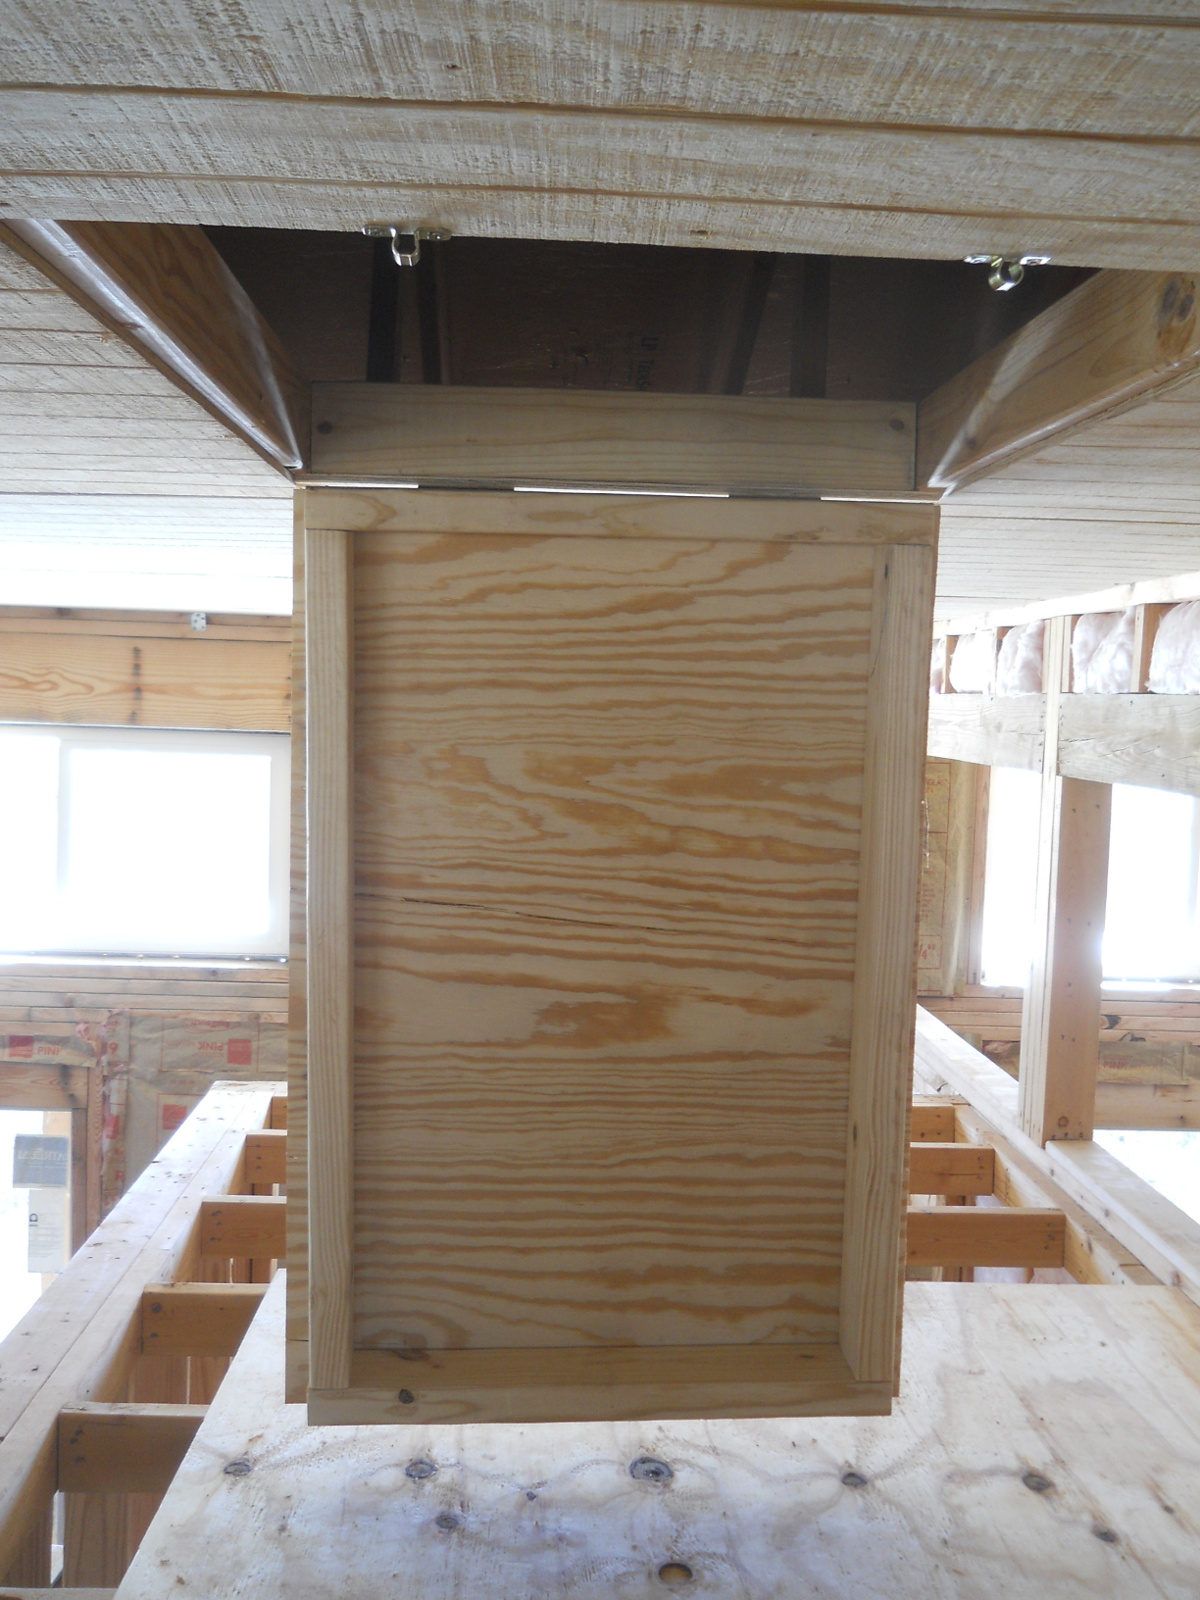
And here is the original ceiling panel showing the new attic access door installed:
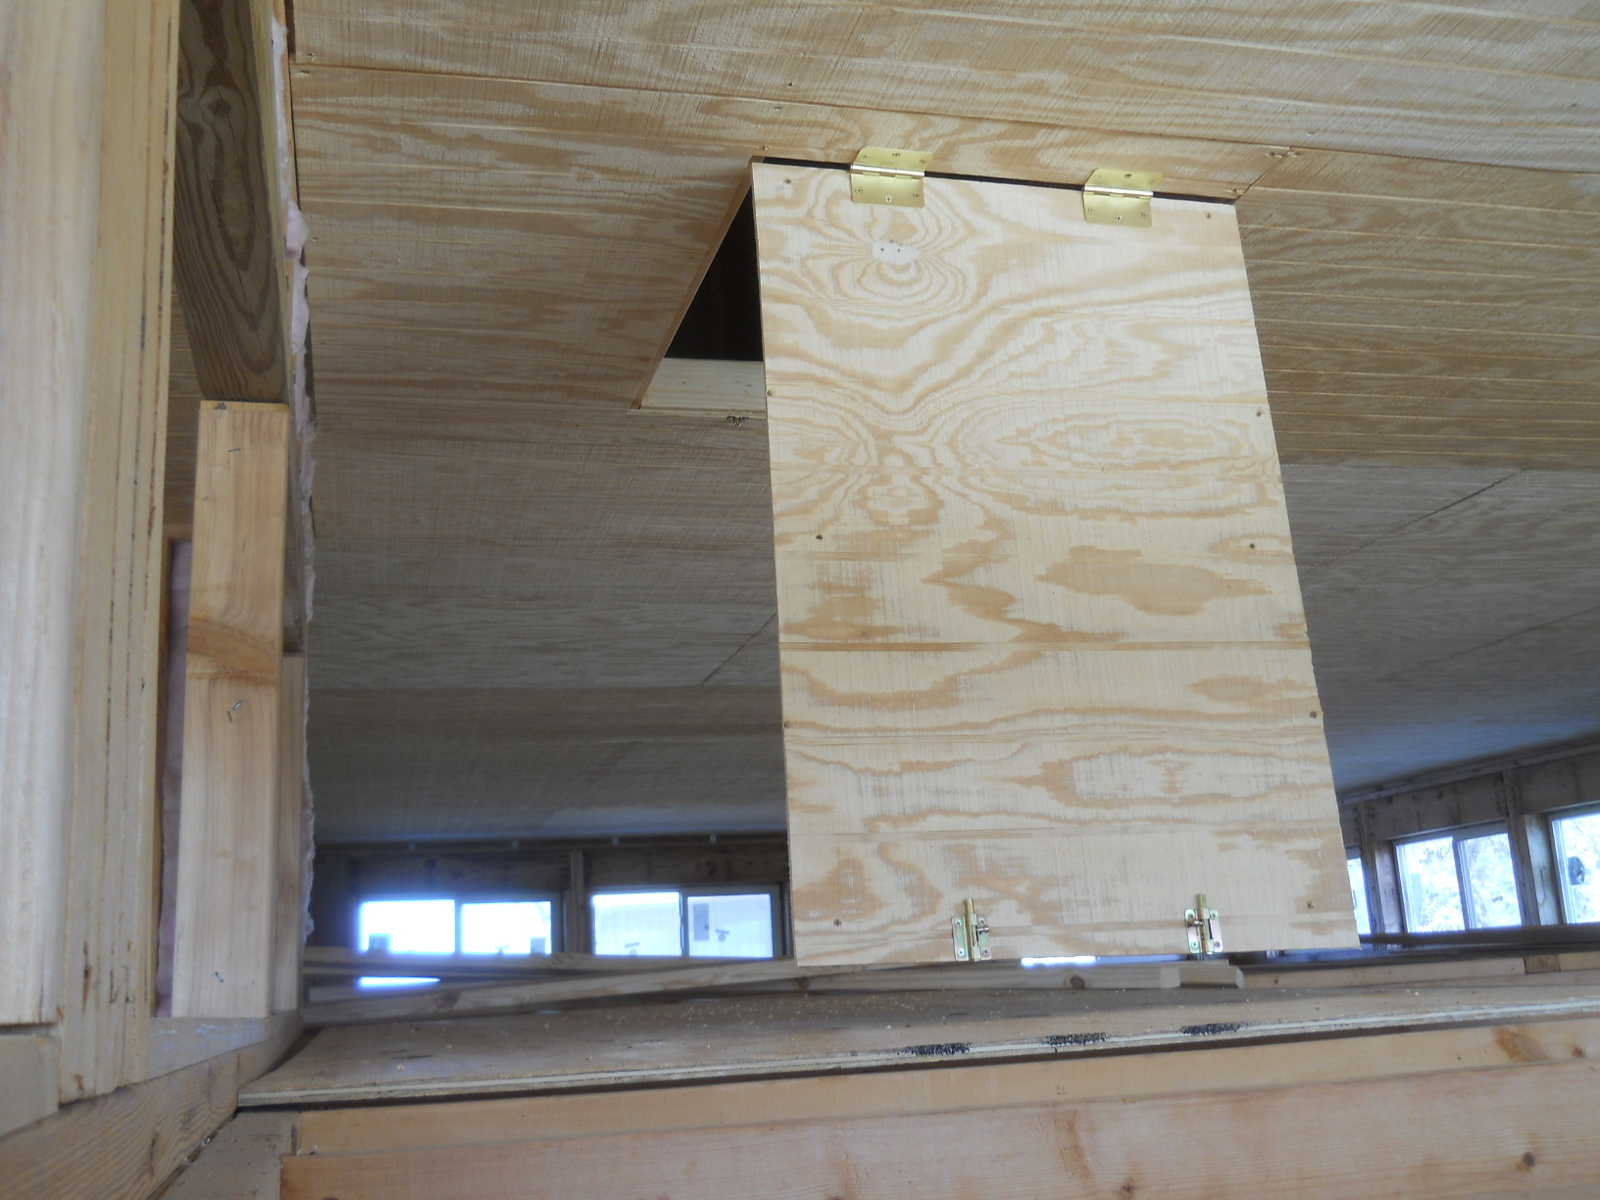
And with it open:
From the back side:
And front side:
I was amazed it actually worked. It was almost anti-climactic in that there was no “drama” with it, which there usually is in my building projects. 🙂 But, it was nice to have it work out as well as it appears to have worked.
We’re thankful as always to the Lord for granting the provisions and continued progress on the house, and I’m thankful to Him for the idea and plans for making this bit of the project seem to work successfully.
— David
Leave a Reply