With the kitchen siding in place, it was time to install the kitchen counter and sink.
Kitchen Counter Top
I decided to go with a pre-formed laminate one as it was going to be easier, more cost effective, and I believed better quality than if I were to try to make one myself.
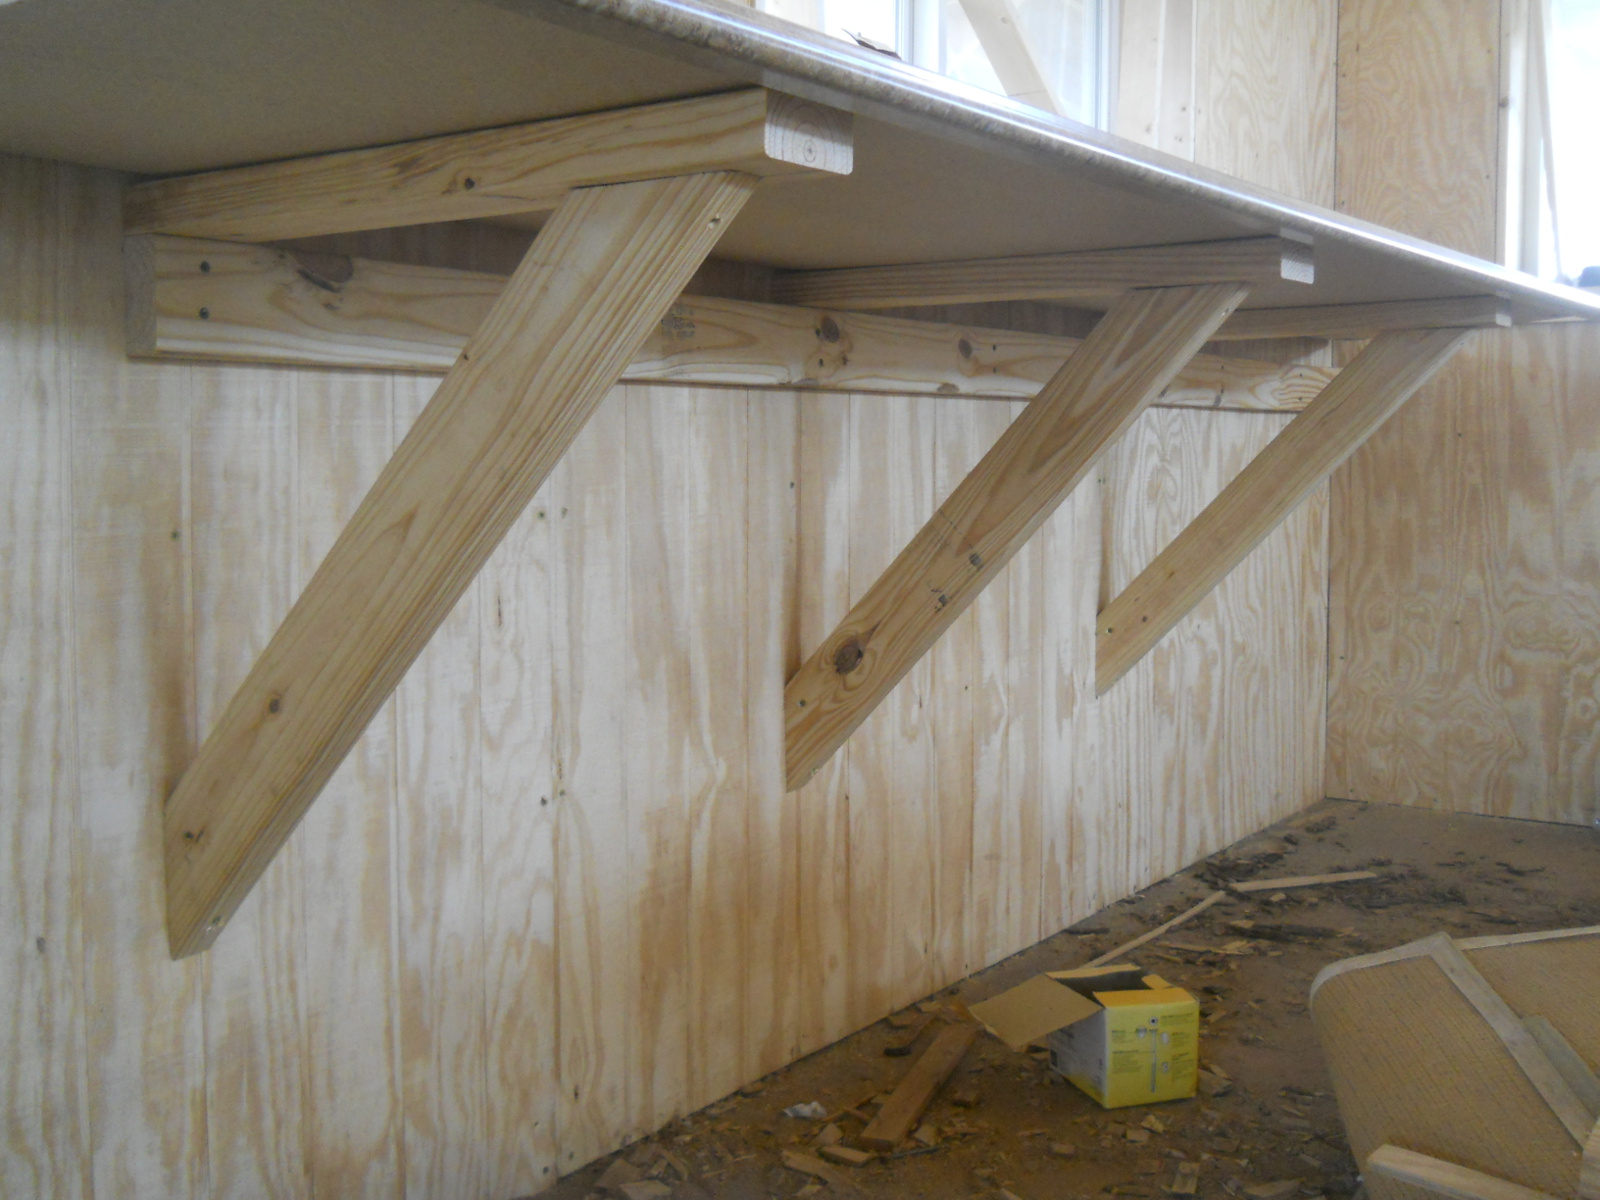
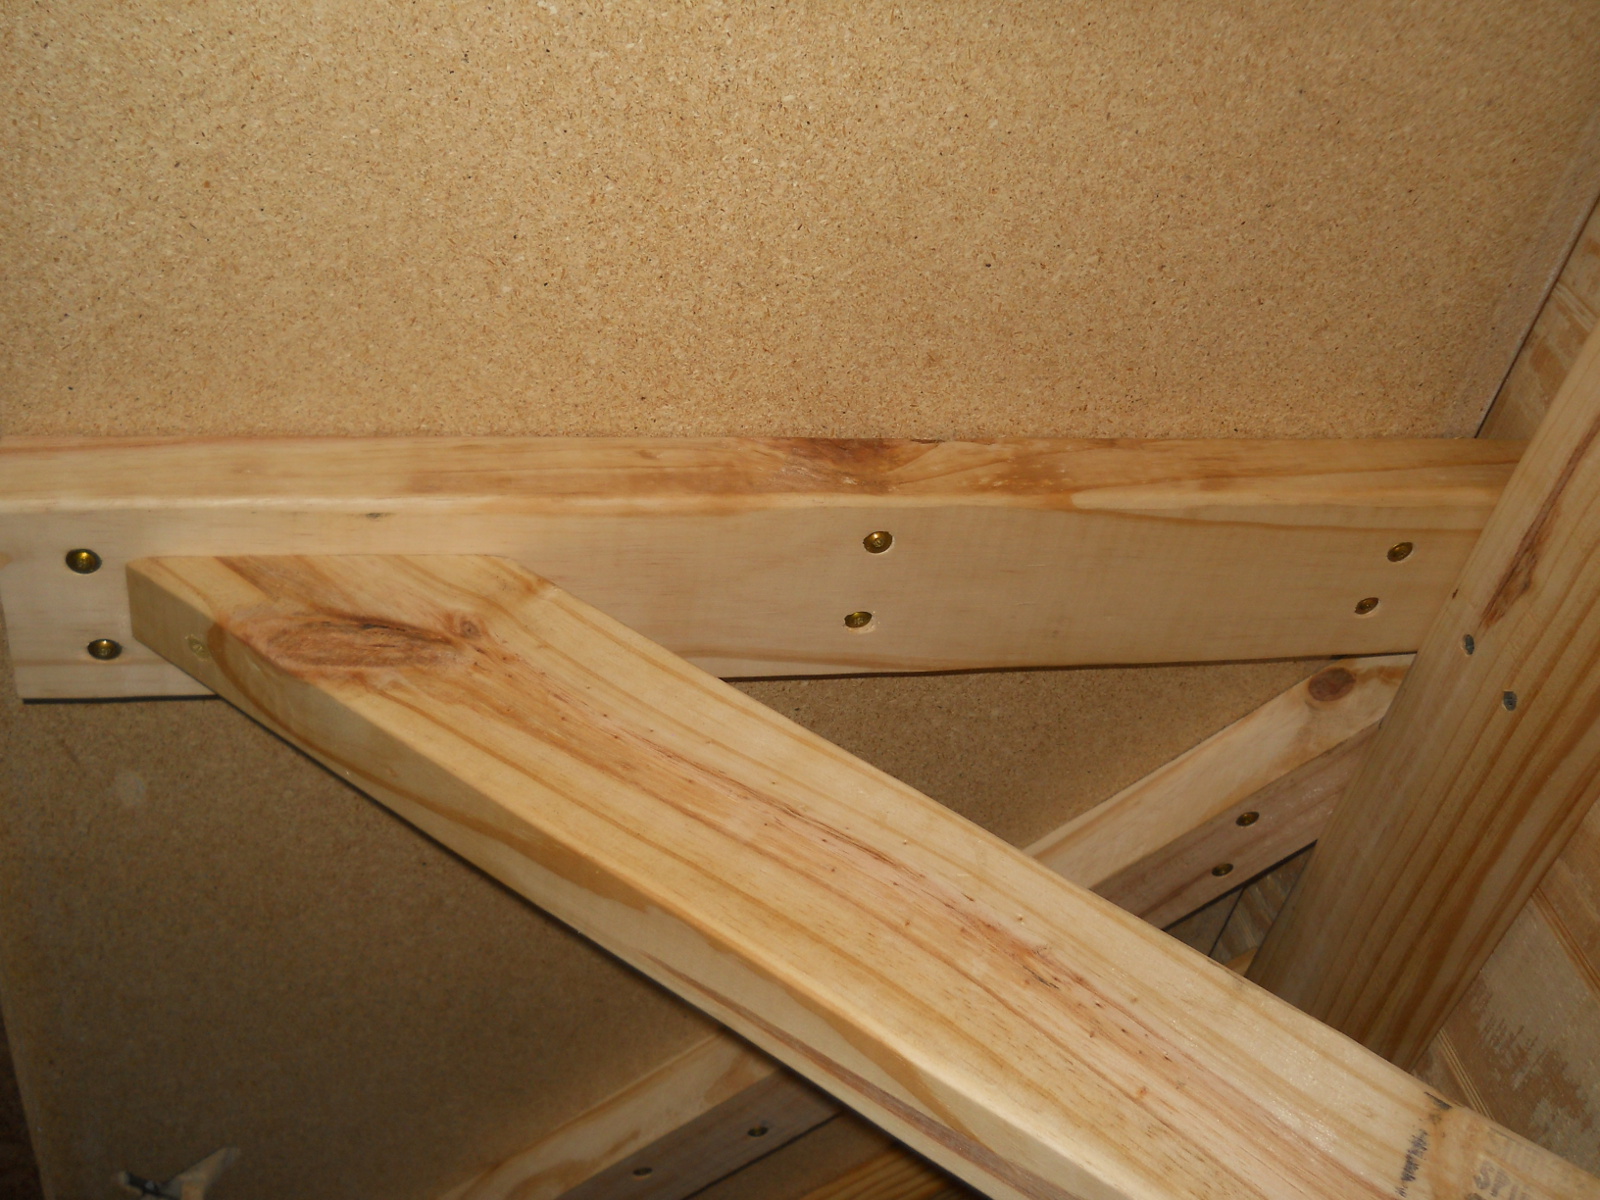
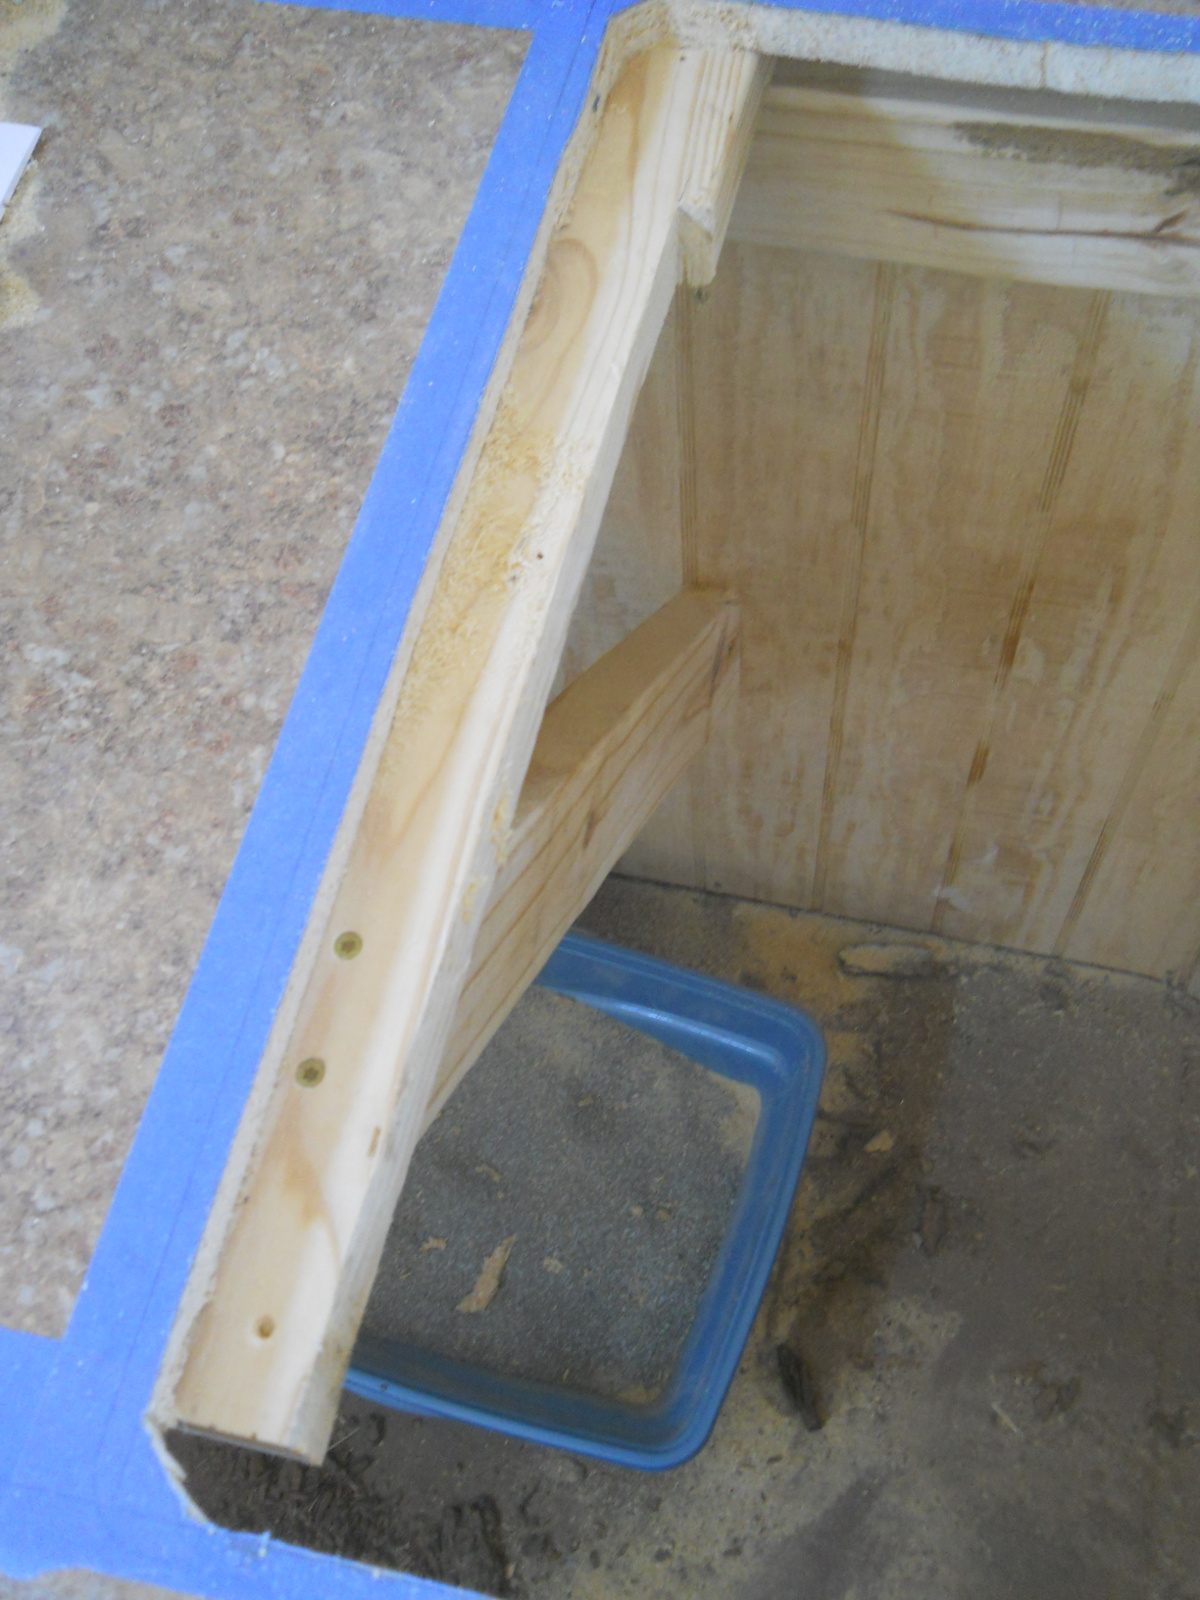
Sue had decided she didn’t want permanent cupboards below the counter top, so my plan was to build bracing that attached to the wall studs, and this is what I came up with. There is a cross 2×4 attached to the wall studs, then the counter top braces extending from the wall on top of that, and then diagonal braces from the top brace to the wall stud:
For the corner, I just put braces across from back board to back board:
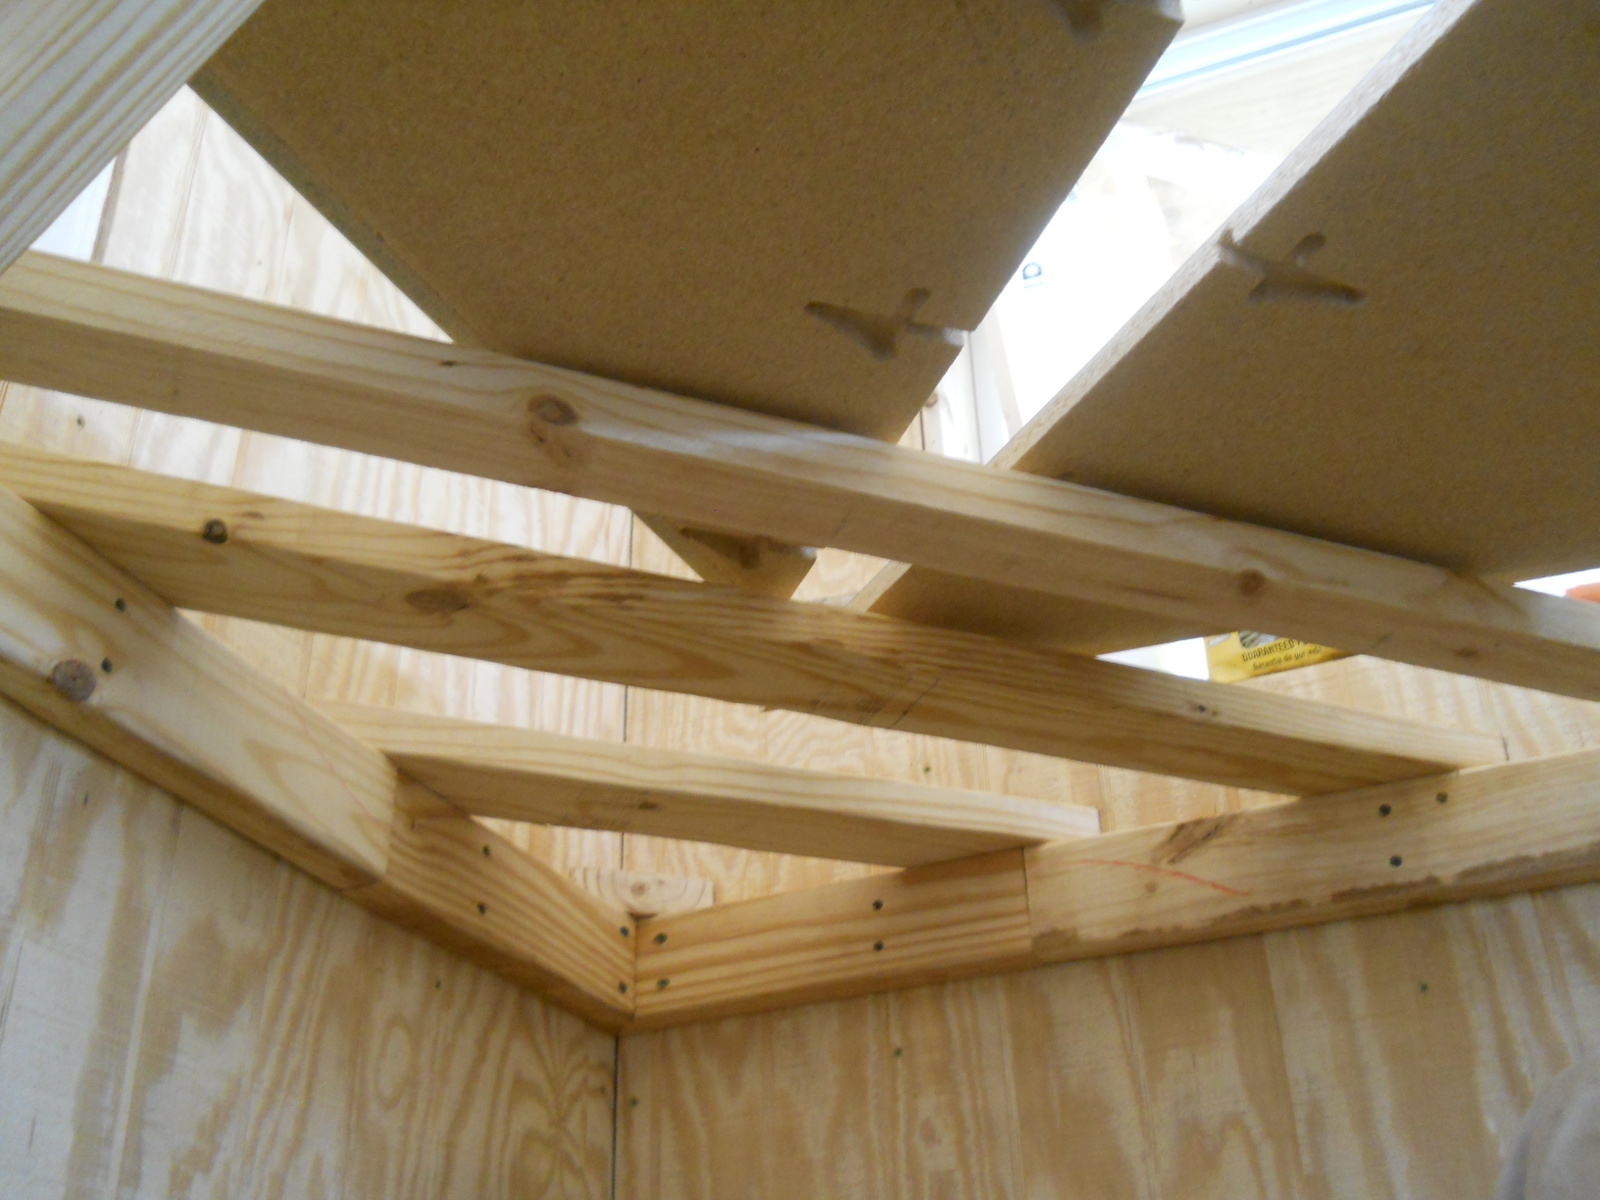
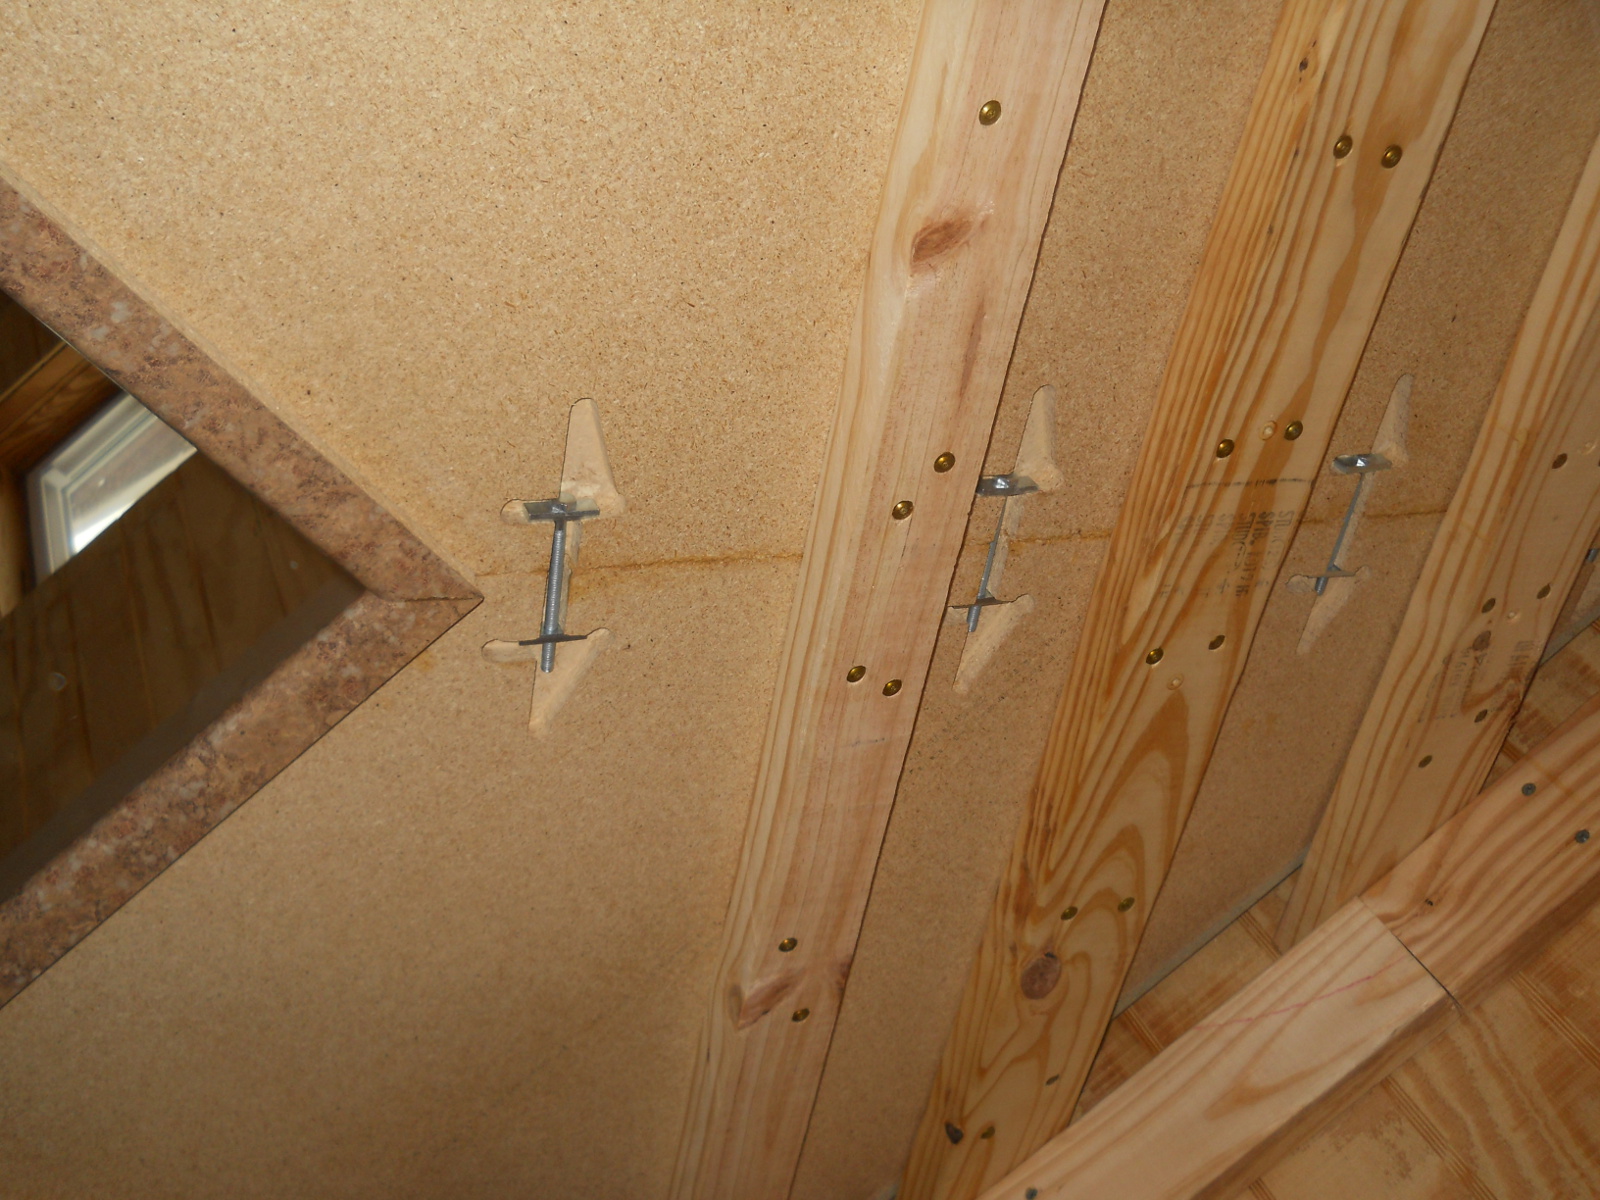
Once the bracing was completed, I tied the corners together with glue and the provided nuts and bolts in the pre-cut areas:
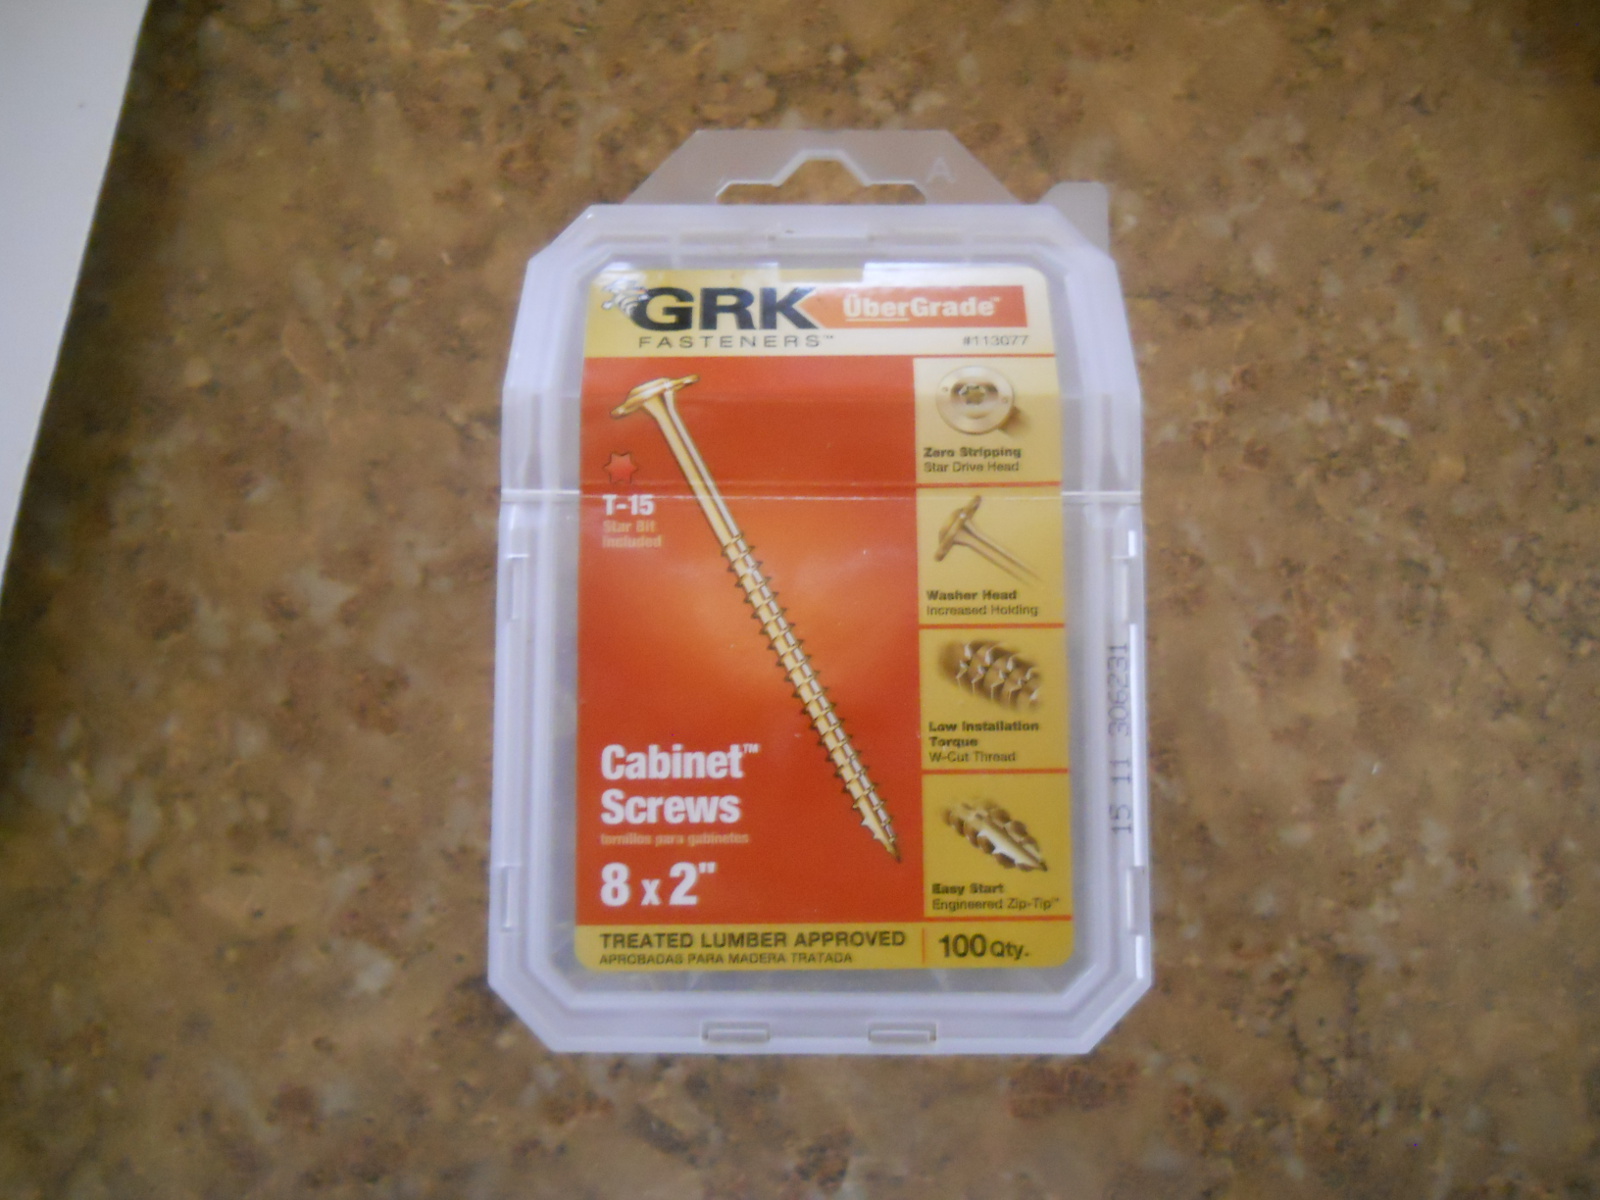
Here are the screws I decided to use to tie down the counter top to the top braces. They have a larger, flat head that I hoped would help pull the counter to the brace:
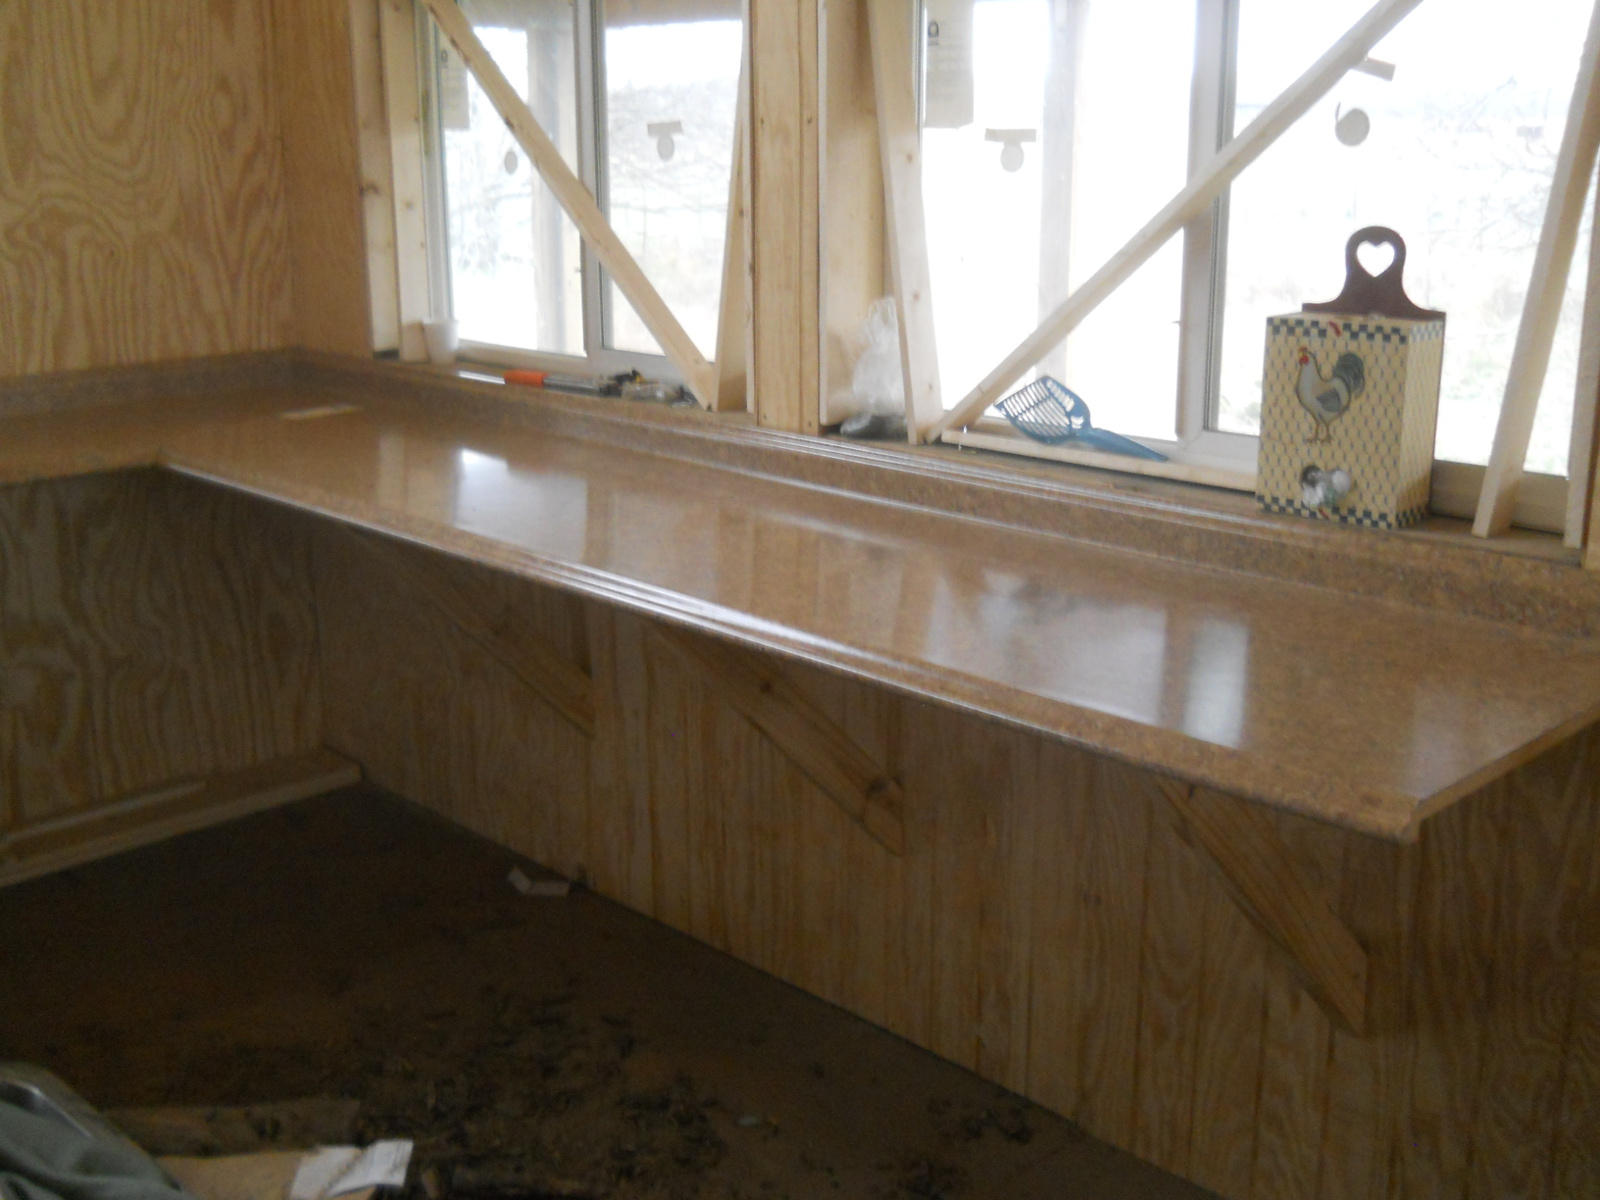
I had Sue sit on the counter and push down to get the counter to set against the top braces while I screwed it down, and here is the counter tied down to a brace:
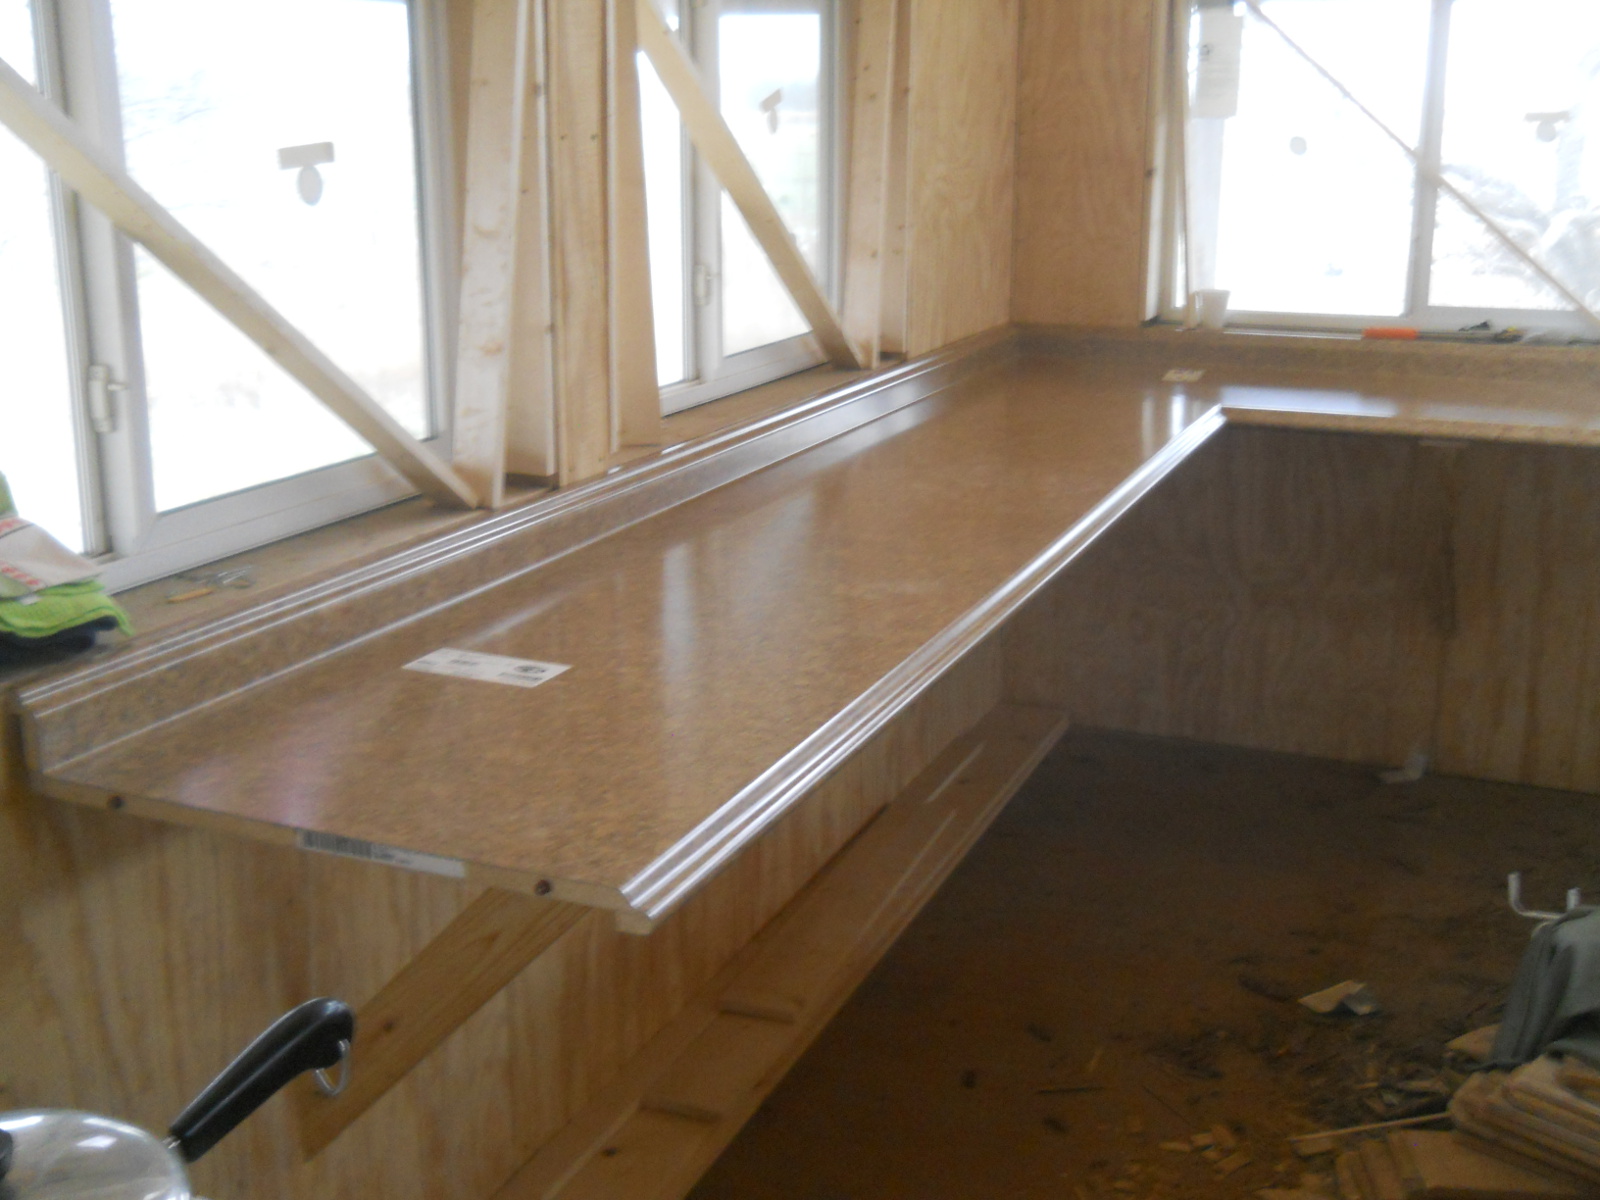
And here is the counter top installed!
Kitchen Sink
We decided to go with a stainless steel kitchen sink, to be placed between two braces. When I initially measured, it appeared it was going to fit nicely, but I eventually ran into some issues…
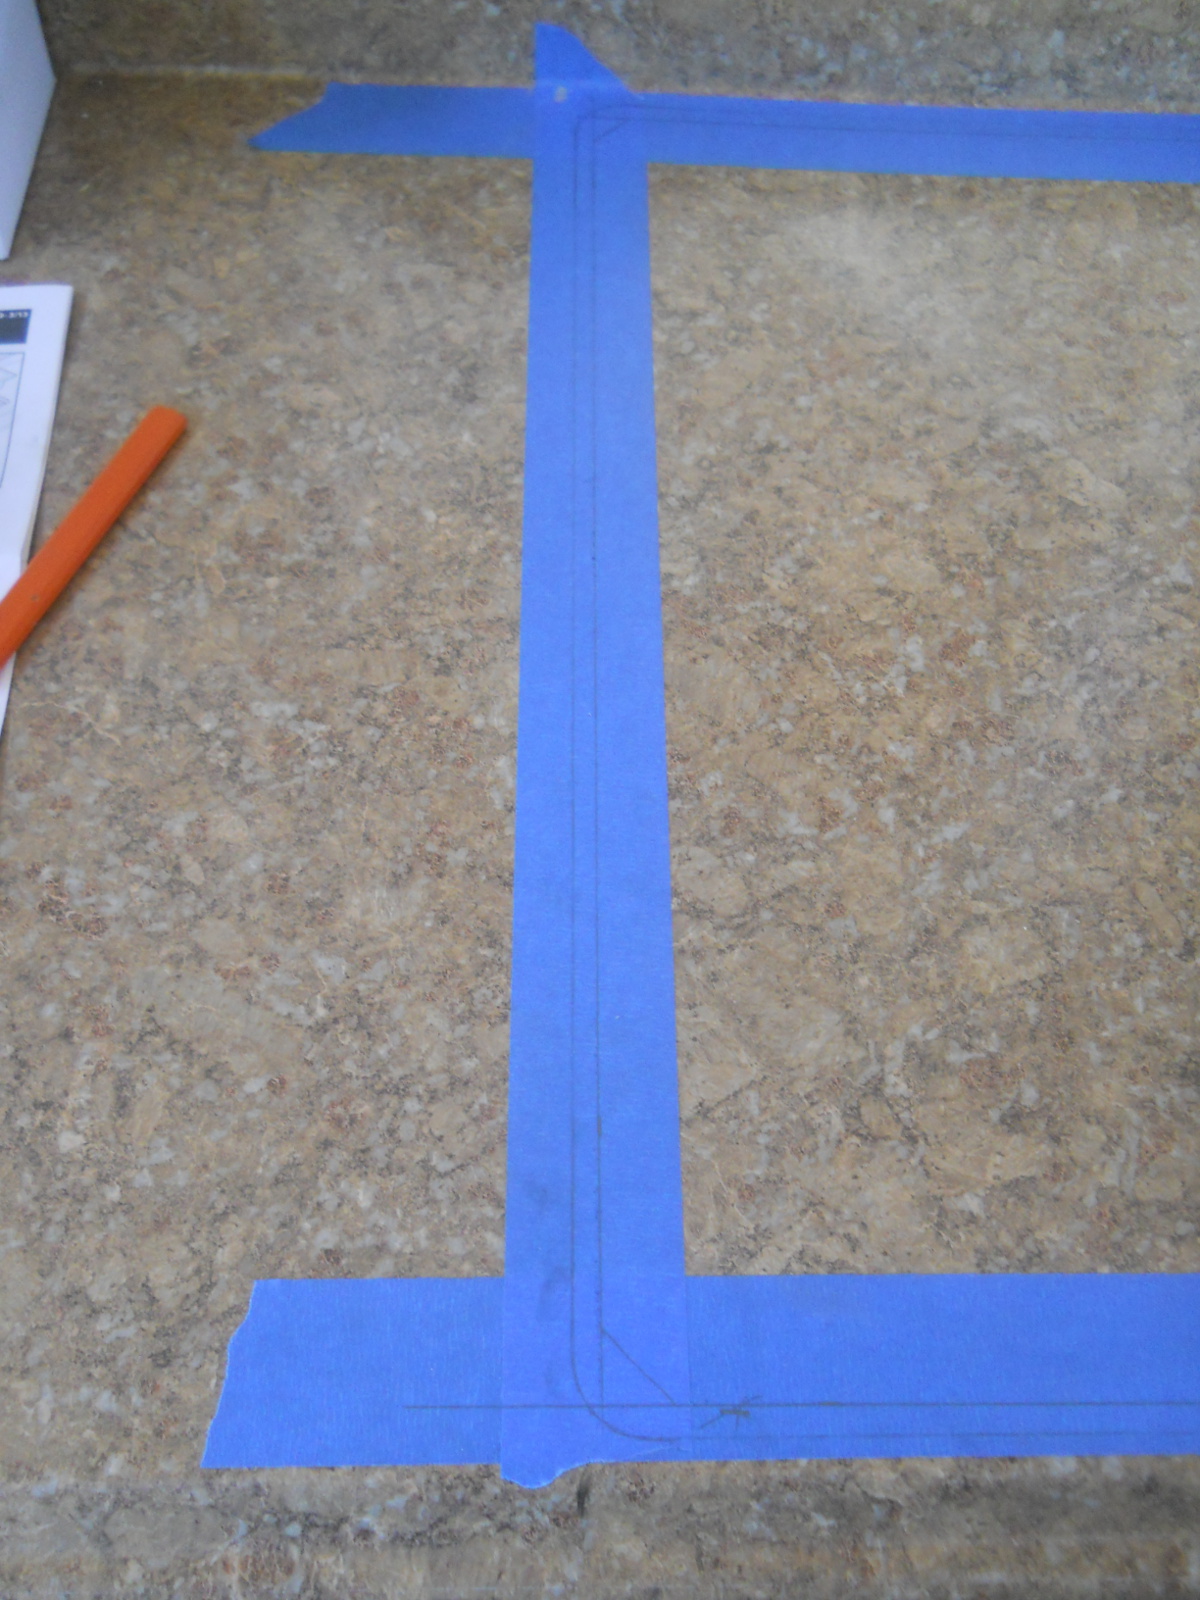
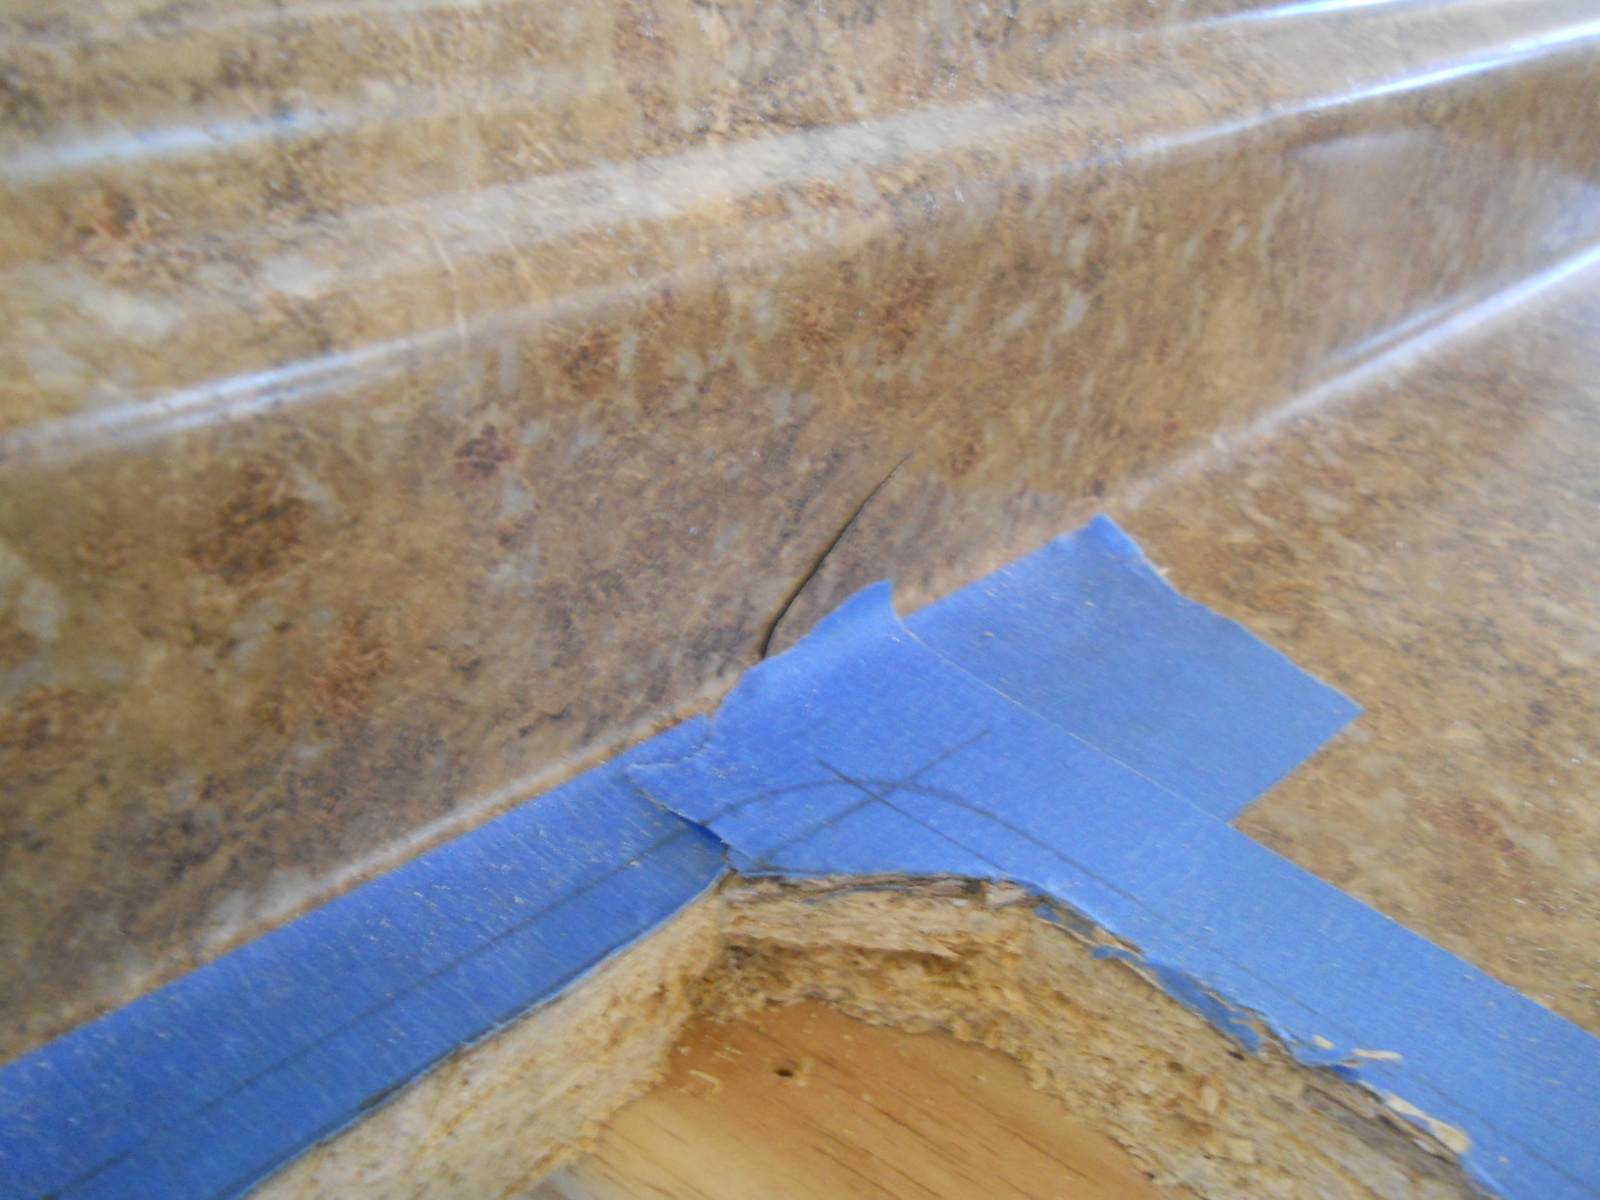
When cutting on a laminate top, you’re apparently supposed to put tape down to help keep the laminate from cracking as you cut:
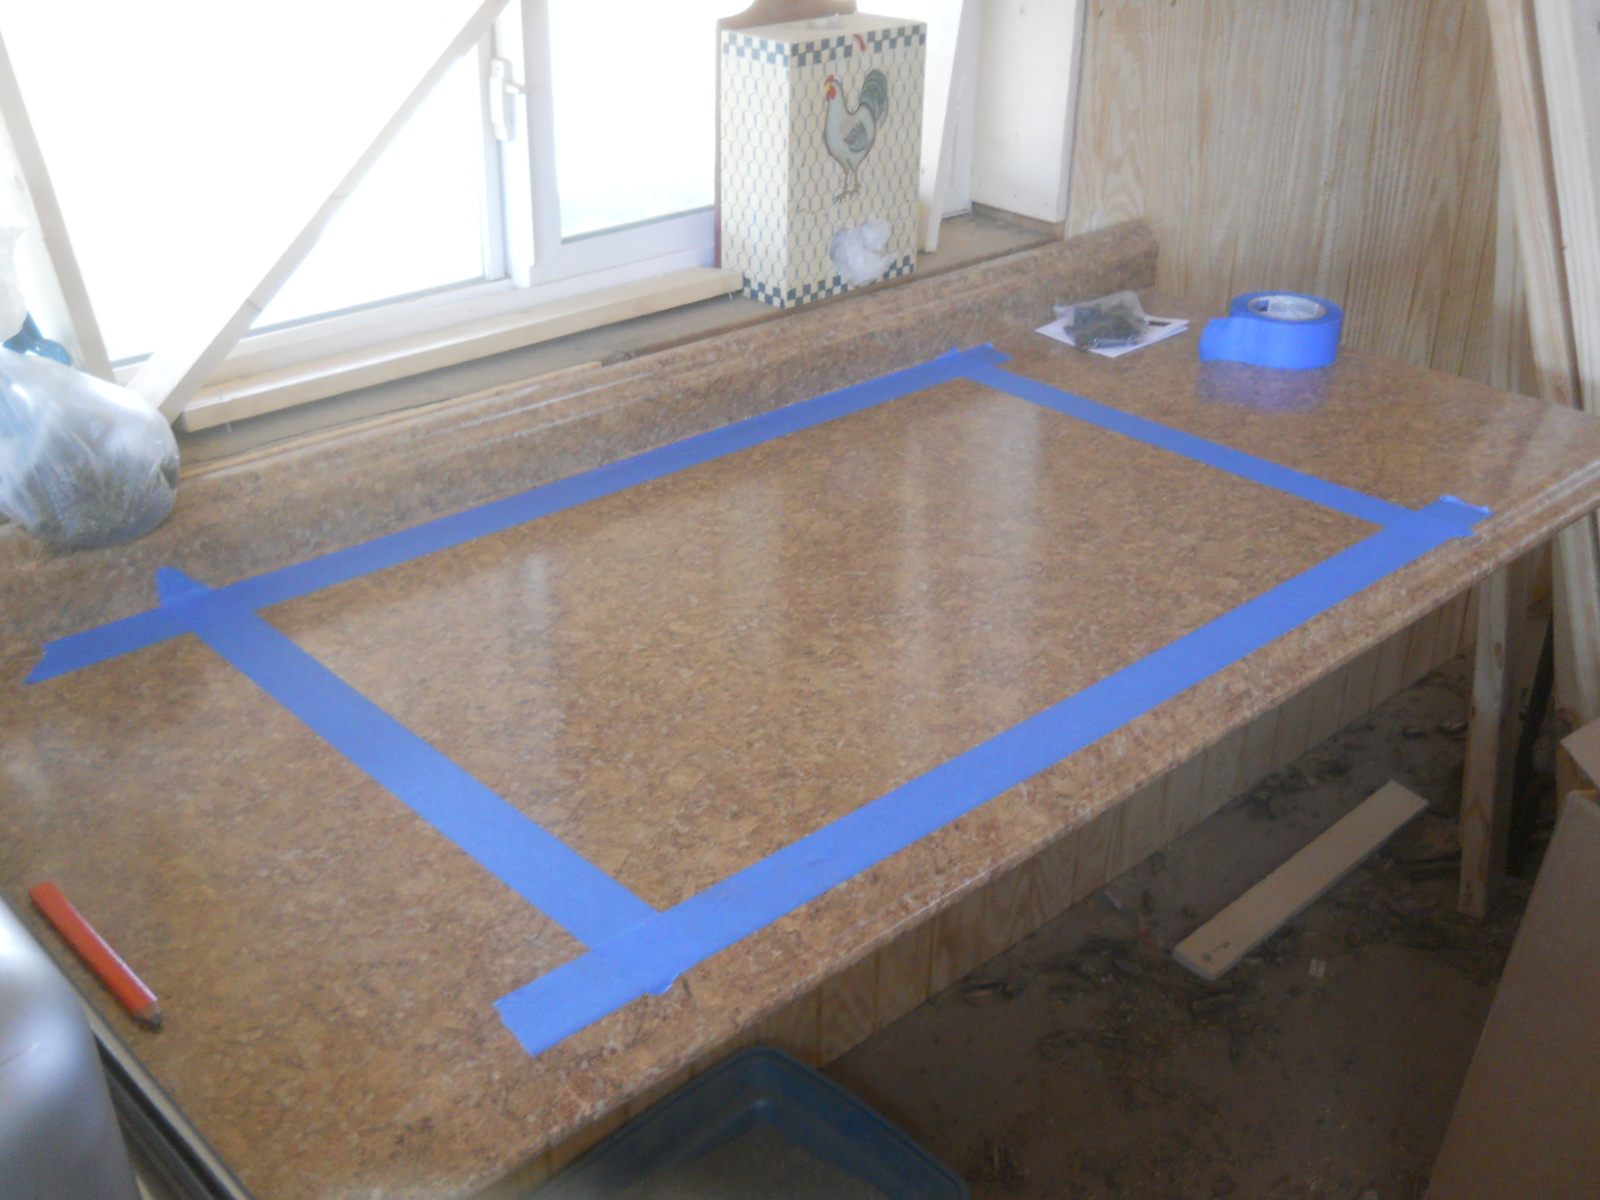
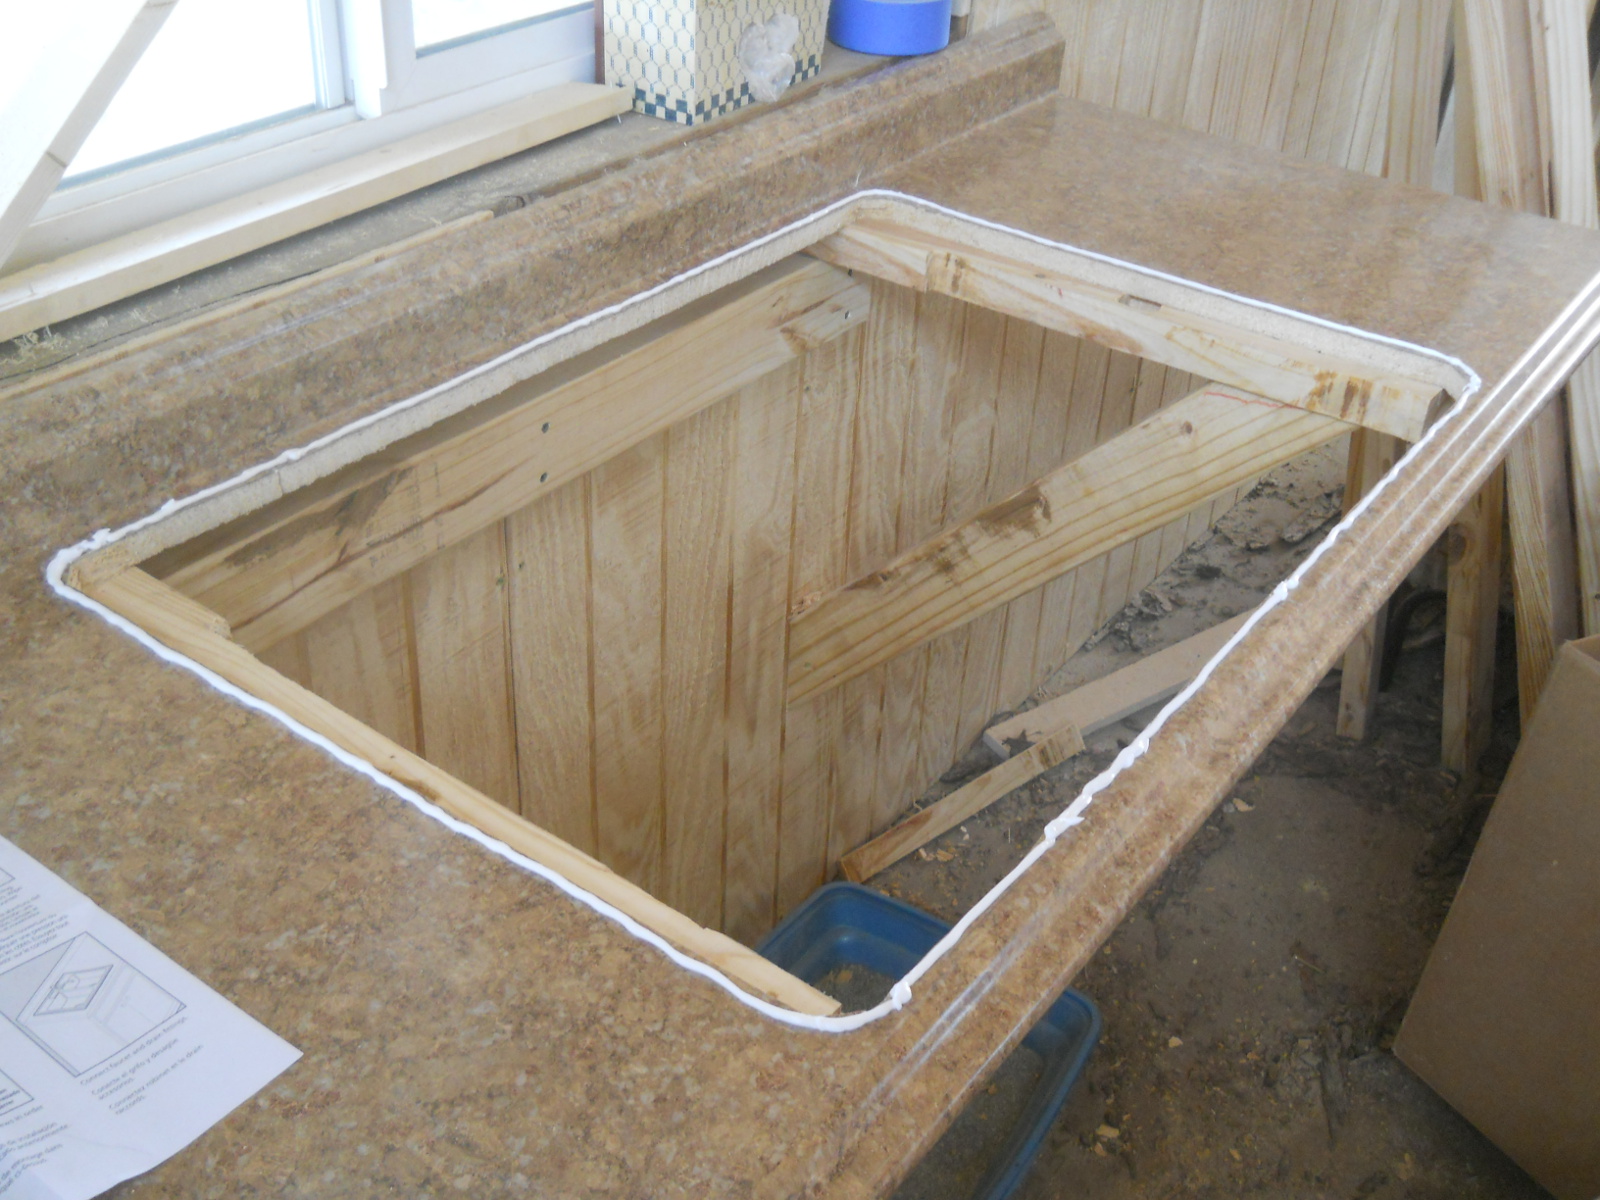
Then, you lay the sink down upside down, trace around it, then draw a cut line inside the trace line, the width according to the instructions that come with the sink:
I used a jig saw with laminate blade to cut out the main section:
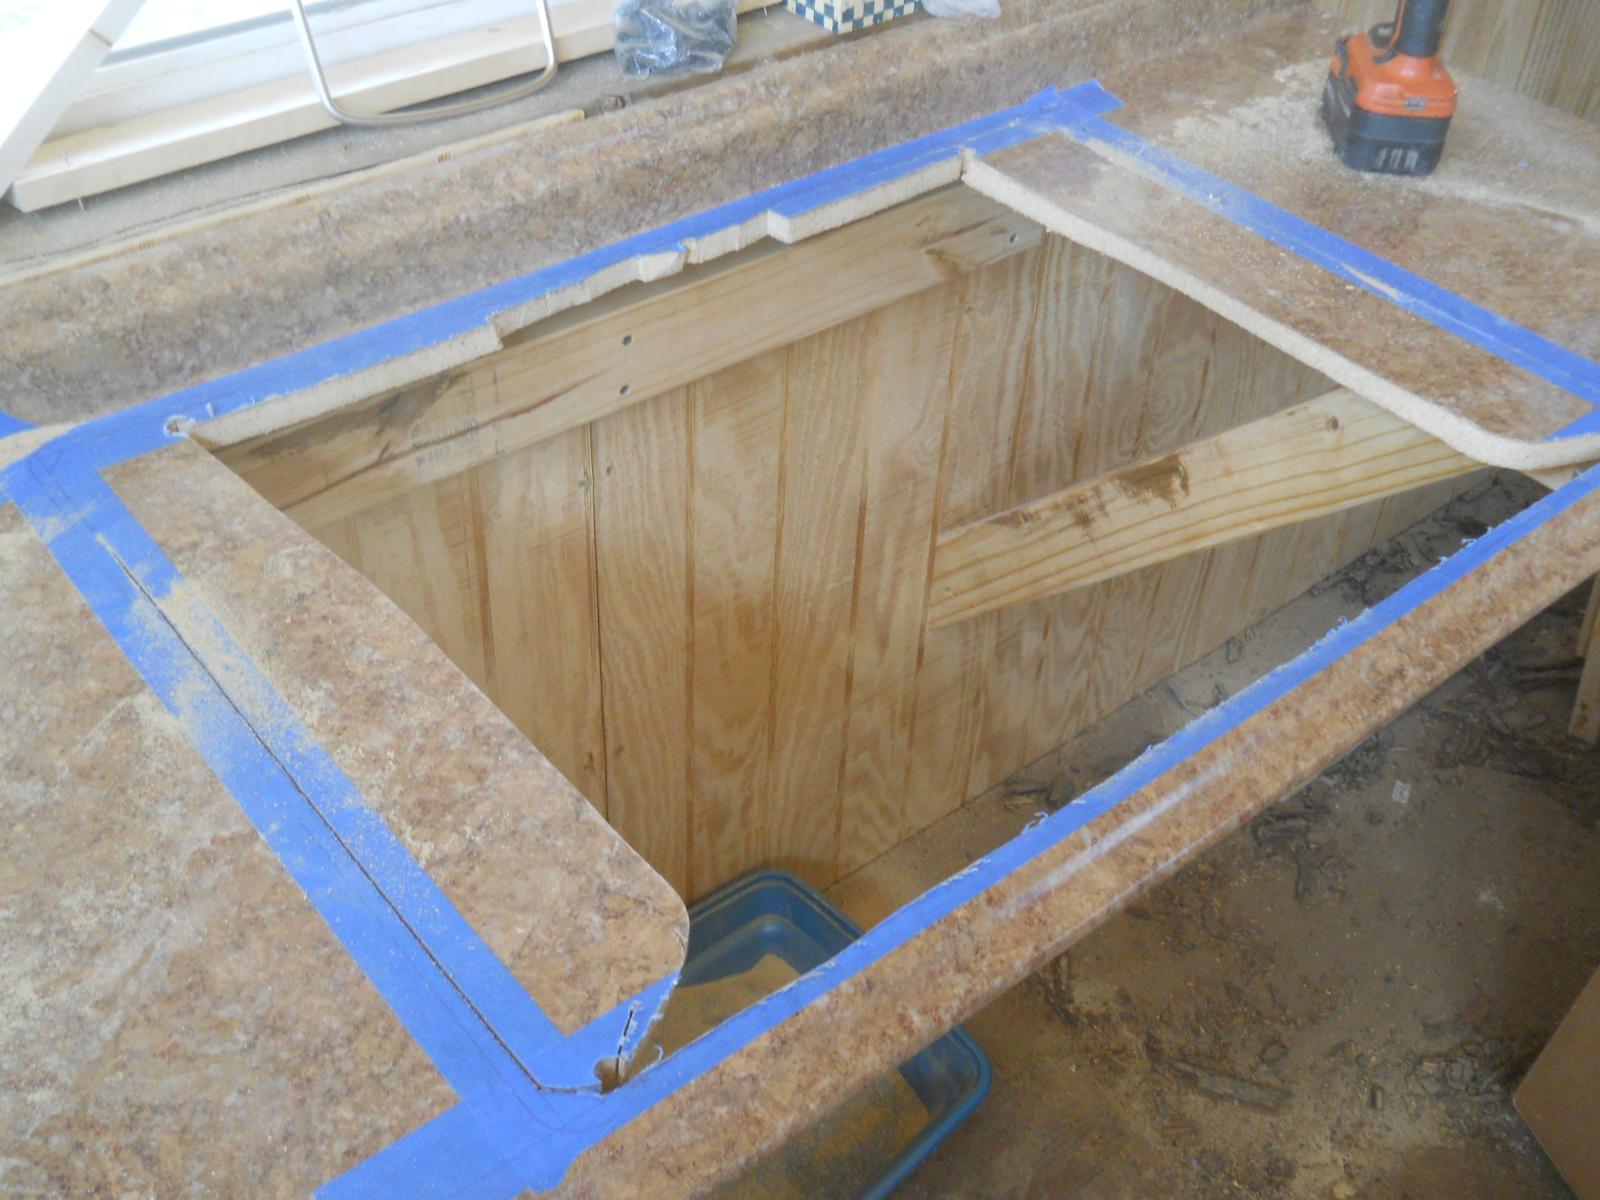
Then used a coping saw for the back part as I couldn’t get close enough with the jig saw to the back cut line:

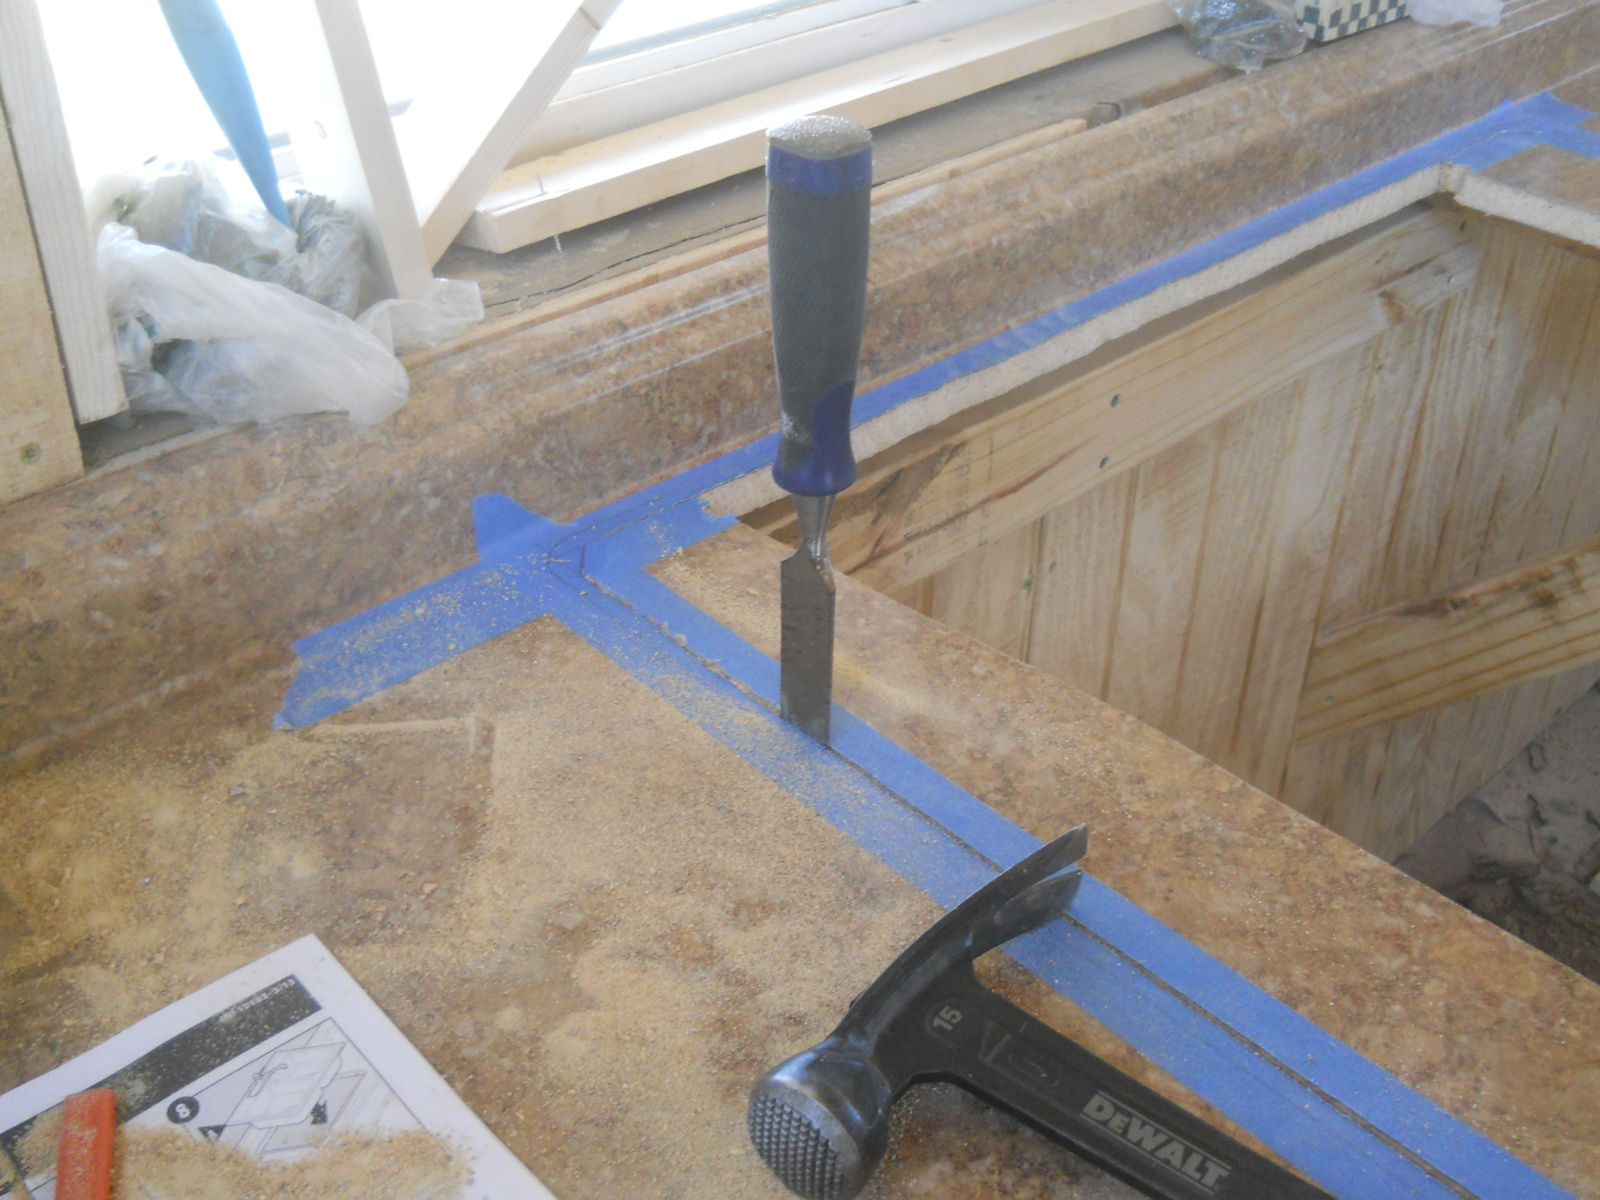
One issue I ran into was the sides of the hole ended up going over the bracing, and so I used a skill saw set to counter-top depth to make the initial cut of the sides, and then needed to chisel out the rest:
And here is a side completed:
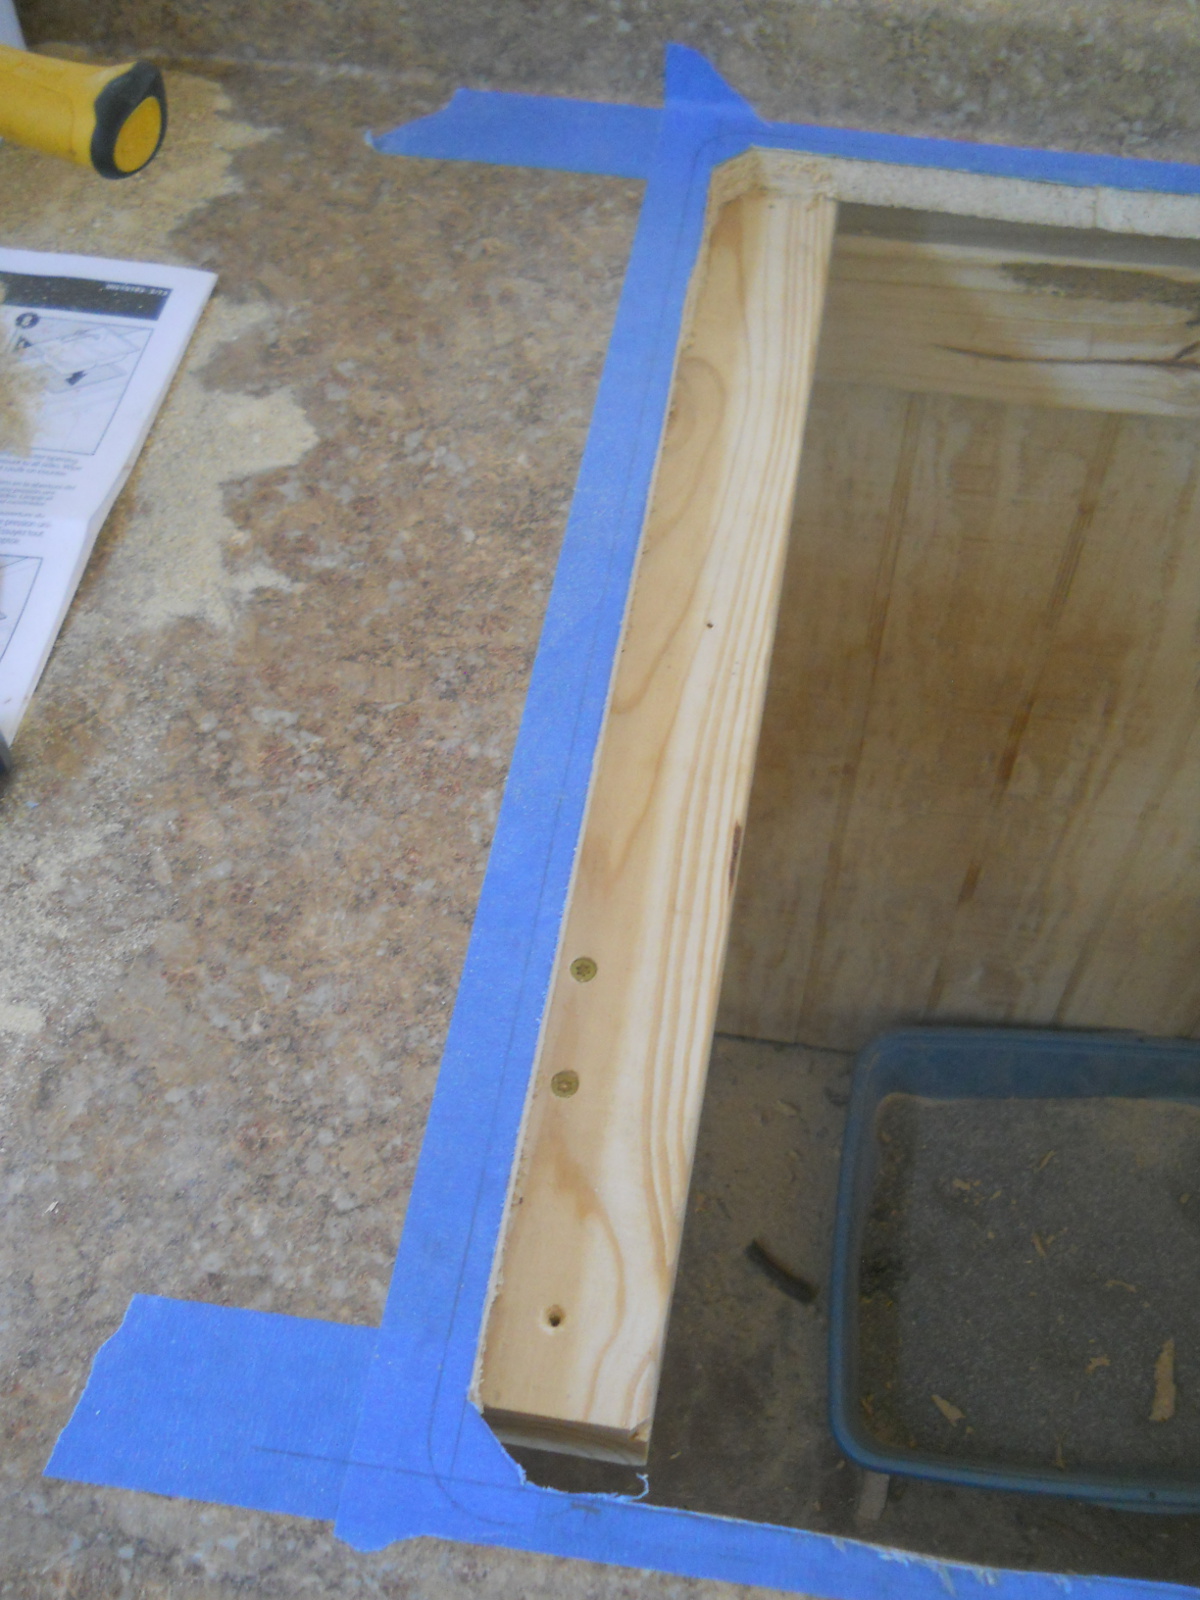
Sadly though, on the right side, I apparently didn’t chisel down far enough in the corner, and it slightly cracked up the laminate. I ended up just gluing it and caulking it, which appears to have worked ok:
Another problem I ran into was that the sink tubs wouldn’t fit completely between the braces, so I needed to cut off a little of the brace siding:
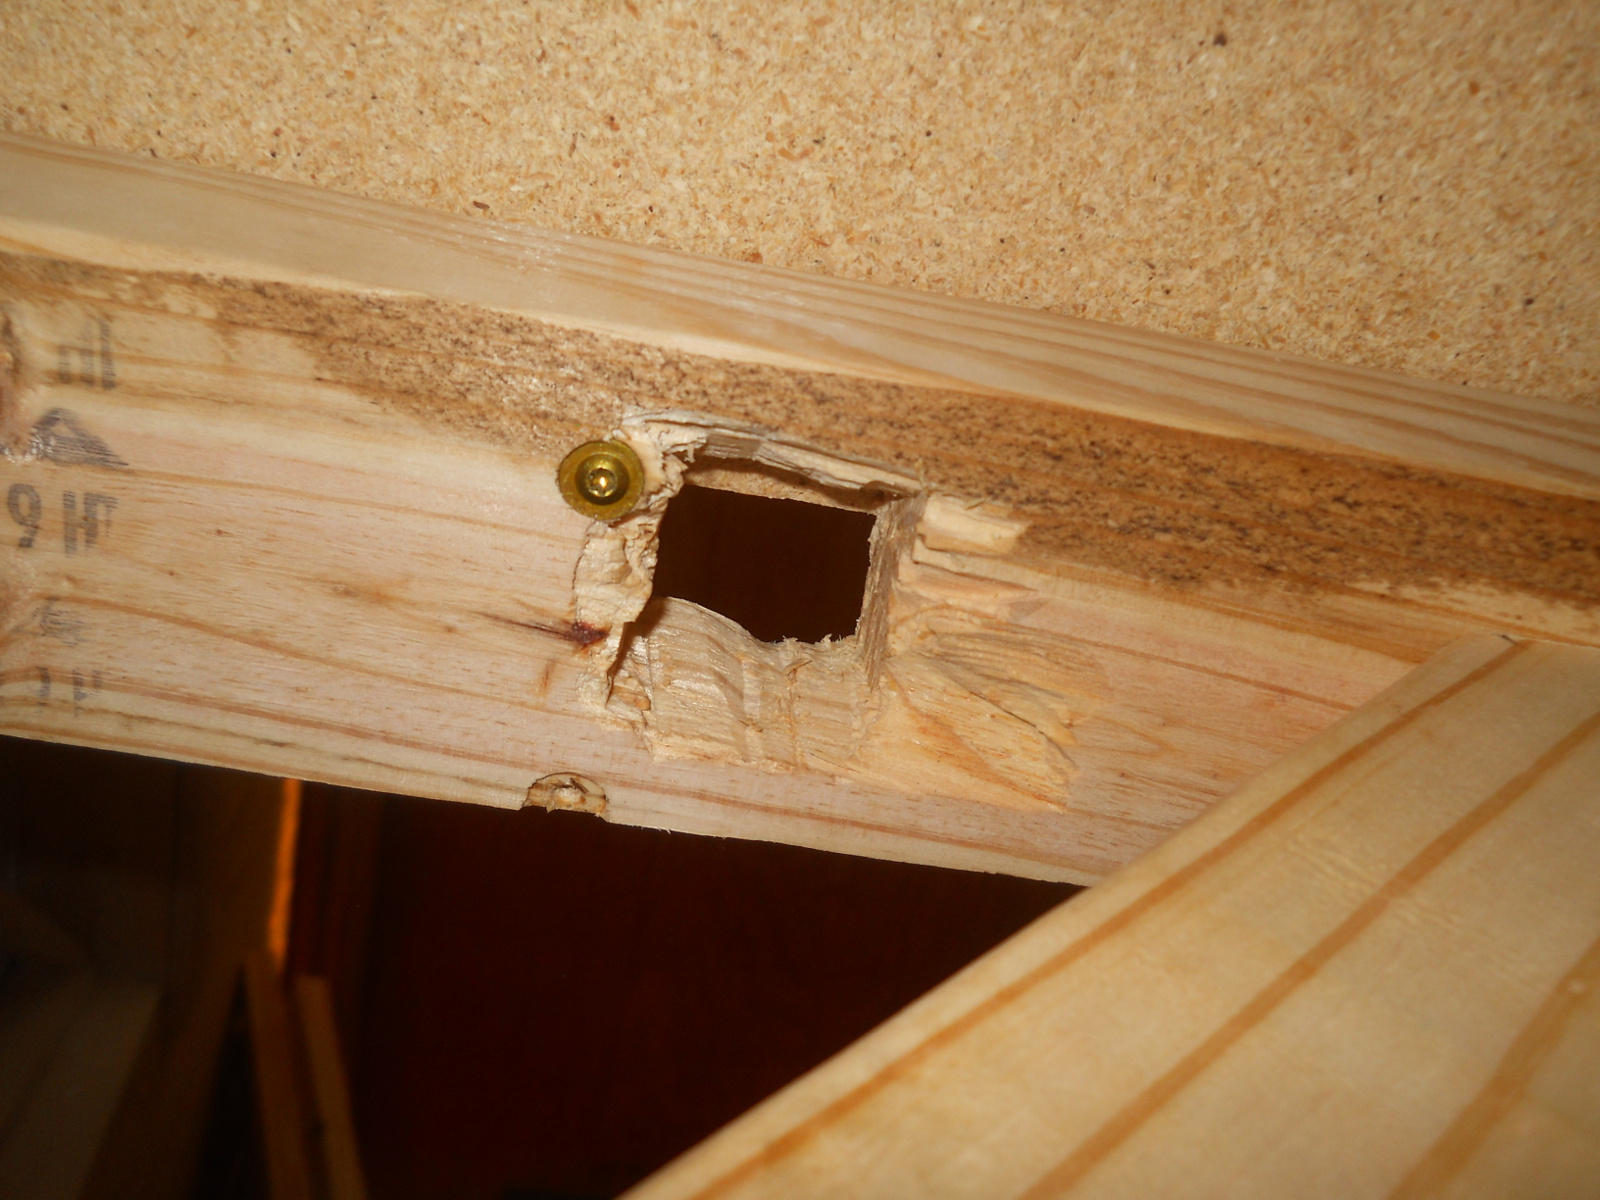
And then, another issue was how to clamp the sides of the sink to the counter top. For that, I drilled holes and chiseled out a hole in the brace, and enough underneath to reveal some of the counter top so the clamp would have something to grab on to. You can see here at the top of the hole a little of the counter top exposed. Given the design of the brace, I could only really use one clamp on the sides even though you’re supposed to use two — I just hope that ends up being enough 🙂 :
Once all cutting, etc. was complete, I put down the caulk bead:
And then placed the sink in place, and clamped it down in a star-like pattern, starting from the inside clamps outward according to the directions:
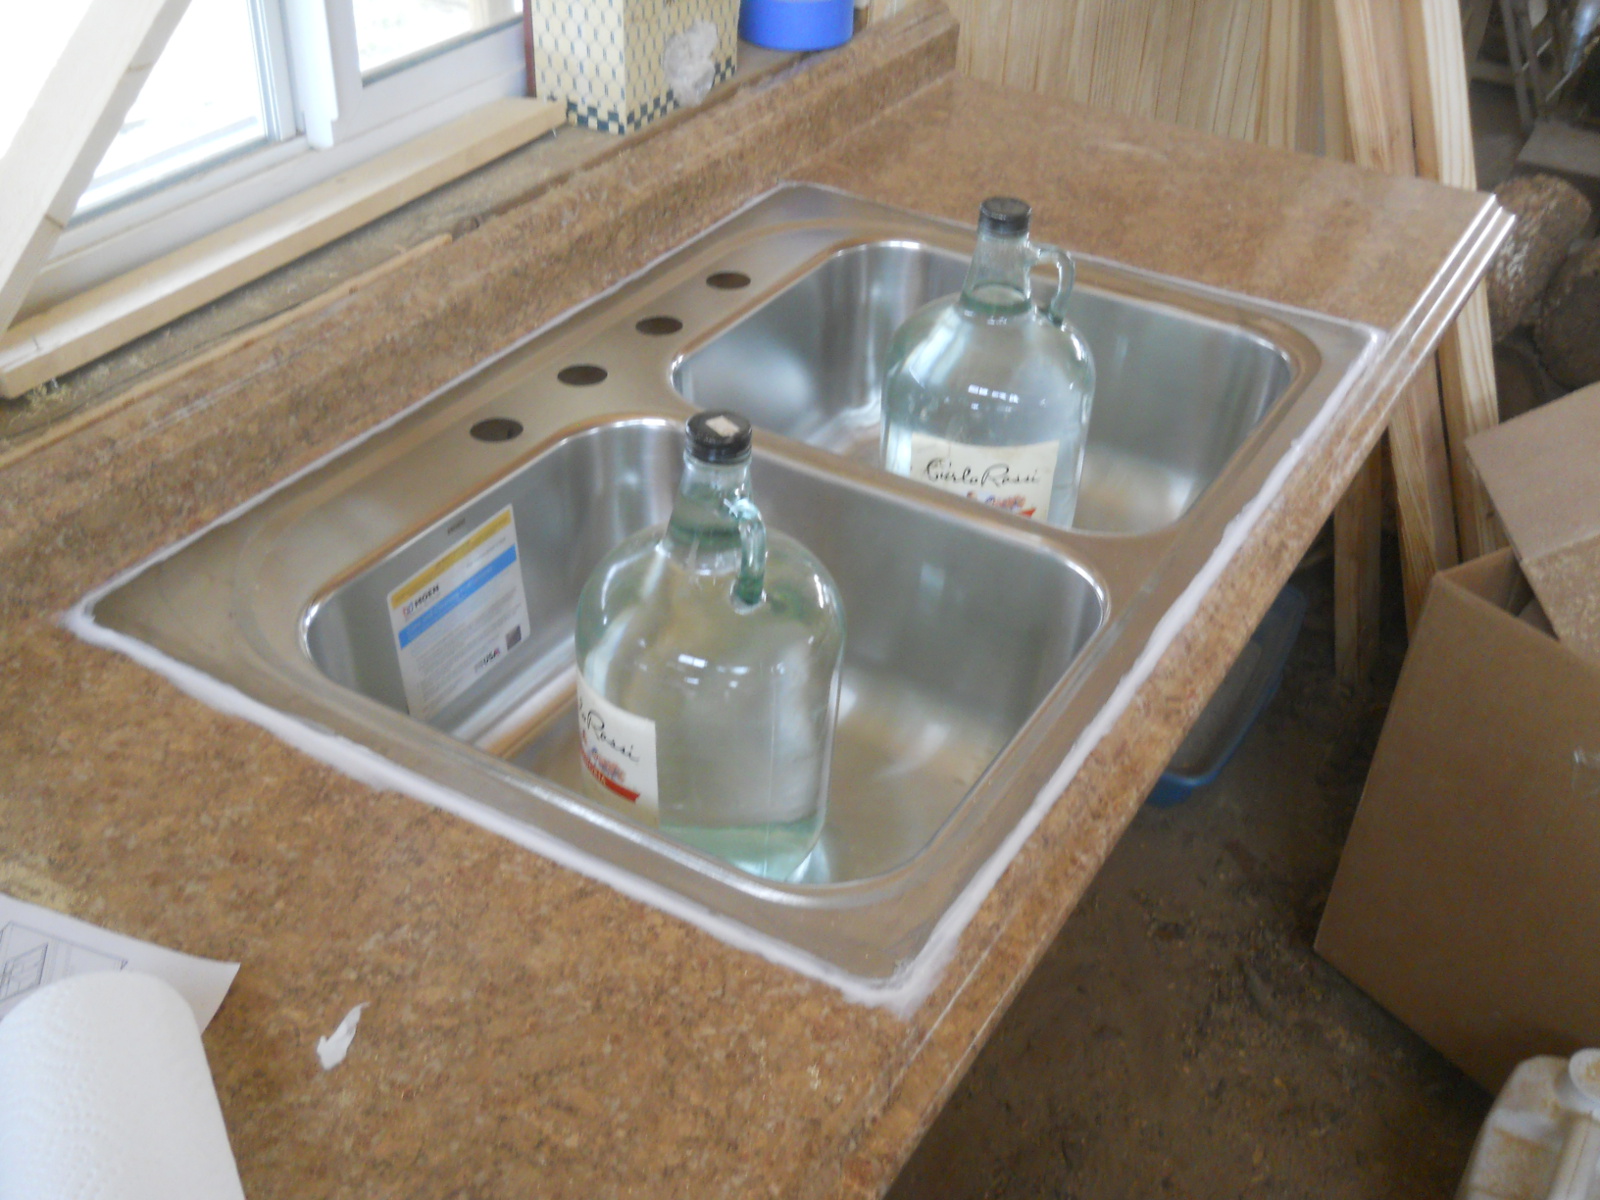
And then I added more caulking from the outside, stuffing it under any slight gaps between the sink and counter top, and then tried to smooth it all out. And I put a couple of jugs of water to try to help keep pressing it down with the caulking cures:

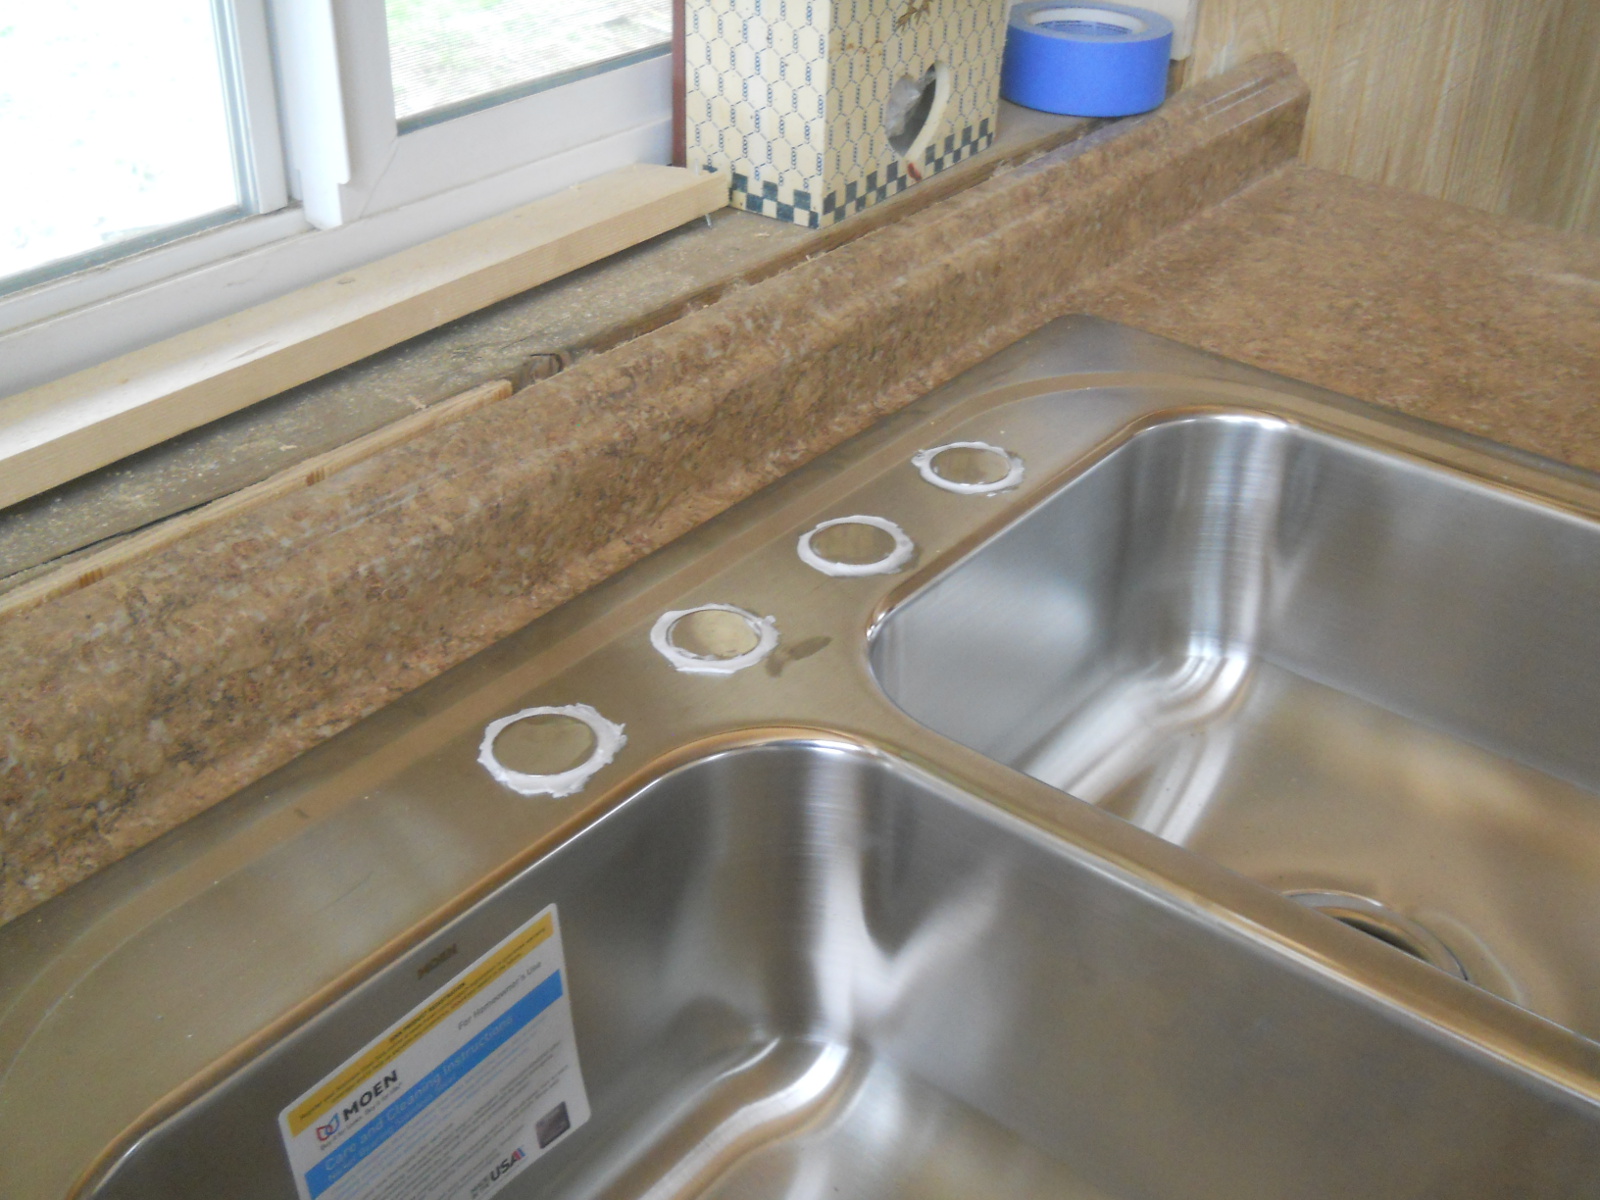
To finish, I put in caps with caulking to plug the faucet holes:
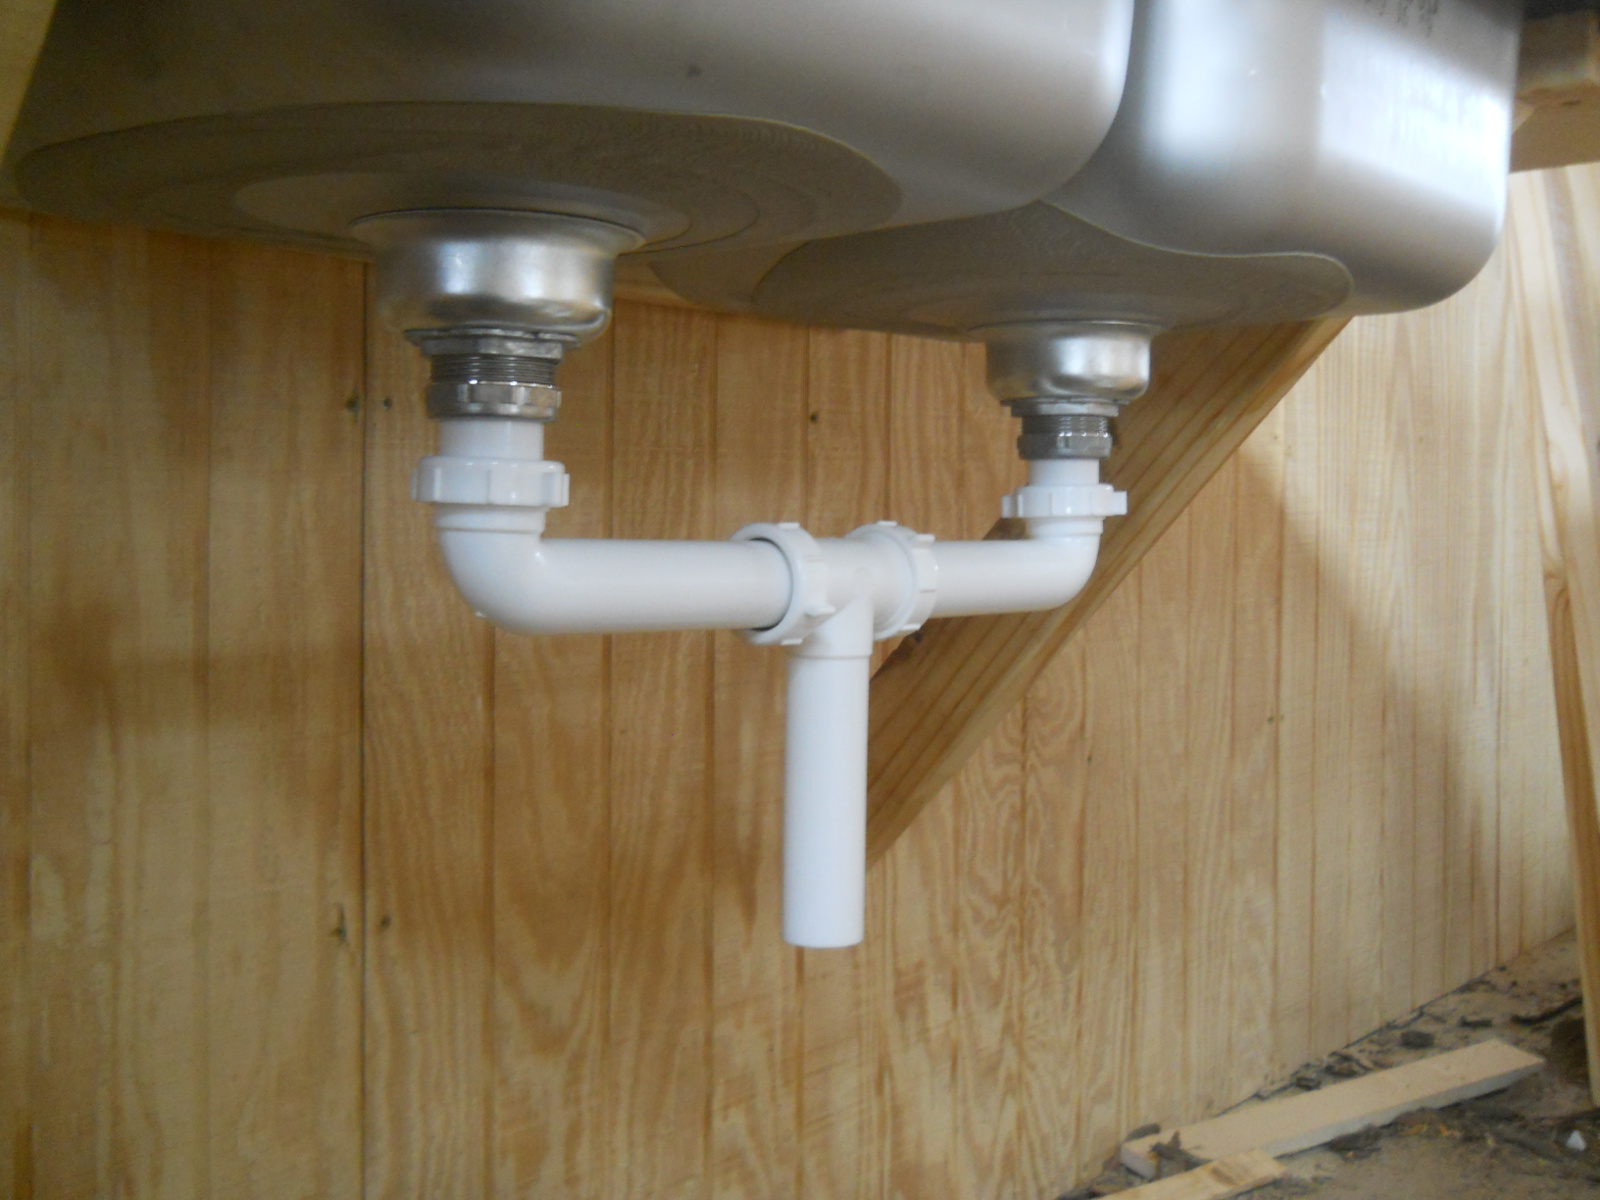
And added the plumbing, which we plan to run into a bucket, at least for now:
So far after several days of the caulk around the sink curing, without using it yet, it seems to have sealed up. I guess we’ll know more over time and usage. 🙂
Birdhouse 2
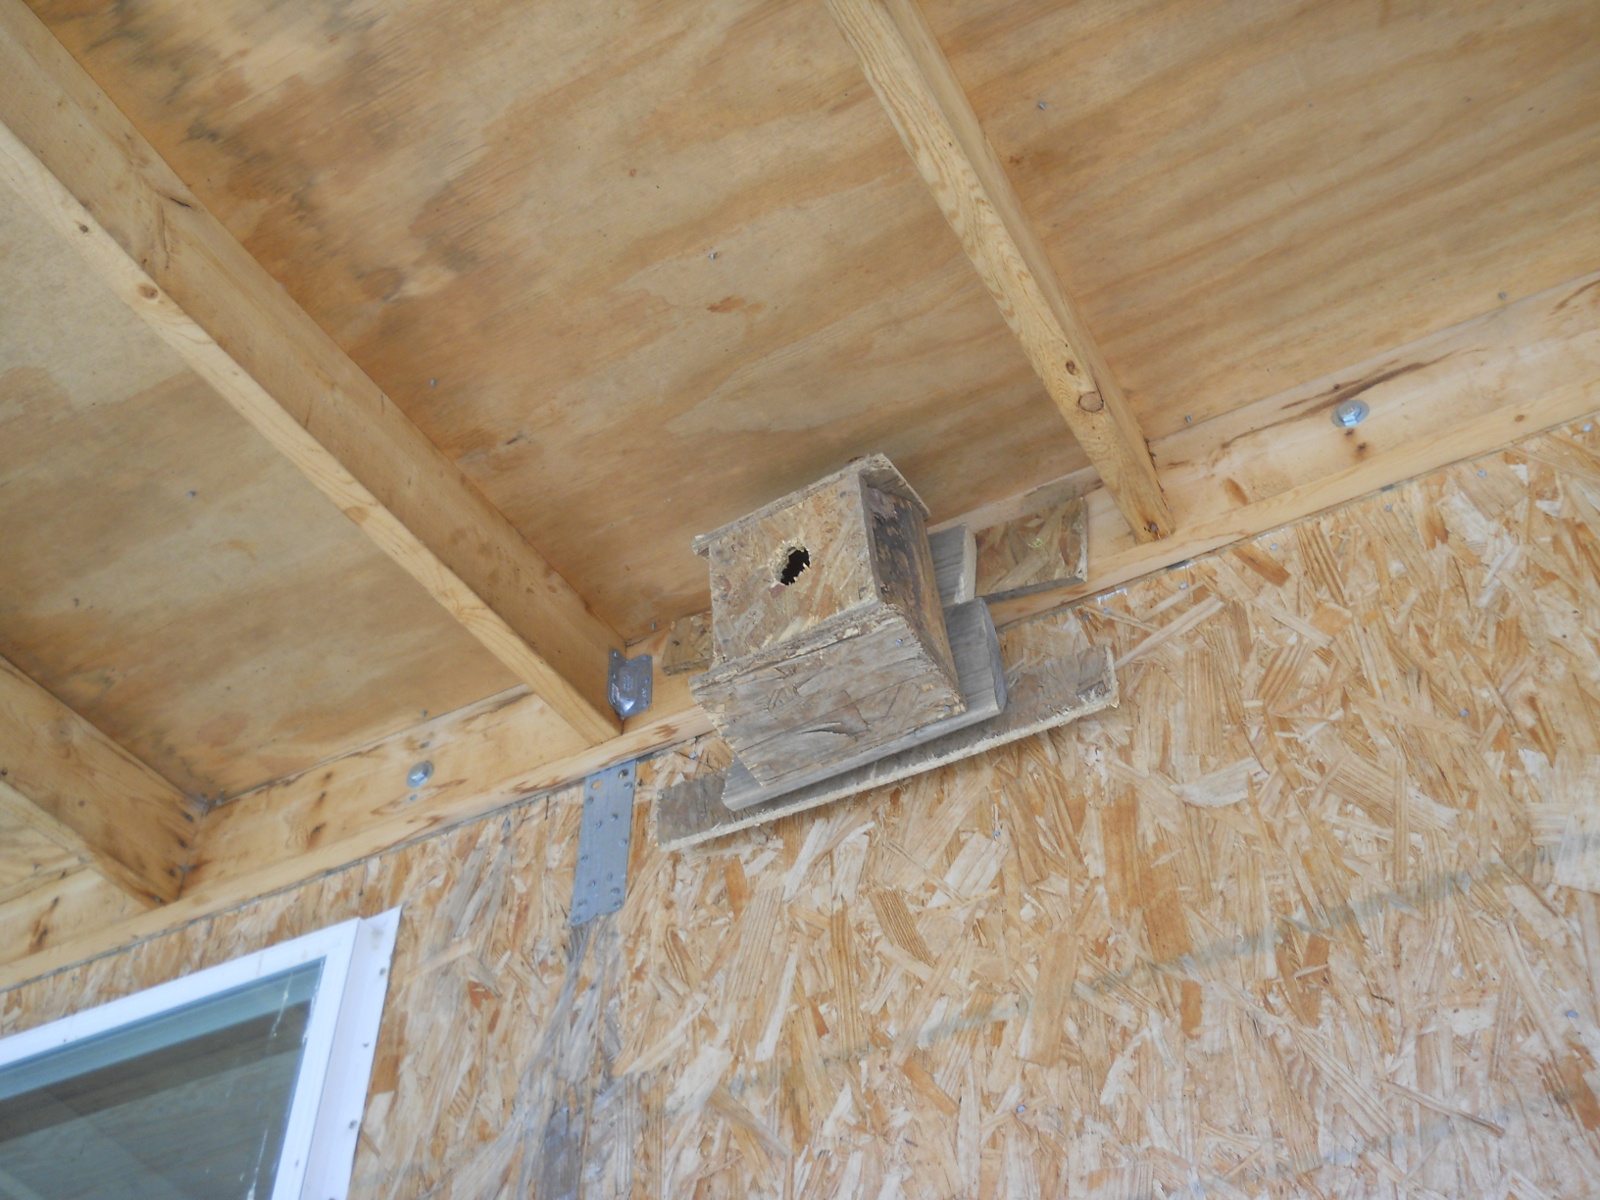
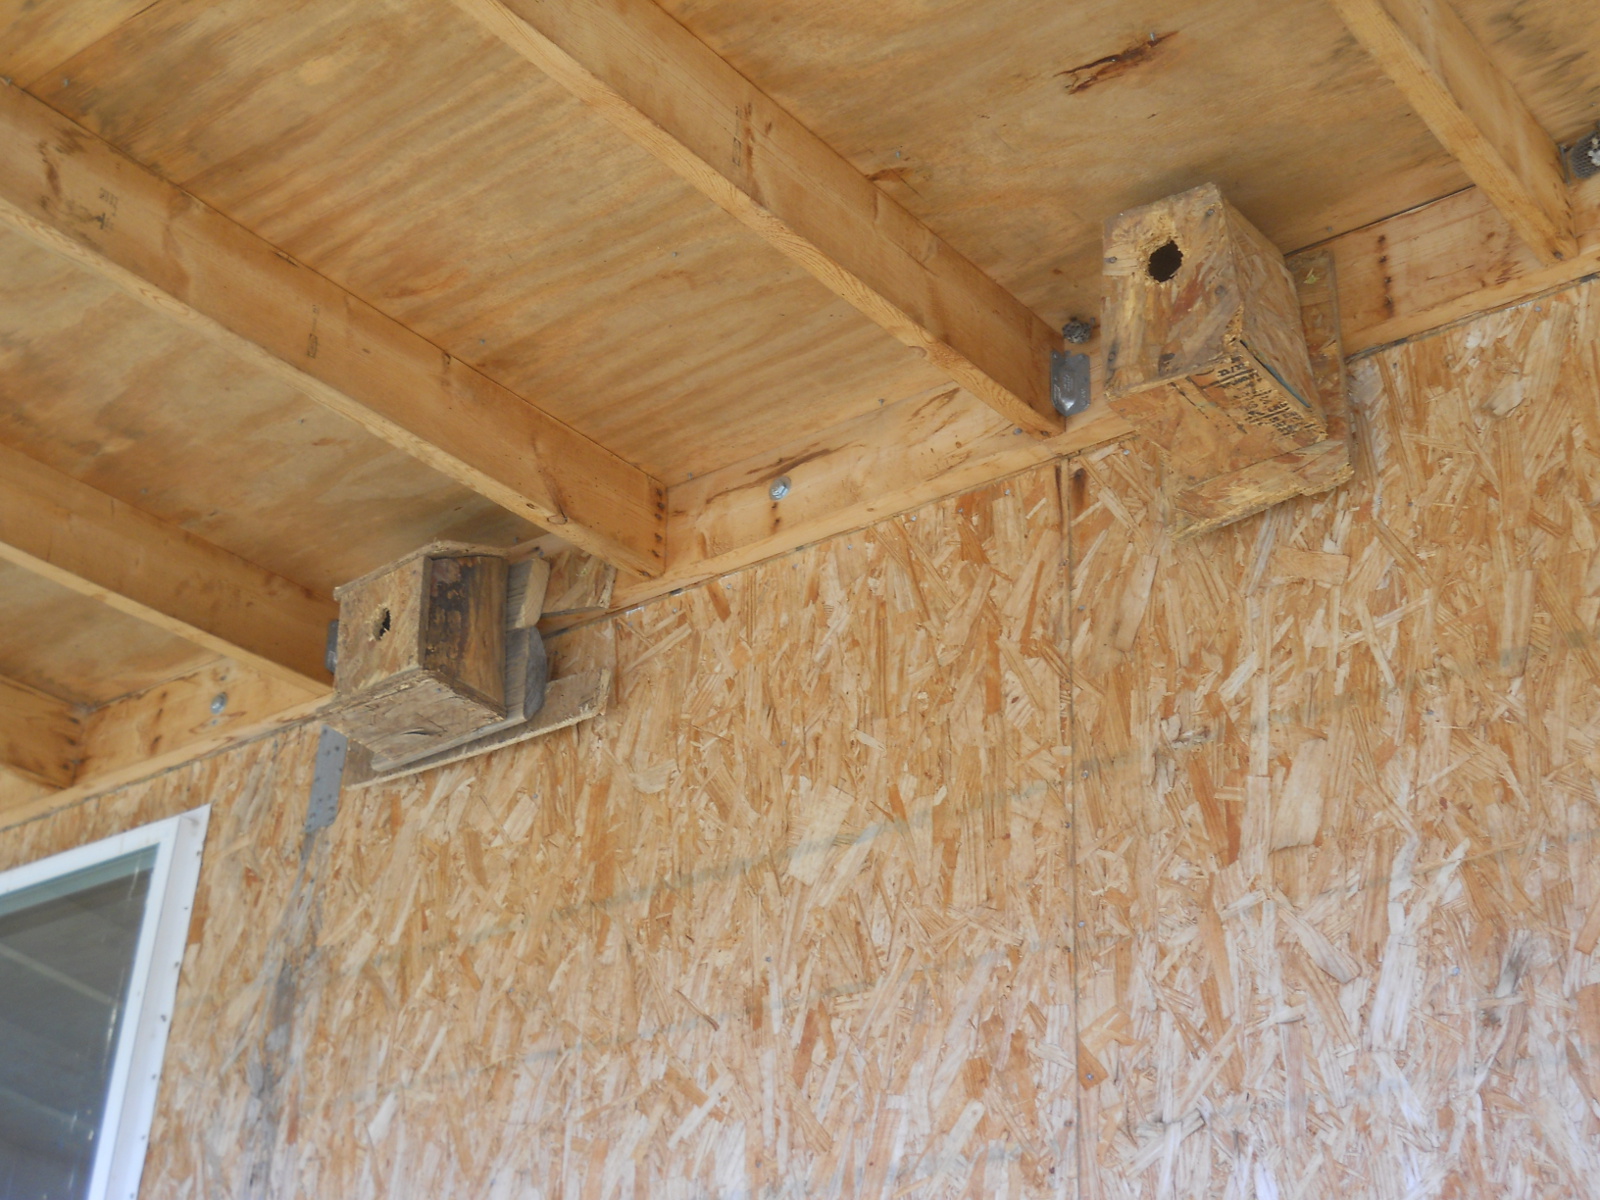
Last but not least, young Abram Stonger made us another birdhouse, and here it is in place. Thanks to you, Abram, and a fine job!
And both birdhouses from the boys:
As always, we are grateful to the Lord for granting the resources, designs and abilities to continue to work on the house! We always pray our place will be one of worship to Him!
— David
Leave a Reply