It’s been a while since our last house update — June of last year in fact — and so, we thought we’d catch you up on the progress on the house the Lord has graciously granted!
The Porch
It was finally time to start getting going on some external siding, but before that, we needed to be able to figure out where the porch was going to attach to the house because siding placement would be determined by that. Plus, the stairs we had in front of the house leading into the front door were a little unstable, and so I wanted to get into place a temporary set up that was a little less rickety as well.
We started by going around the outer porch beams along the porch posts to find the highest point so we could level the porch all the way around off of that. We used the water level we used when leveling the foundation piers, which works great for long distances.
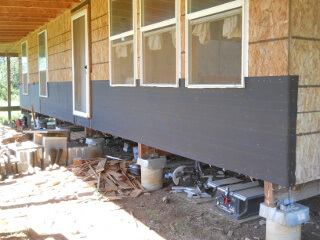
Once that was figured out, it was time to put up the siding tar paper:
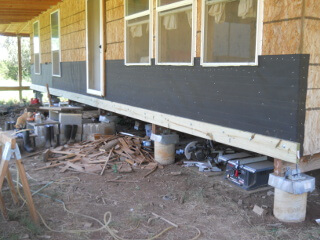
And then the porch ledger board…
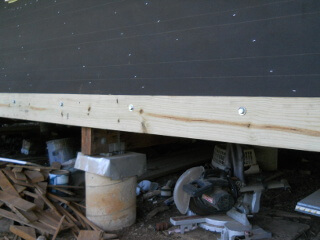
…bolted to the outside main structure floor joists (which are doubled up on the east and west sides, since walls are sitting on them):
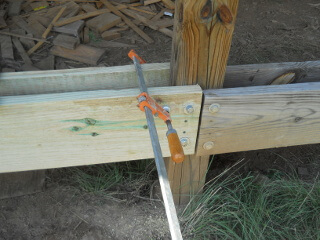
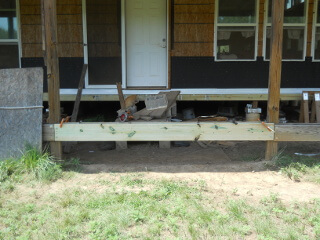
We also needed to put the final porch beams in place. You’ll notice the one side isn’t even with the porch beam next to it. This is because I discovered when trying to find the porch leveling point that the north east corner of the porch is probably 3 inches or so lower than it should be. Oops. I’m not sure how I managed that, but as we go around installing the porch joists, Lord willing, I’ll have to raise the beams to get them more level:
And here they are installed:
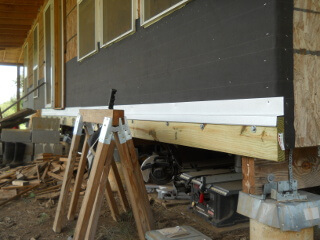
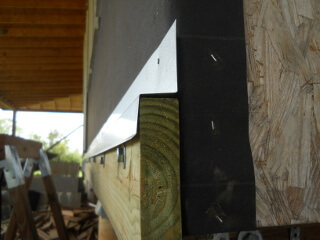
I did some research on how to do the flashing over the ledger board, and this YouTube video is the one I went with. It’s z-shaped with a little lip that juts out from the ledger board, forcing a space between the joist and the ledger board preventing water from being kept next to the joist potentially causing future rot:
And here’s a side view of the flashing:
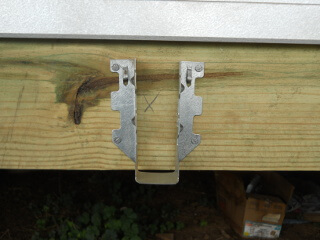
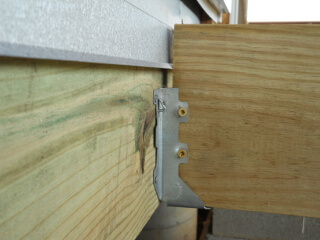
Here is a joist hanger in place, nailed in with hanger nails:
And with a joist attached:
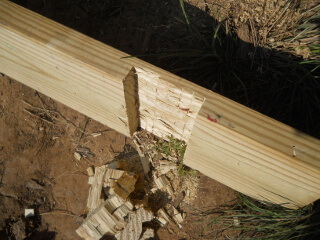
This joist I had to notch to get around a porch post:
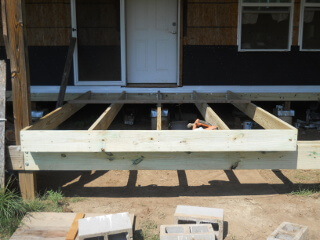
And here is the first set of porch joists in place. I used the 3-4-5 rule to get the first joist square with the house:
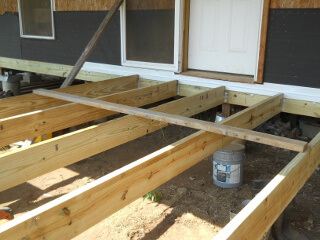
I put this board in place just so the joists would maintain correct separation:
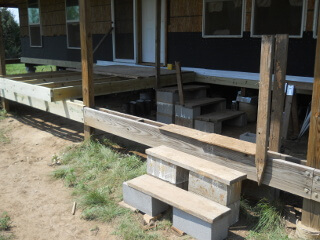
And then I tacked down a couple of leftover plywood pieces for now, moved the steps to the side of the porch, and added a set of steps to be able to walk over the beams. It’s much easier to get into the house now! 🙂
Lower External Siding
Thankfully, the lower OSB siding is somewhat protected from the elements being under the porch roof, but eventually that won’t last, so we have started putting up siding on the lower external part of the house, beginning with the north side, which seems to see the most weather activity.
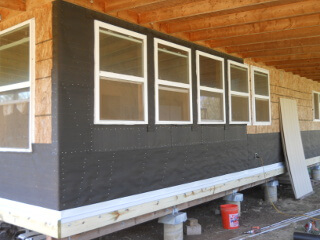
Here is some of the tar paper in place behind the porch ledger board:
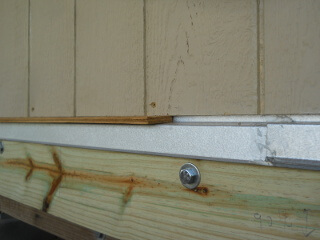
And this what I used to elevate a piece of siding so it doesn’t set directly on the flashing, once again to keep things out of sitting moisture:
And here is some of the siding in place:
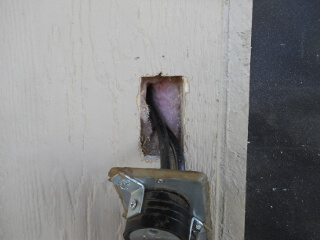
I had to cut a hole in the siding for the electrical inlet:
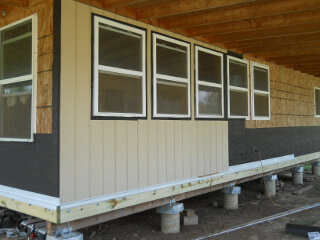
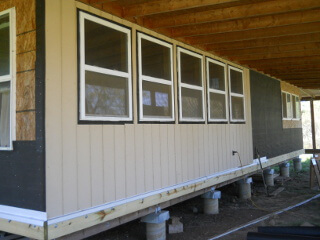
And here is more siding done:
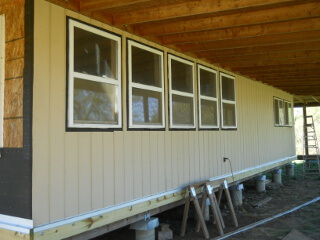
And then the whole side complete!
Now, we need to choose a color, paint it, and add window trim, and then it should be all done.
Internal Window Sills
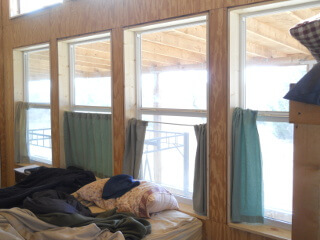
In an attempt to continue to seal in the inside of the house from air leaks to help keep in the warmth, I’ve started putting up boards on the inside of the window sills with the plan to eventually come back and finish the front part of the sills later.
Here is lower bedroom:
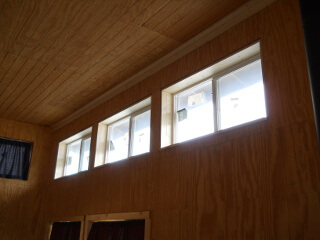
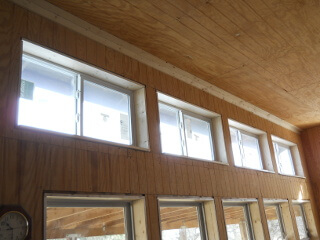
And upper kitchen. During one of our recent cold fronts, Sue could see the cobwebs moving, and so it was important to get them done, especially on these upper north-facing ones:
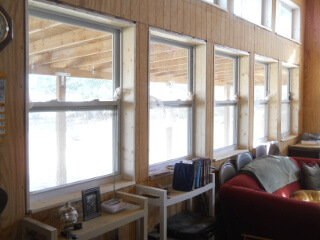
Here is lower great room:
And finally, upper great room:
As always, we are very thankful to the Lord for granting the provisions to be able to continue on the house. We always pray it’s a place of worship and a nice gathering place for His Church.
— David
Leave a Reply