After putting in the fence posts around the orchard for the more permanent fence, it was time to stretch the net wire. It had taken me a while to get to it, because it rained almost the whole month of May! (Wow, thanks to God for that gift of abundant water! It was worth the wait! 🙂 )
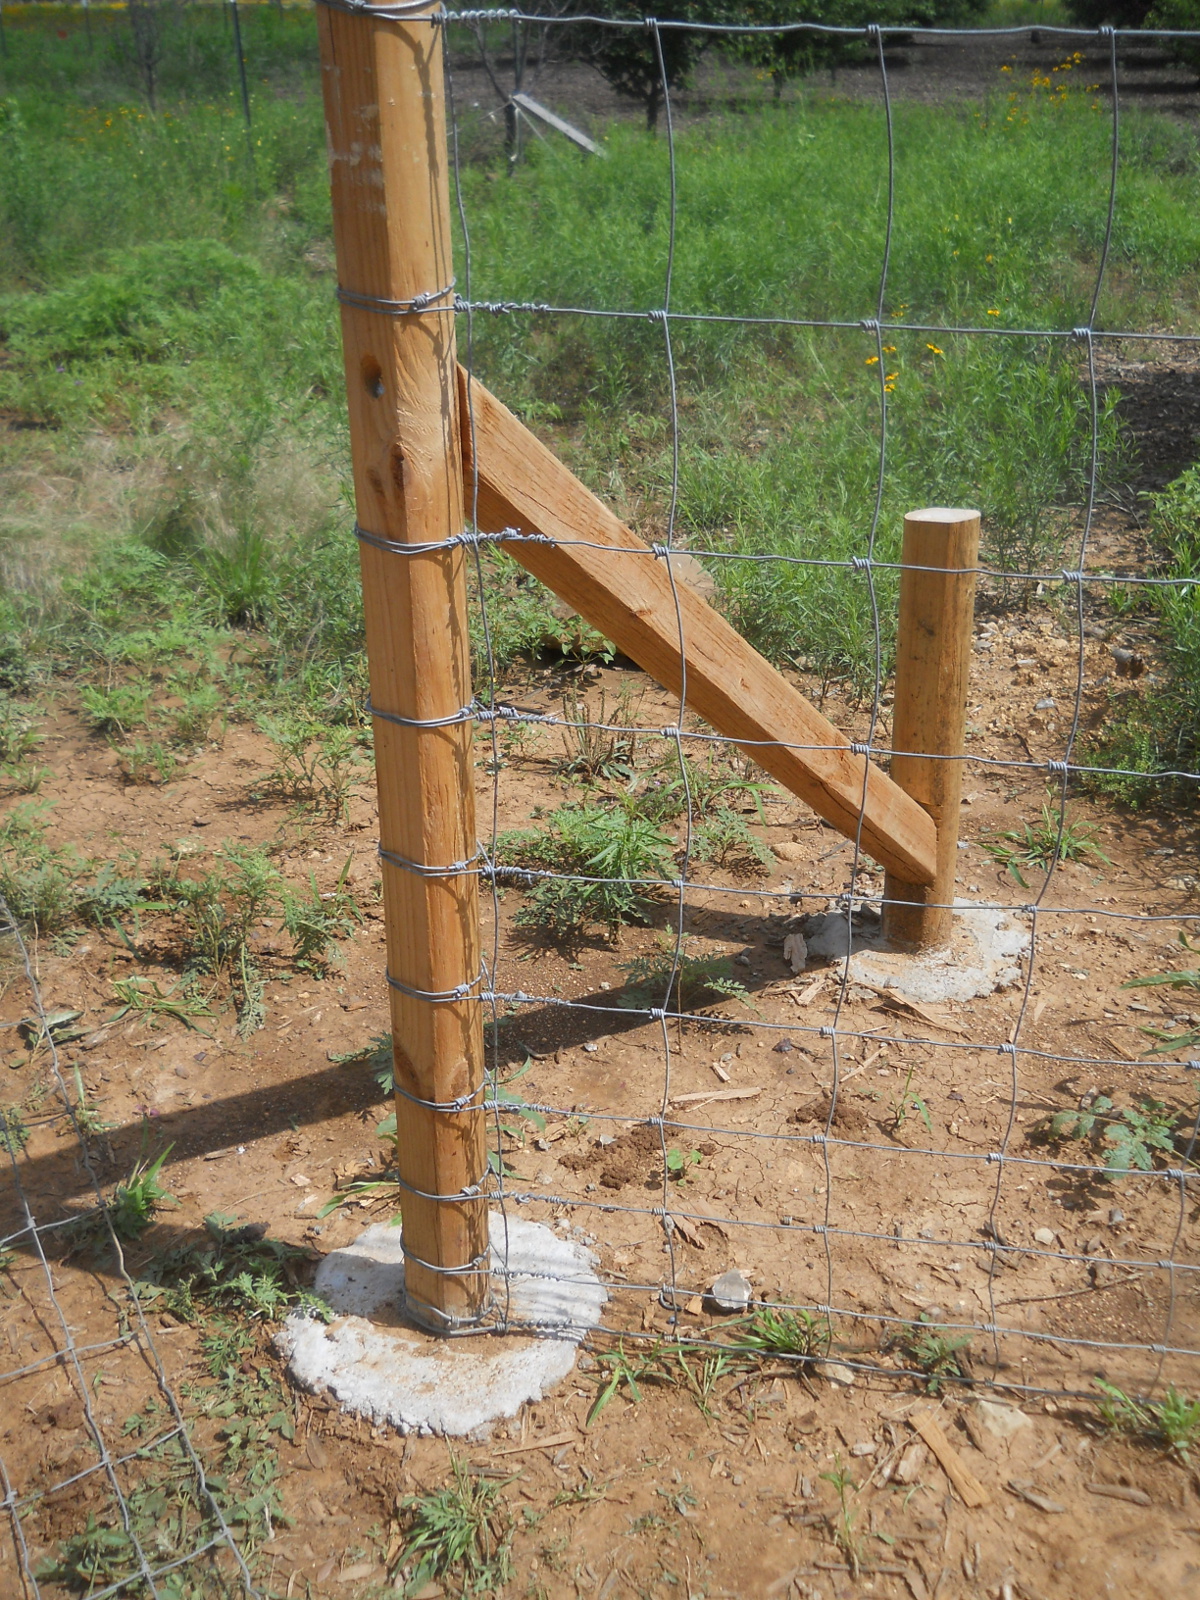
I did try pulling the wire after wrapping the t-post corner brace system I was trying; but once tension was on it, enough for this kind of longer fencing where I needed it pretty taught, it didn’t look like the aluminum pieces were going to hold long-term, and it appeared the ground was getting loose around the posts. So, I went ahead and installed a wood post system at that end as well.
And then, it was back to pulling fence.
Here’s a post wrapped and ready to have the fence stretched against it:
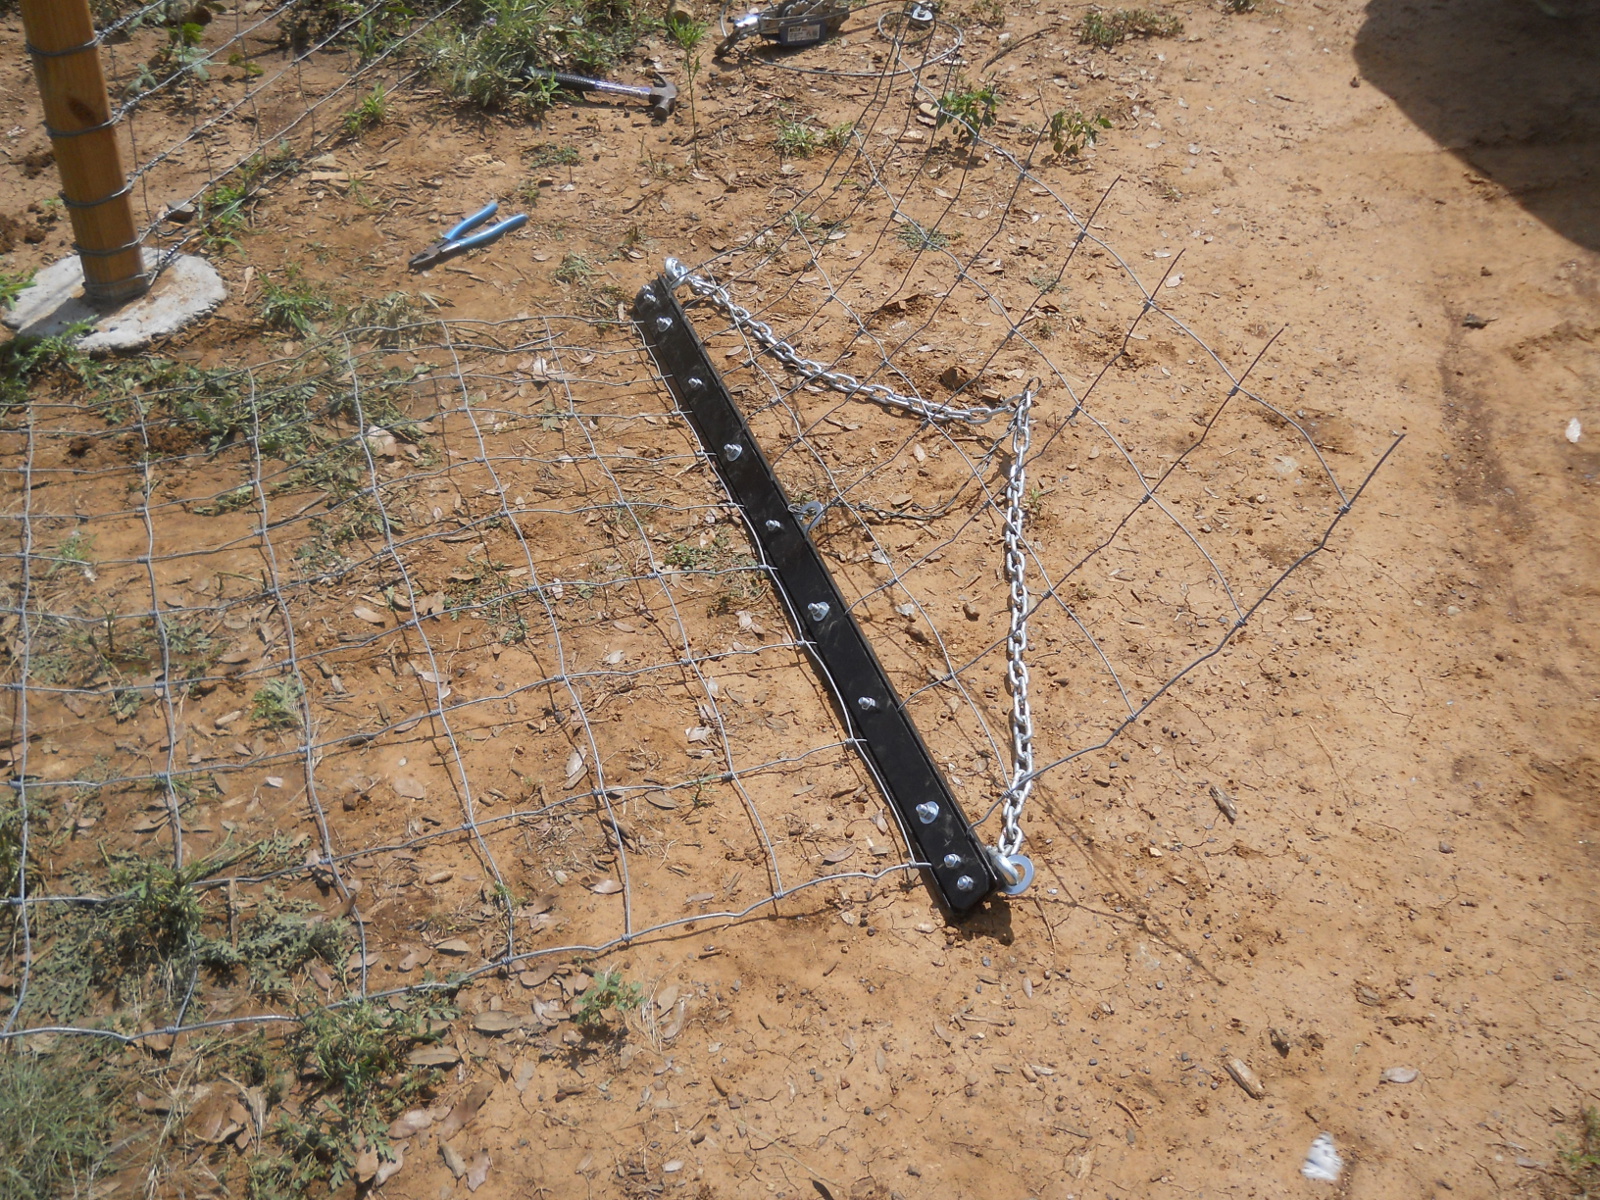
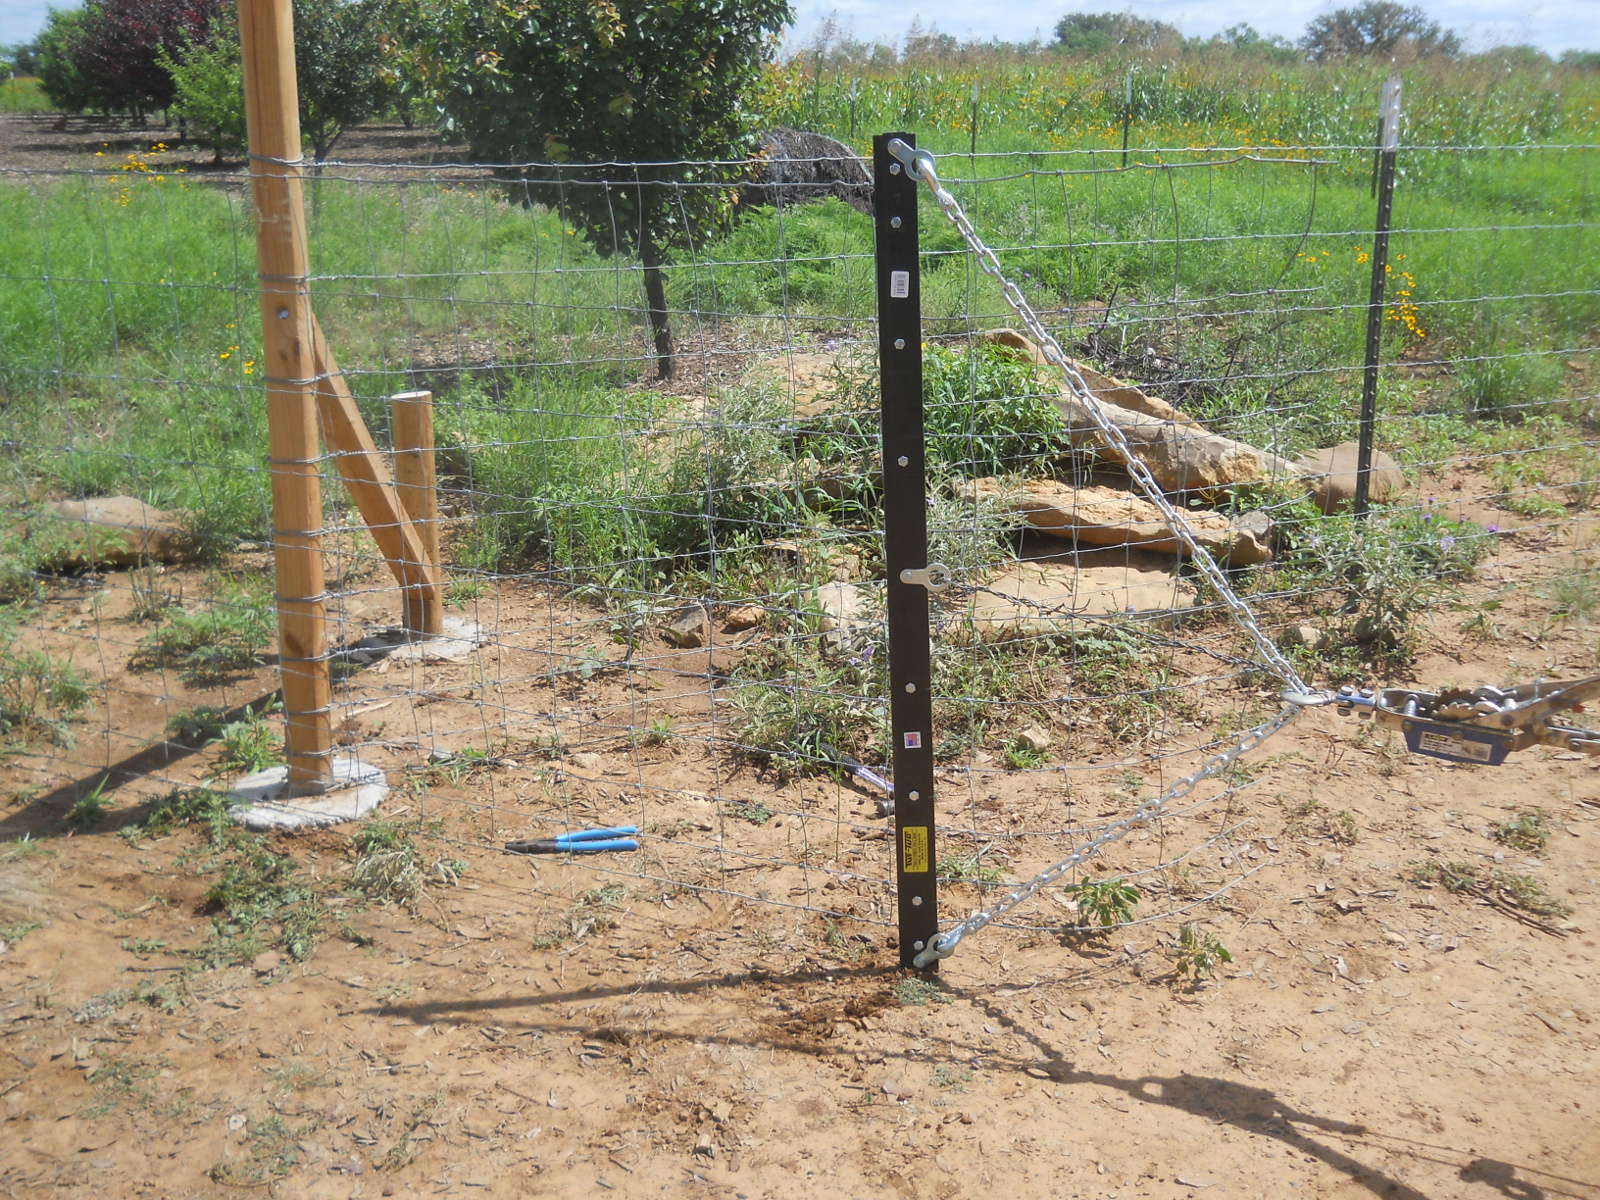
For this project, and I assume others at some point, I decided to get a good, metal net wire fence stretcher. It has ended up working great as it really grips the fencing, which has often been a problem for us using 2x4s bolted together or the like. I did find that even though I had chain pulling on top and bottom of the stretcher, I needed tension to be in the middle because the stretcher would bend once tension was applied, so I tied a piece of barbed wire from the middle hook of the stretcher to a middle point on the chain, and this has helped:
I hooked the stretcher to the come-along, and hooked it to the truck’s ball hitch:
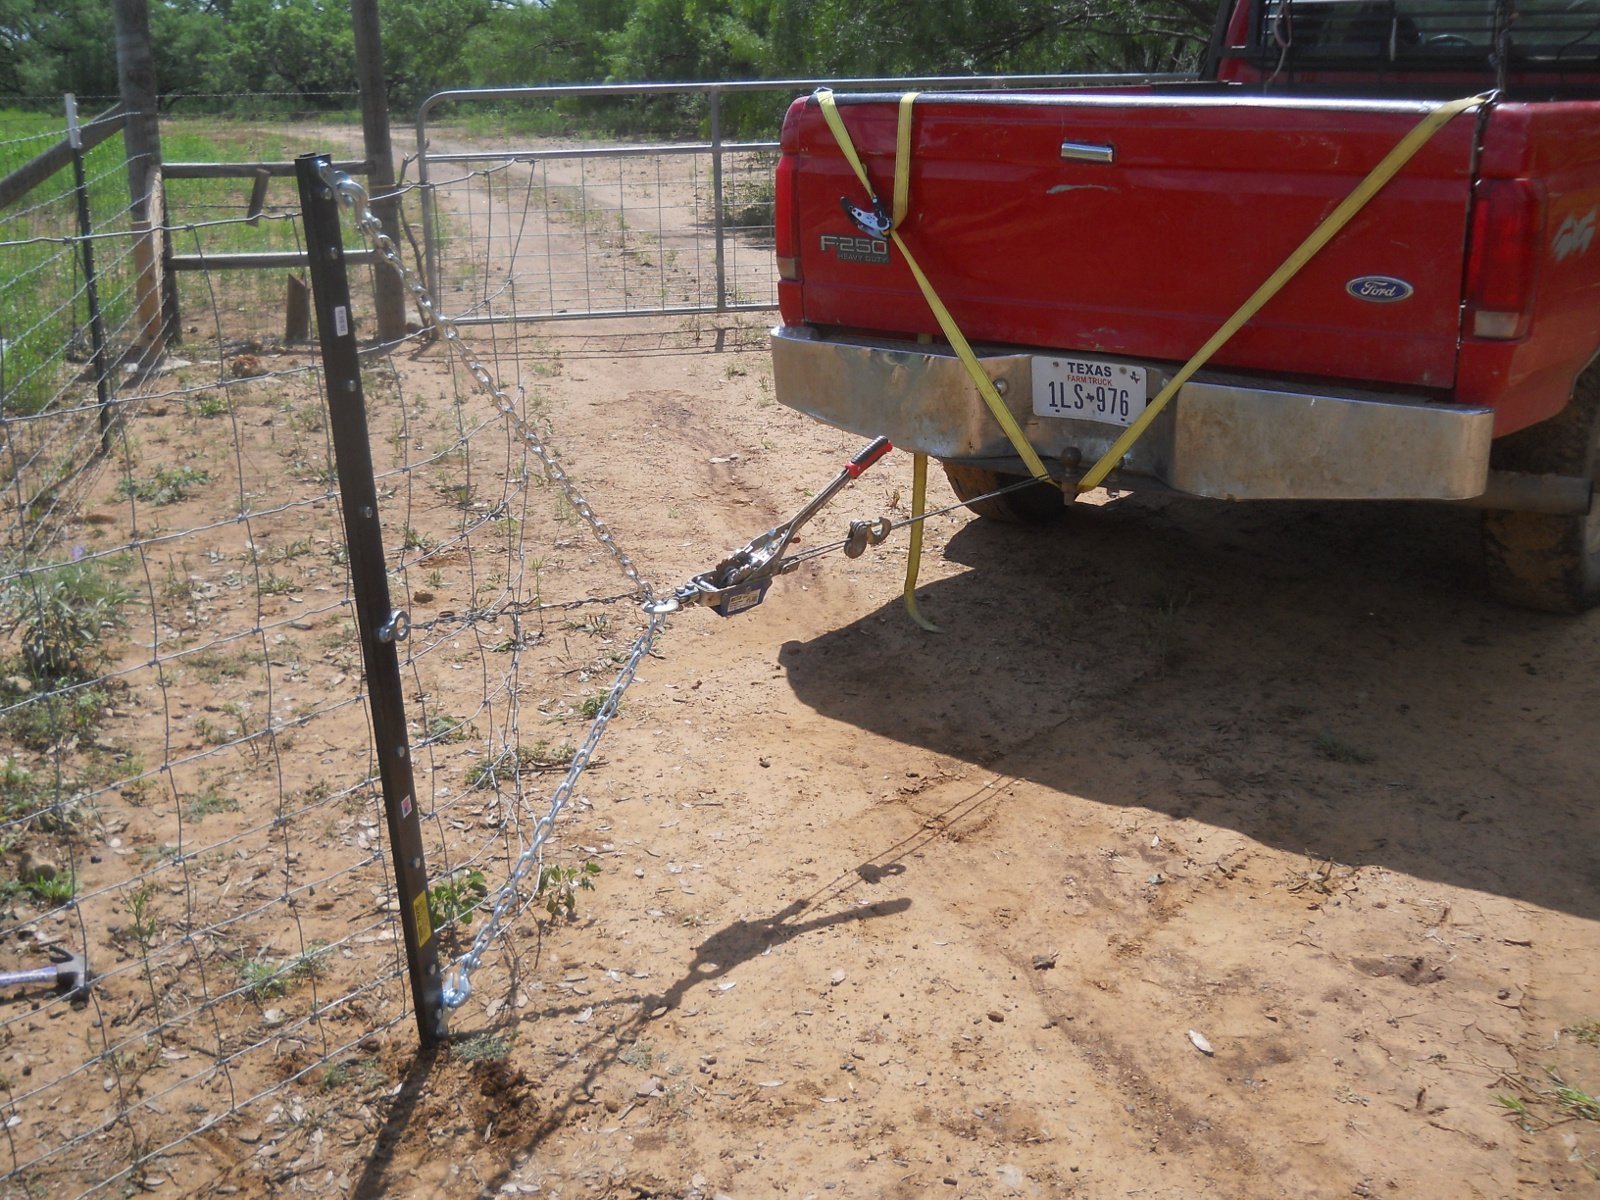
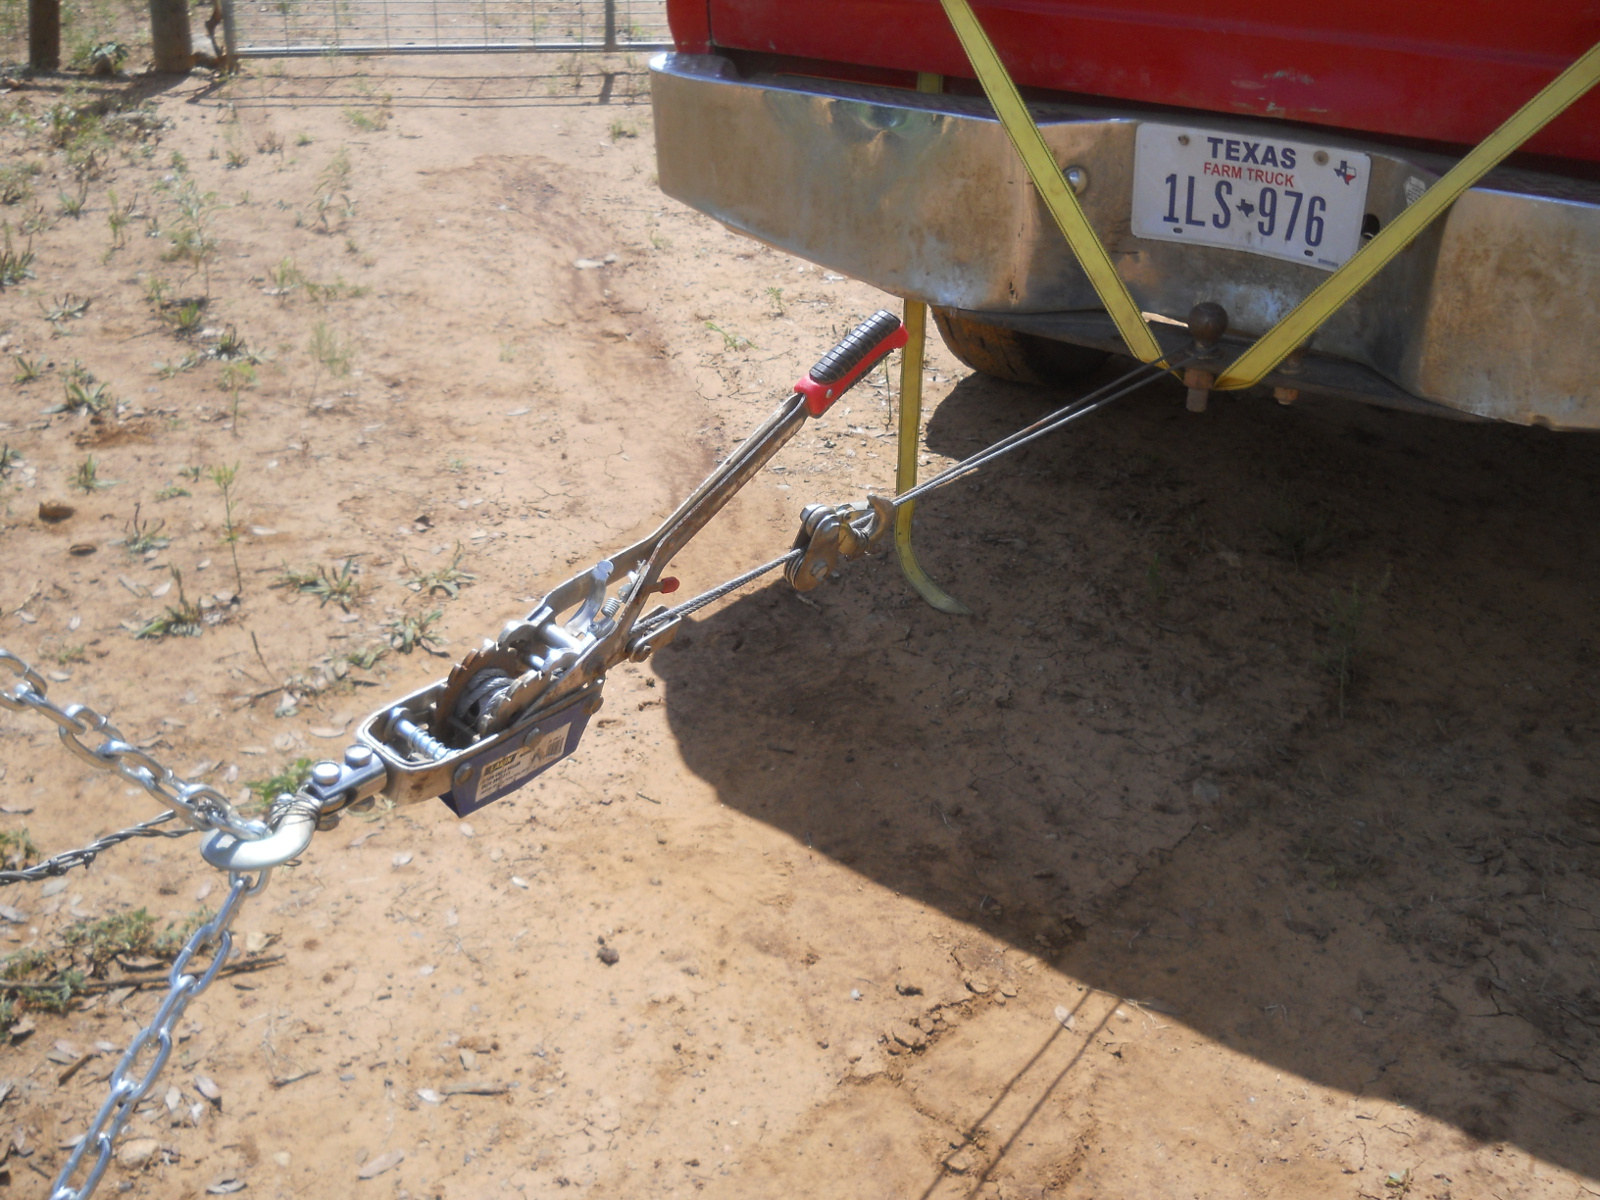
And then moved the truck forward until the stretcher was standing up straight. Then, it was just a matter of getting the right tension on the fence using the come-along:
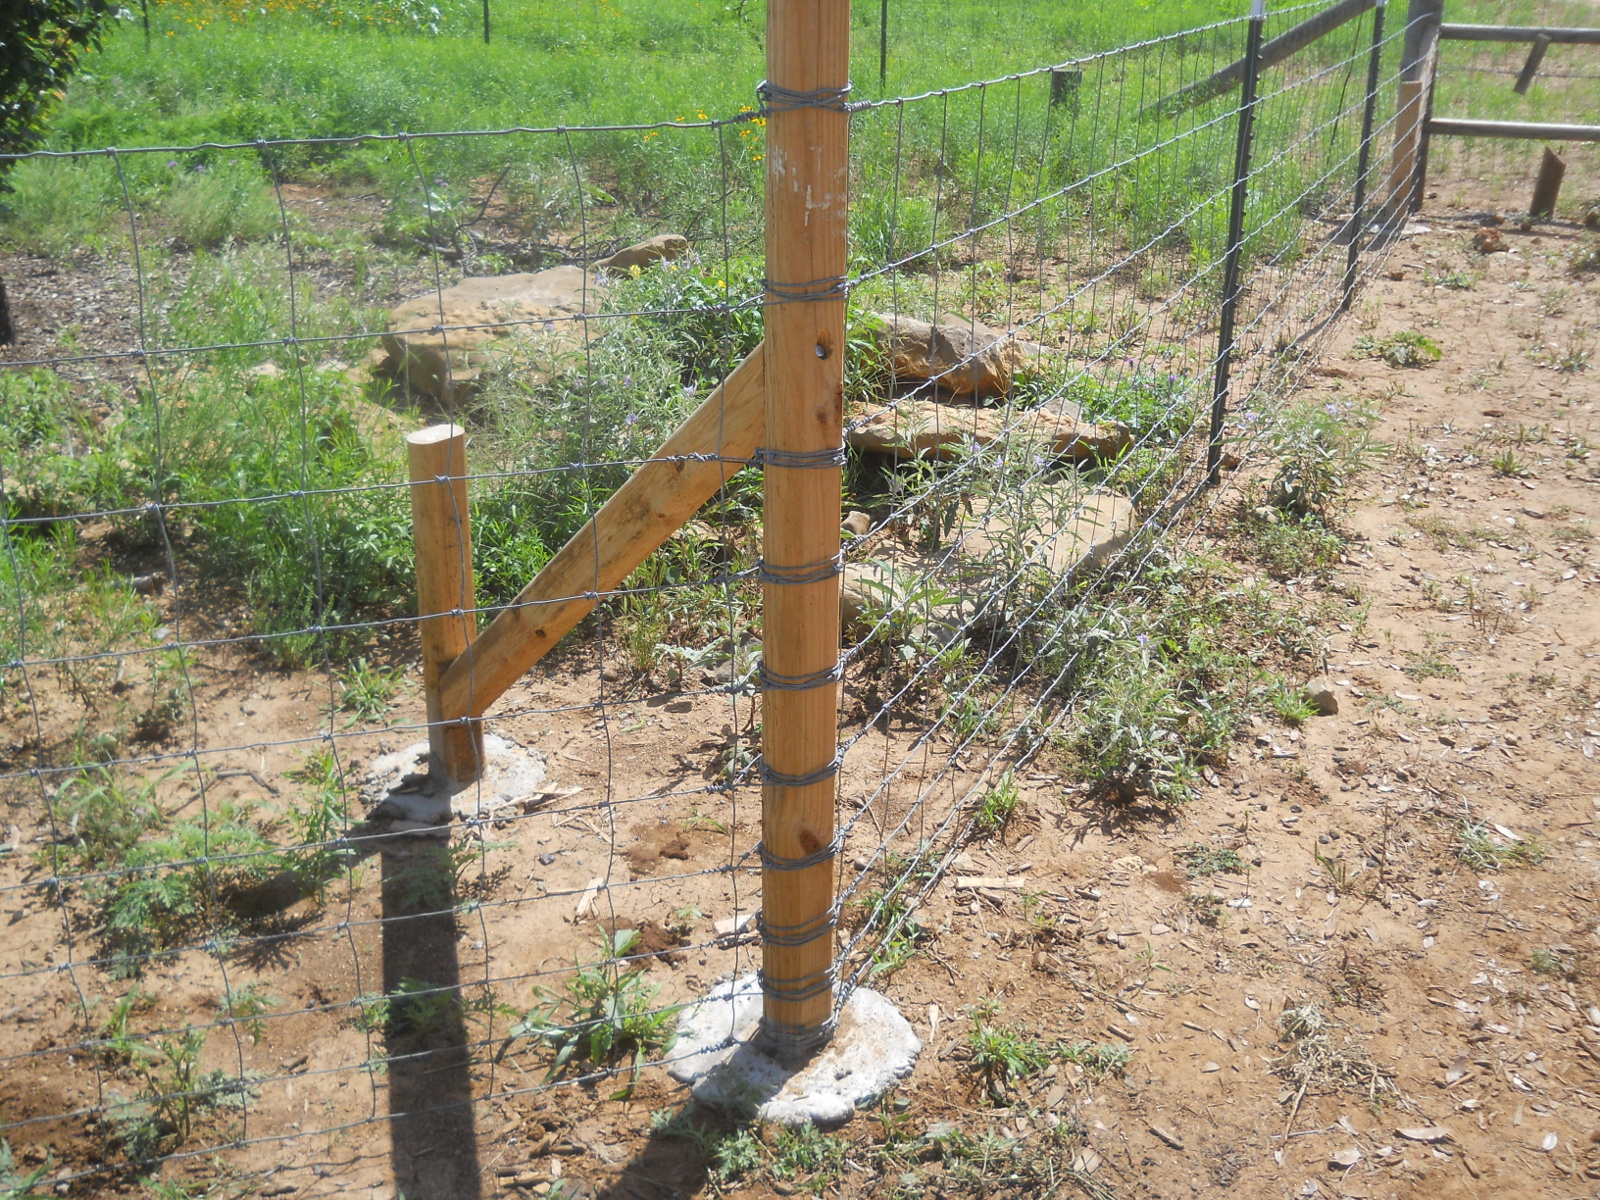
And here’s a corner, each strand double wrapped around the post and then wrapped tightly like a cork-screw around the its own wire going back the other direction:
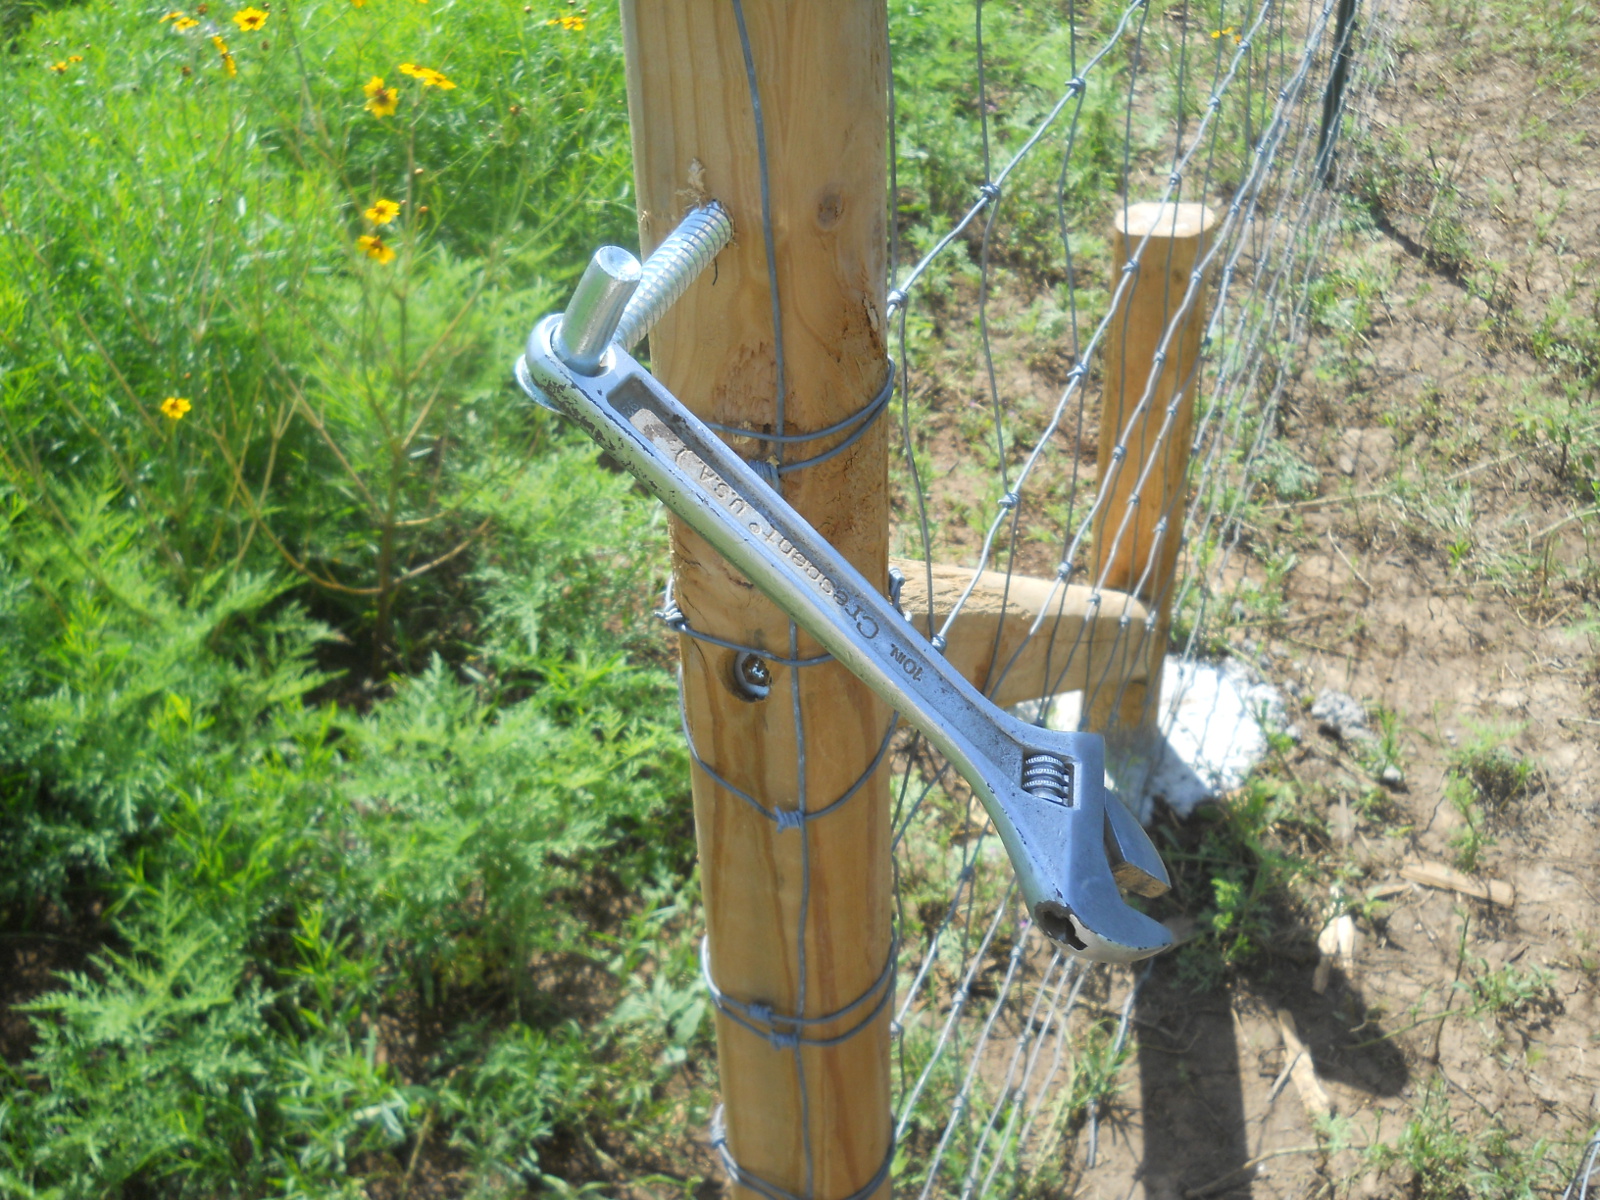
With the fencing stretched, it was time to install the gate. Using the crescent wrench to turn the gate lag bolt works great!
And here is the hung gate:
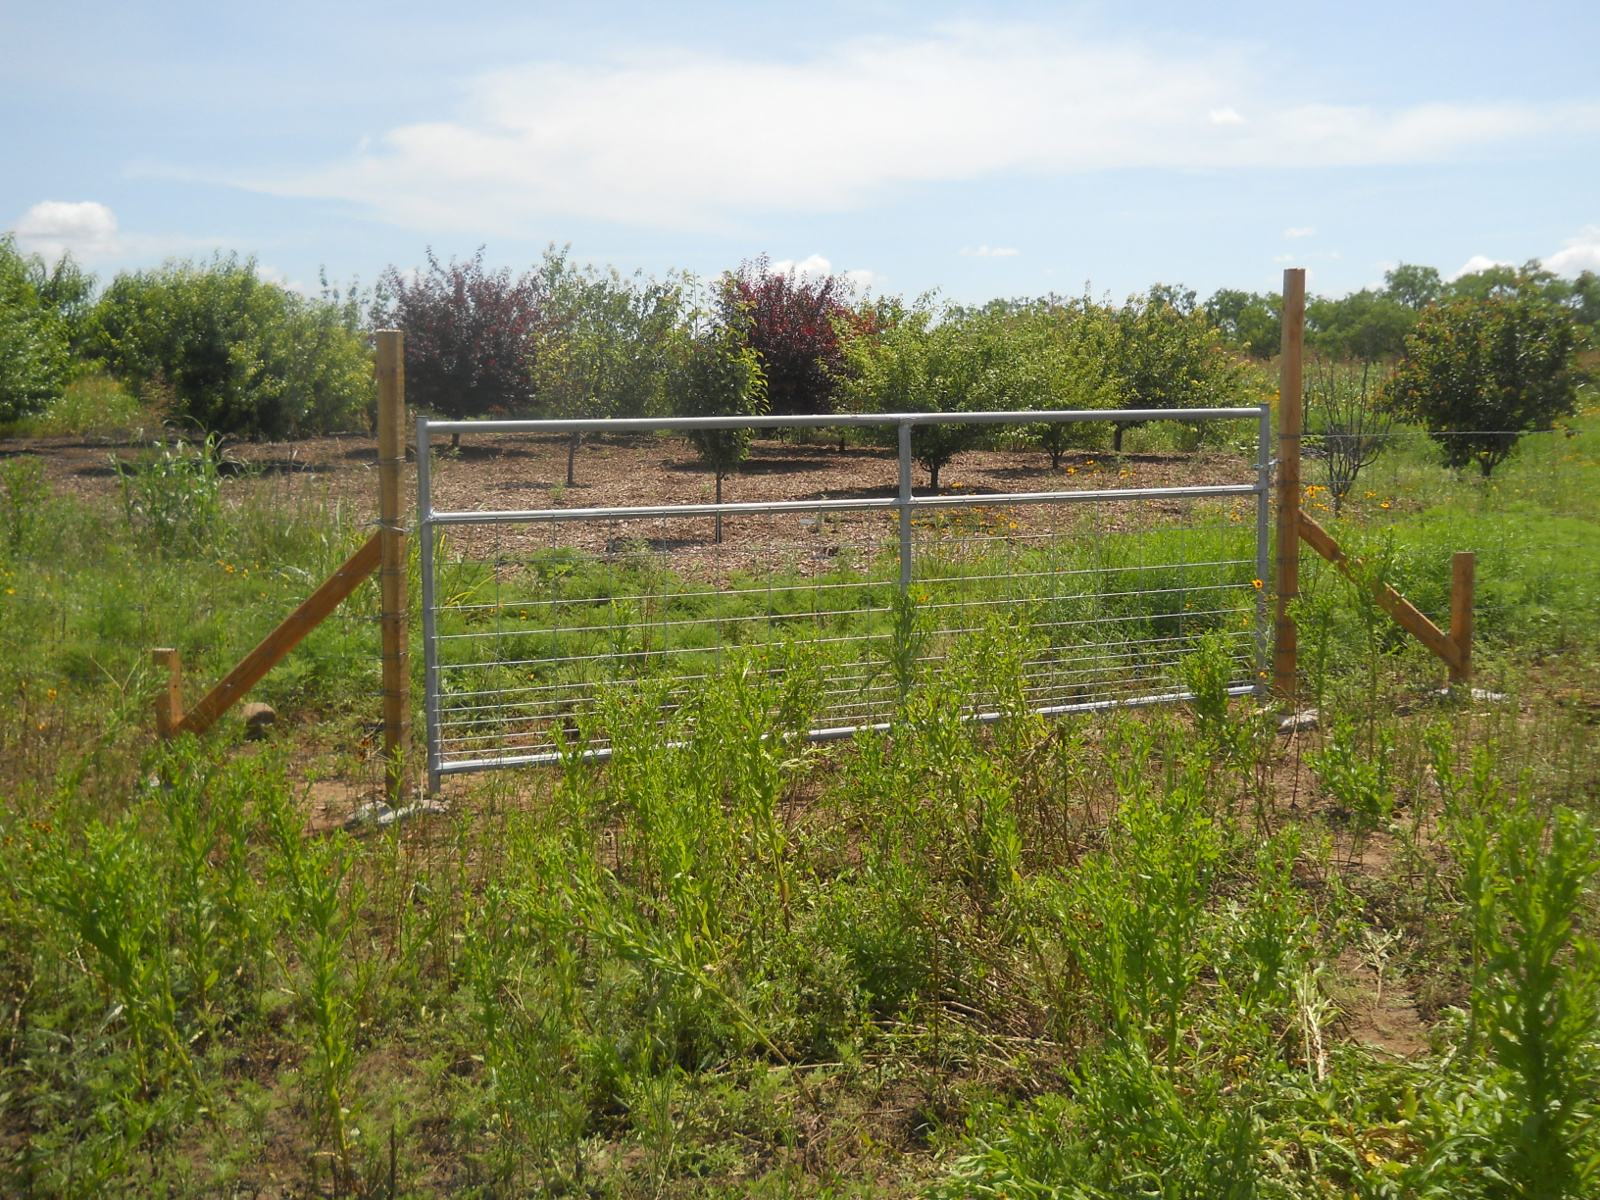
And down that fence line:
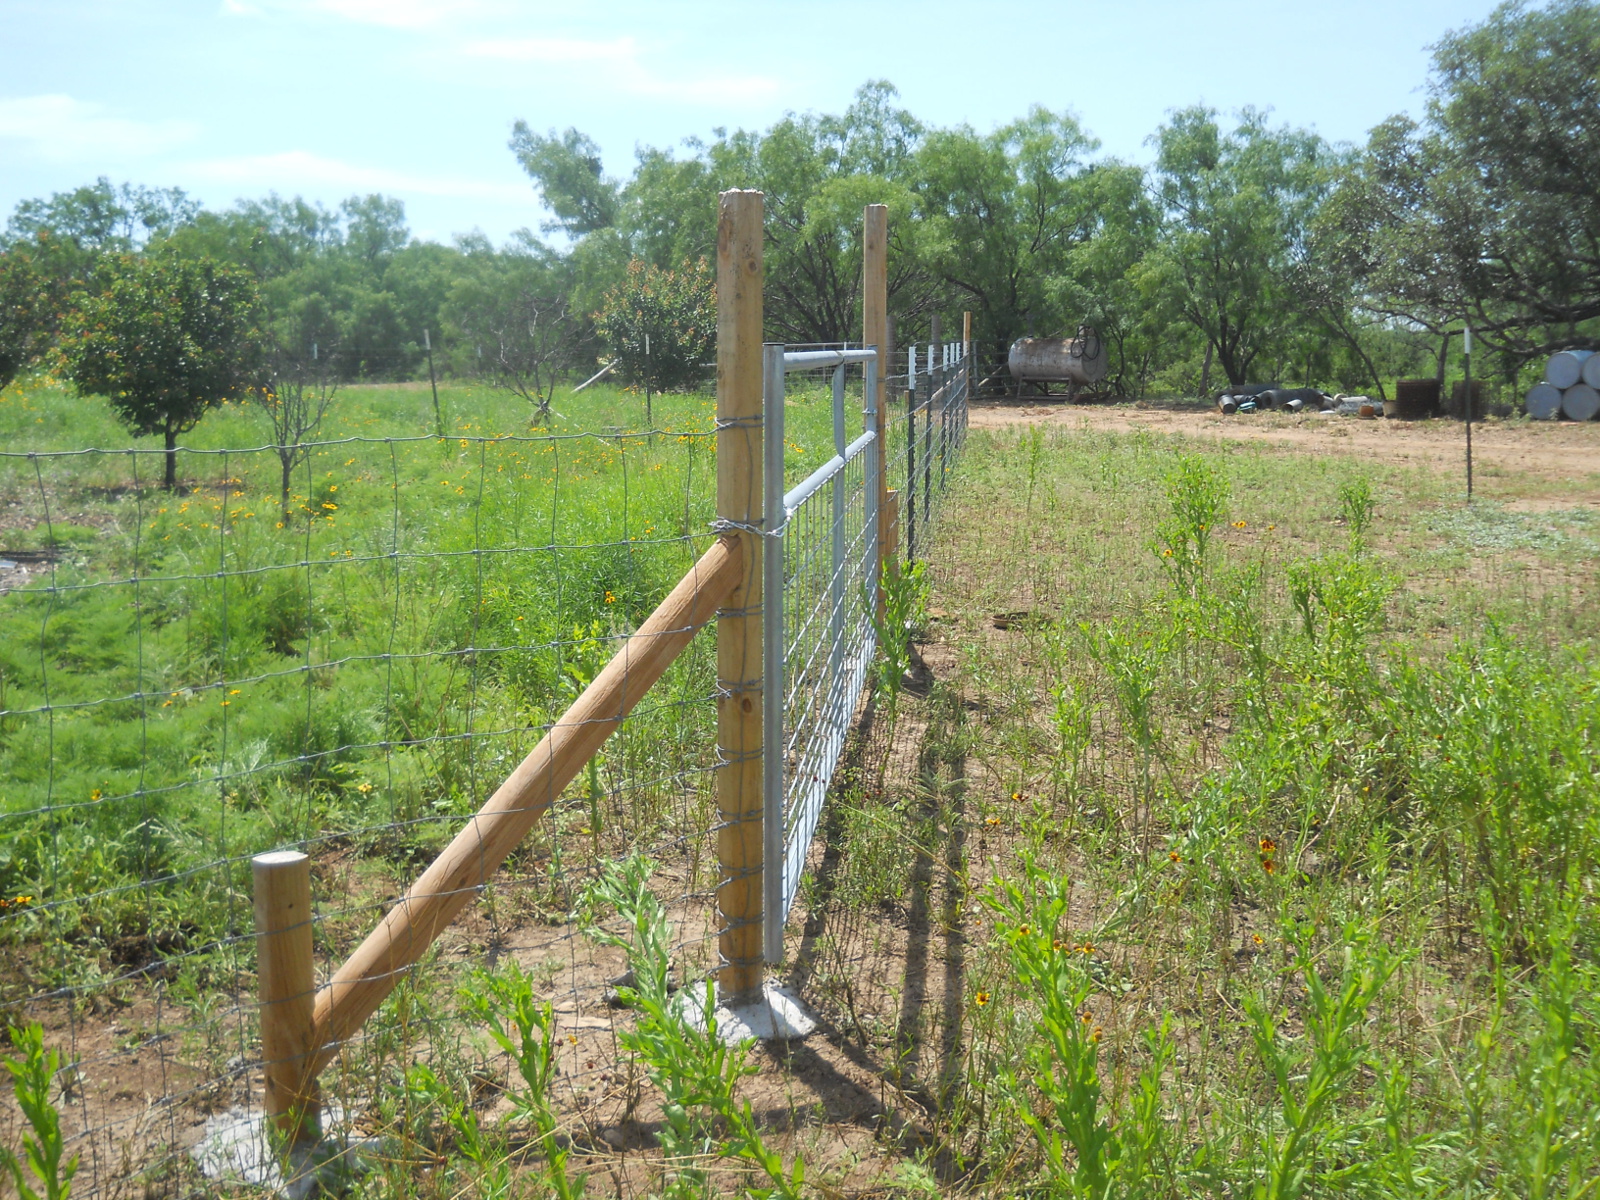
It’s all stretched at this time…I just have to go back and install the t-post clips, a job I try to spread out over time, doing a post or two a day.
We’re always grateful to the Lord for granting the provisions to continue on homestead improvement!
— David
Leave a Reply