After getting most of the barn loft platform done, and in preparation for hopefully adding another barn stall before winter, we really needed to get some steps in place, as going up an extension ladder was just not going to work, with trying to haul up tubs and boxes.
And so, here’s a quick look at the process:
After using a stair stringer calculator and figuring out the rise and run, I drew the steps to cut using a framing square (you use the outside edge to mark the rise/run cut) and then cut them out:
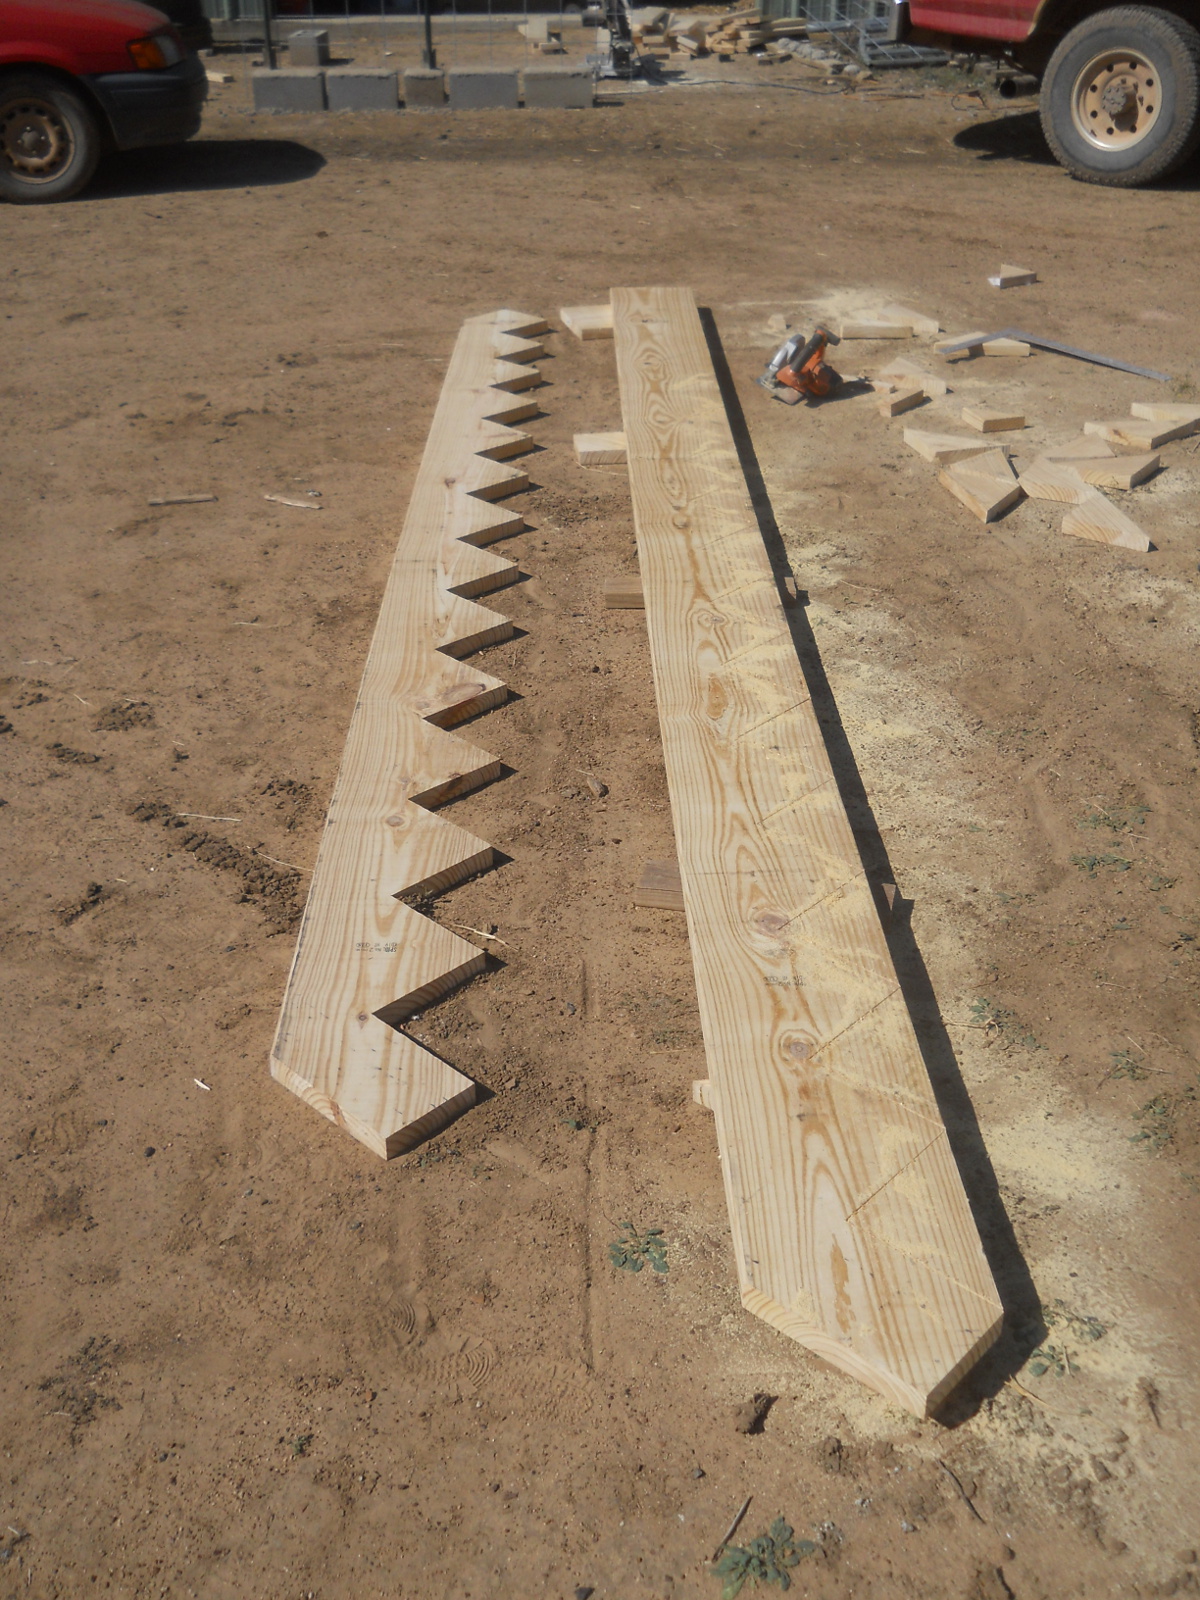
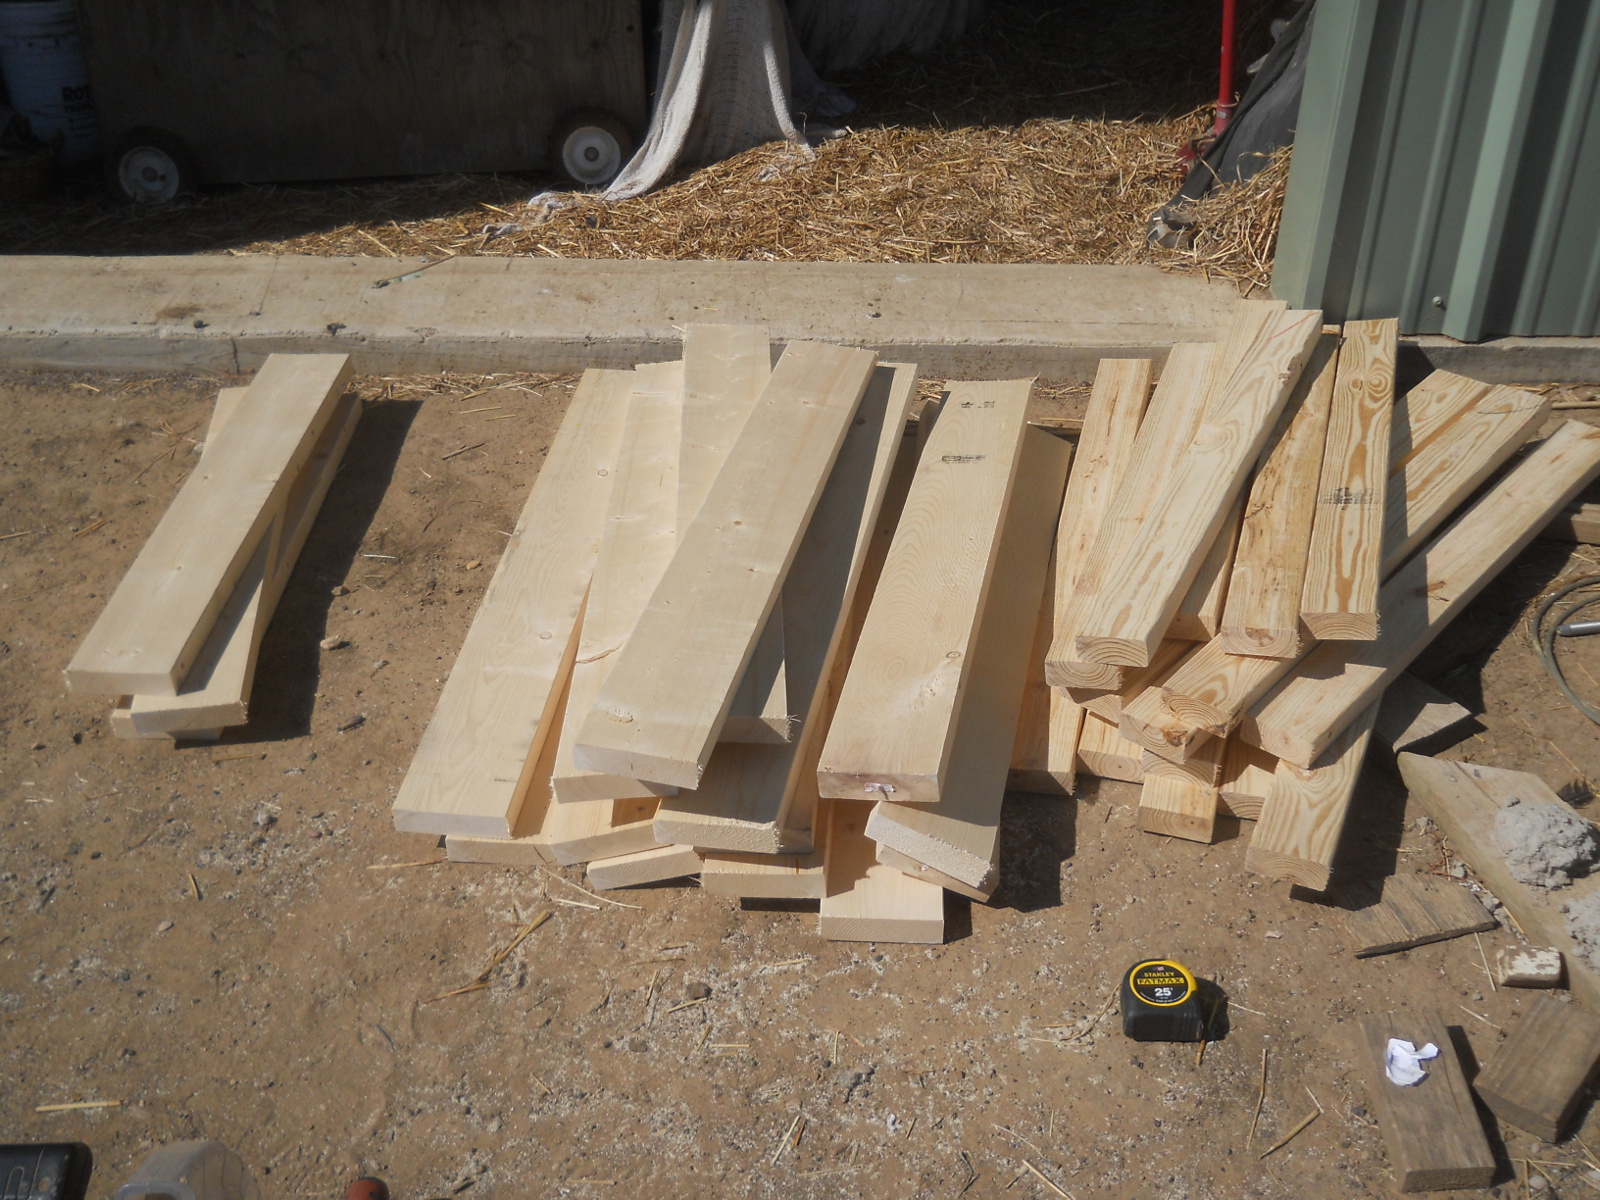
I decided to go with juxtaposed 2×6 and 2×4 boards for steps instead of 2×10…not sure if it saved money in the end, but I thought it might:
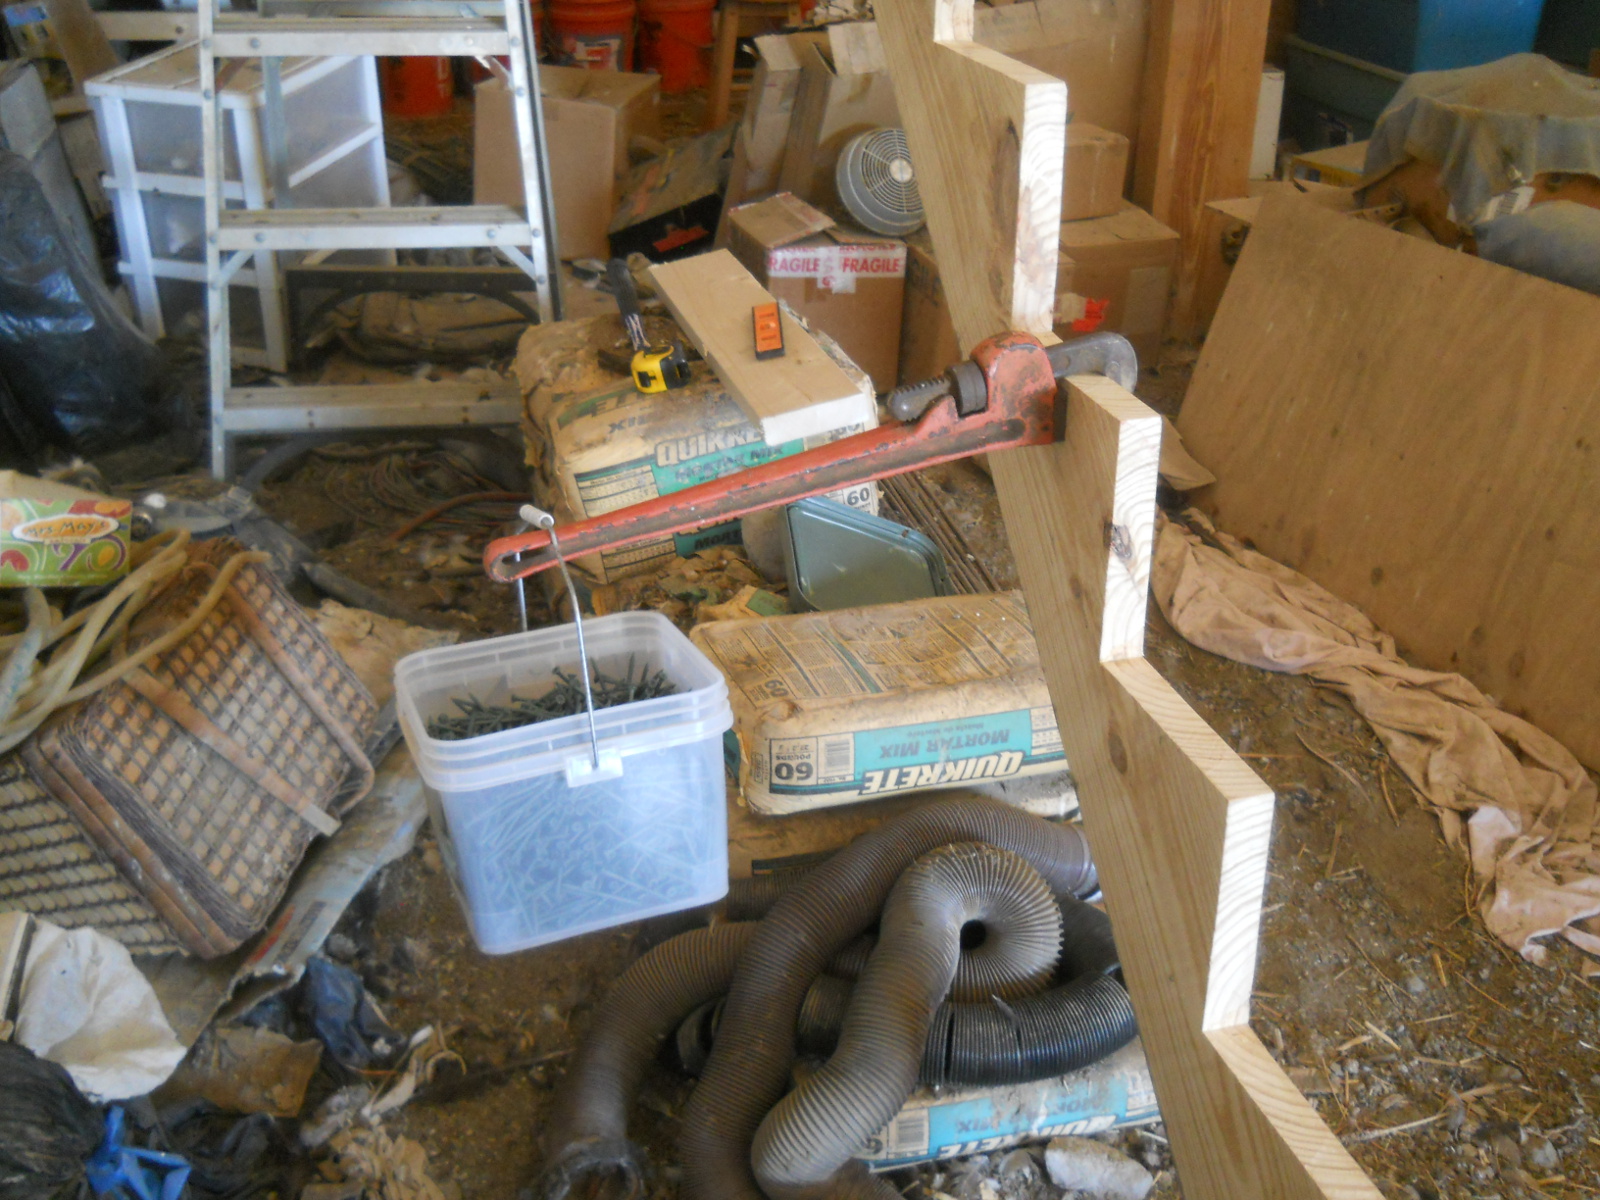
I had to torque over the one stringer to straighten it, so I hung the bucket of screws on a pipe wrench:
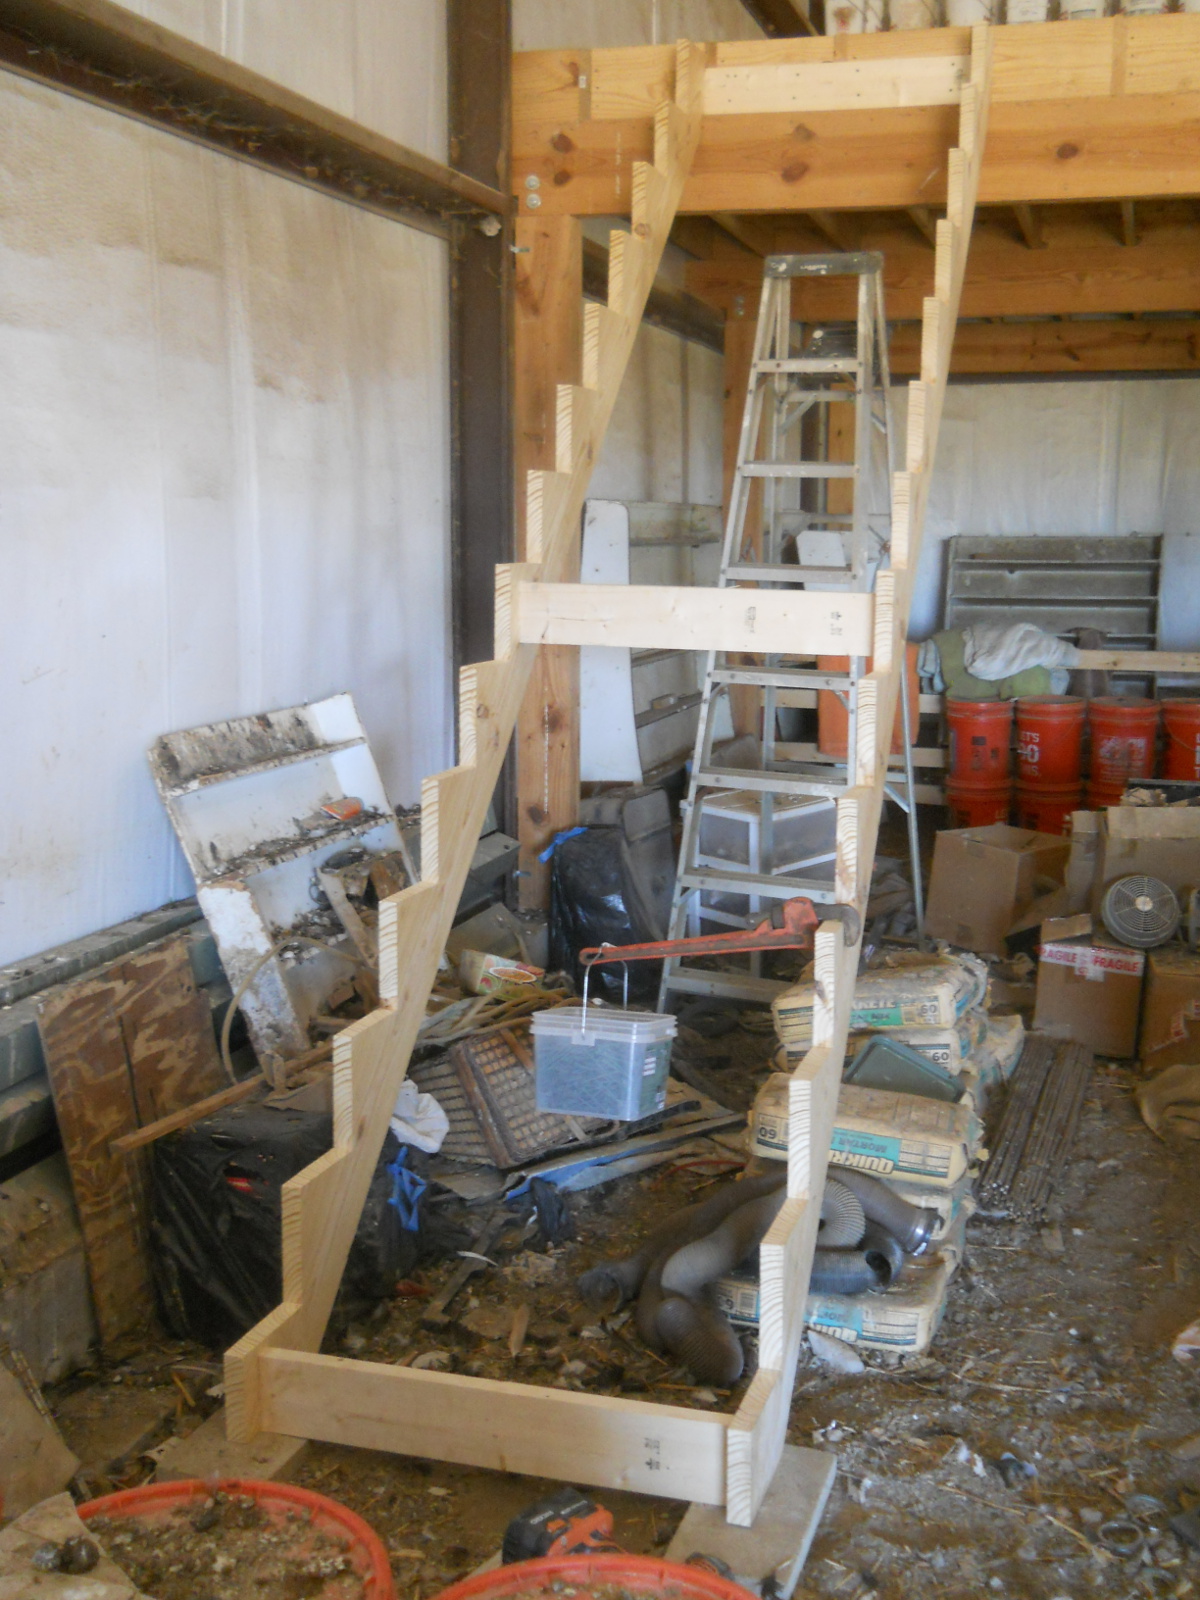
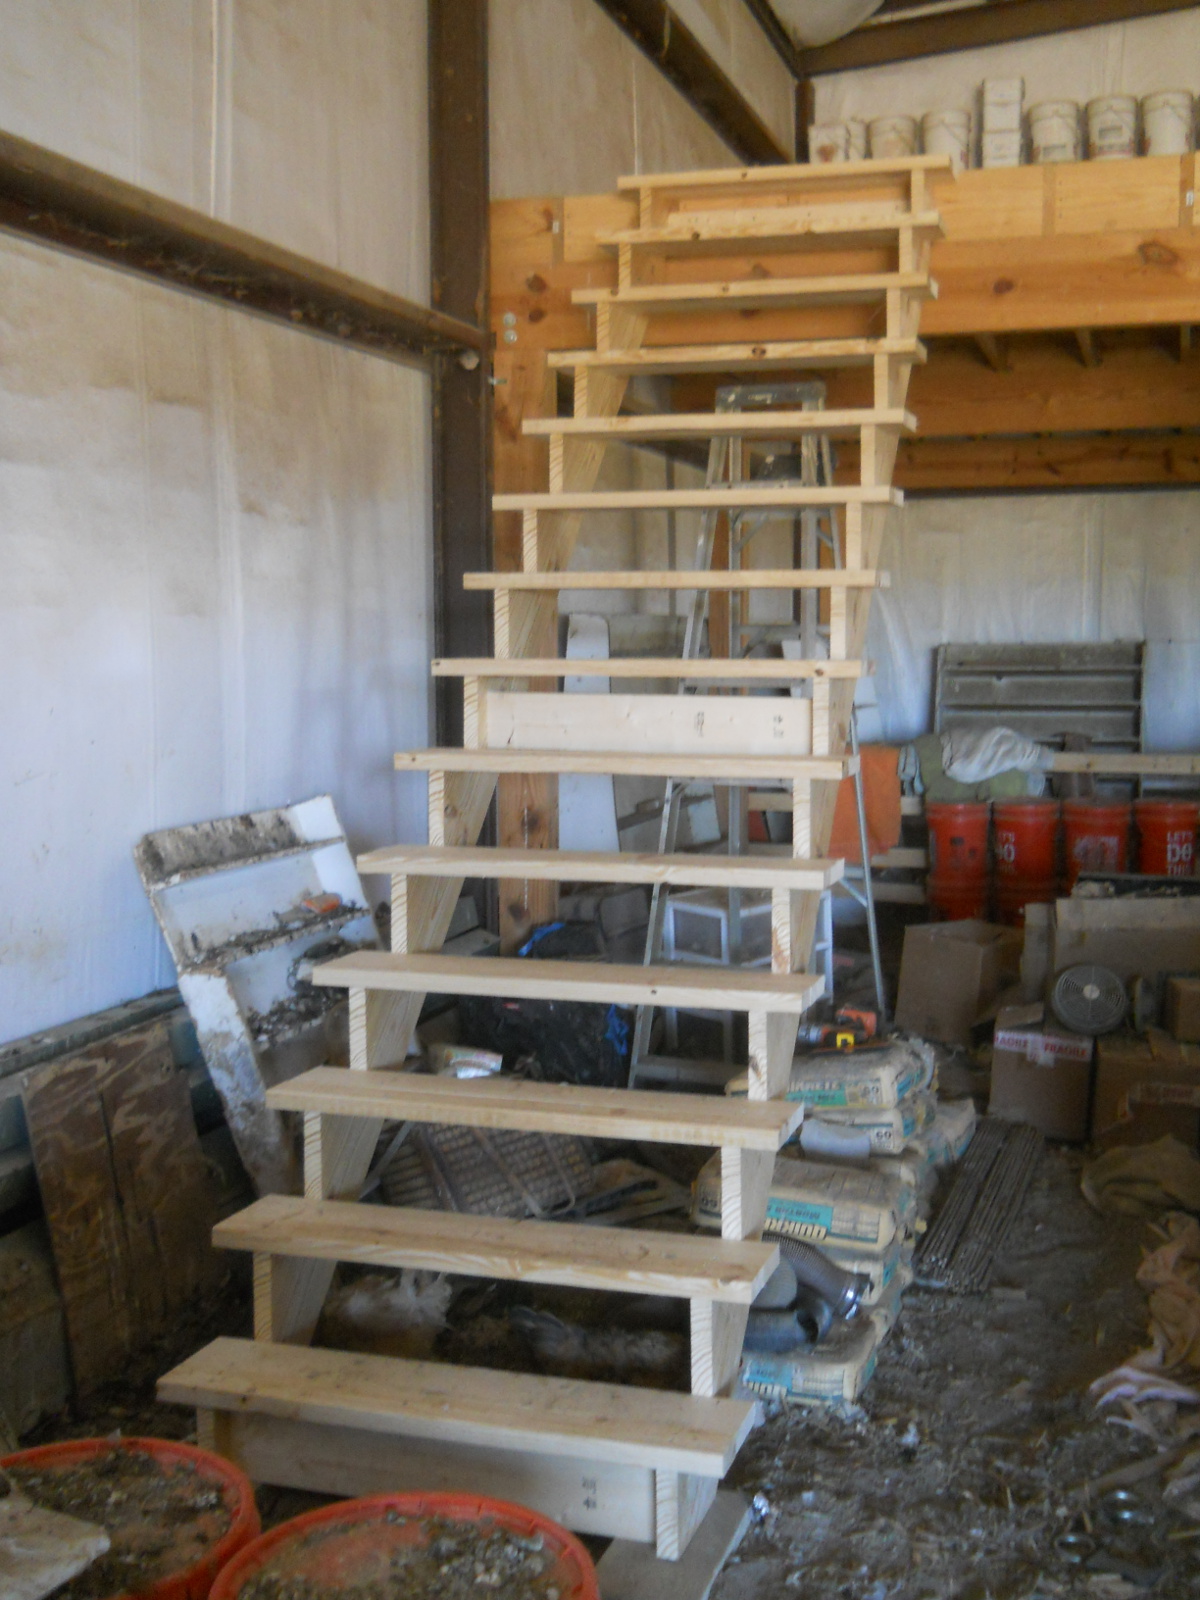
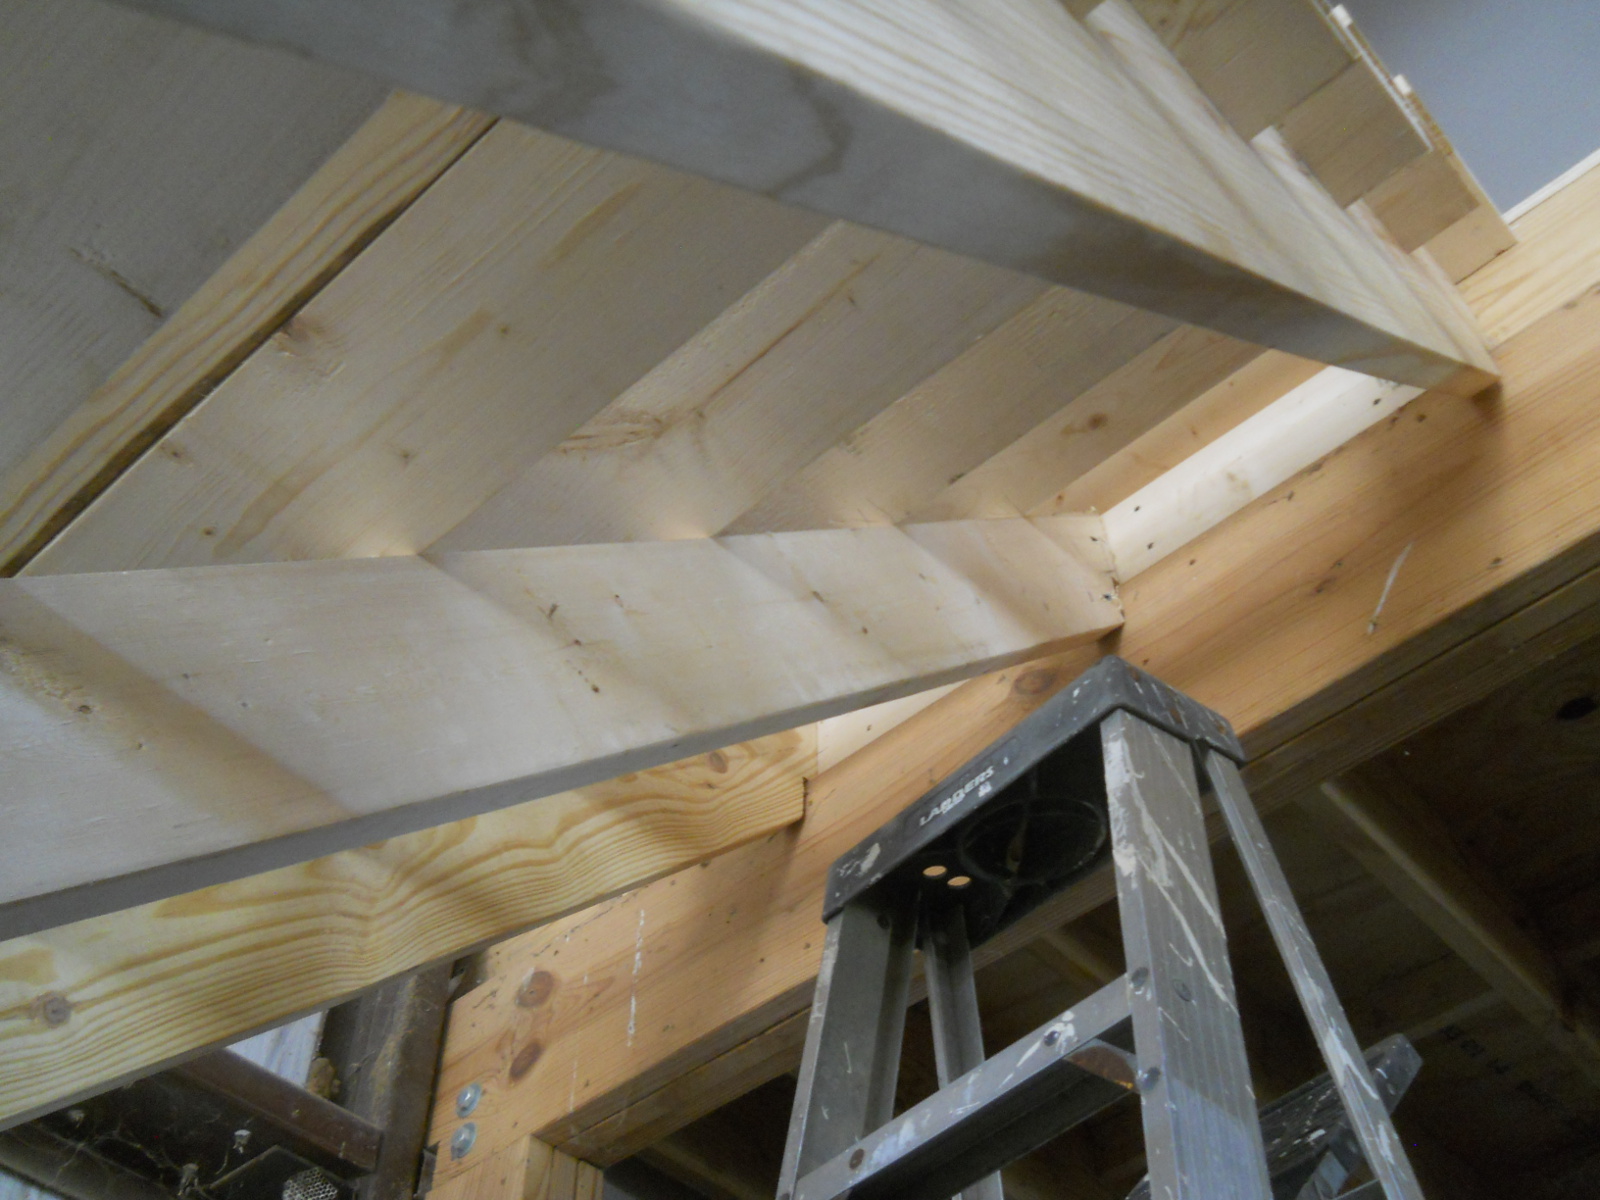
And here are the stringers in place, tied to cross pieces and resting on the loft beam and tied to the floor joists structure:
And then the steps done:
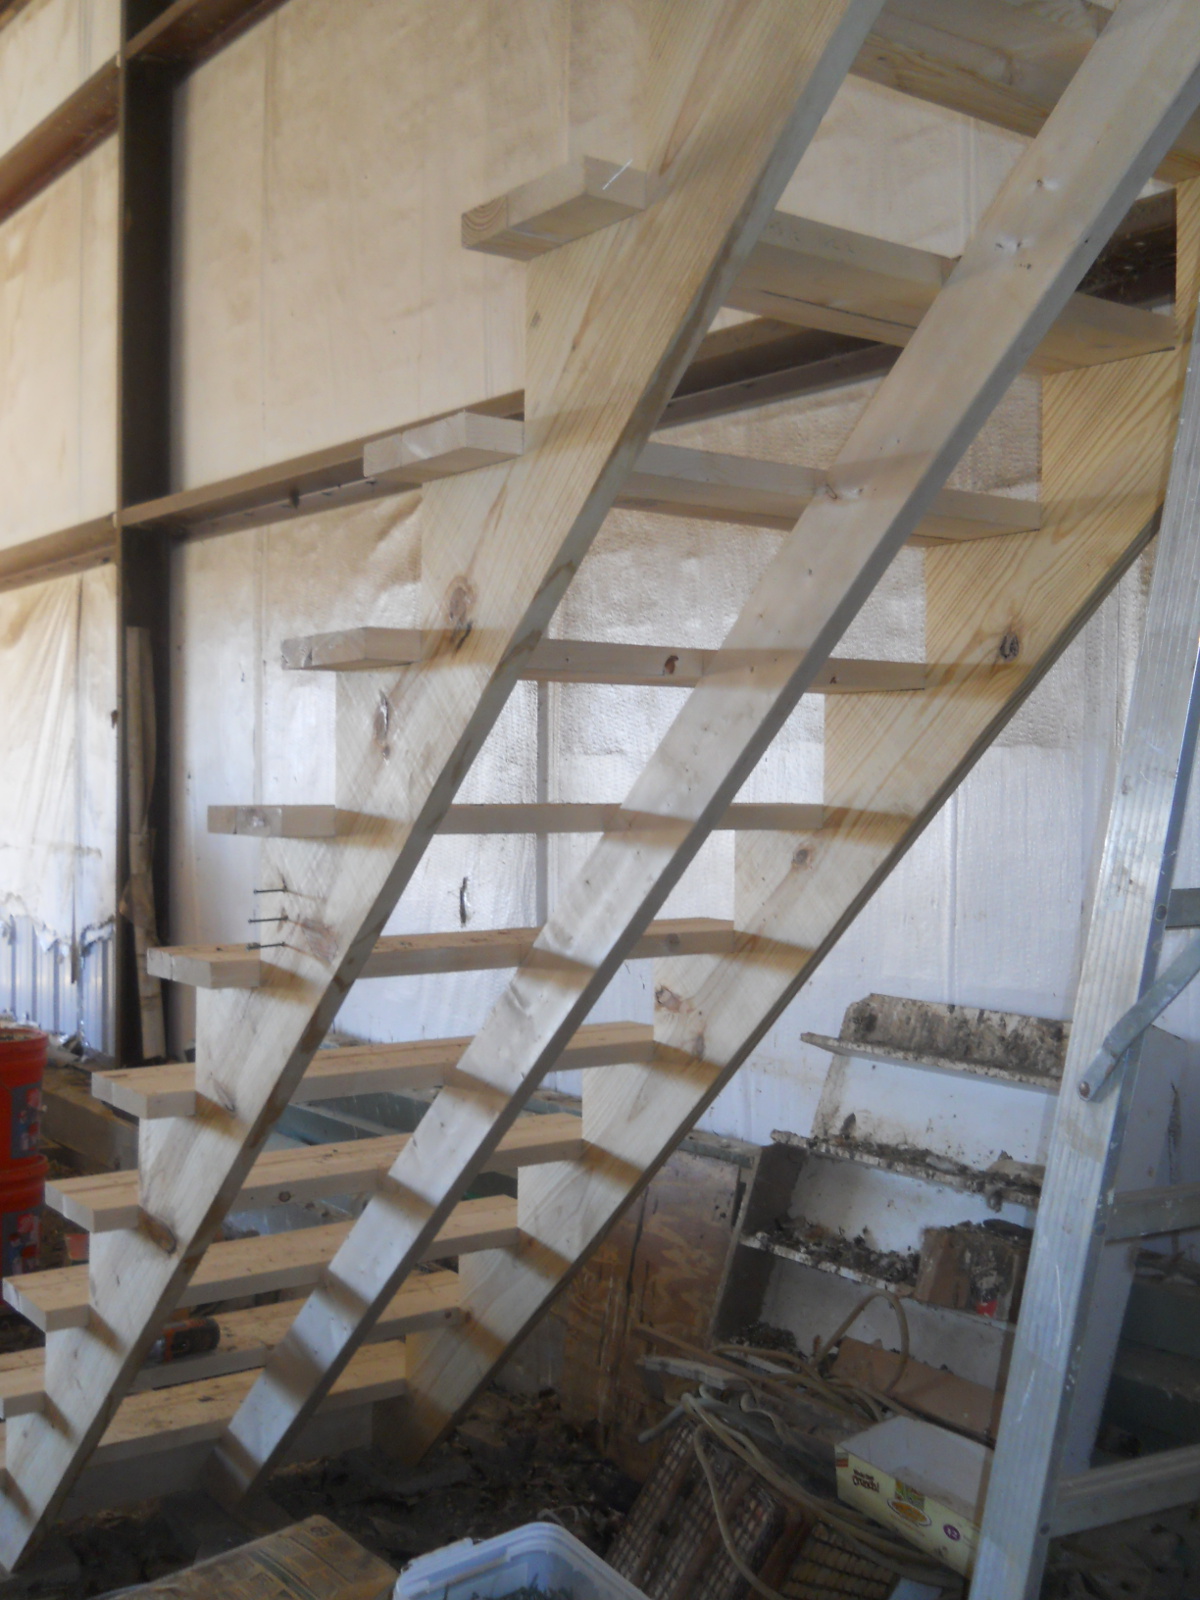
I found it to be a little soft-feeling when walking up and down, so I added a vertical 2×6 brace down the center of the steps, which made it feel more sturdy. I had to remove the middle cross brace:
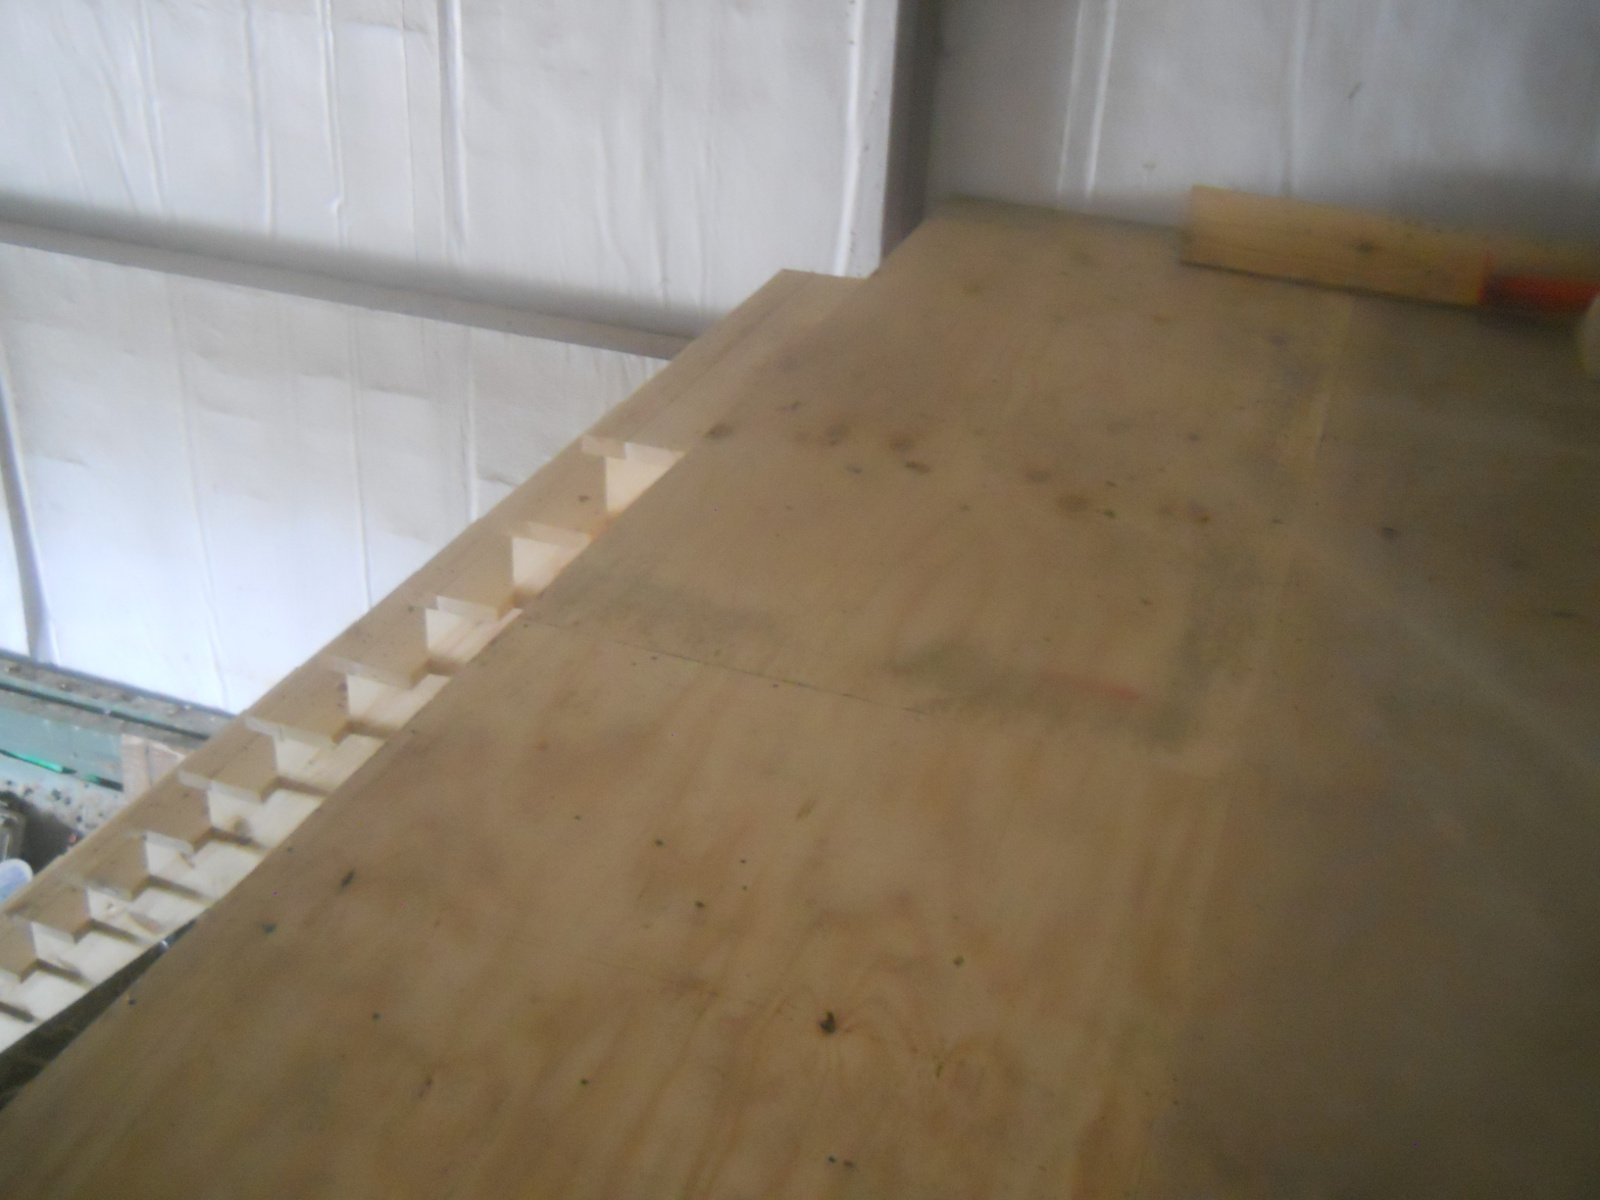
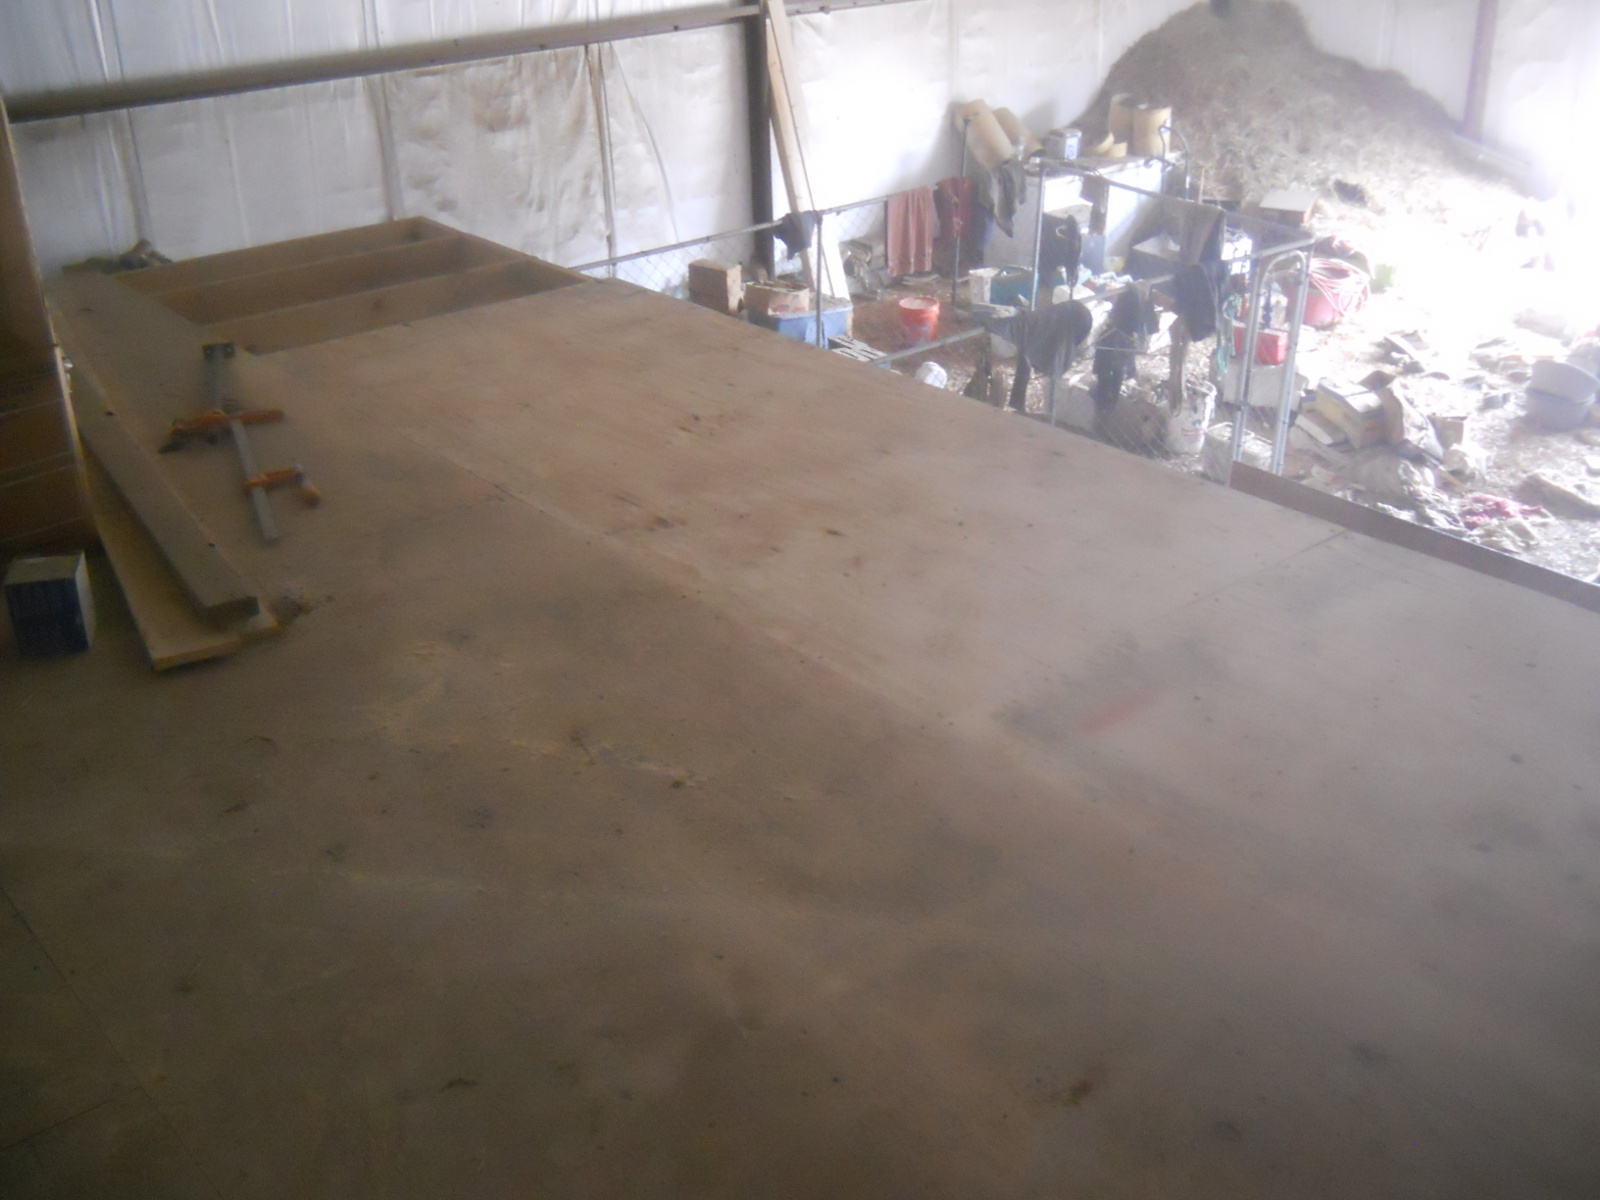
And finally the last couple of ply wood pieces, save the last corner:
Yea! It’s nice to have it to this point, as it has been over 3 1/2 years since we posted the first blog post on the loft. It’s nice to be able to have it functional! 🙂
We are always thankful to the Lord for granting provision and progress on the homestead!
— David
Leave a Reply