This is our journal of what we pray is our sojourn of life (Hebrews 11:8-10) along the narrow way (Matthew 7:14), even the old paths (Jeremiah 6:16), submitting to the Bible as a light unto both (Psalms 119:105). It is our prayer that these documented moments in our earthly time benefit whom God might choose to edify, but ultimately that God glorifies Himself through them.

Category: food preserving (Page 1 of 5)

Garden – 2023

After the Lord graciously granted an abundance of zucchini a few years ago, I thought maybe from now on we’d focus on just one type of vegetable a year that we know works well around here. I thought this year we’d try okra.

And then, with the doggies we found by a local creek still with us and spending some of their day time in our Garden 2, which they’ve sort of just torn apart (although they are keeping the weeds down! 🙂 ), we planted okra in Garden 1.

I dug out the mulch in the garden to make trenches, pushed the okra seeds into the soil (you have to do that or they won’t germinate, at least that’s what I’ve found) a few inches from the last seed, and then I covered them with compost.

And by God’s graciousness, here they are early August. We had a bad drought again this year (although not as long as last year), but very high temperatures, so there was a lot of hand watering done:

Okra 2023
Okra 2023

And here are our first okra gathered. One thing I’ve learned as I’ve watered and cut okra is to wear gloves, because the okra oil or something makes the skin severely itch (wow, it’s itchy!):

First Okra Picked in 2023

And then here they are now:

Okra 2023
Okra 2023

Sue’s been preserving them in cheap apple cider vinegar in quart jars, and here’s where that stands with jar count. I have to harvest twice a day or they have the potential to get too big, and then they’re too fibrous and un-eatable:

Okra Preserved in Apple Cider Vinegar

We are thankful to the Lord for what He has granted so far — true miracles of Providence!

— David

The Orchard – Summer 2021

With the cold winter freezes, and especially with the artic blast week we had, we were hoping for some fruit from the orchard this year. Now, even with freezes typically playing a part of a good fruit harvest, we believe these things still only come about if the Lord grants them out of His graciousness.

And, accordingly to that, He has decided to do so, and we are very thankful!

Here’s a recent look at the orchard itself:

Orchard 2021
More of Orchard 2021

This is a pecan tree in the background, and you can get the size perspective with the fencing and goats. I believe this one even grew back from the root!

Pecan Tree 2021

And here’s most of the rest of the pecan tree line:

Pecan Tree Line 2021

Here’s a peach tree loaded with yummy goodnesses!

Peach Tree 2021
Peaches on Tree 2021

And then picked:

Picked Peaches 2021

We made a solar food dehydrator quite a few years back, and it’s still working pretty well, despite some cracks in the plexiglass, the big ones I believe coming from young goats jumping off the dryer! 🙂

And here it is with the fruit drying or about to start drying:

2021 Fruit on Solar Food Dehydrator
More 2021 Fruit on Solar Food Dehydrator
Still More 2021 Fruit on Solar Food Dehydrator

We rarely get apricots, but this year God granted a whole bunch, and here are some dried ones. They may not look like much, but fruit with the water gone condenses its natural sugars, so they taste great!

2021 Dried Apricots

And here is the collection of dried tasty morsels the Lord has granted so far:

2021 Dried Fruit

Once again, we are always thankful to God for granting food off the land, coming from His direct hand of providence!

— David

4 Great Reasons to Consider Pressure Canning! (and a Quick Tutorial)

I dove off the deep end into pressure canning about 14 years ago when we moved off grid and didn’t have the luxury of abundant electricity to run a large freezer all the time. We do raise our own beef, poultry and pork to eat, but pressure can to preserve most of the meat. But you don’t have to live out in the country or off grid to be motivated to pressure can. You can live in the middle of New York City, in the suburbs, or out in the middle of nowhere (insert town here) and pressure can like a boss on your own terms! And if I can do it, anyone “can”!

Why pressure can?

Here are a few great reasons to consider pressure canning:

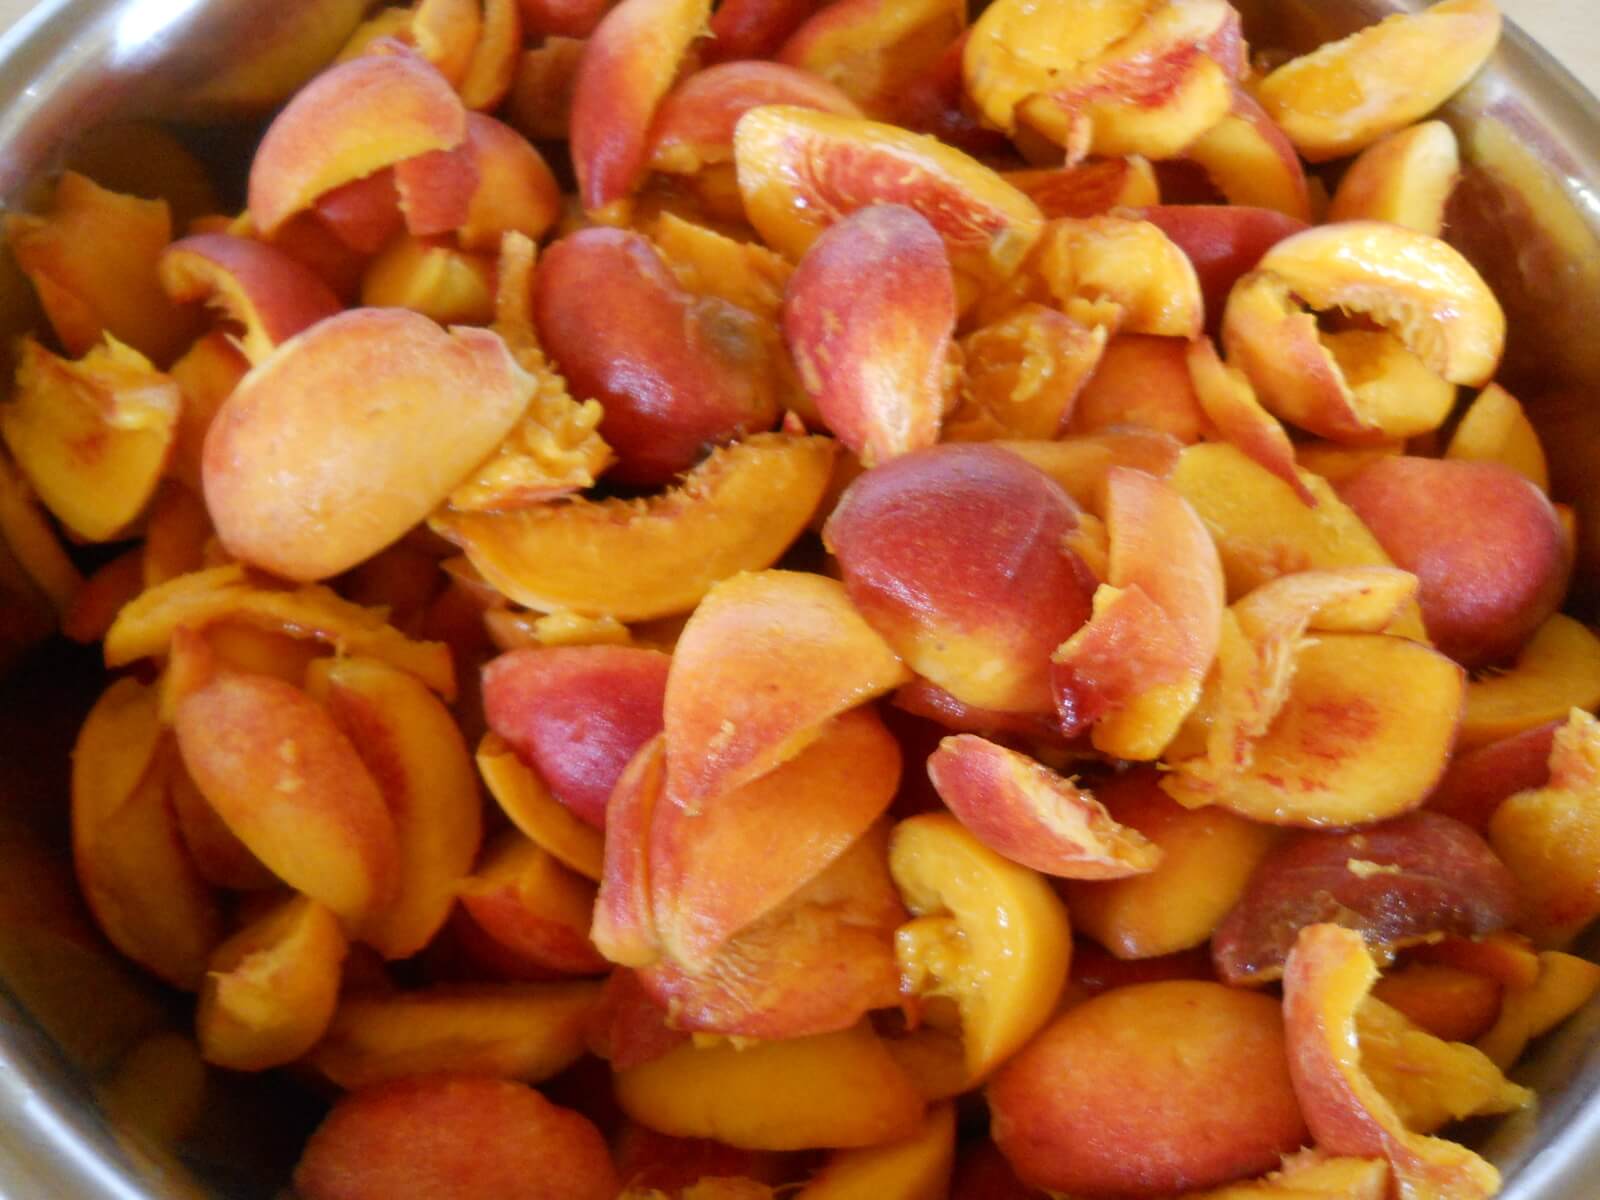
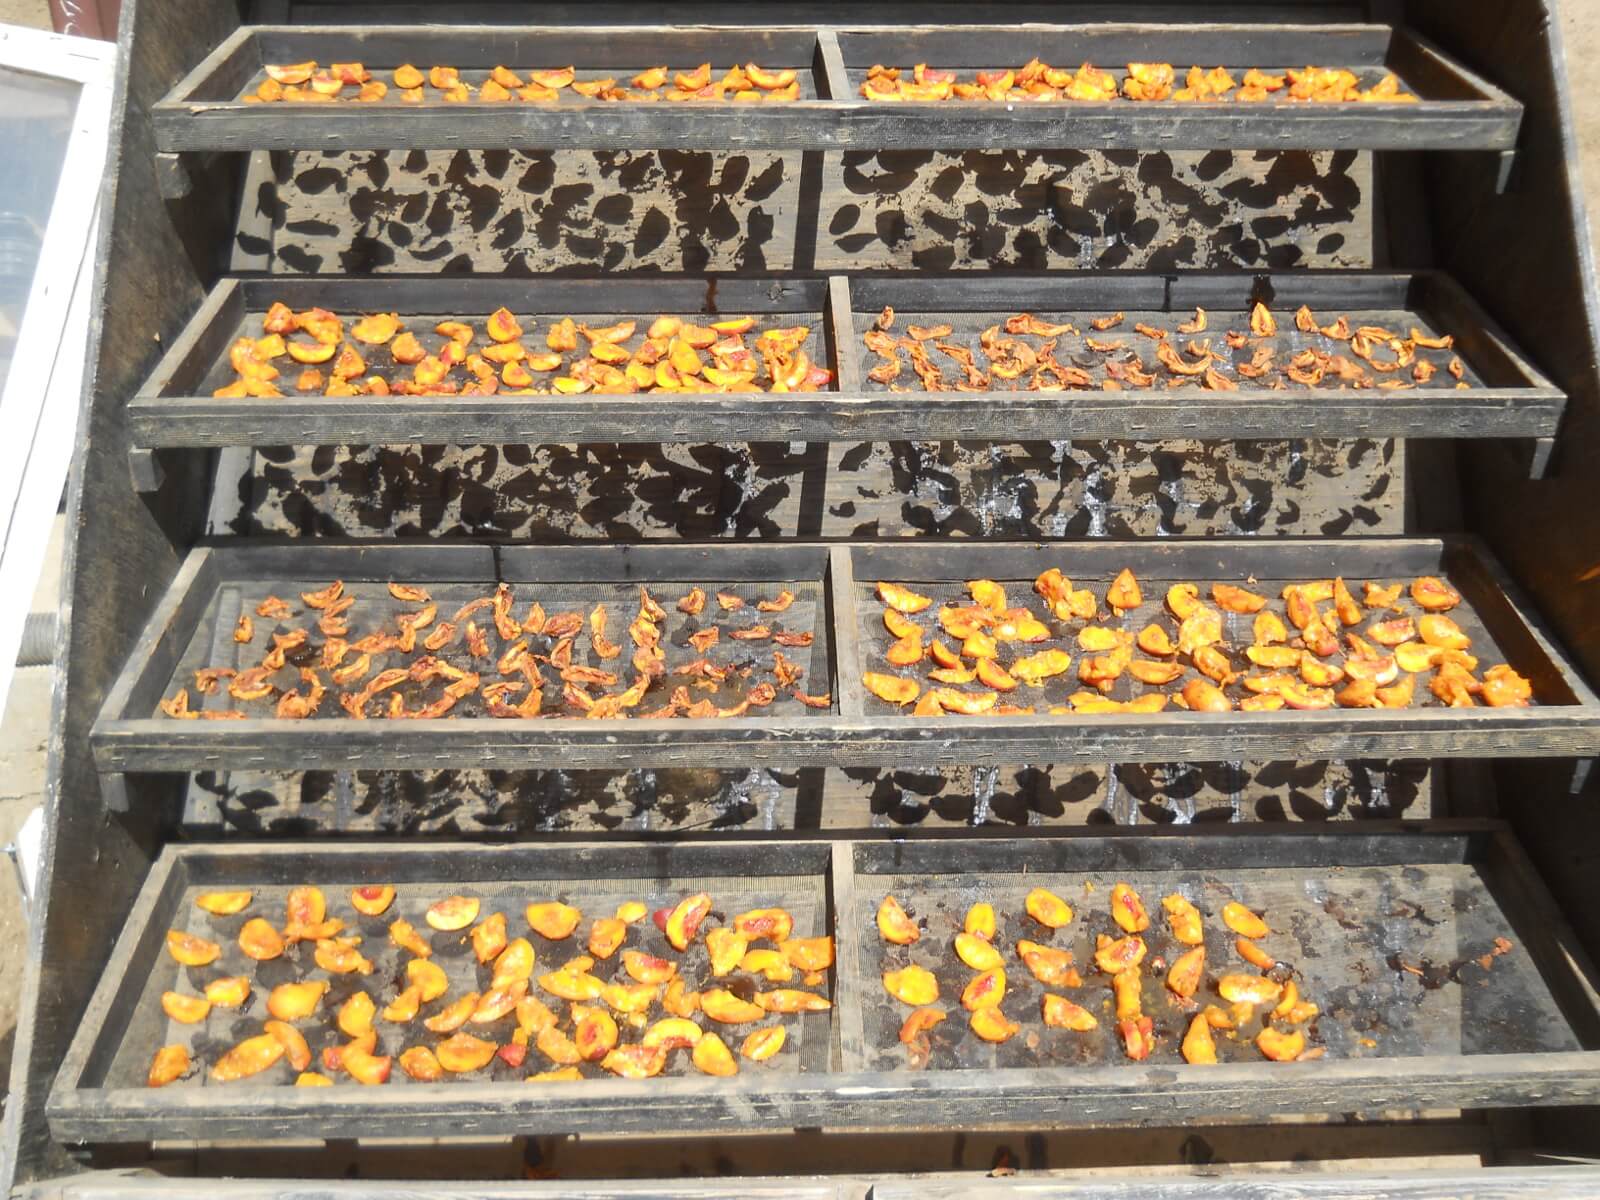
  • Save Money!You’d be surprised how much food you can preserve very cheaply by simply keeping your eyes open for grocery store sales! Bacon, potatoes, Thanksgiving turkey, ham, butter, hamburger (see my quick tutorial below), venison, etc. Also sales on fruit, and veggies. You can cut up fruit, shove it in a jar with water and can it! You don’t have to know the fru-fru stuff. Have it with whipped cream later on to sweeten it up.
  • Peace of mind during electric outages.Just a week ago, our local town had power outages due to a snow storm. Some people had to hurriedly obtain generators so their freezers could continue to run, fending off potential food catstrophes. You don’t have to pressure can all of your meat; you can keep some fresh meat in a freezer and can some, so you have peace of mind and more options if you run into an emergency.
  • Save time!If you invest the time up front to pressure can much of your food, it will reap huge time benefits later when all you have to do is dump the already pre-cooked food from your jar into your pot or pan and heat it up. At one point, I had beef, carrots and potatoes all canned and ready to go and all I had to do was add a can of corn, a can of green beans and water/broth for a very quick beef stew for dinner. That’s just one example of so many. You can also easily pressure can your own complete soups and stews. Just put all of your ingredients in a jar and can it! With canned meat (ground, cubed, etc) you just need to heat it up and season it before adding it to your meal plan (tacos, pasta dishes, casseroles, meat pies, etc.) The possibilities are endless.

    Sadly, the times in which we are living are much less stable than in ages past. If any link in the food supply chain fails, it doesn’t take long before people start panicking and hoarding basic goods. Toilet paper during the COVID crisis is a prime example. You can find alternatives for TP, but if you are not prepared with food, you are in a much more critical situation. This alone is an excellent reason to consider pressure canning so you can have a pantry or cellar full of preserved foods for you and your family, and to share.

  • Don’t be afraid of canning!It is pretty hard to mess up, and there are safeguards in place. There is a pressure overflow plug that is designed to pop out if too much pressure builds up and releases excess steam. But if you follow instructions and don’t leave your canner for long periods of time, everything should work out very well. There is usually a “sweet spot” you find during a canning session where the pressure stays consistent so you don’t have to monitor it as much.

If you would prefer grass-fed meat options, you might consider calling your local meat processor and ask if they know of anyone who wants to split the cost of processing a cow, pig or deer, etc. Or put a feeler out on your local classifieds. It is generally cheaper and healthier per pound than store-bought meat.

If you are hesitatant to make the initial investment to try pressure canning, you might ask around to see if you can borrow or purchase someone’s canner if they are not using it. And there may be some great canning books at the local library or online you can check out if you want to research it for yourself. The canning ideas are endless if you plug into the right books and online forums/websites.

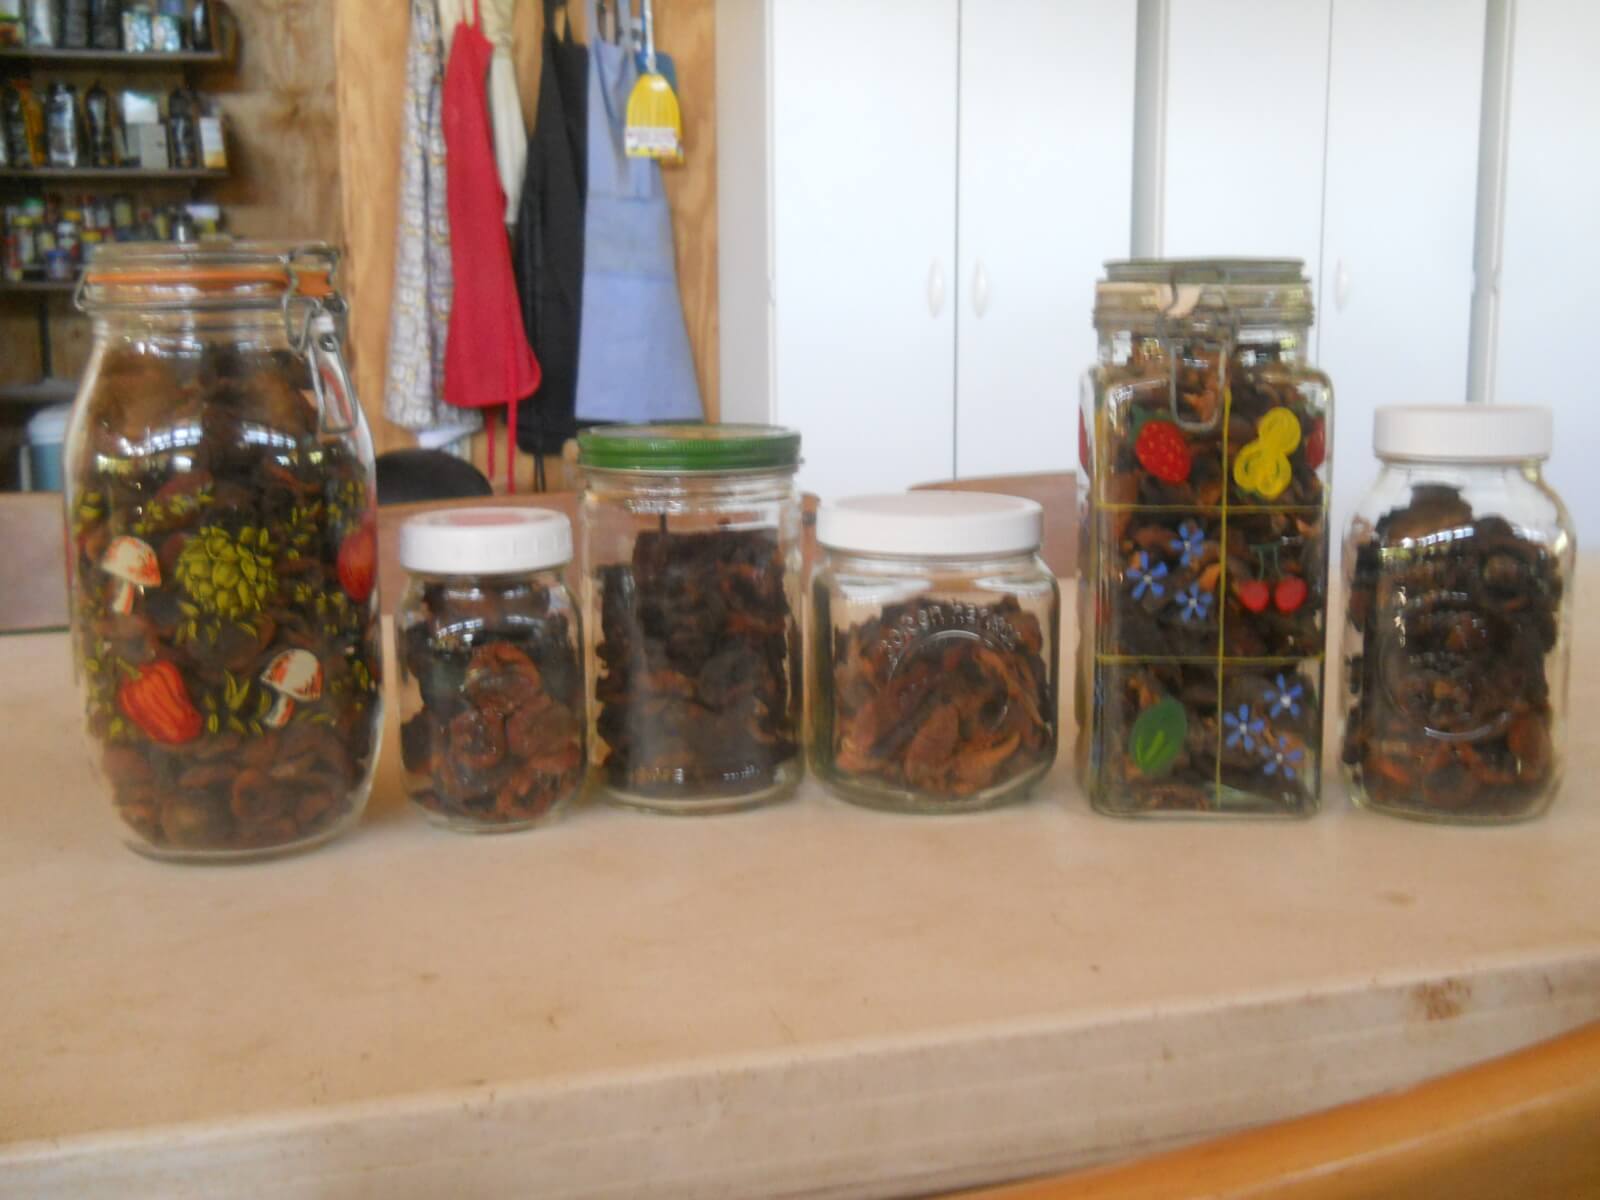
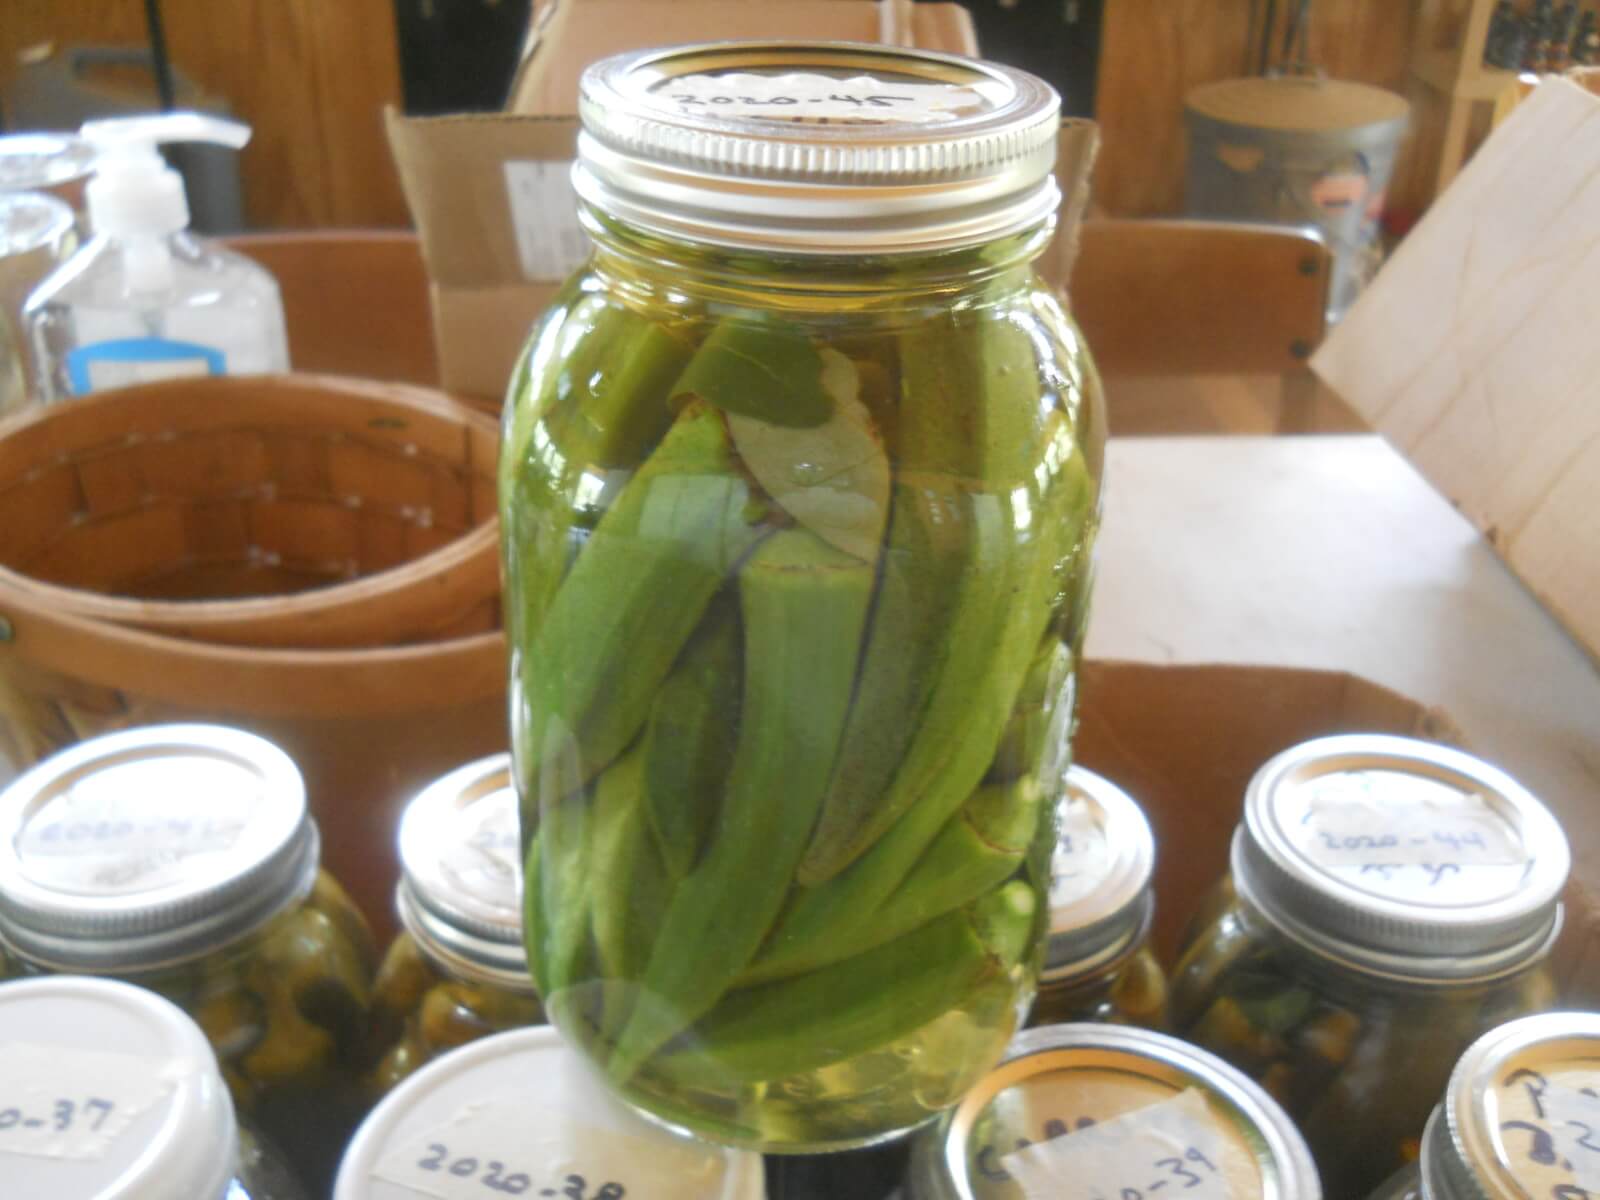
To give you an example of how long canned food can last, I canned 50 quarts of borsch in 2009 when we had a bumper crop of cabbage – and I still find a jar here and there, dump it out along with a jar of canned meat, heat it up and serve it with sour cream and toasted bread and it’s still hearty, healthy and delicious! When you go to use any jar of canned food, you’ll want to make sure the seal on the jar is still strong and doesn’t come off when you pull on it. This indicates the vacuum seal is still intact. Then you pry off the lid with the side of a knife or other preferred utensil and you’ll hear that little “whoosh” of air when you break the seal.

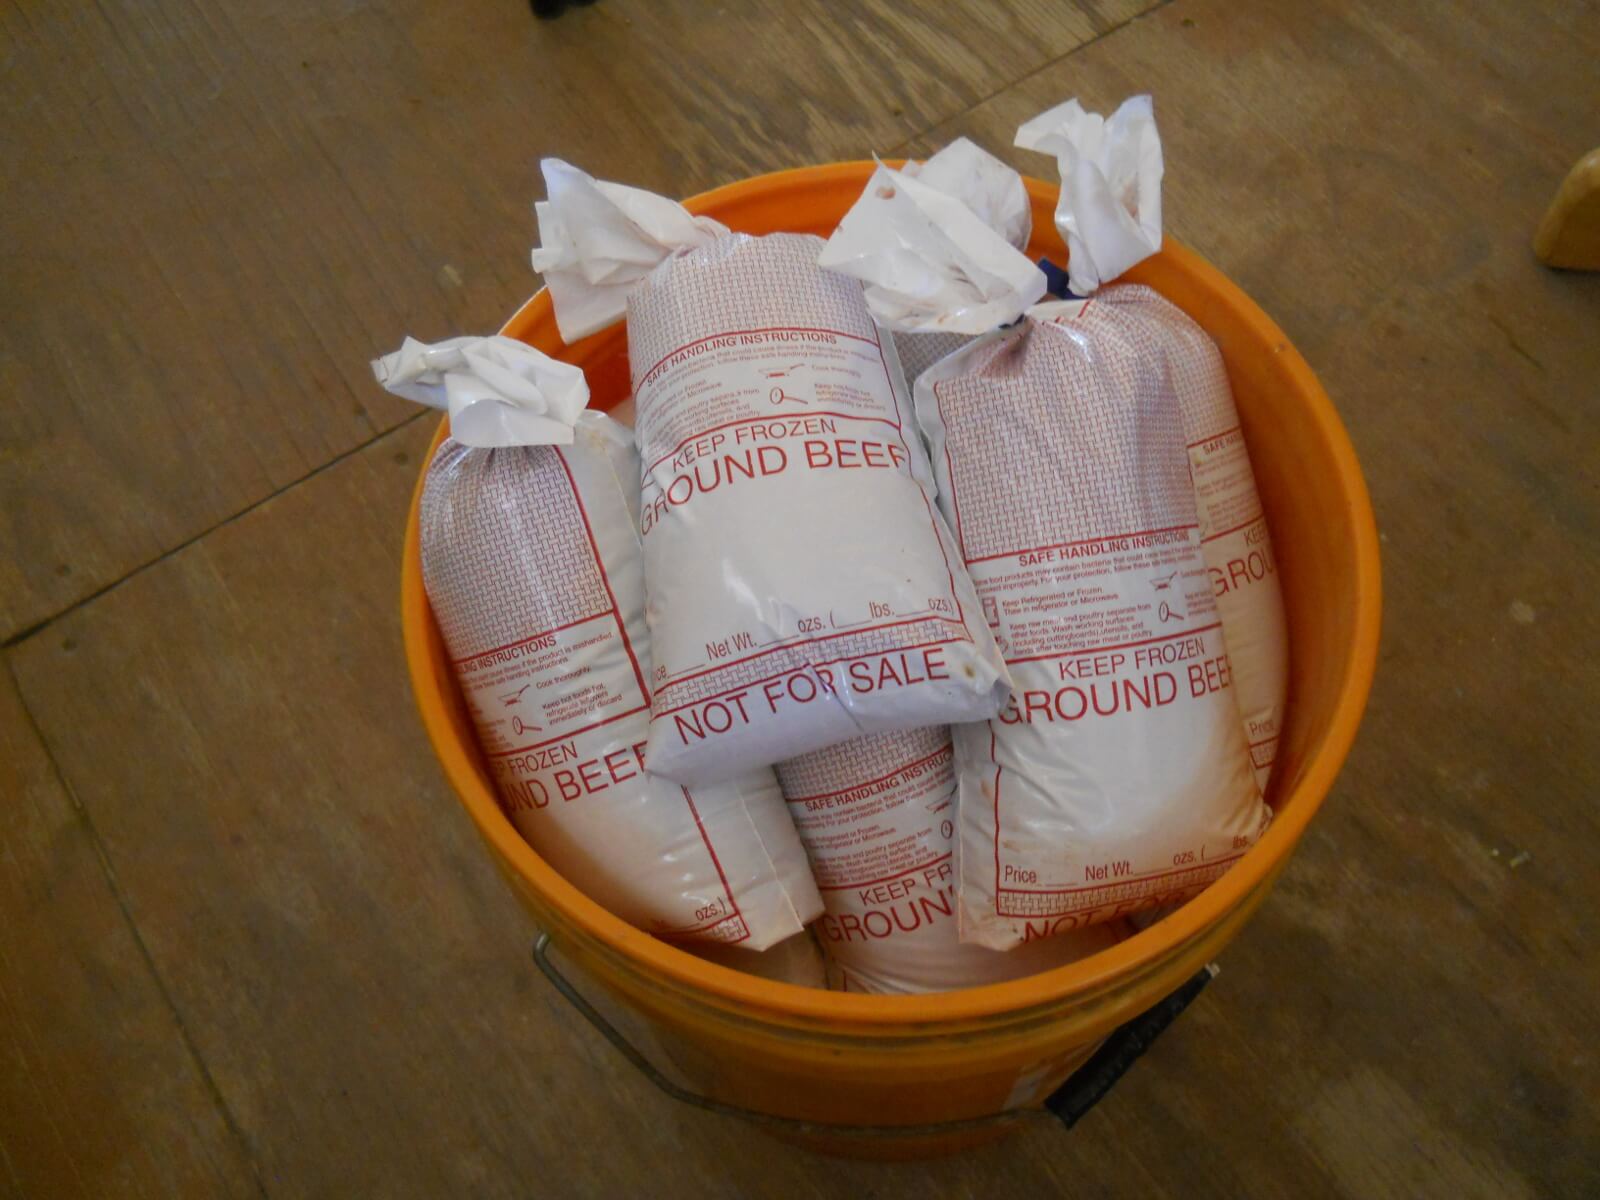
Okay, now I’ll quickly take you through a very basic process of canning hamburger meat. This was from the most recent bull we took to the processor.

The very basic tools you need to get started canning are: A pressure canner, canning jars, lids and screw tops, a funnel, jar lifter and lid magnet (and water, of course 🙂 If you enter “pressure canning starter kit” into a web search query or online retailer, lots of options will pop up for your consideration.

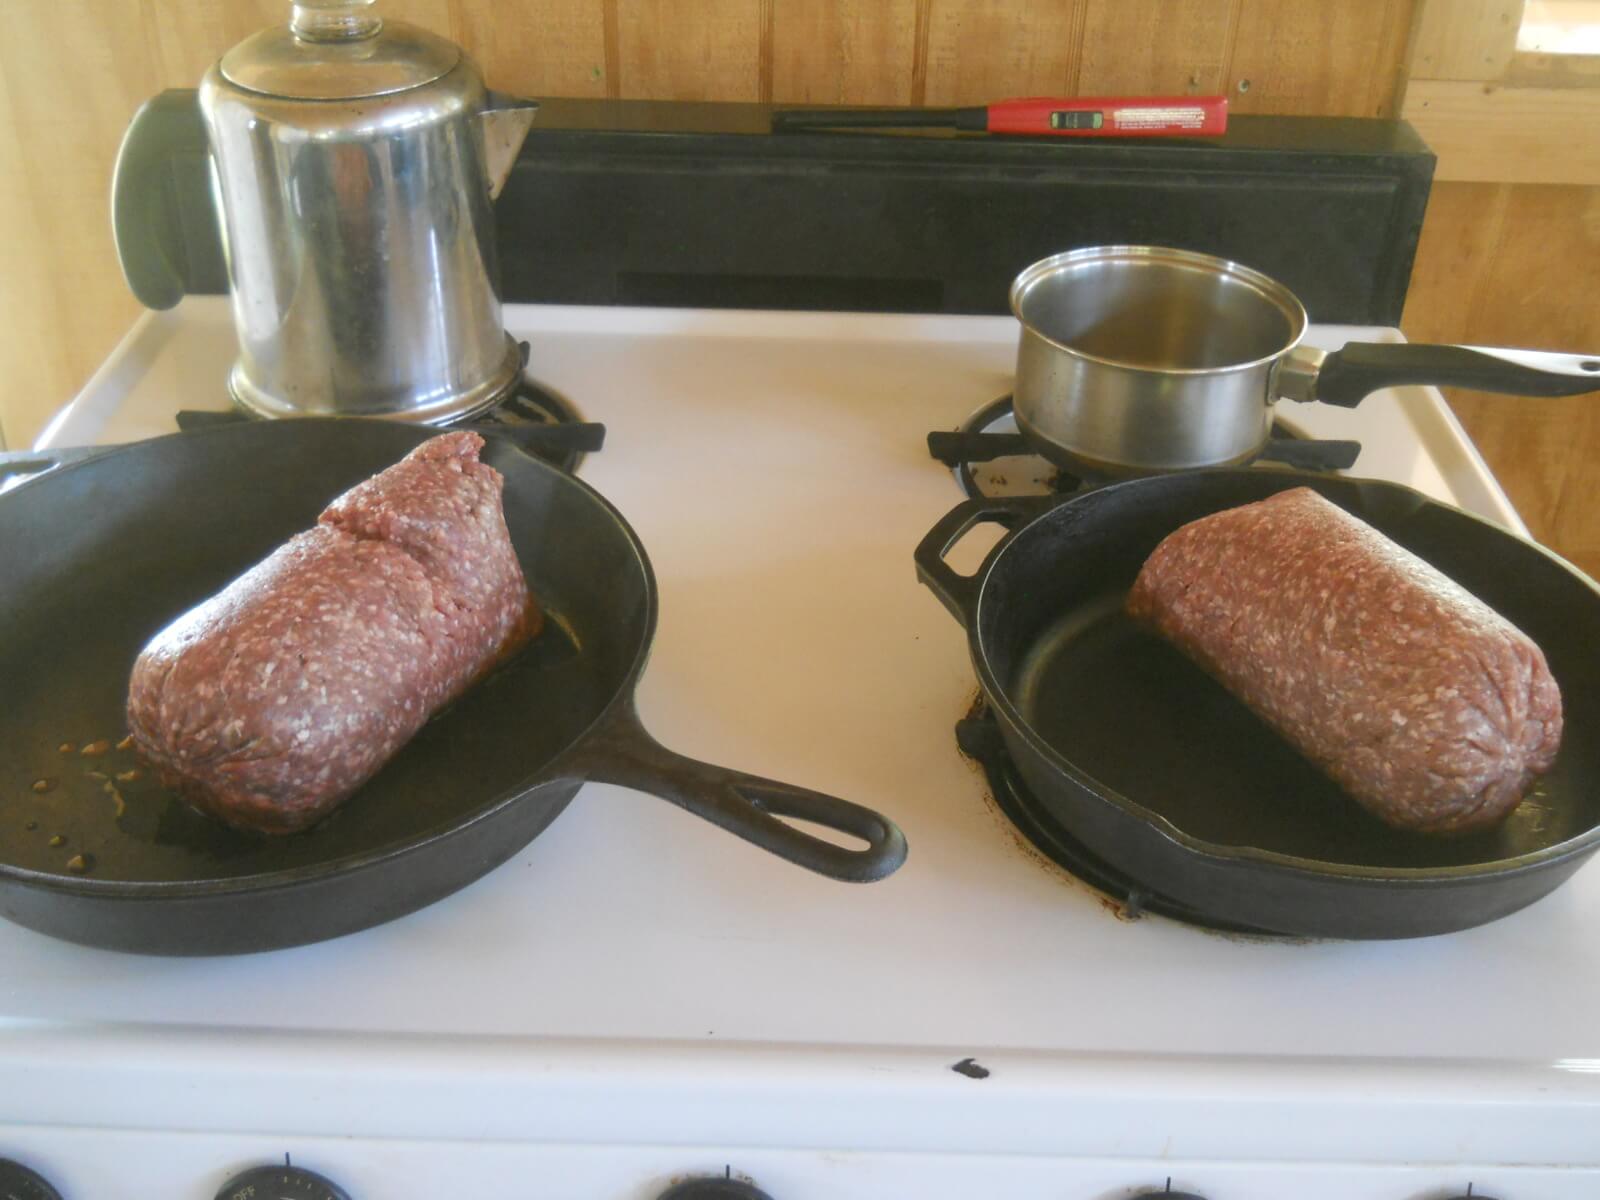
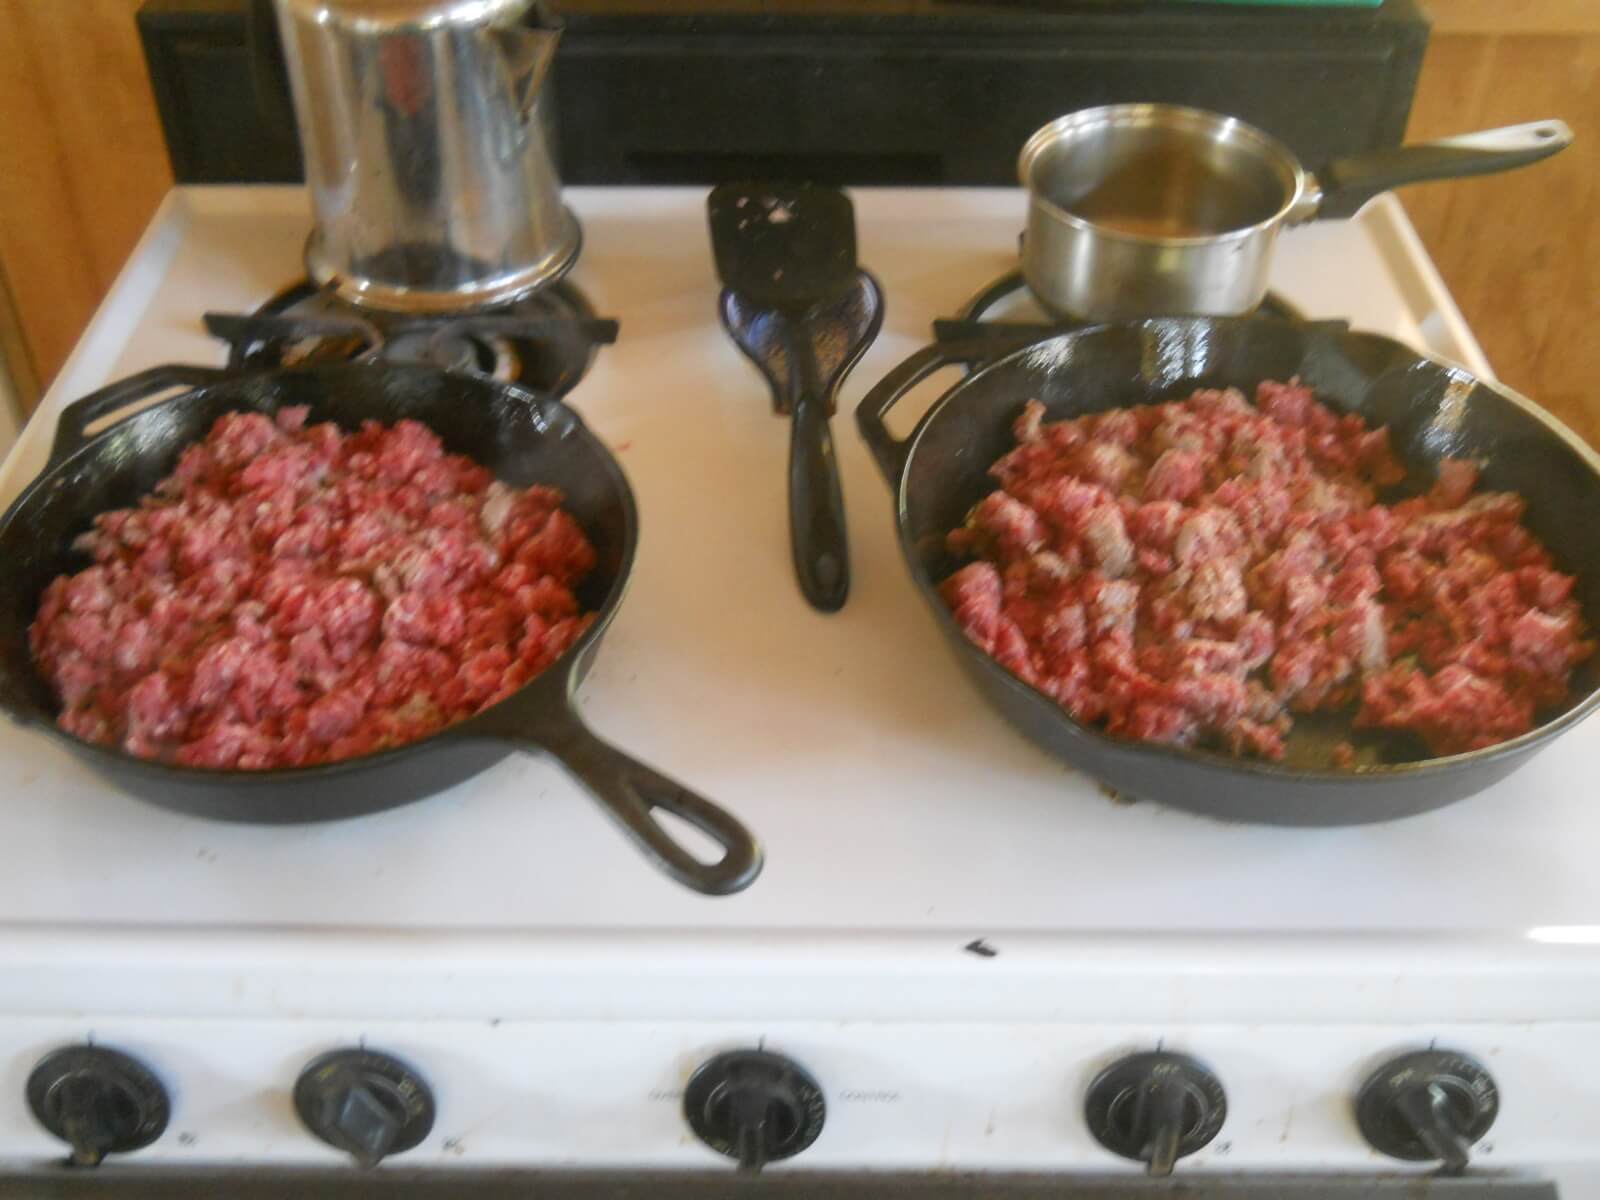
With ground meat, you need to lightly cook it before canning it. It takes approx. 14 lbs. of meat to fill seven quart jars (a quart jar can hold approx. 2 lbs of meat). So I cook it in multiple pans to get that phase done quickly:

Packages of Ground Beef
Ground Beef in Pans

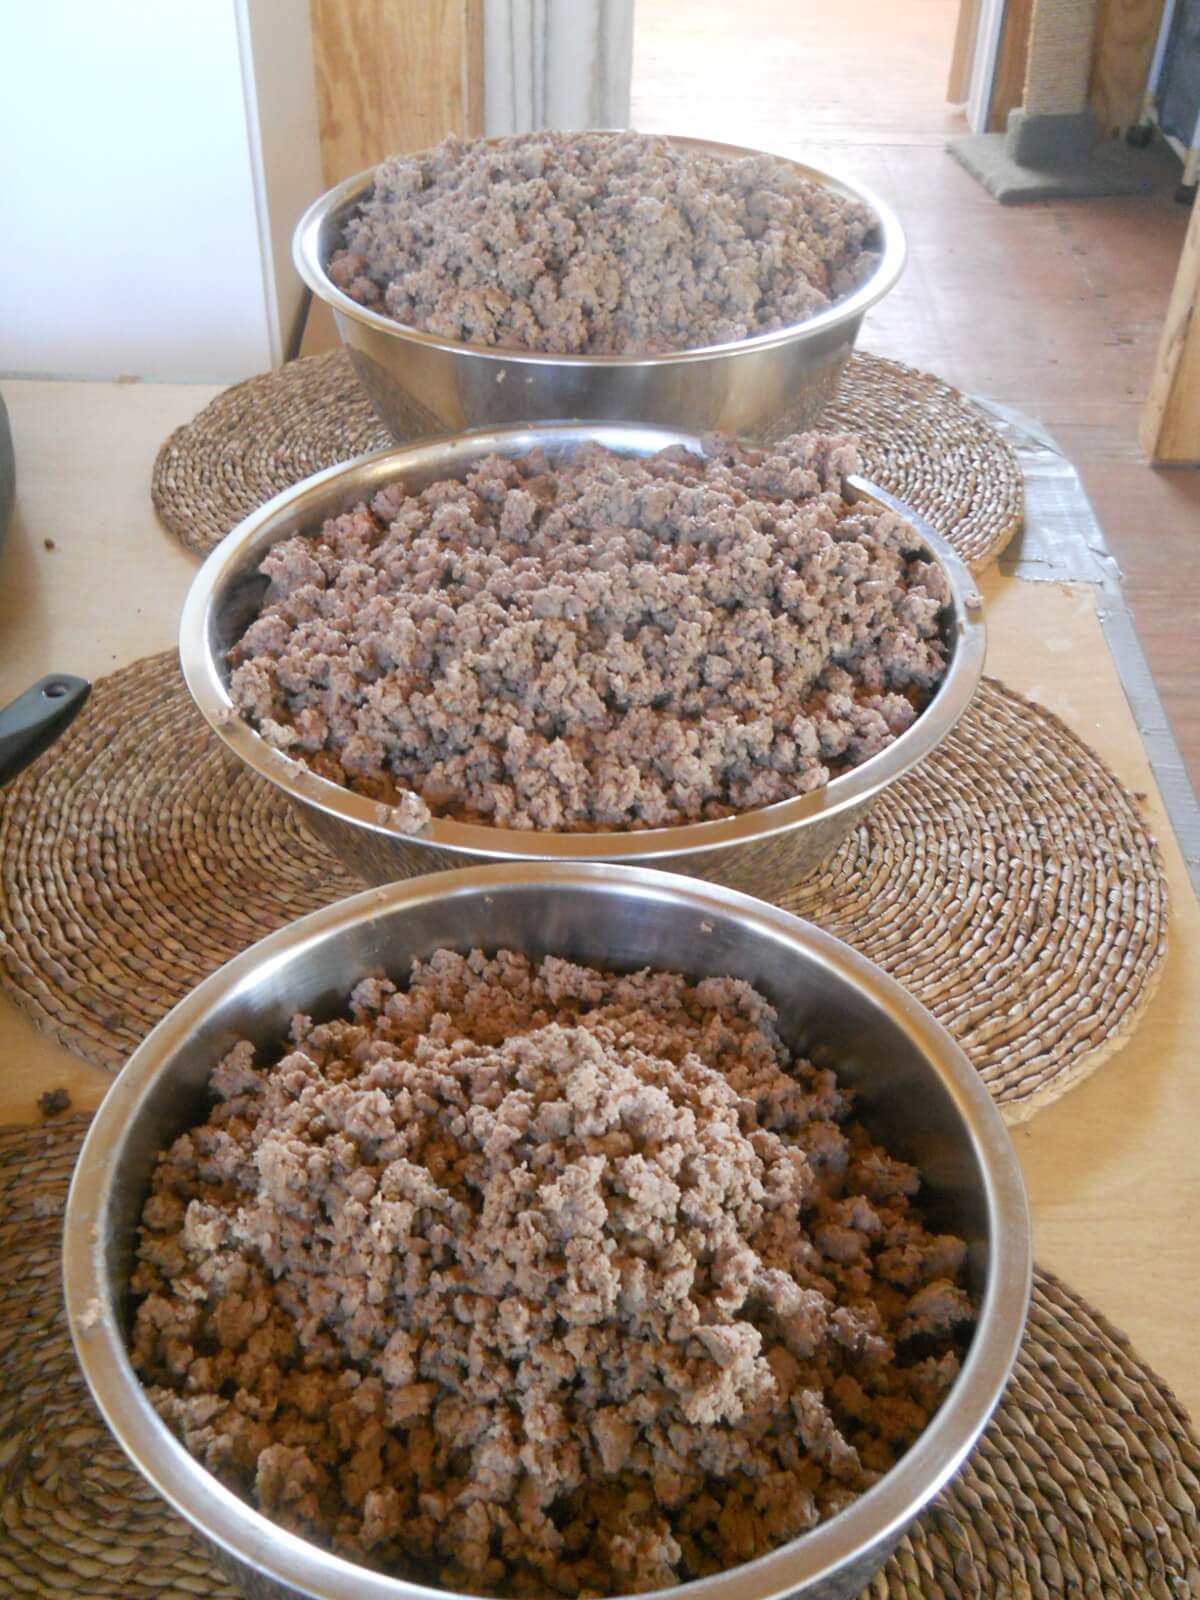
In my case, I have two large canners that can process seven quarts each so I brown approx. 28 lbs. of meat in one session. It really doesn’t take that long depending on how much meat you are browning at one time. These are 2-pound packs, so I can brown 4 lbs at a time:

Browning Ground Beef

Here is all the meat from one session:

Browned Ground Beef

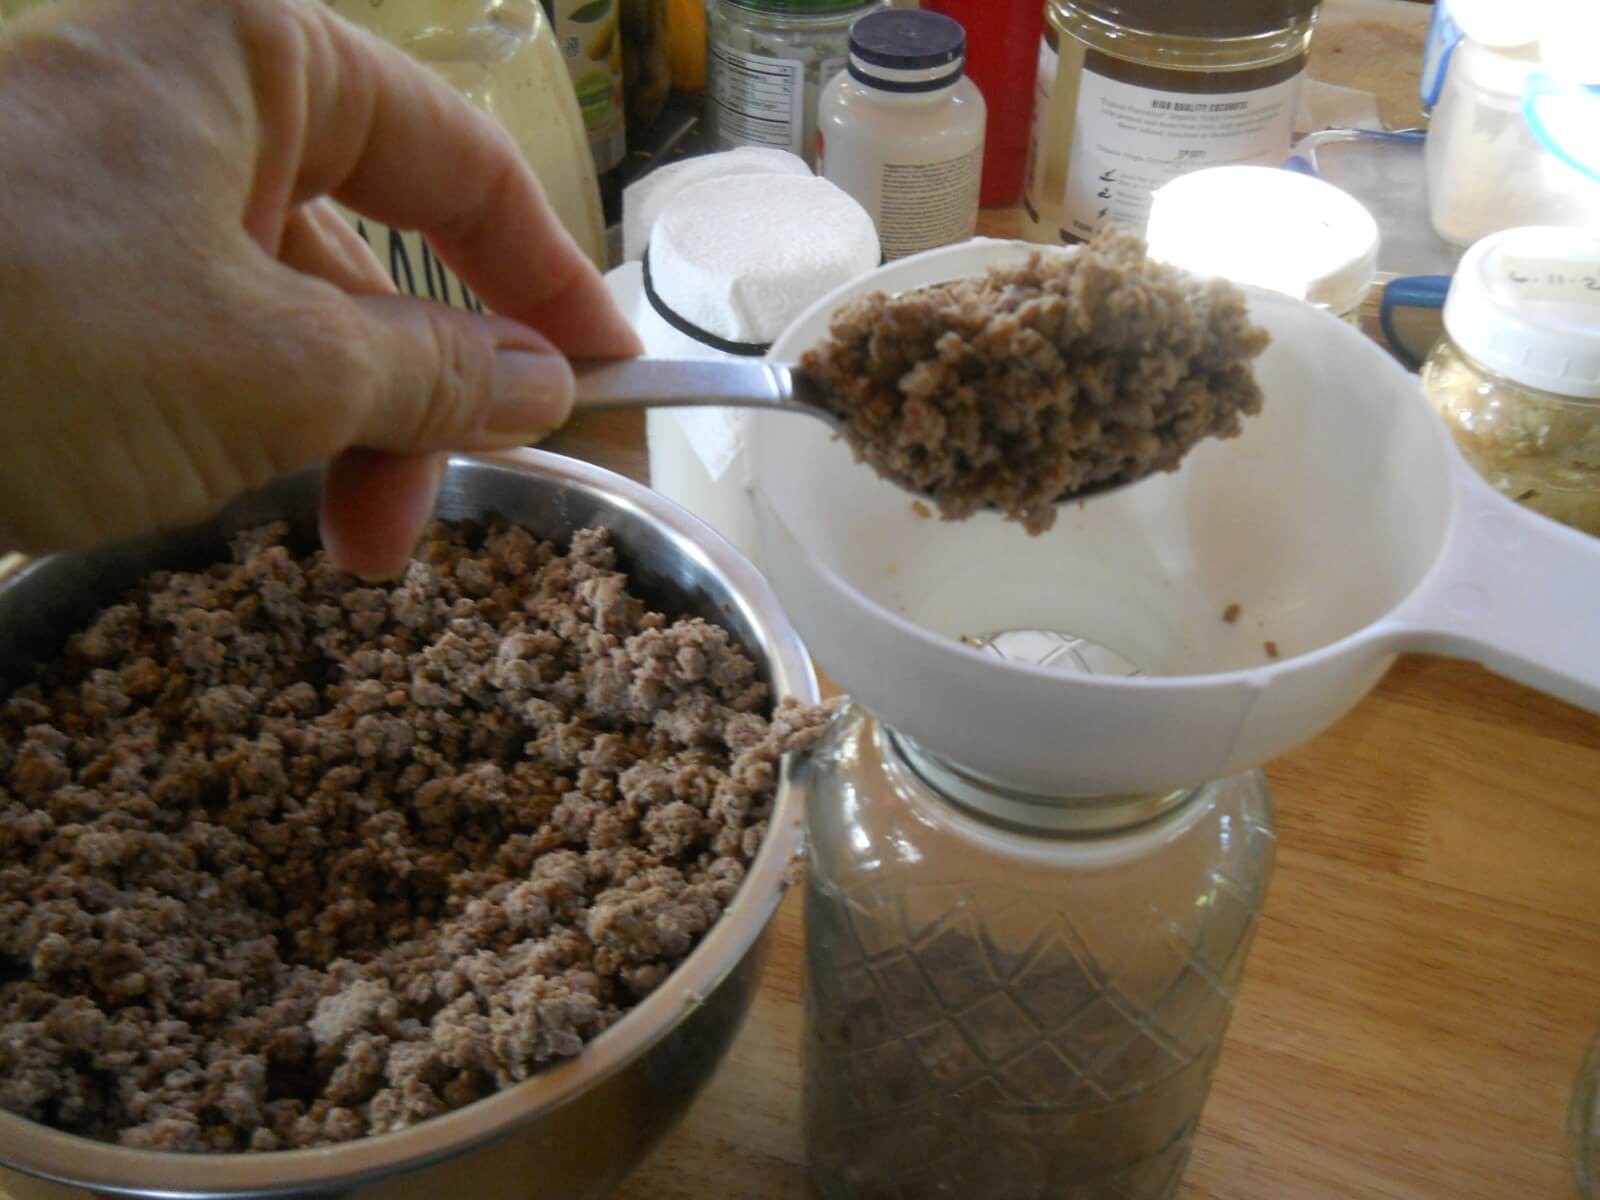
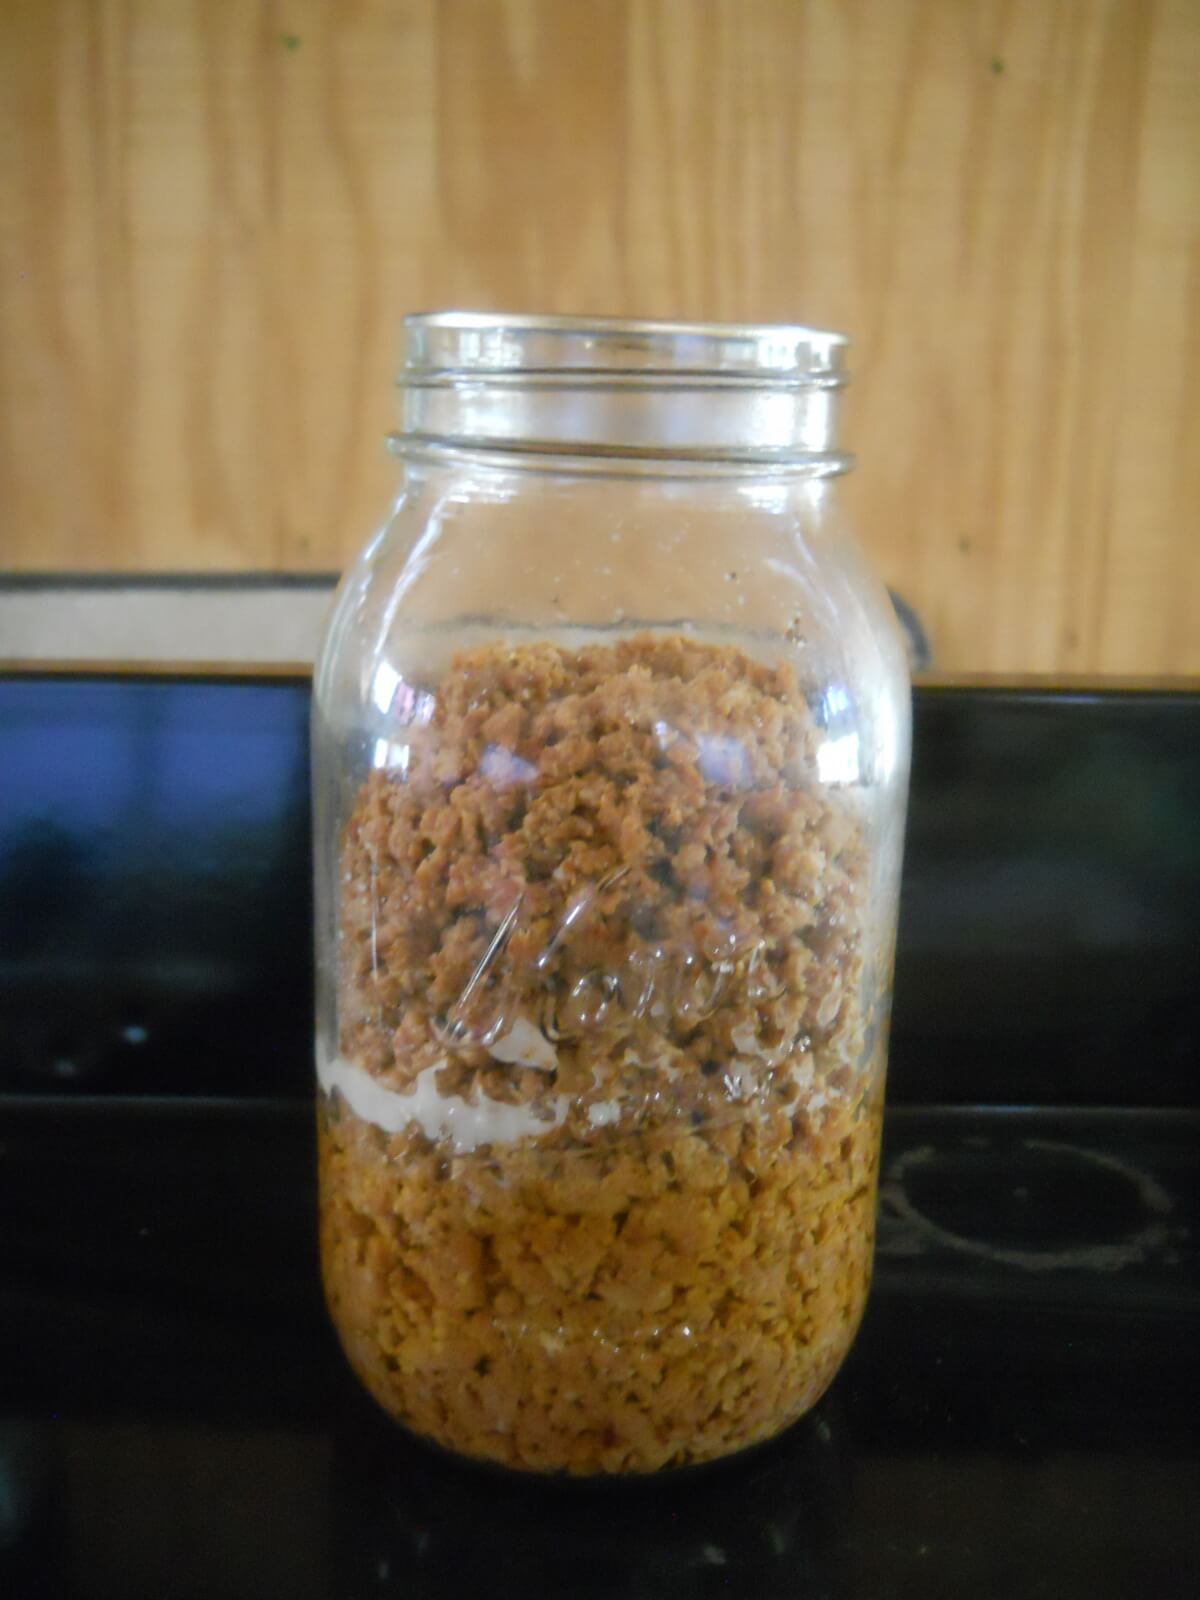
Okay, disclaimer: I highly recommend you follow the instructions in your canning book. This is how I *personally* can ground meat but you do what you believe is best. At this point, I spoon the meat into pint or quart jars. I do not heat up the jars in the oven but leave them at room temperature:

Spooning Ground Beef into Jar

At this point, I take a wet paper towel and wipe the rims of the jars with warm/hot water to remove any grease or small bits of meat:

Jars Full of Browned Ground Beef

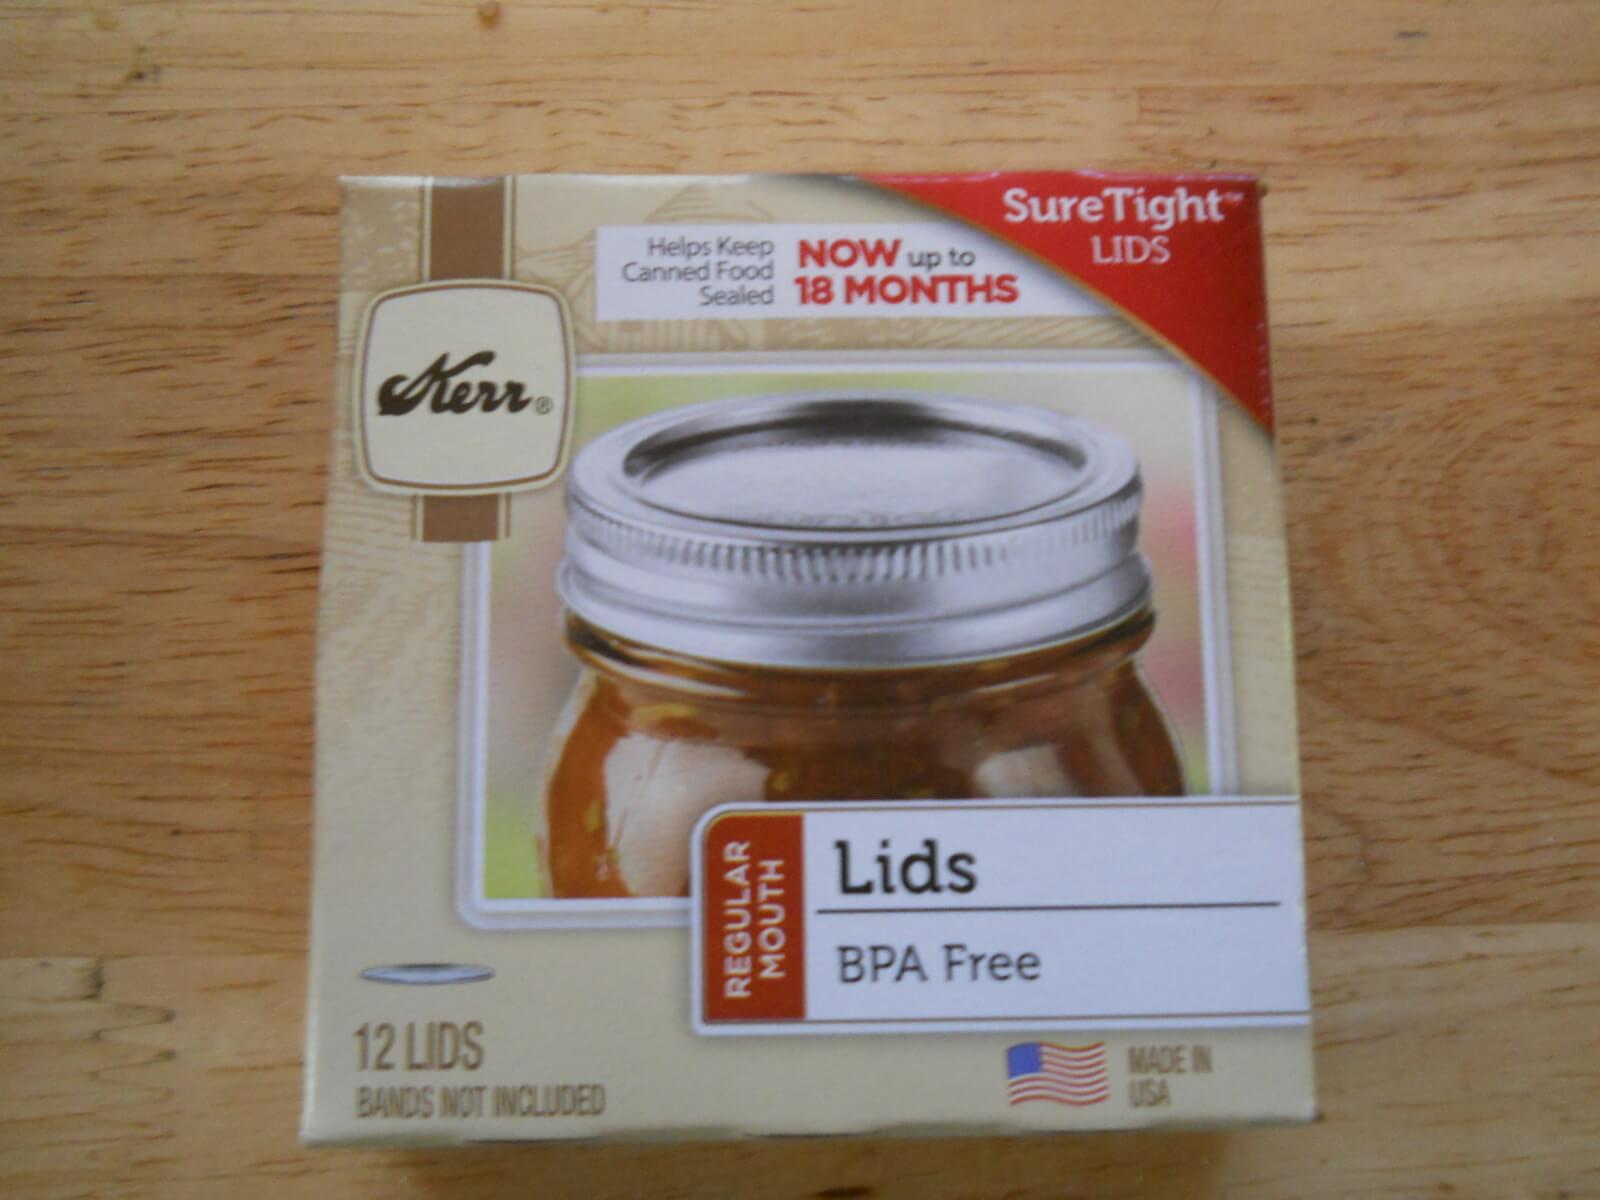
I use regular size tops and screw-on lids. You can purchase “wide-mouth” jars and lids if you like the openings of the jars to be bigger:

Canning Lids

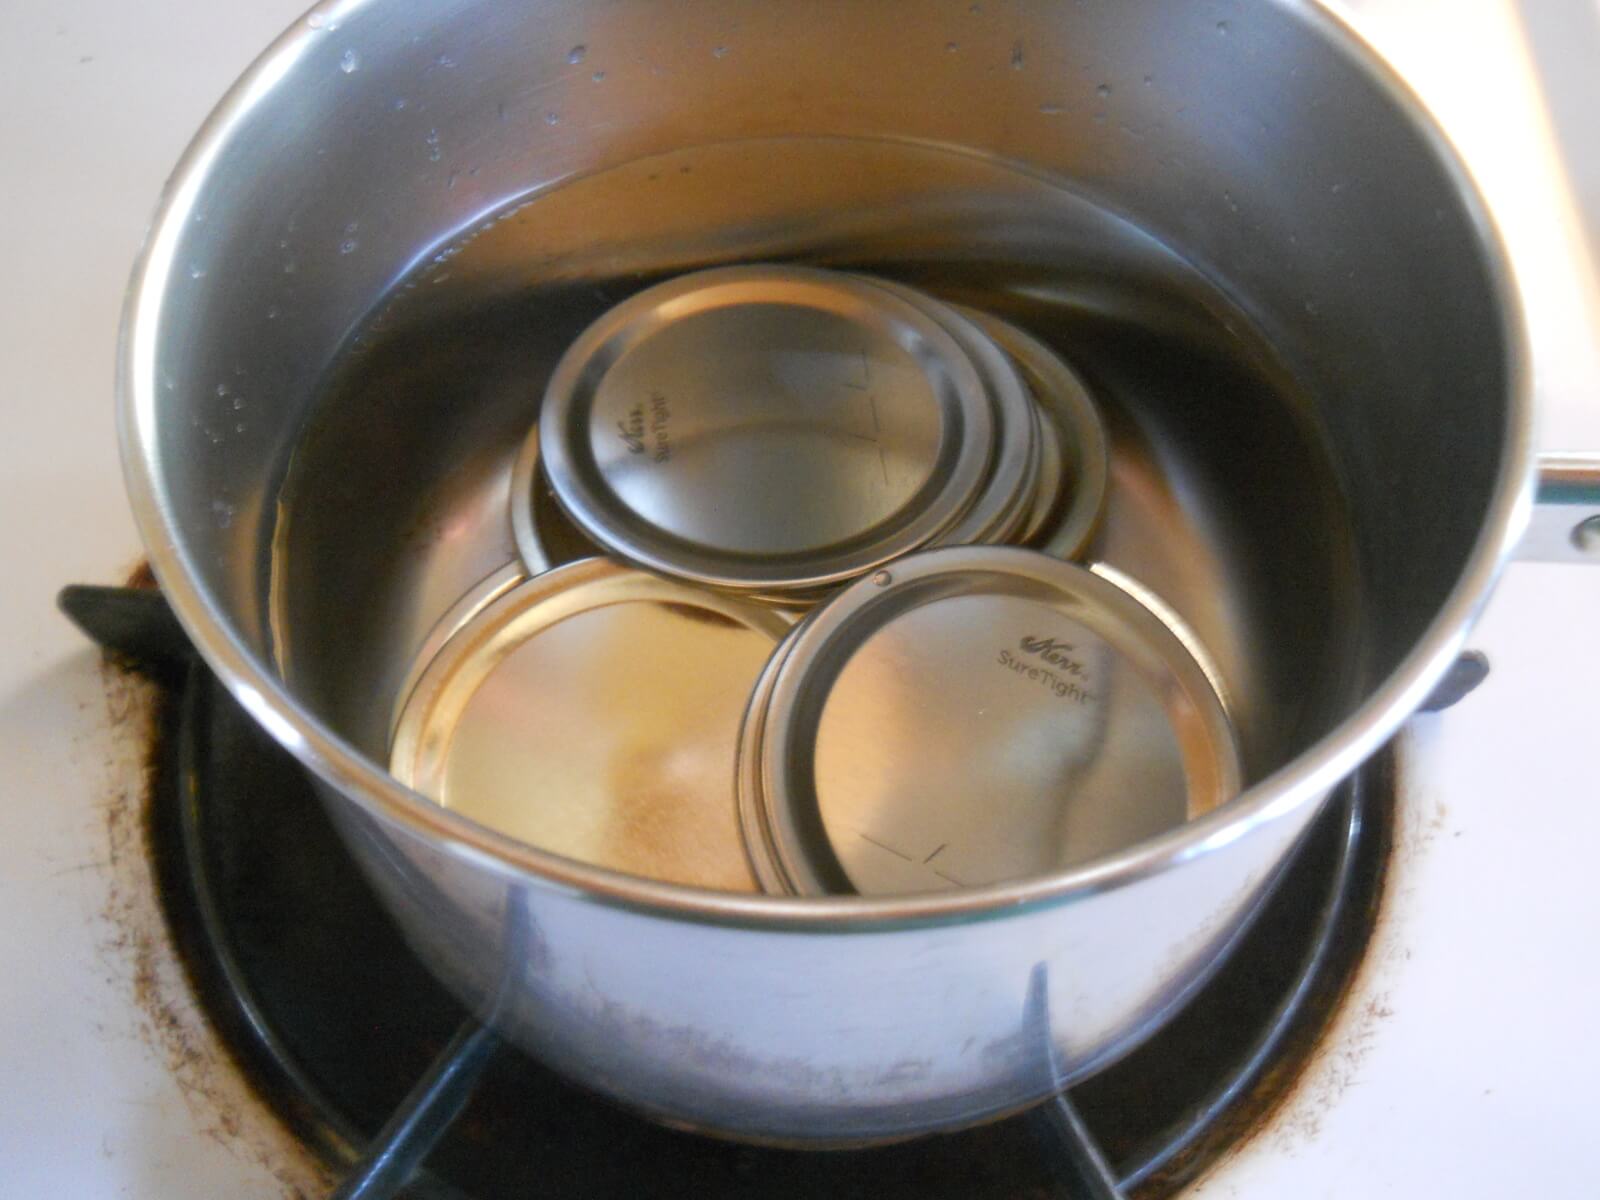
I put 14 lids in water and heat it up to “not-quite” boiling:

Canning Lids in Pot

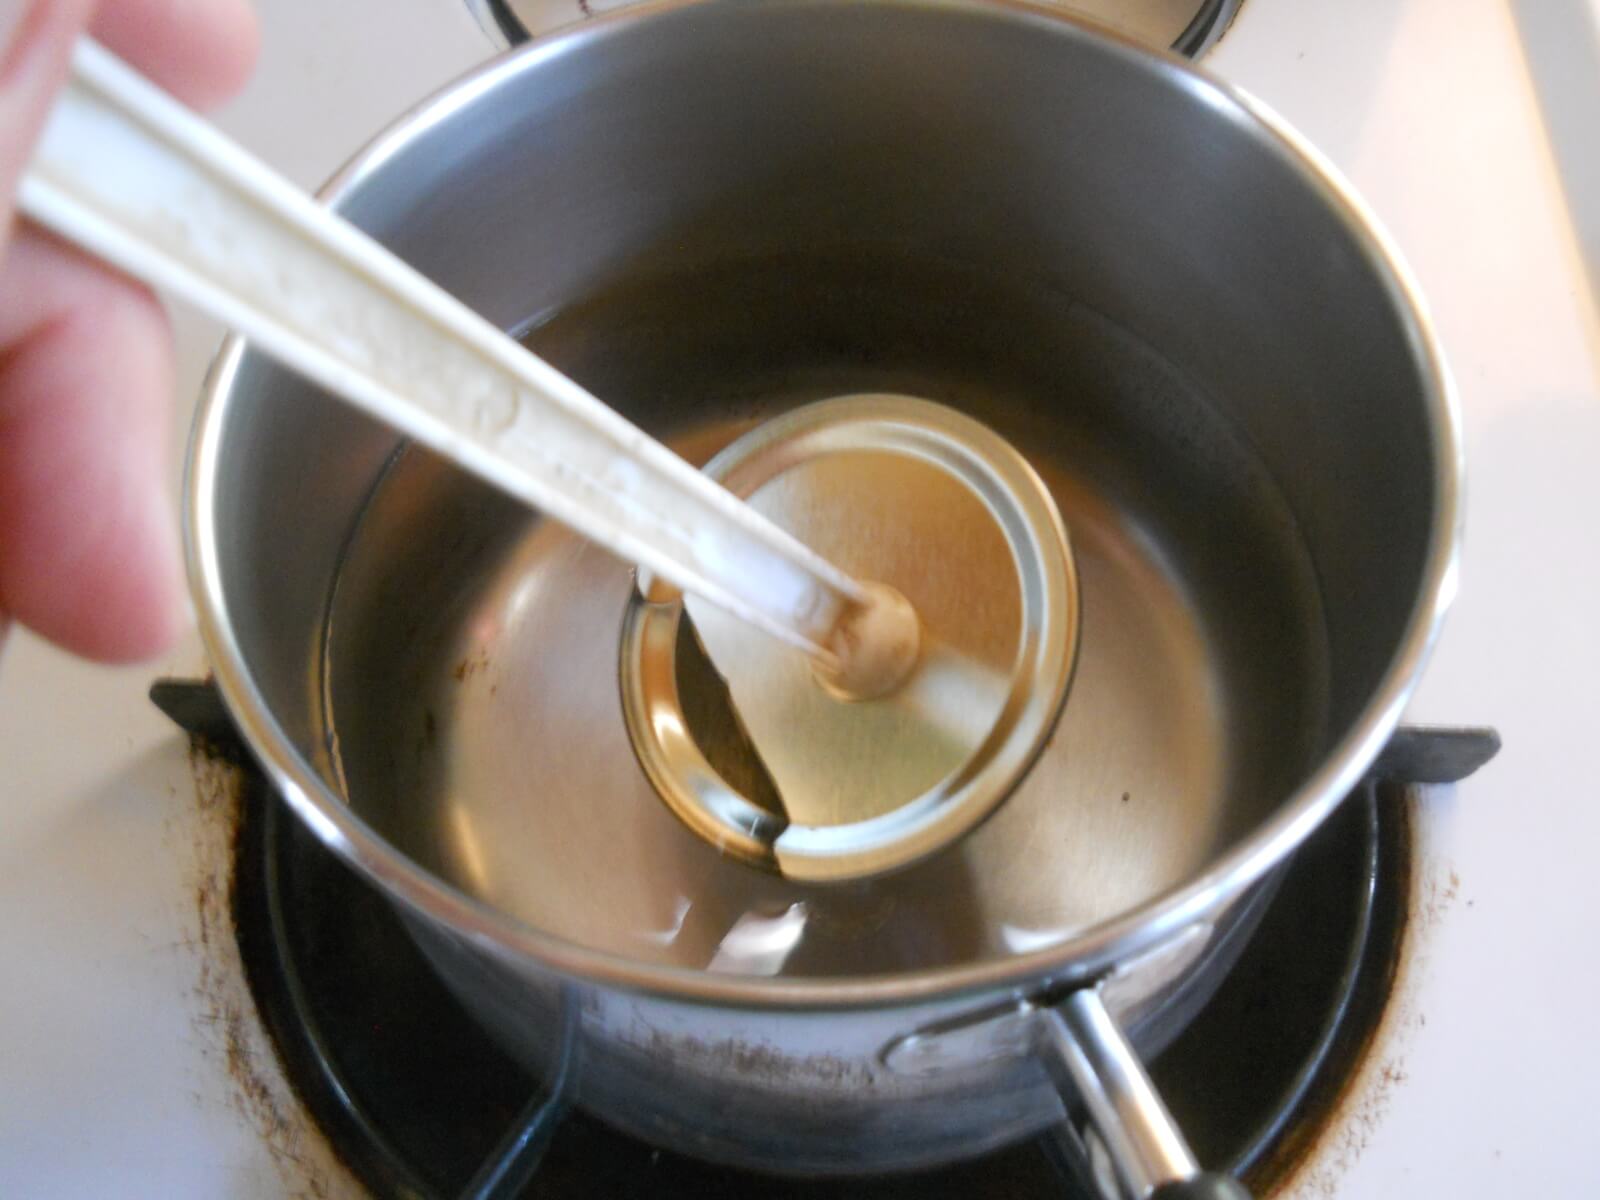
When the lids are ready, I use my handy-dandy magnetic lid wand to pull the lids out of the water:

Pulling Lids Out of Pot with Magnet Wand

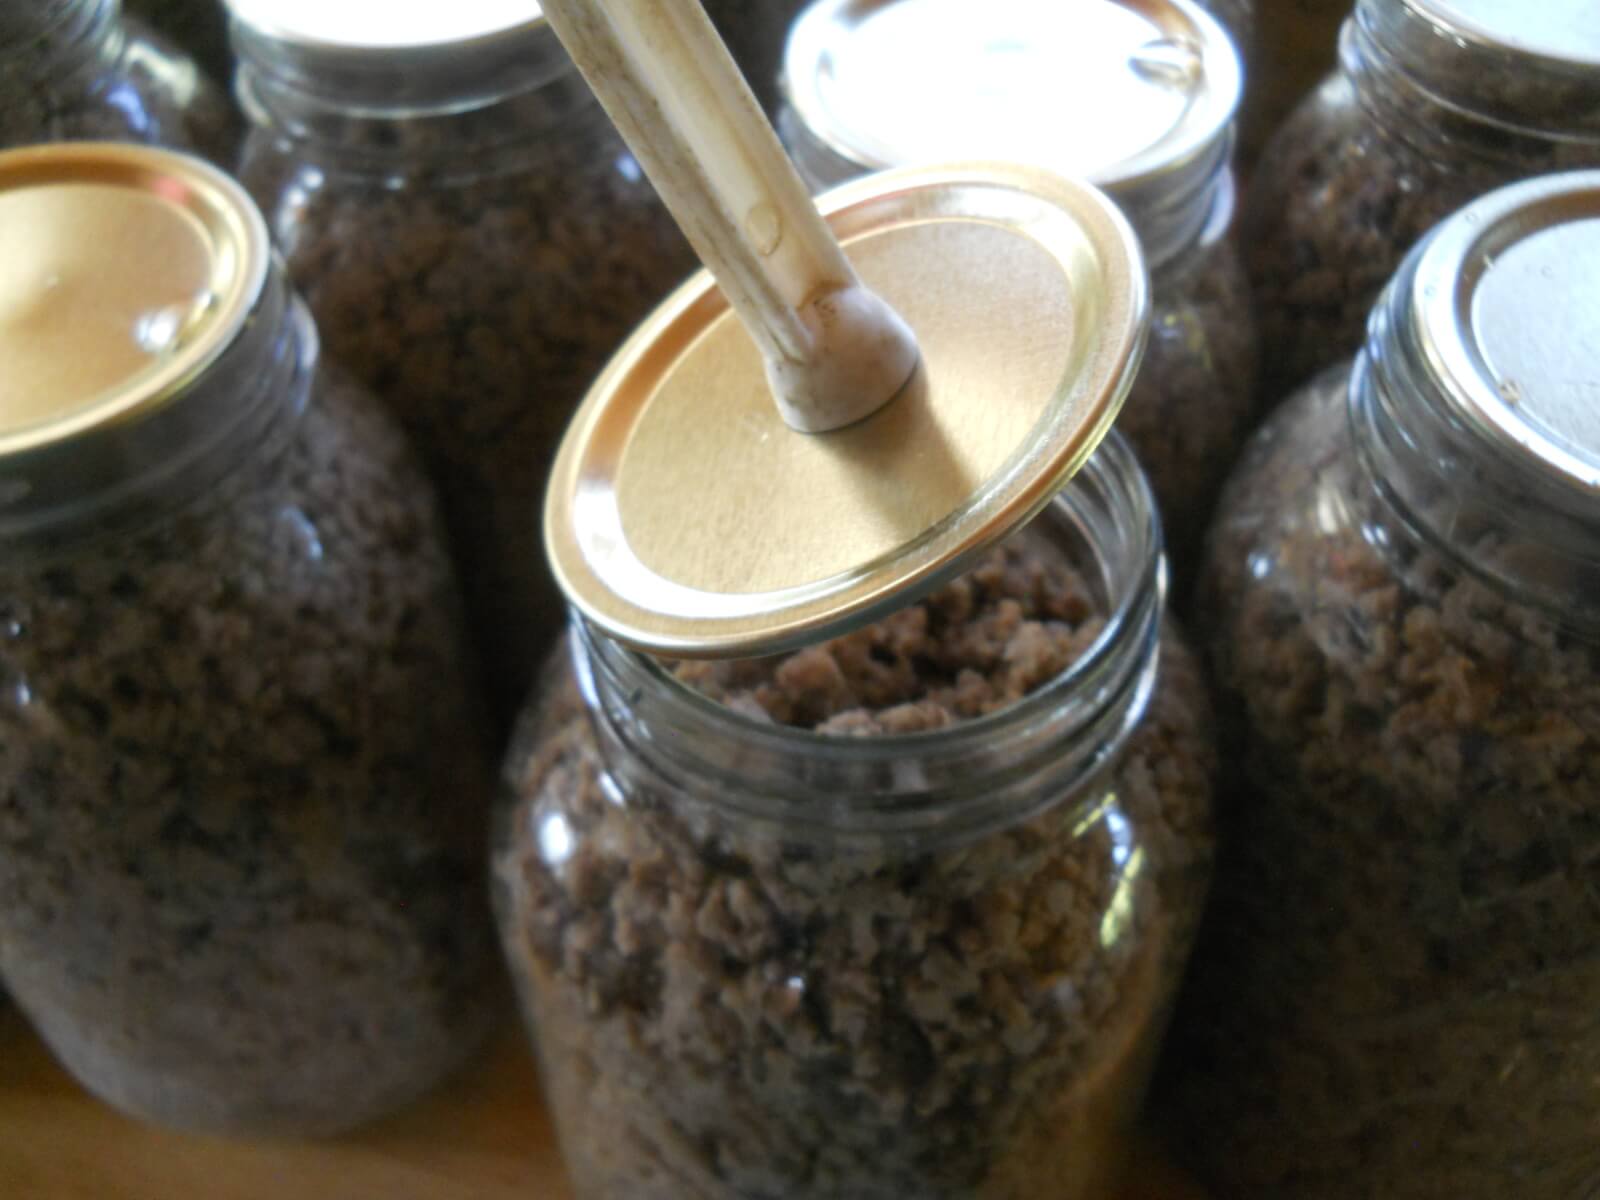
Then I place each lid on top of each jar:

Placing Canning Lid on Jar

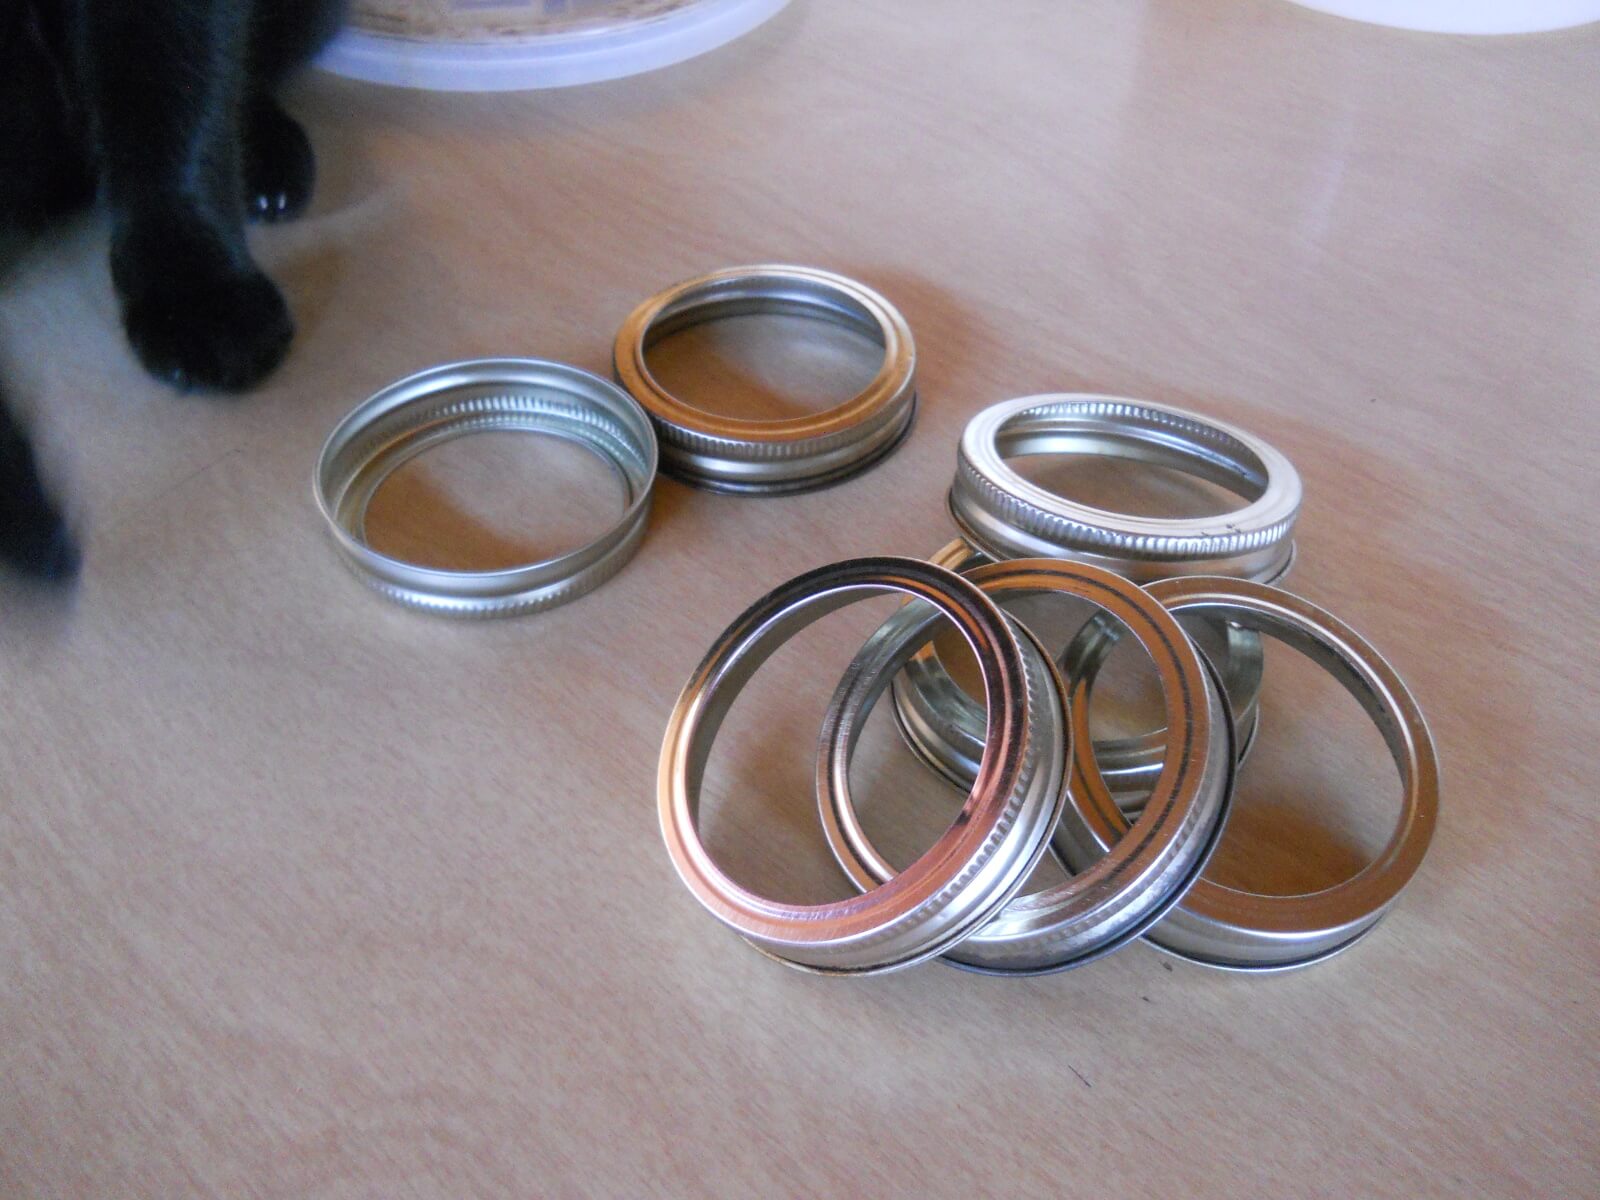
Then I use a screw top (canning jar band) on each jar to secure the lids. I had this little stack of screw tops just right and then Laila, our cat, started playing with them (sigh 🙂 ). I screw the lids to “hand tight”, but not too tight:

Canning Jar Bands

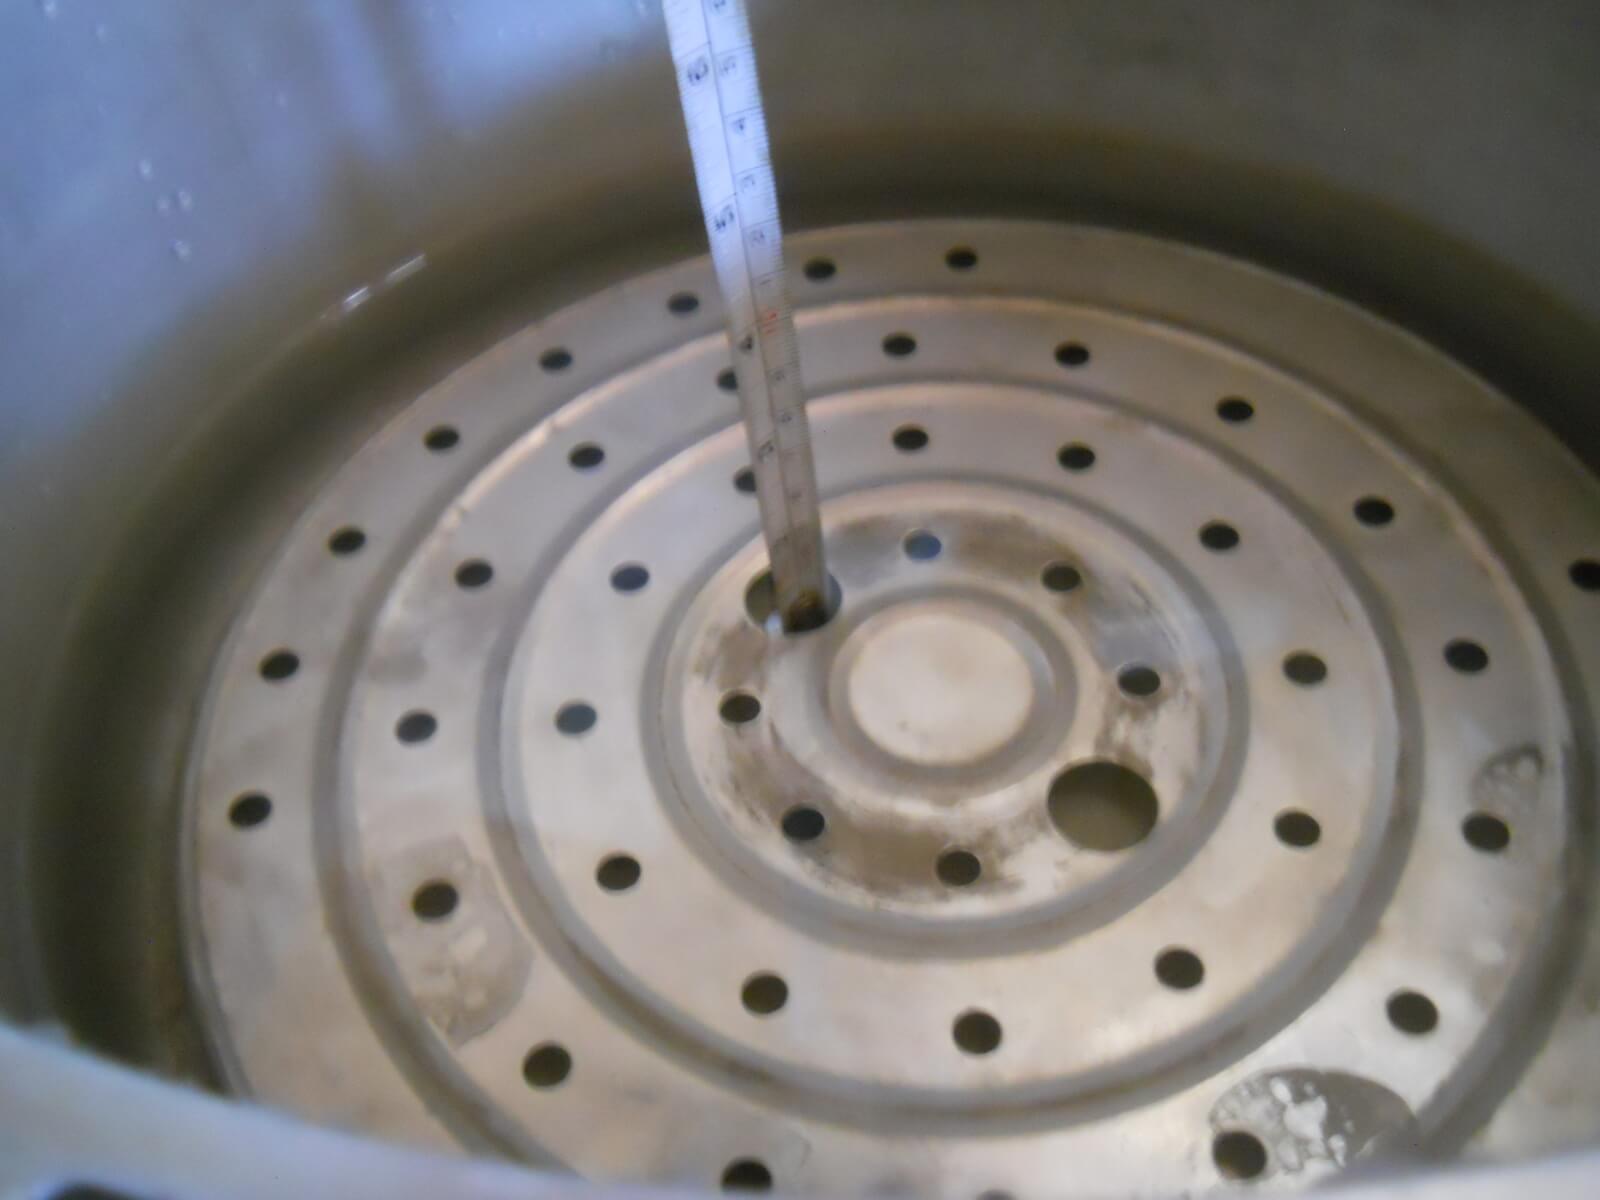
Depending on which canner you use, you pour water into the canner to the depth that the instructions indicate. It only takes less than two inches of water at the bottom of the canner. When I first started I thought it would take a lot more water, but when you place the jars in, the water level raises up almost to the top of the jars:

Measuring Water in Canner

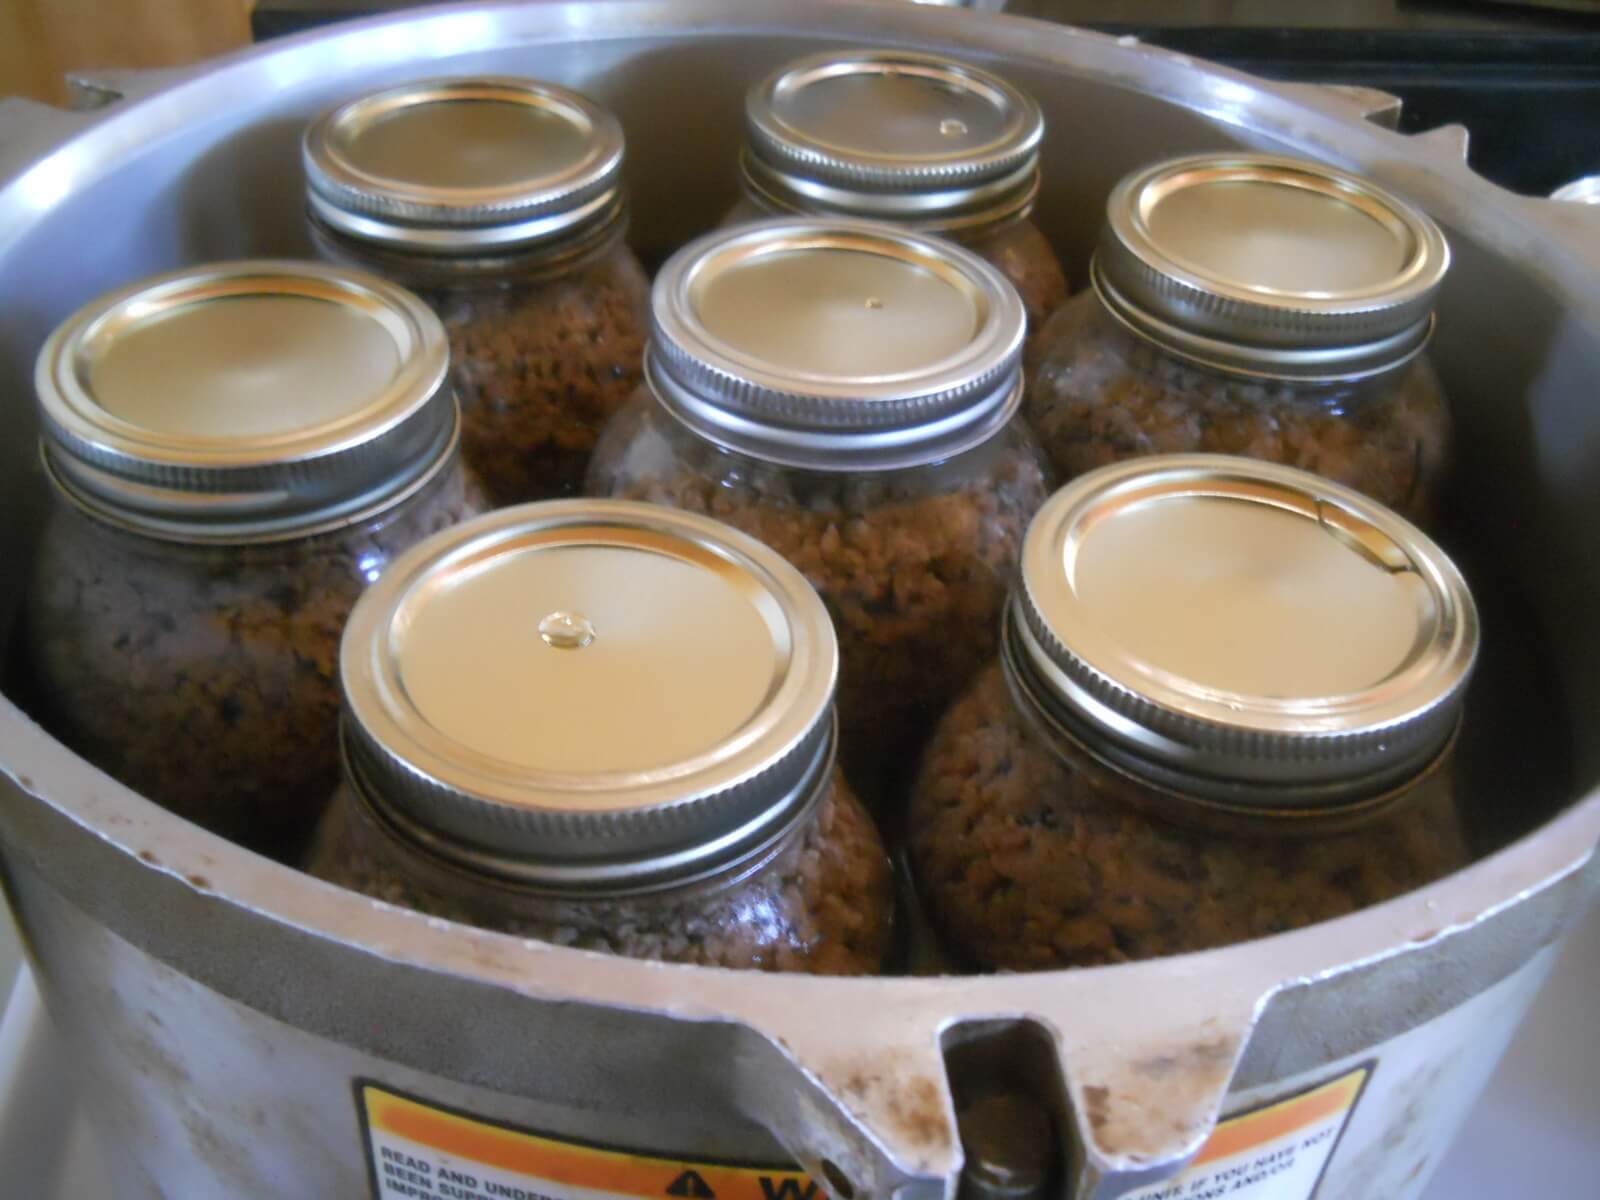
Then you load the jars into the canner with the water already in it. Tip! You’ll want your canner already on your stove before you load the jars because it’s pretty heavy to lift if you are using a larger load canner (speaking from lessons learned 🙂 ):

Jars in Canner

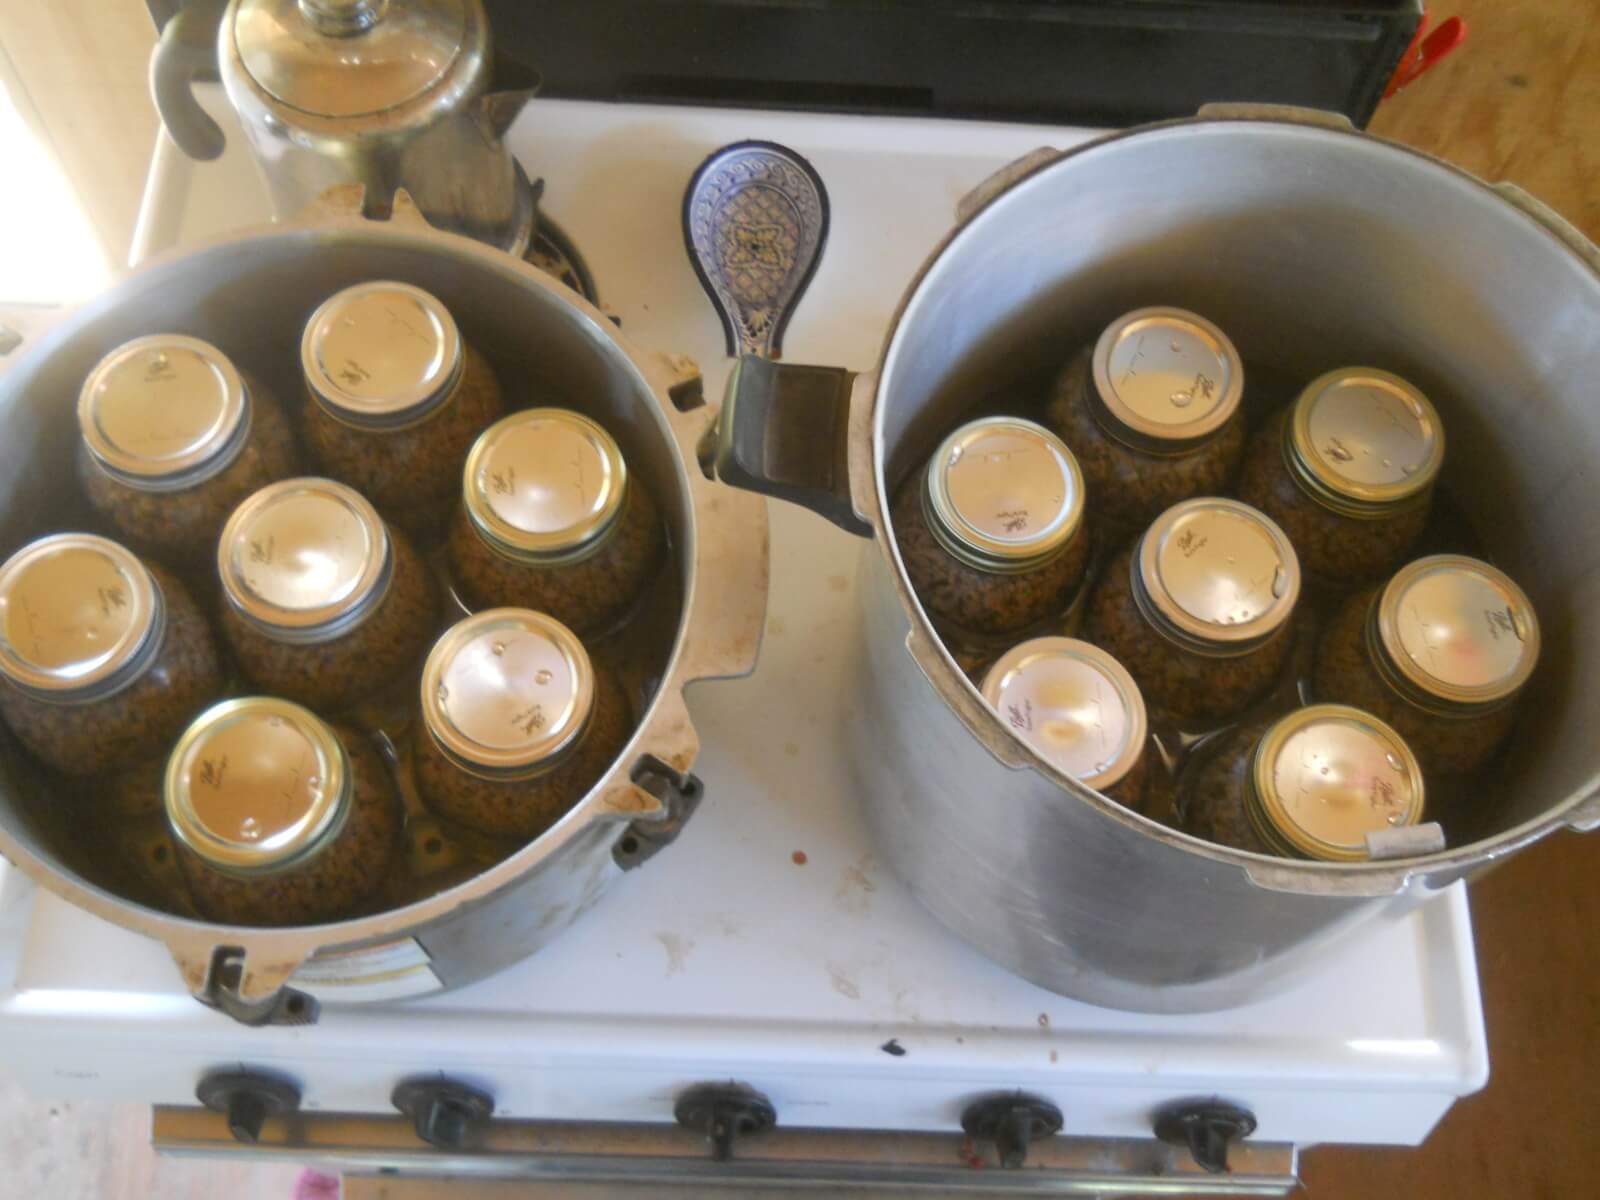
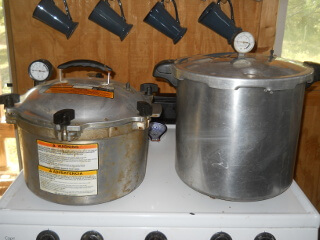
Here are both of my canners loaded and ready to have the lids secured. I do not heat up the canner and water prior to adding the jars. I prefer to skip the jar pre-heating process and heat everything up together more slowly:

Jars in Both Canners

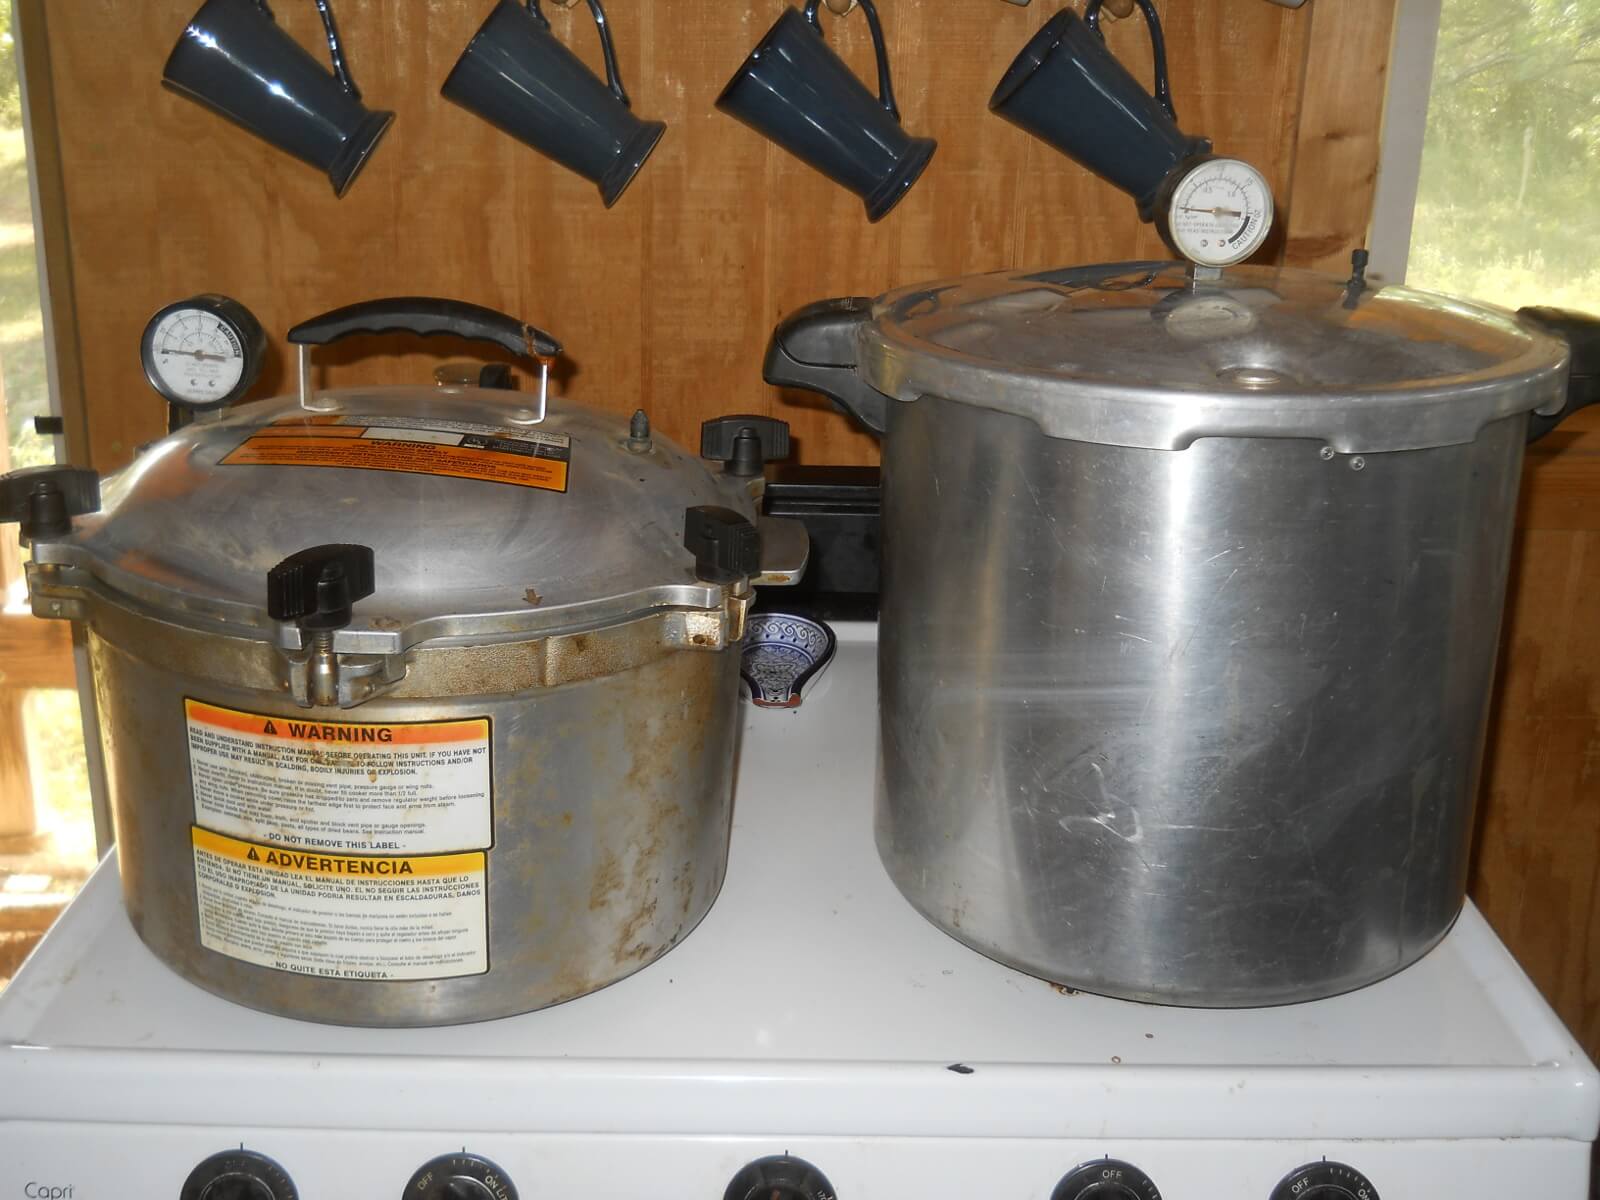
I have an All American canner and a Presto canner. Both are great and I highly recommend them. The All American (on the left) has screws all around the canner. The Presto has a twist-on lid with a gasket underneath the perimeter of the lid which creates a tight fit. The benefit of the All American is that you don’t have to continuously buy replacement parts, which you do with the Presto (the gasket). The Presto is less expensive so it all depends on your priorities. Depending on the sizes of jars you are canning, your processing time will vary. When canning meat, usually the processing time is 75 minutes for pints and 90 minutes for quarts. Just follow the instructions, especially for how much pressure to use, and you should do great!

Canners with Lids On

When the canning session is complete, you turn off the heat and let the pressure come down slowly and naturally until it reaches zero. Then you open the canner and remove the jars with your jar lifting utensil and place them on a heat stable surface to cool down. (Sorry, I don’t have pics for this step.) As the jars cool, you will start hearing the “pops” from the jars which means the vacuum sealing process is complete. Sometimes you will have a jar or more that just doesn’t seal for any number of reasons, so you can either can it again if you are planning another session, or put it in the fridge and use it up like any other perishable item, whichever you feel it best:

Canned Jars of Meat

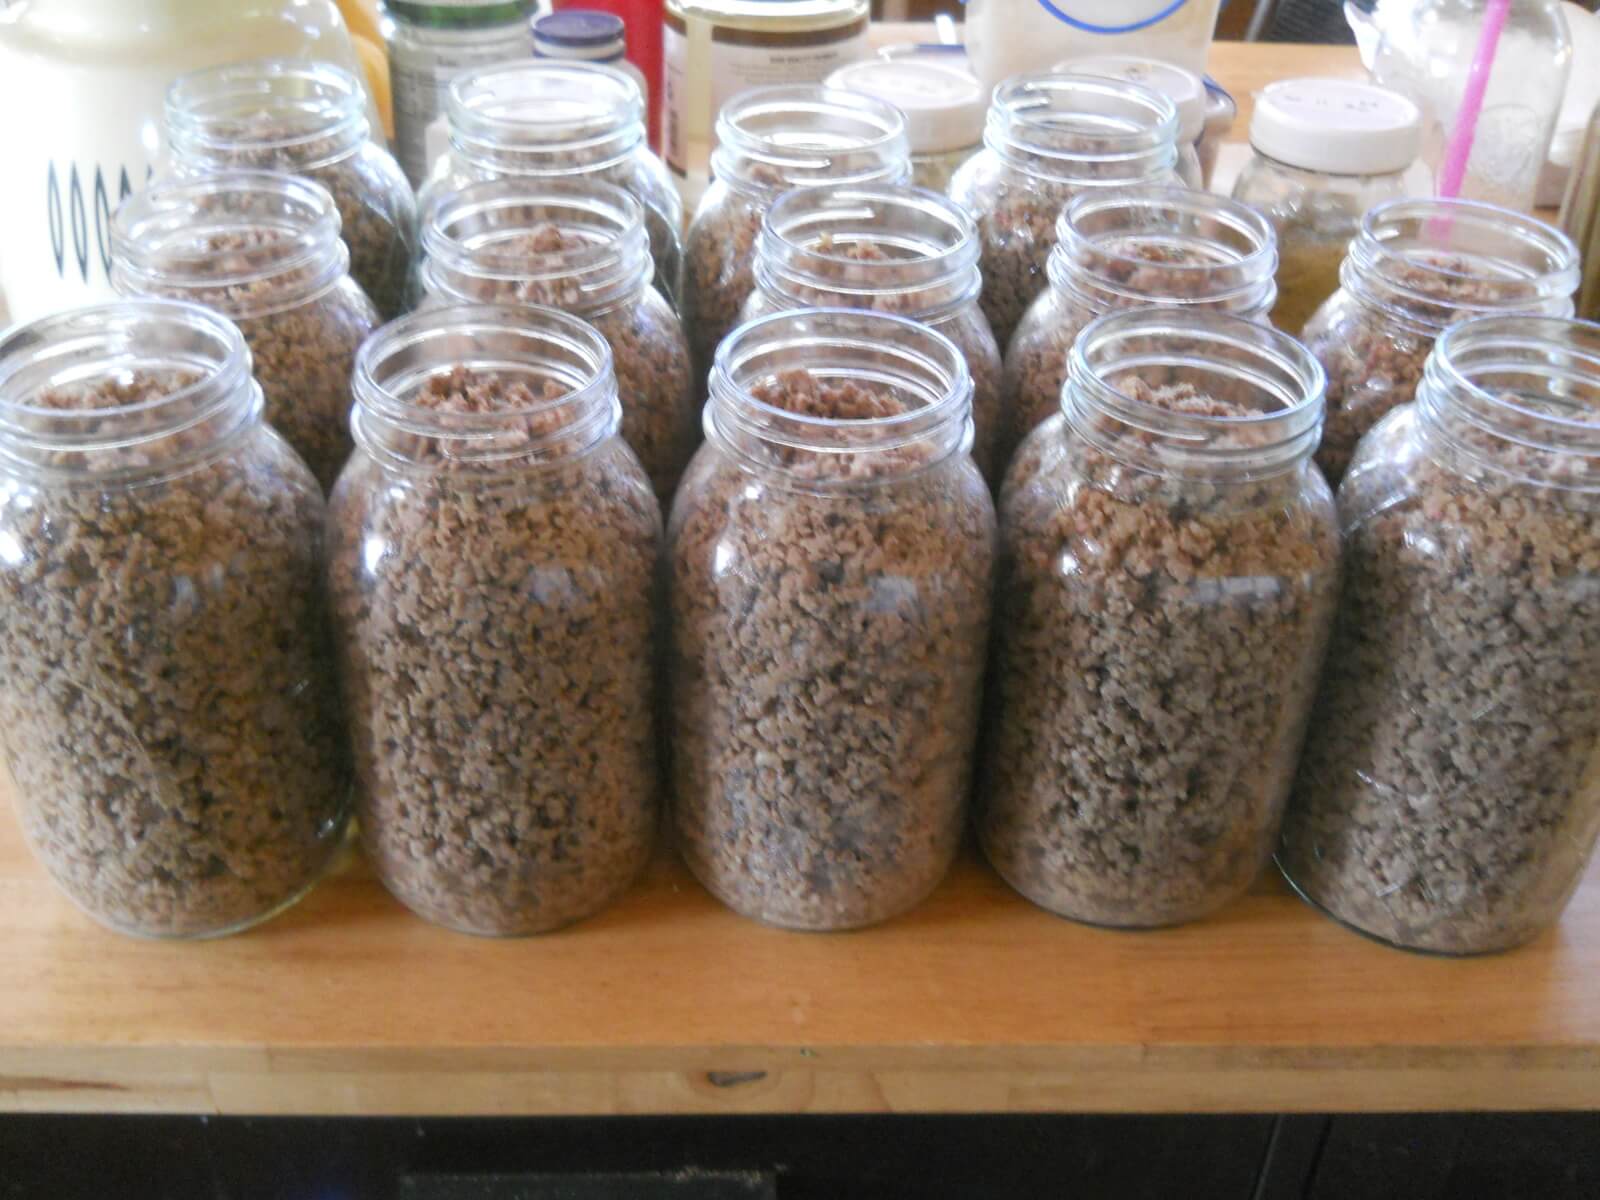
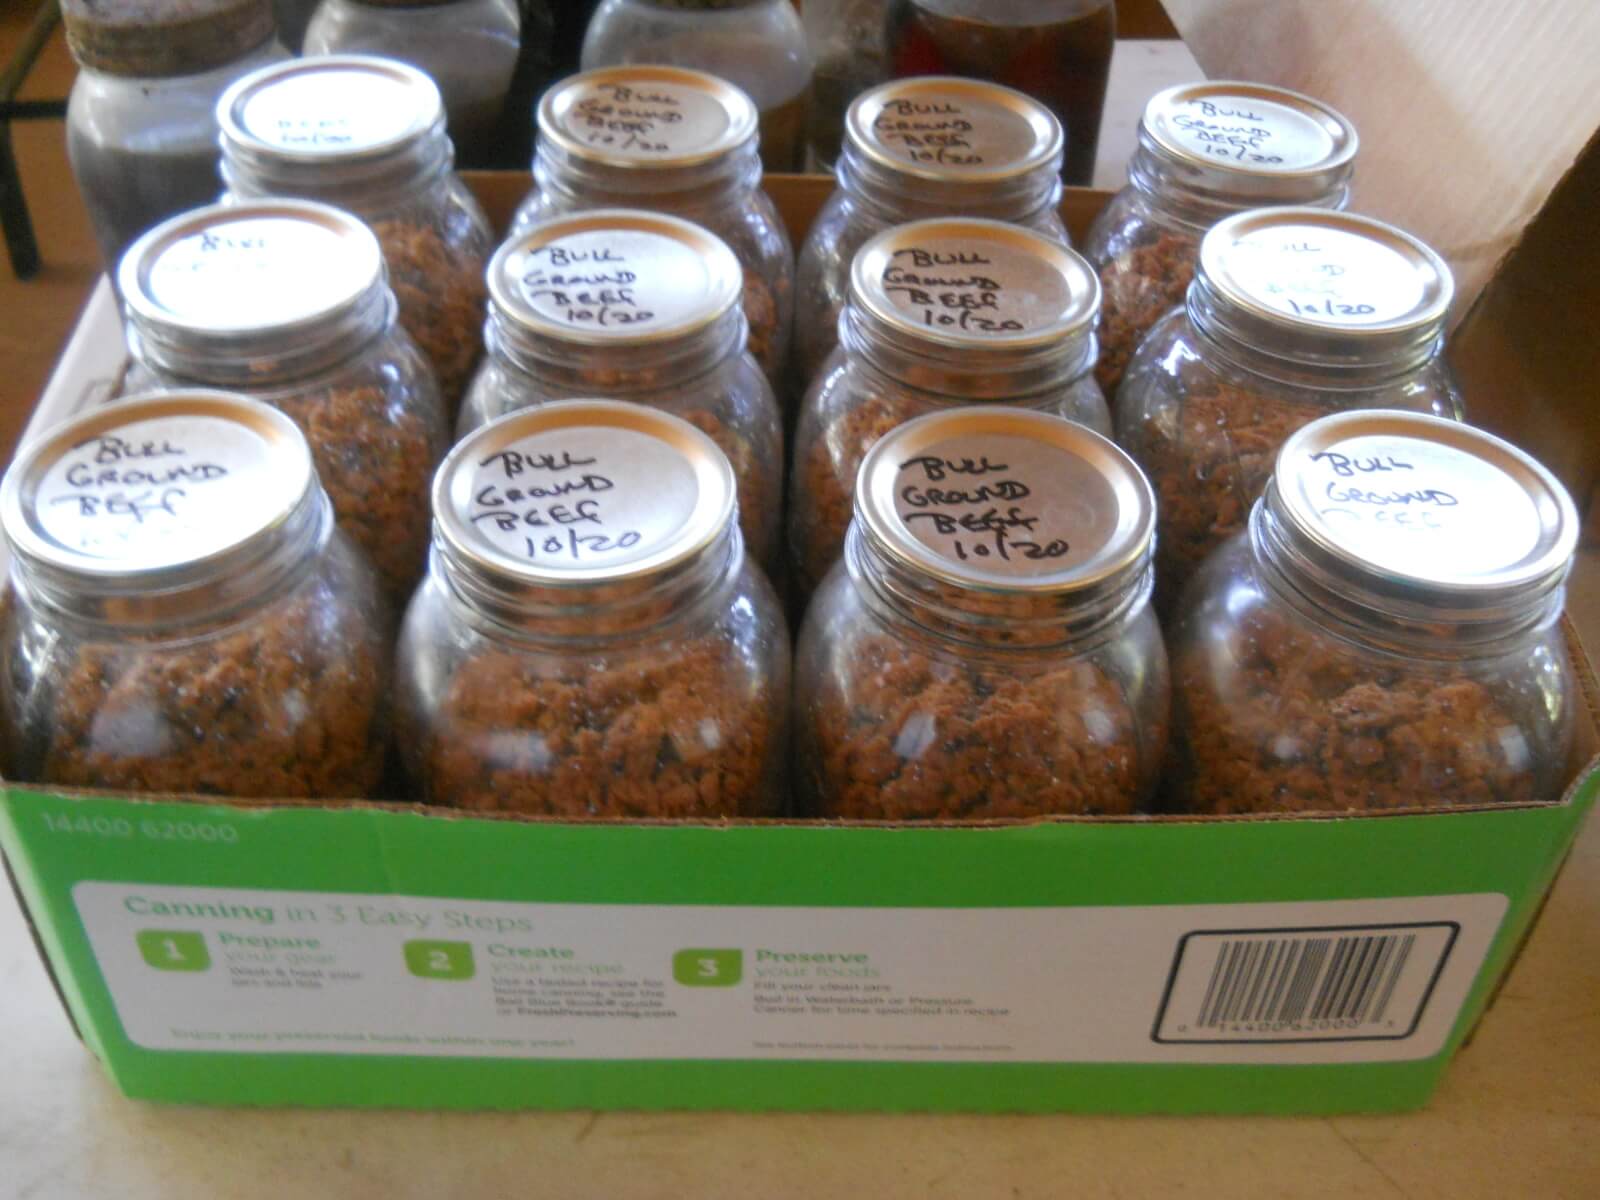
Here is the finished product. I canned 28 lbs. of meat in just an afternoon. This represents many meals for me and my husband. I store our jars in our root cellar without the bands (because they are not needed for the jar lid to stay on and sealed, and they can rust on the jar) and bring them up when I plan to use them in my weekly menu. This will taste great in a wide variety of dishes, including pasta dishes, casseroles, tacos, you name it!

Jar of Canned Ground Beef

I hope this birds-eye overview has helped you consider pressure canning for yourself and your family. It’s a small investment that can reap huge rewards!

Susan

Garden – Spring, Summer & Fall 2020

Just catching up on the garden this 2020, after our Spring-time update. The Lord has been very, very gracious in what He has granted this year…

The zucchinis were coming in fast and furious, and we needed a way to preserve them, so we decided to lacto-ferment as much as we could. That meant lots of shredding, so to help Sue out so she didn’t have to hand-grate everything, we got this nifty contraption that worked just great!

Handcrank Vegetable Shredder

And here are some results!

Grating Zucchini
Stored Grated Zucchini
More Zucchini
Still More Zucchini

We had some help from the neighbor children too!

Neighbor Children Helping Grate Zucchini

And Sue made some yummies from it all too!

Zucchini muffins:

Zucchini Bread Cupcakes

Breaded zucchini:

Breaded Zucchini

Zucchini cake:

Zucchini Cake

Here’s some okra. We did get a few beans, but those just didn’t work out:

Okra & Green Beans

For the okra, we’re storing them in cheap apple cider vinegar. This works great, even over a long period of time. Before we eat them, Sue soaks them in a bowl of water to remove some of the tartness, and that works well too.

Preserved Okra

Here was the garden back in early August:

Garden August 2020

And then October before our first potential freezes. We tried to get the zucchinis and okra through (a little spooky on the okra 🙂 ):

Garden October 2020
Zucchini Plants Covered for Freeze
Okra Plants Covered for Freeze

And here are the Goji berry plants, with a bunch of berries!

Goji Berry Plants October 2020

And this is the garden after the freeze. After we took off the blankets, we ended up getting hit with a freeze on a night that it wasn’t supposed to. It did hurt the zucchinis:

Garden After Freeze
More Garden After Freeze

But, with a freeze, it was time to go get any sweet potatoes out of the ground God might have granted, and here they are, including supervisor William making sure everything is copacetic!

Harvesting Sweet Potatoes
More Harvesting Sweet Potatoes

And the final haul inside for curing, and then eventually wrapping in newspaper for long-term storage:

Curing Sweet Potatoes

Finally, this is the garden as of today. Not much left:

Garden November 2020

But, some of the zucchini plants actually started to recover from the freeze, grow new leaves, and one put out it looks like one more zucchini for the road!

Last Zucchini Growing

As I said, the Lord was very gracious this year. Here are the final jars of preserved zucchini and okra. The jar on the left is the top-numbered pint jar, the counting of quart jars in the middle picked up after that number, and then the jar on the right is our final-count okra jar:

Final Preserved Zucchini & Okra Jars

We are humblingly thankful to God for His most gracious provisions. It’s such a blessing to see Him work His direct providence in the garden, watching Him apply the water and nutrients to plants to produce fruit. We pray He do the same in our hearts, producing the fruit of the Spirit, for His glory and maybe the benefit of others!

— David

Garden – Winter 2018 & Spring 2019

Just a little catch-up on garden events…

Winter 2018

Late last year near the end of December, with the milder weather up to that point, we had an extra squash plant just start to grow from seed planted in the Spring, and after keeping it covered with blankets when necessary, the Lord graciously granted a few squashes, and we thank Him:

Winter 2018 Squash Plant

Winter 2018 Squash Plant

And He granted a turnip to grow too, for which we are thankful as well! Some time ago I just threw down a bunch of turnip seed, and every once in a while a turnip just shows up! 🙂

Winter 2018 Turnip Plant

Winter 2018 Turnip

Spring 2019

We planted garlic at the end of last year, and recently it was time to go get them!

Here is how the area looked in March…lots of weeds, but garlic growing too:

2019 Garlic Garden

2019 Garlic Plant

We pulled one up back then, but there was no bulb on it, so we realized we were still too early. I did put that one garlic back hoping it would continue…

The prickly lettuce that just grows natively here really took over our gardens this year, I believe especially because of the many rains God has graciously granted, so I went into the garlic area and cut everything down that wasn’t garlic, to try to give it all some sun:

Weeding the Garlic Garden

But then about a week and 1/2 later, the garlic plants started looking like they were maybe dying, and we had more rain coming, and I was worried they would start rotting, so I decided to start digging them up…

2019 Garlic Area

This is a planted garlic:

Garlic Plant

I cleared the mulch around it:

Garlic Plant with Mulch Cleared

Dug down the full hand-shovel length at 4-5 points around it, several inches away from the plant, and lifted slightly each time:

Digging Out Garlic Plant

More Digging Out Garlic Plant

And then when the ground around the plant was loose enough, I gently pulled out the bulb:

Dug Out Garlic Plant

Interestingly, some of the garlic plants started to bolt what looked like a new bulb! I wonder if over time that would have planted itself…

Bolting Garlic Plant

I don’t know, but here are some of the harvest results! Not that every plant that sprung up made it up to this point, but after pulling up that one early with nothing on it, and with what I thought was going to potentially be a problem with any garlic bulbs already starting to rot in the ground, the Lord graciously ended up granting that every single plant have at least some bulb on it, including that one I replanted!

Harvested Garlic

More Harvested Garlic

Harvested Garlic in a Bucket

I made a meat dryer some time ago, which is perfect for hanging garlic to dry and cure. Here is after the first part of the garlic was gathered:

Harvested Garlic Hangling in Meat Dryer

And then the rest of it:

More Harvested Garlic Hangling in Meat Dryer

And finally with the meat dryer’s screen panel in place:

Harvested Garlic Hangling in Closed Meat Dryer

We are always very thankful to God for His gracious provisions, and the miracle of taking a seed, which appears dead, and burying it, and then life coming from it, and growing and multiplying itself and being fruitful according to the Lord’s providence alone (ie. I can’t make a garlic bulb just appear), like His word planted in the hearts of men and His Spirit bringing forth new life as He wills, and like His Son, the Lord Christ, dead and buried, but miraculously raised out of the ground again to life! We are eternally grateful to God for the salvific life He brings through Jesus Christ!

— David

Garden – Fall 2018

Since our last garden update, we thought we’d show how the garden has progressed through a difficult drought. With lots of heat and little rain in the Summer, the plants struggled, but coming into Fall, the Lord graciously granted some good rains, to Whom we are thankful.

Here’s a recap of the garden goings-on…

Okra

Okra always does very well:

Okra

But even this year, they struggled, and dropped their leaves early, which is quite unusual. Normally, they stop producing when the freezes come, but it was different this year:

Dried Up Okra Plants

But we are thankful to God for what He granted! And here are some of them preserved in apple cider vinegar:

Okra Preserved in Apple Cider Vinegar

Sweet Potatoes

This year, I planted them in our original garden area. Between the rains, and with hard freezes coming, it was time to get them out of the ground. Here are the main plants the day of:

Sweet Potato Plants

And some volunteer ones from last year:

Volunteer Sweet Potato Plant

Another Volunteer Sweet Potato Plant

Here’s Sue helping dig them out:

Harvesting Sweet Potatoes

The uncollected harvest:

Harvested Sweet Potatoes

And then what the Lord graciously granted! It seems less than last year and they are quite a bit smaller, but I put them in a garden that has had only one mulch layer put down, and we went through one of our worst heat spells and droughts this year, so besides the fact that God doesn’t have to grant anything if He doesn’t want to, we are thankful for what He did, with food coming directly from Him!

Bucket of Sweet Potatoes

Now it’s 3 weeks of hardening out in the open, and then 6 weeks into the root cellar, each individually wrapped in newspaper for sweetening! Yum!

Garlic

Since we had a garlic harvest last season, we saved some for planting this year, and completed that process recently too. I believe this is our first time of replanting our own!

Here is the beautiful soil the Lord composted over the last year, into which we planted the garlic cloves:

Compost Pile

Composted Soil

And a newer pile we had started:

Newer Compost Pile

And here are the garlic plants starting to sprout up!

Garlic Plants

We pray for God’s provisions from these next year, as He wills.

Around the Garden

Here are some other things currently growing in the garden…

The Goji berry plant:

Gogi Berry Plant

The blackberries, which died back, but started growing from the roots again:

Blackberry Plant

Another Blackberry Plant

Our little volunteer squash plant. I cover it with double blankets most nights 🙂 :

Volunteer Squash Plant

A volunteer tomato plant. It had little flowers on it, but sadly,even covered with blankets, didn’t make it because of the cold:

Volunteer Tomato Plant

Free prickly lettuce:

Volunteer Prickly Lettuce

And a volunteer turnip:

Volunteer Turnip Plant

And finally, I thought I would include here the last from the orchard, this year’s pecans. Once again, I think the drought really made things struggle:

Pecans

But, as always, we are very thankful to the Lord for granting all these provisions! May we be humbled He even considers giving these things at all, and may we be satisfied with, and thankful for, what He does. And may He grant us to be fruitful followers of Him as well!

— David

The Orchard – Summer 2018

The Lord has graciously continued the 2018 orchard bounty through Summer, with mostly nectarines and pears!

Looking good!

Nectarines

God’s gracious bounty!

Buckets of Fruit

Ripening…

Nectarines Ripening

Pears Ripening

And then cut up ready for the solar food drier:

Fruit Pieces

Here they are on the dehydrator:

Fruit Pieces on Solar Food Dehydrator

And showing dried vs. new. Sue did a great job of monitoring this and getting them off the drier before they were too far done…good job, Honey! 😀

Dried vs. New Fruit Pieces on Solar Food Dehydrator

These things taste great…it’s tough to stop eating them! 😀

Dried Fruit in Jars

God was so gracious, we had to pressure can some of the fruit to keep up. And with the pears, because their ripening schedule is difficult to guess (they don’t ripen on the tree, and the ripe period of time is a small window and hard to detect), we just canned them as well.

In a more sad note, we lost probably our biggest tree that had lots of peaches on it, but in God’s plan, it was time for it to be done. Like last time, it’ll go to firewood:

Dead Peach Tree

But, we are so very grateful to the Lord for granting these provisions directly off of the land! It is always our prayer that we bear much spiritual fruit by abiding in Christ deriving nourishment from Him for His graces to grow in us and outwardly for His glory!

— David

« Older posts