This is our journal of what we pray is our sojourn of life (Hebrews 11:8-10) along the narrow way (Matthew 7:14), even the old paths (Jeremiah 6:16), submitting to the Bible as a light unto both (Psalms 119:105). It is our prayer that these documented moments in our earthly time benefit whom God might choose to edify, but ultimately that God glorifies Himself through them.

Category: house (Page 1 of 8)

A House – Update LII – Bathroom Cabinets & Library Bookshelves

It’s been over a year since our last house update, so I thought we’d catch up everyone as to the latest progress…

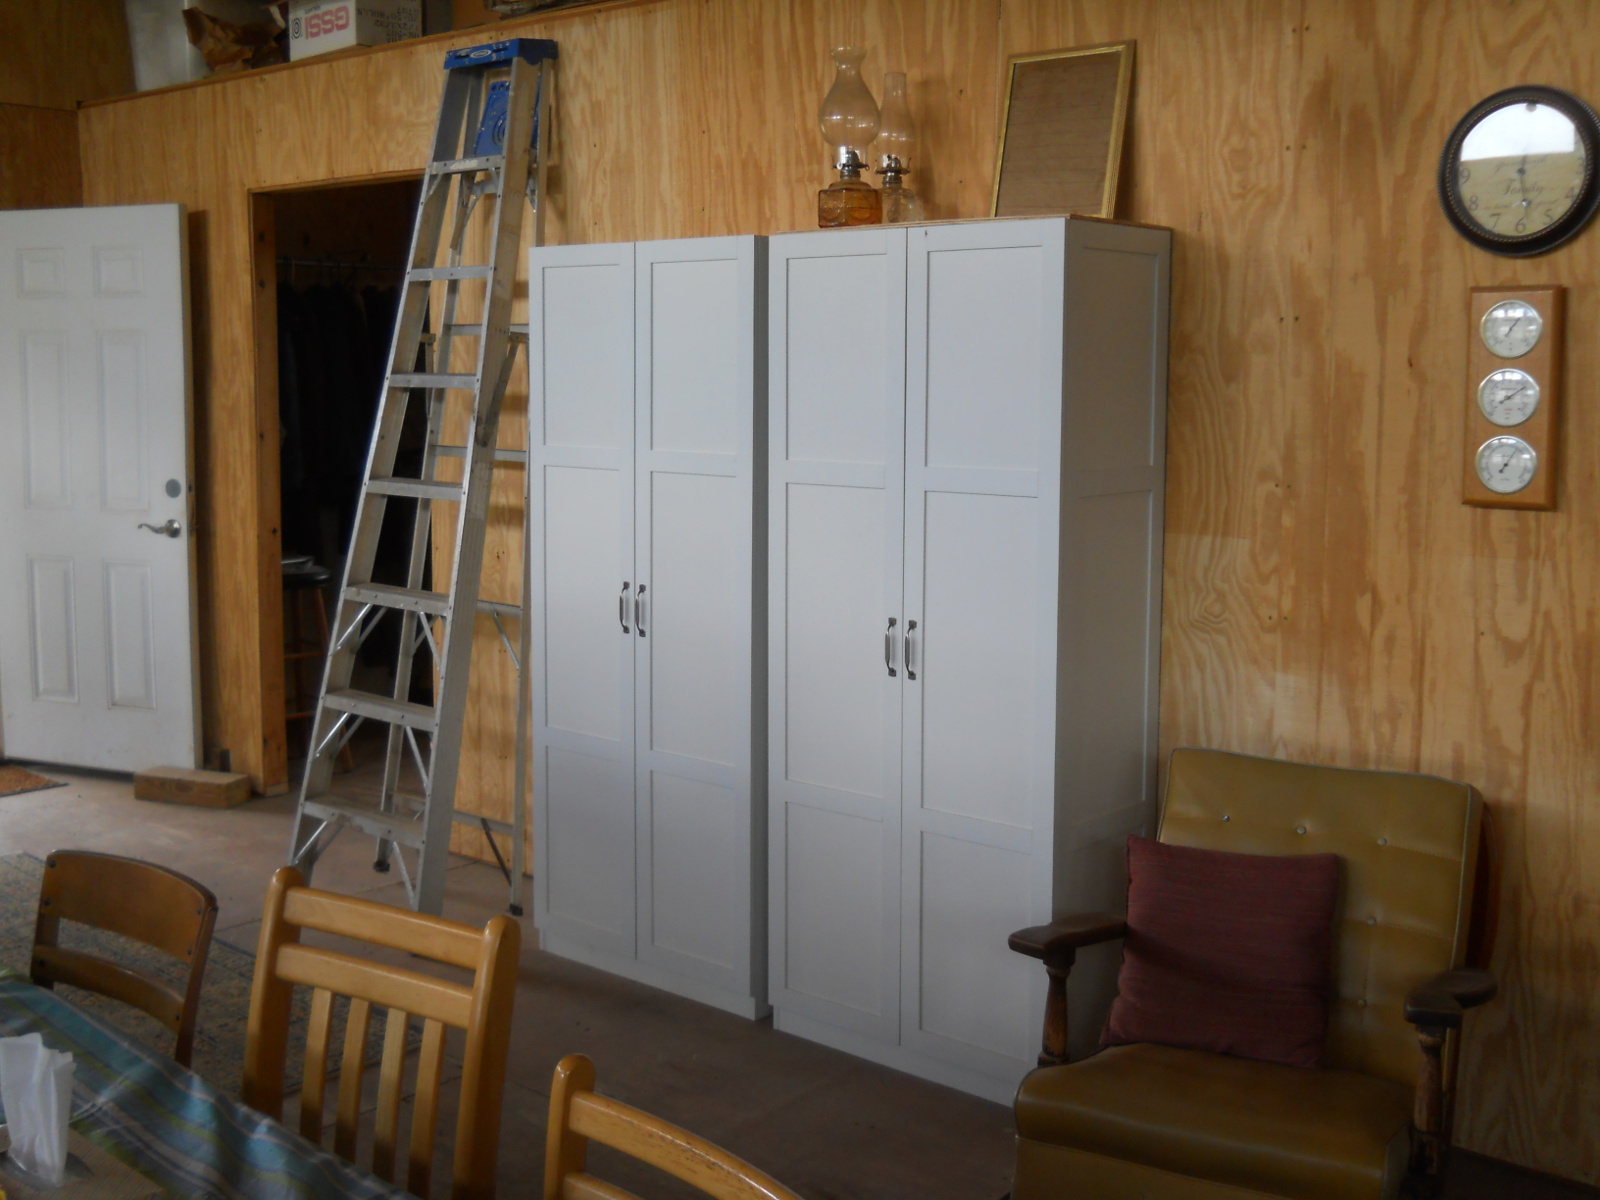
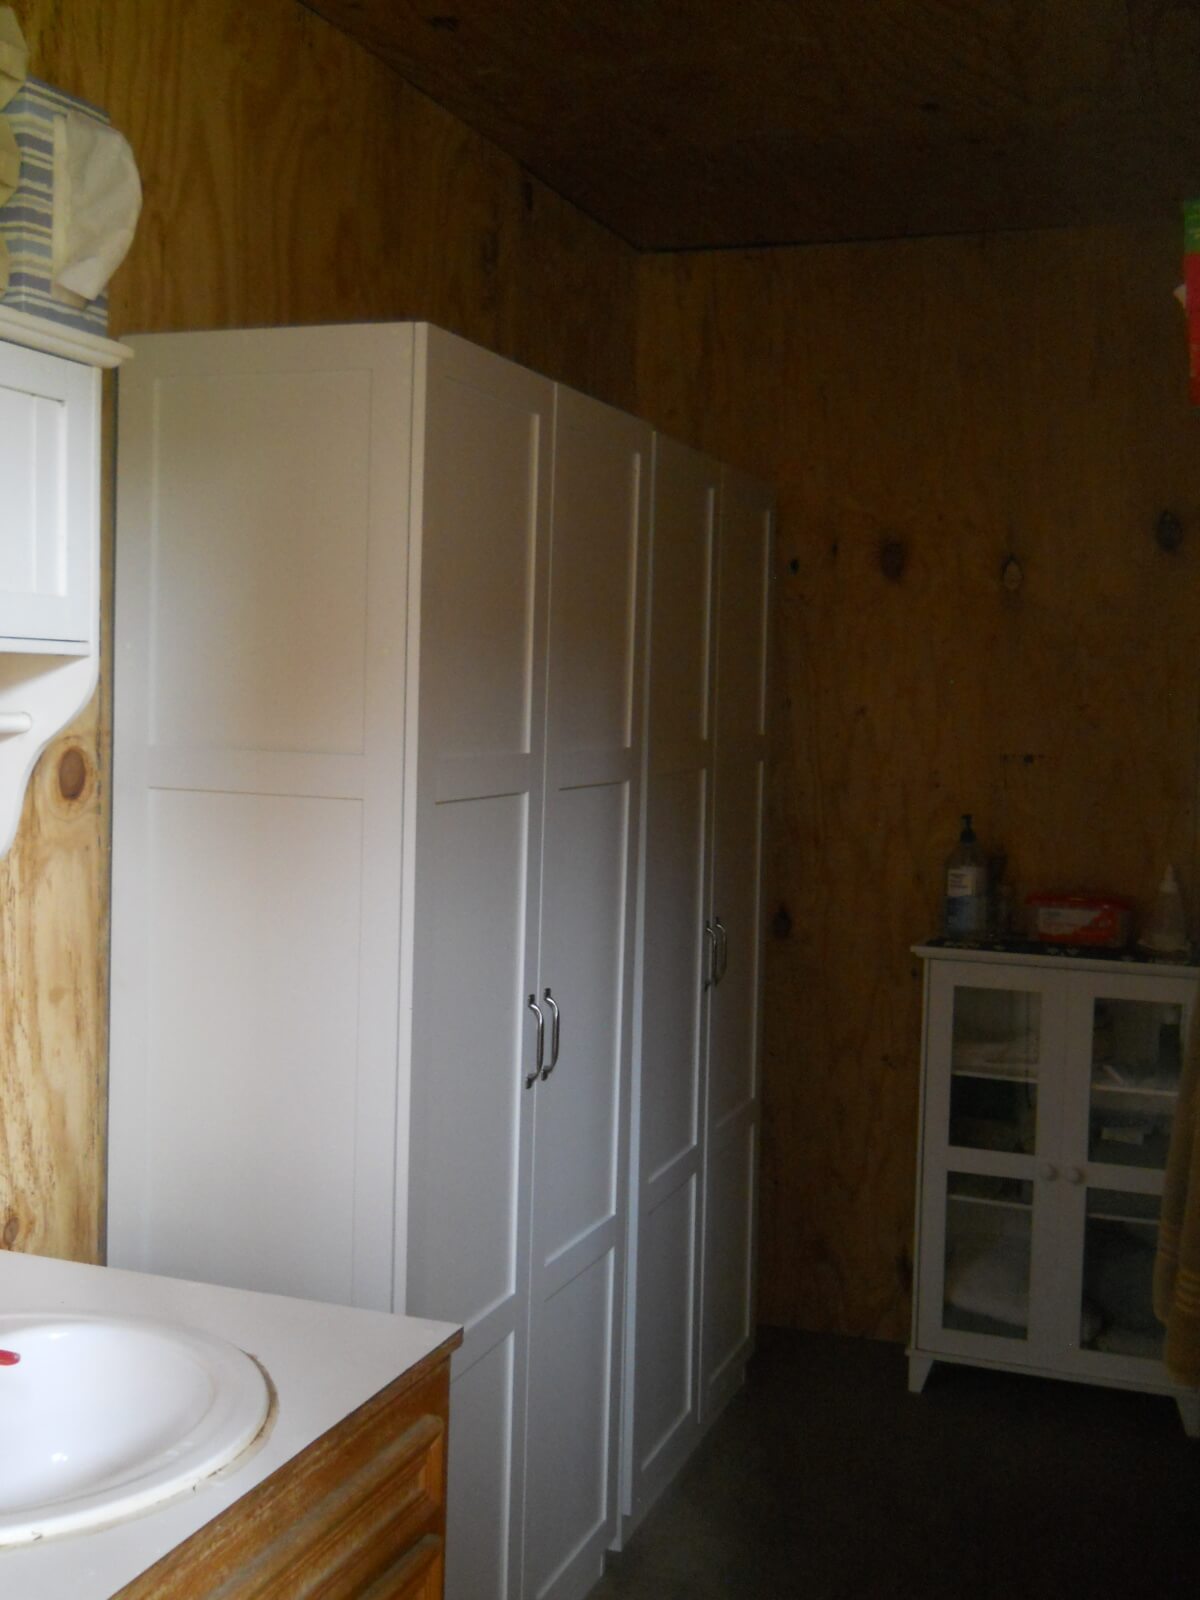
We took a little break from doing anything on the house, but earlier in the year added some cabinets to our bathroom area. Sue felt best to have something enclosed as things get dusty around here so quickly, being on a farm:

Bathroom Cabinets

And then recently we finally got the library going as I’ve kind of always wanted. Mostly it was just getting the bookshelves into place, and then we could move the books from the other pre-made shelves into them, and then clear out all kinds of stuff from tubs we brought when we moved here almost 14 years ago!

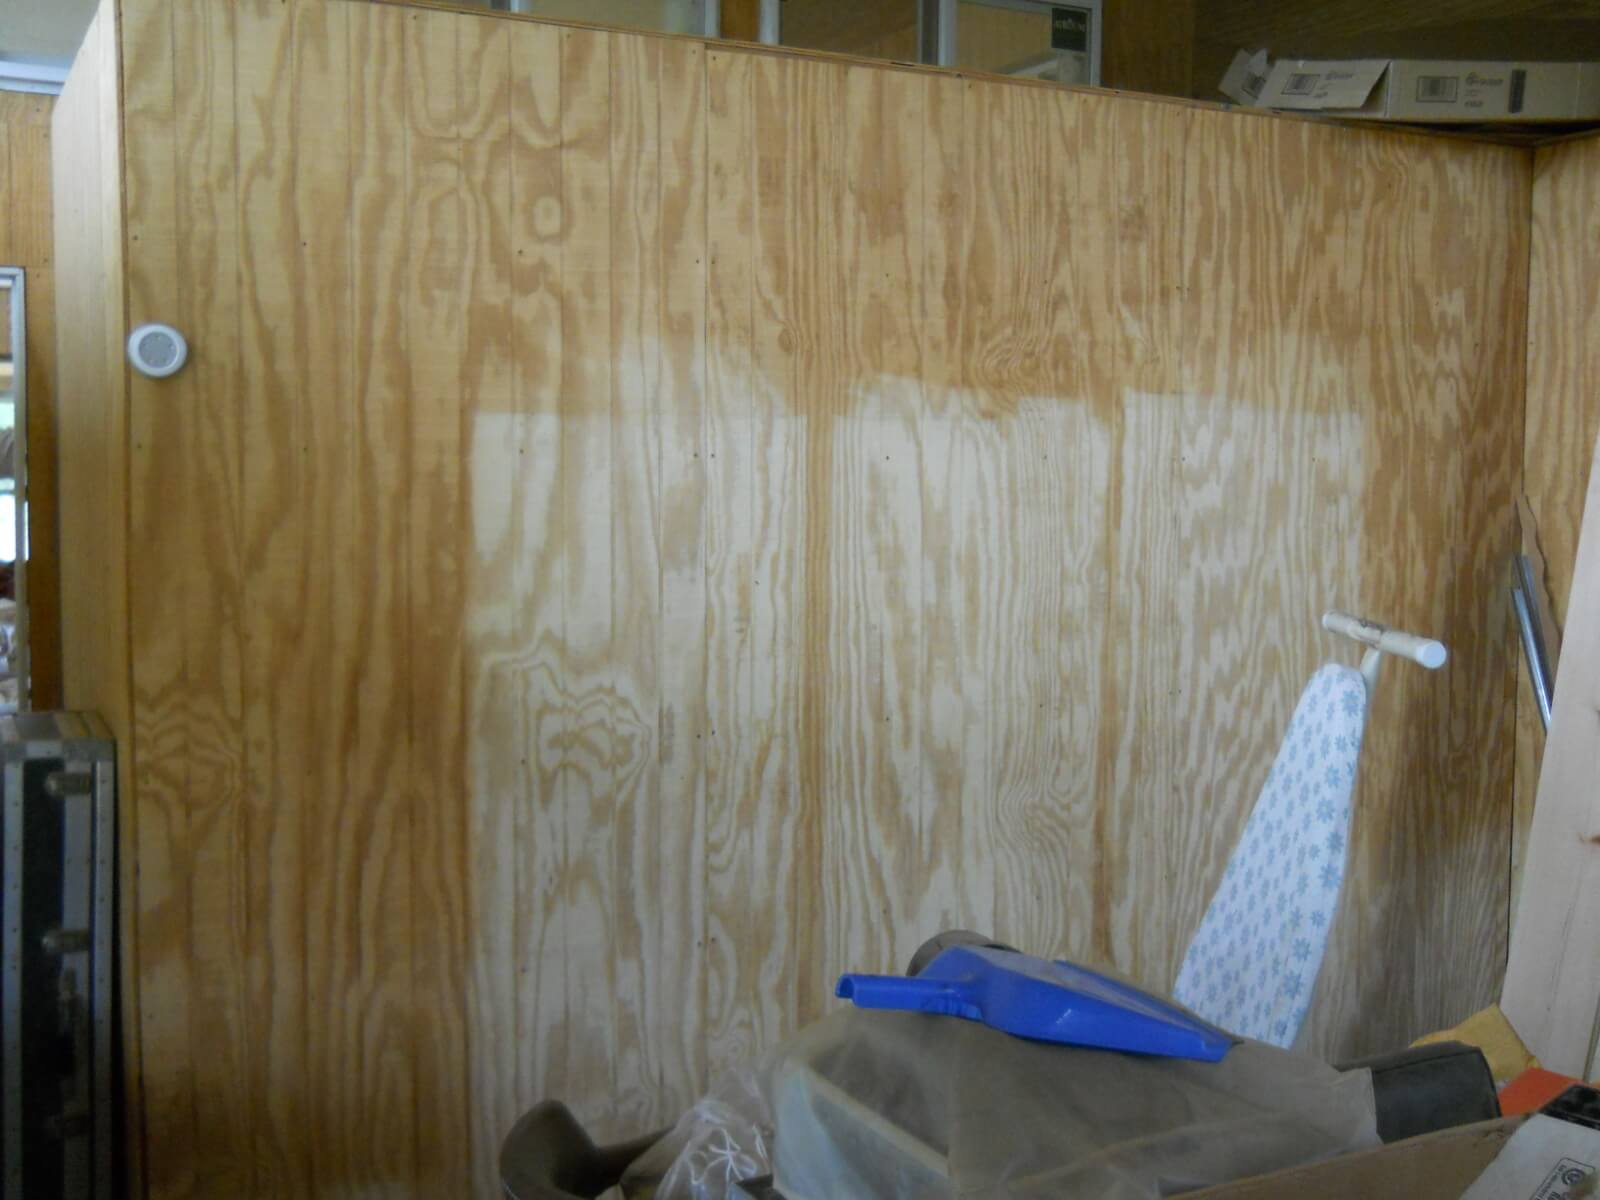
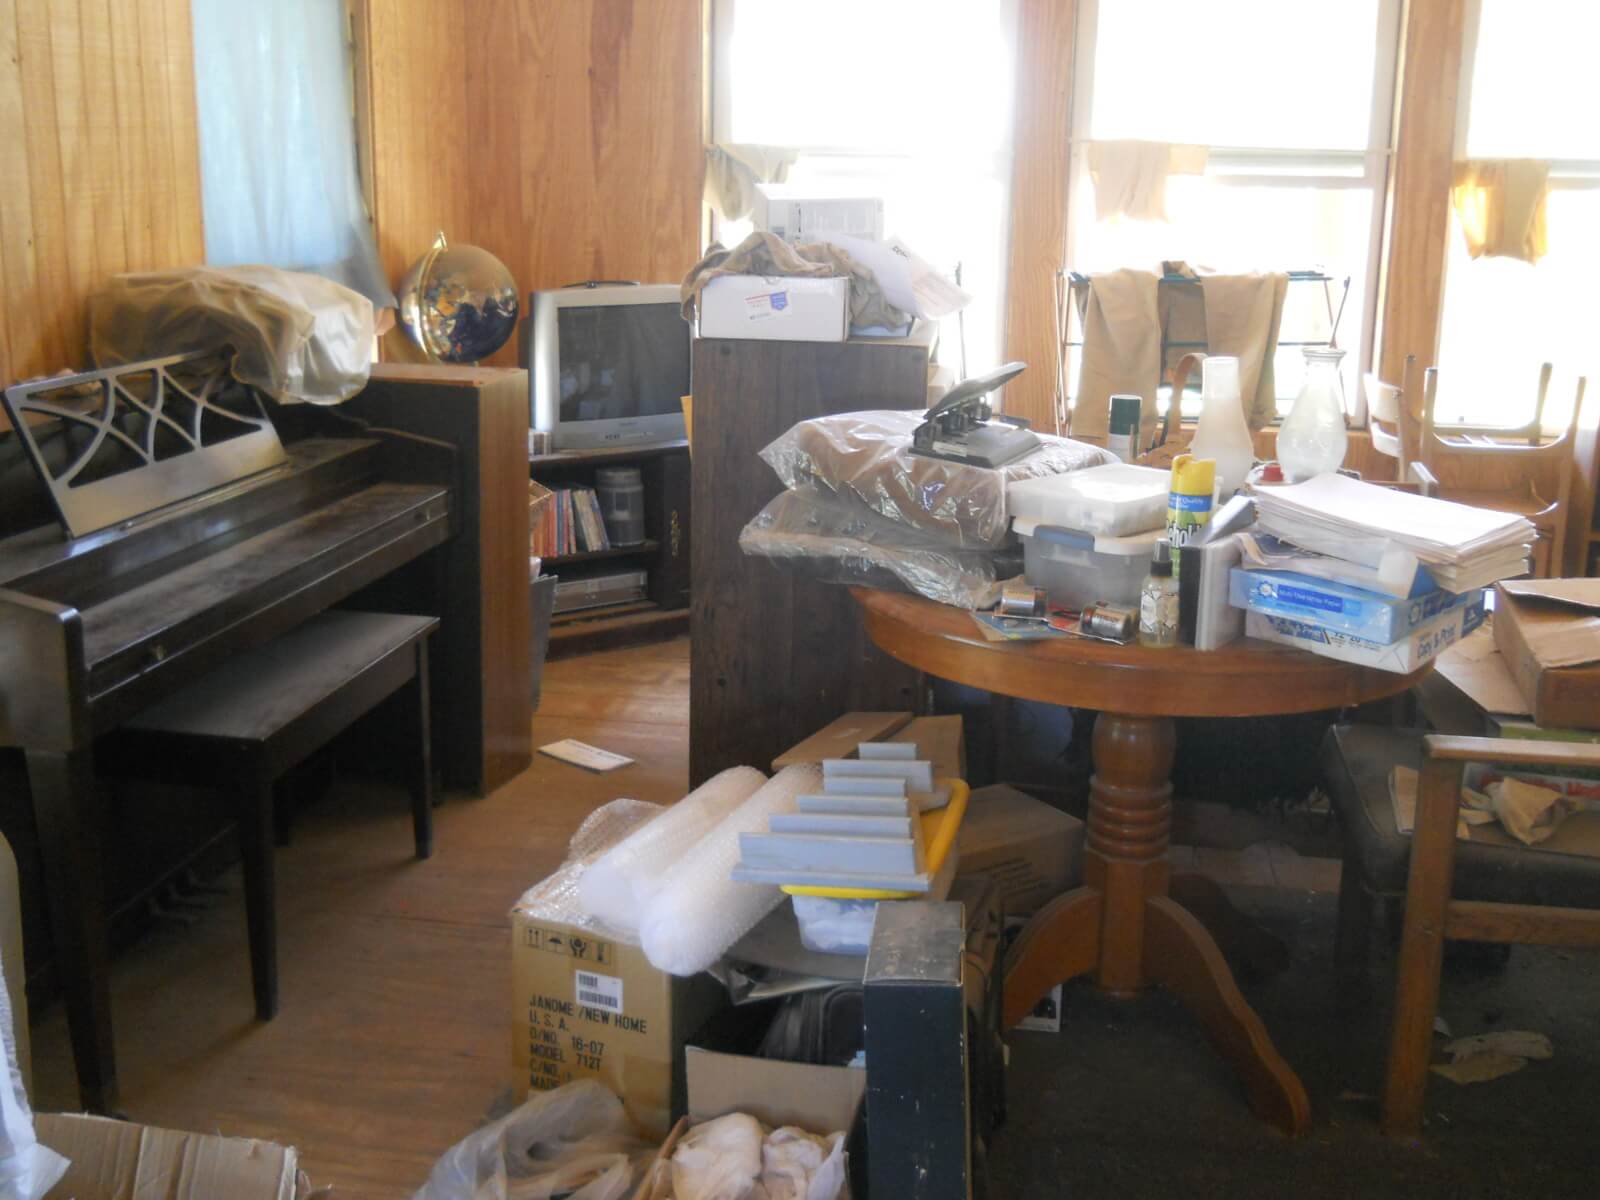
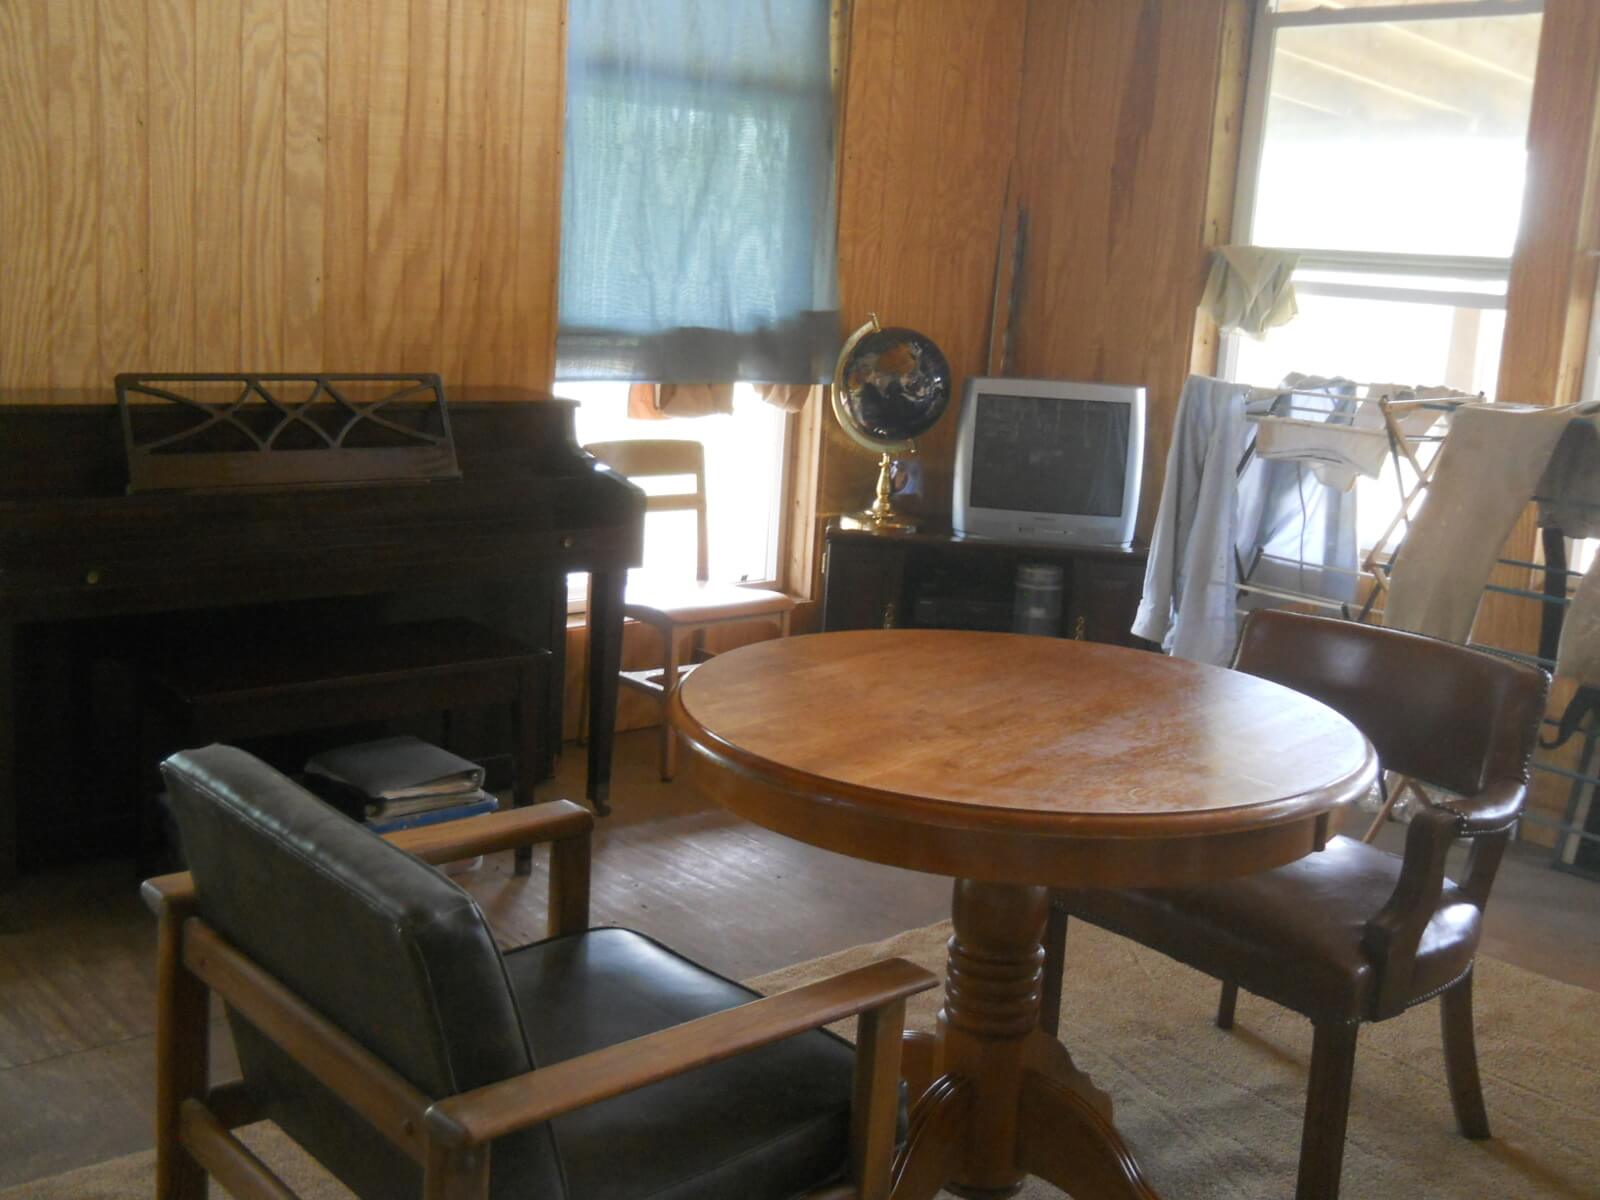
We had to move out the current portable bookshelves. Here is where they were:

Previous Shelves Wall

And then it was on to making the new permanent shelves. I kind of got the idea from a bookshelf in a thrift store I saw once.

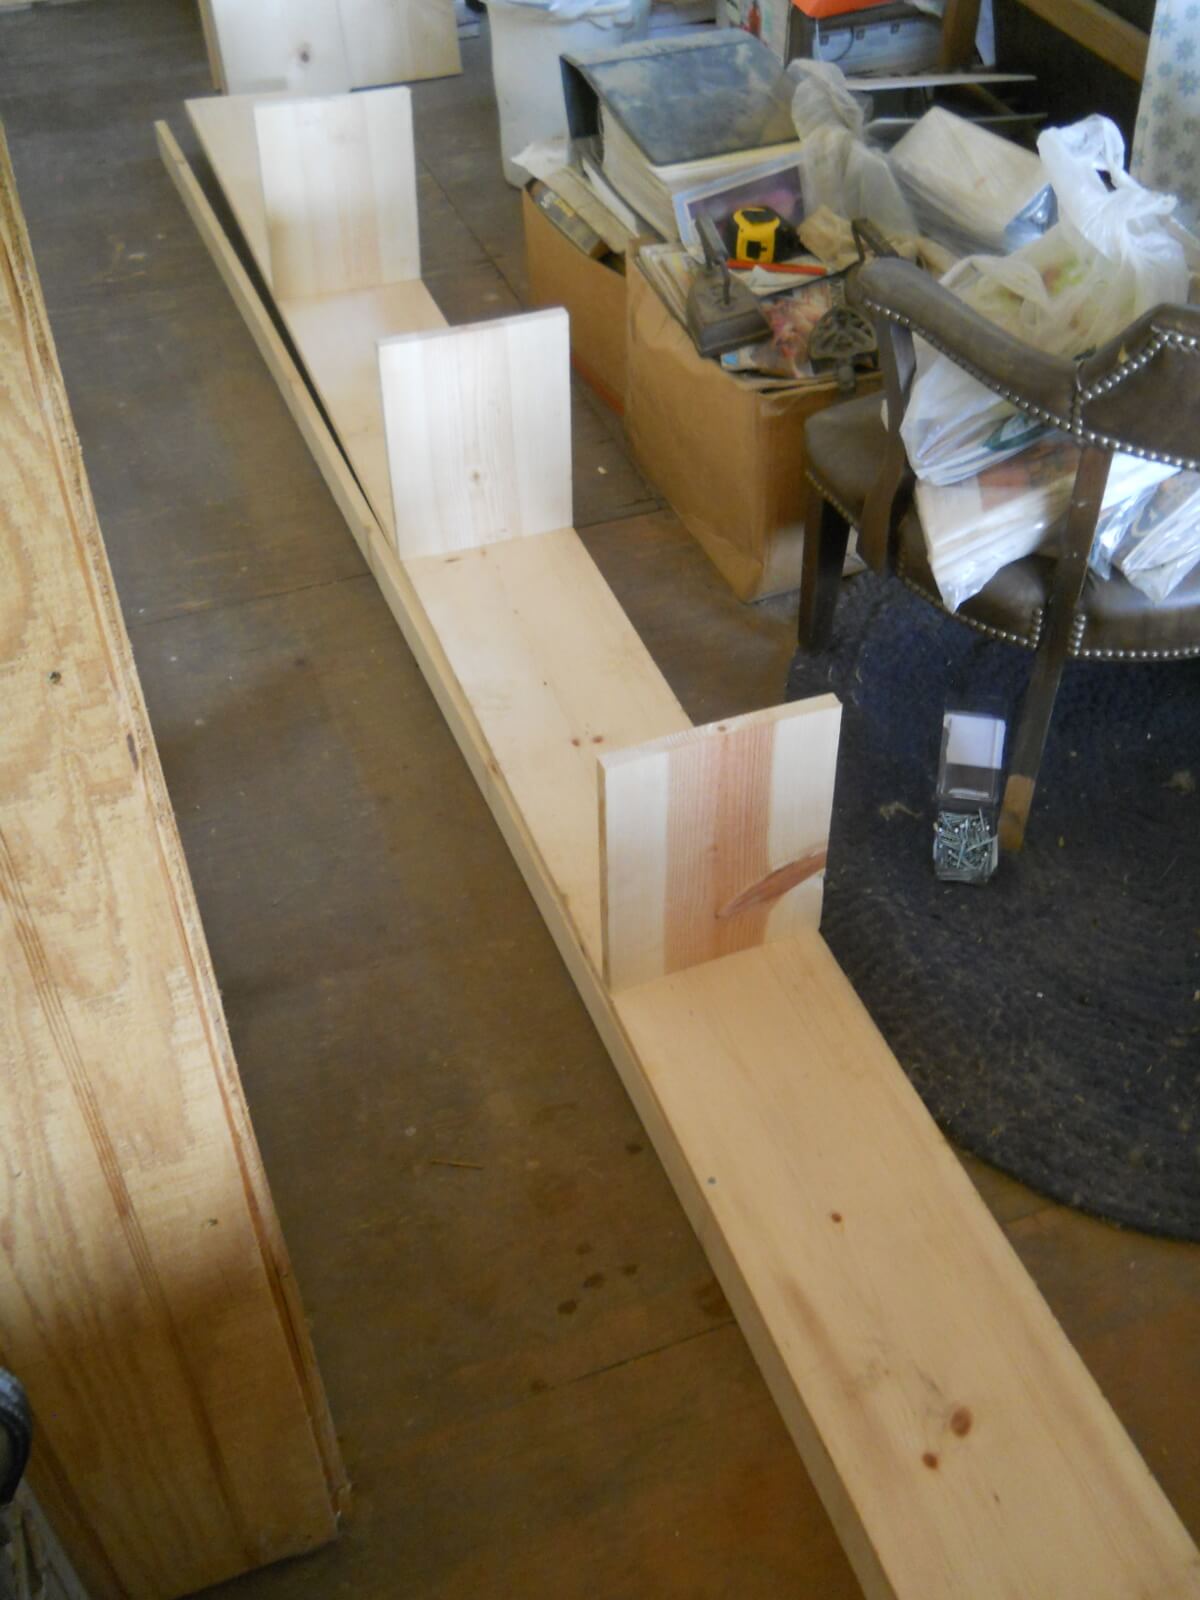
Here’s the base being built:

Bookshelf Base

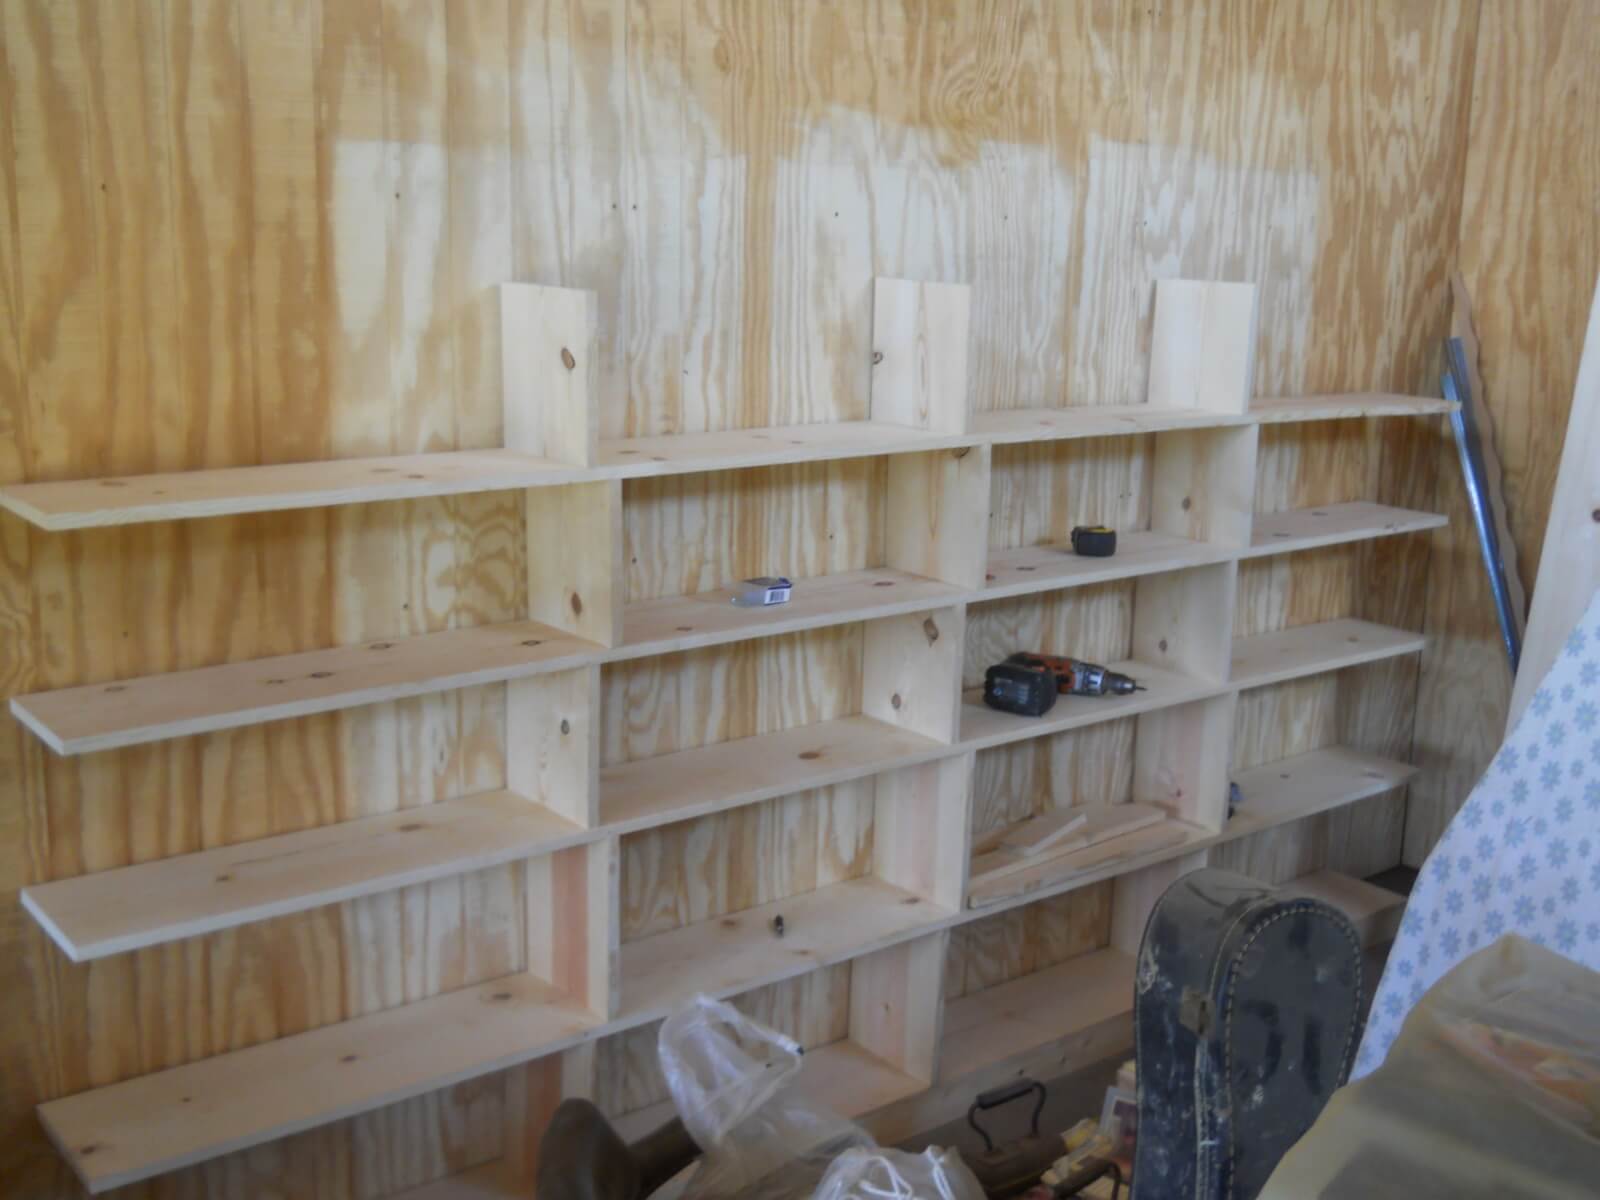
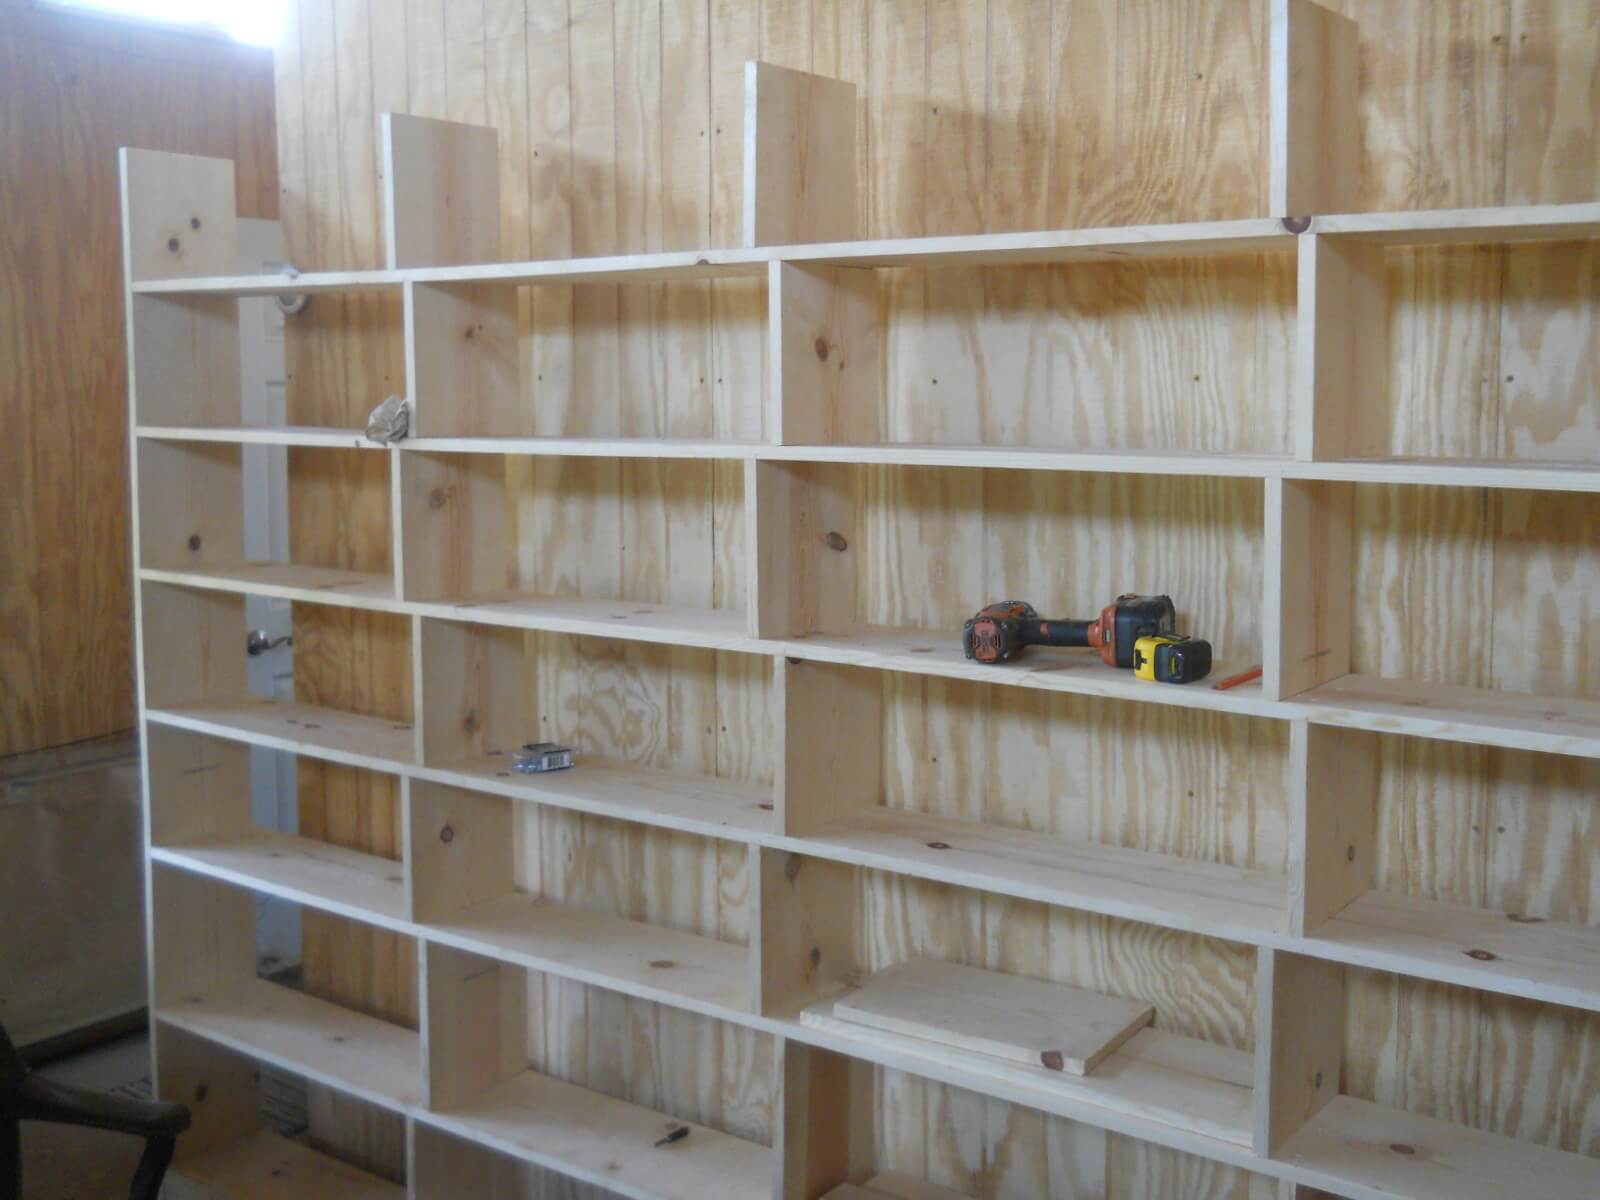
Then the shelves half done:

Bookshelf Half Done

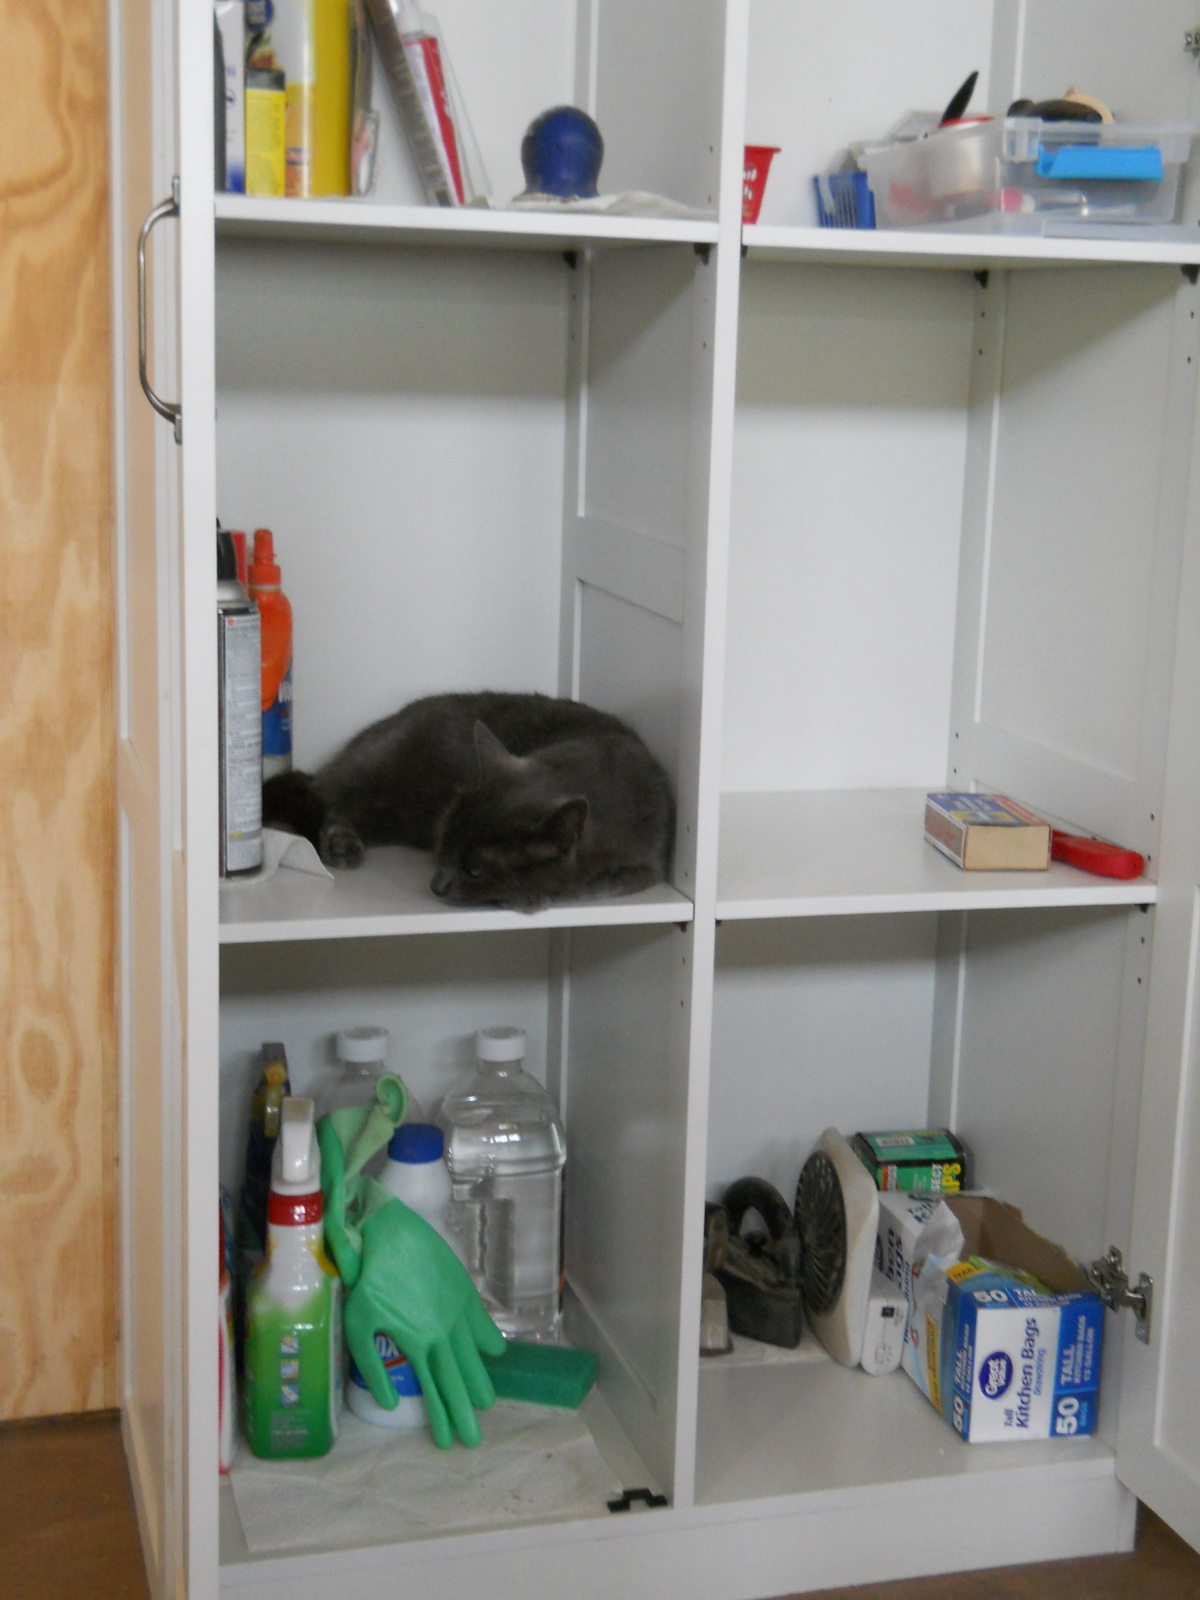
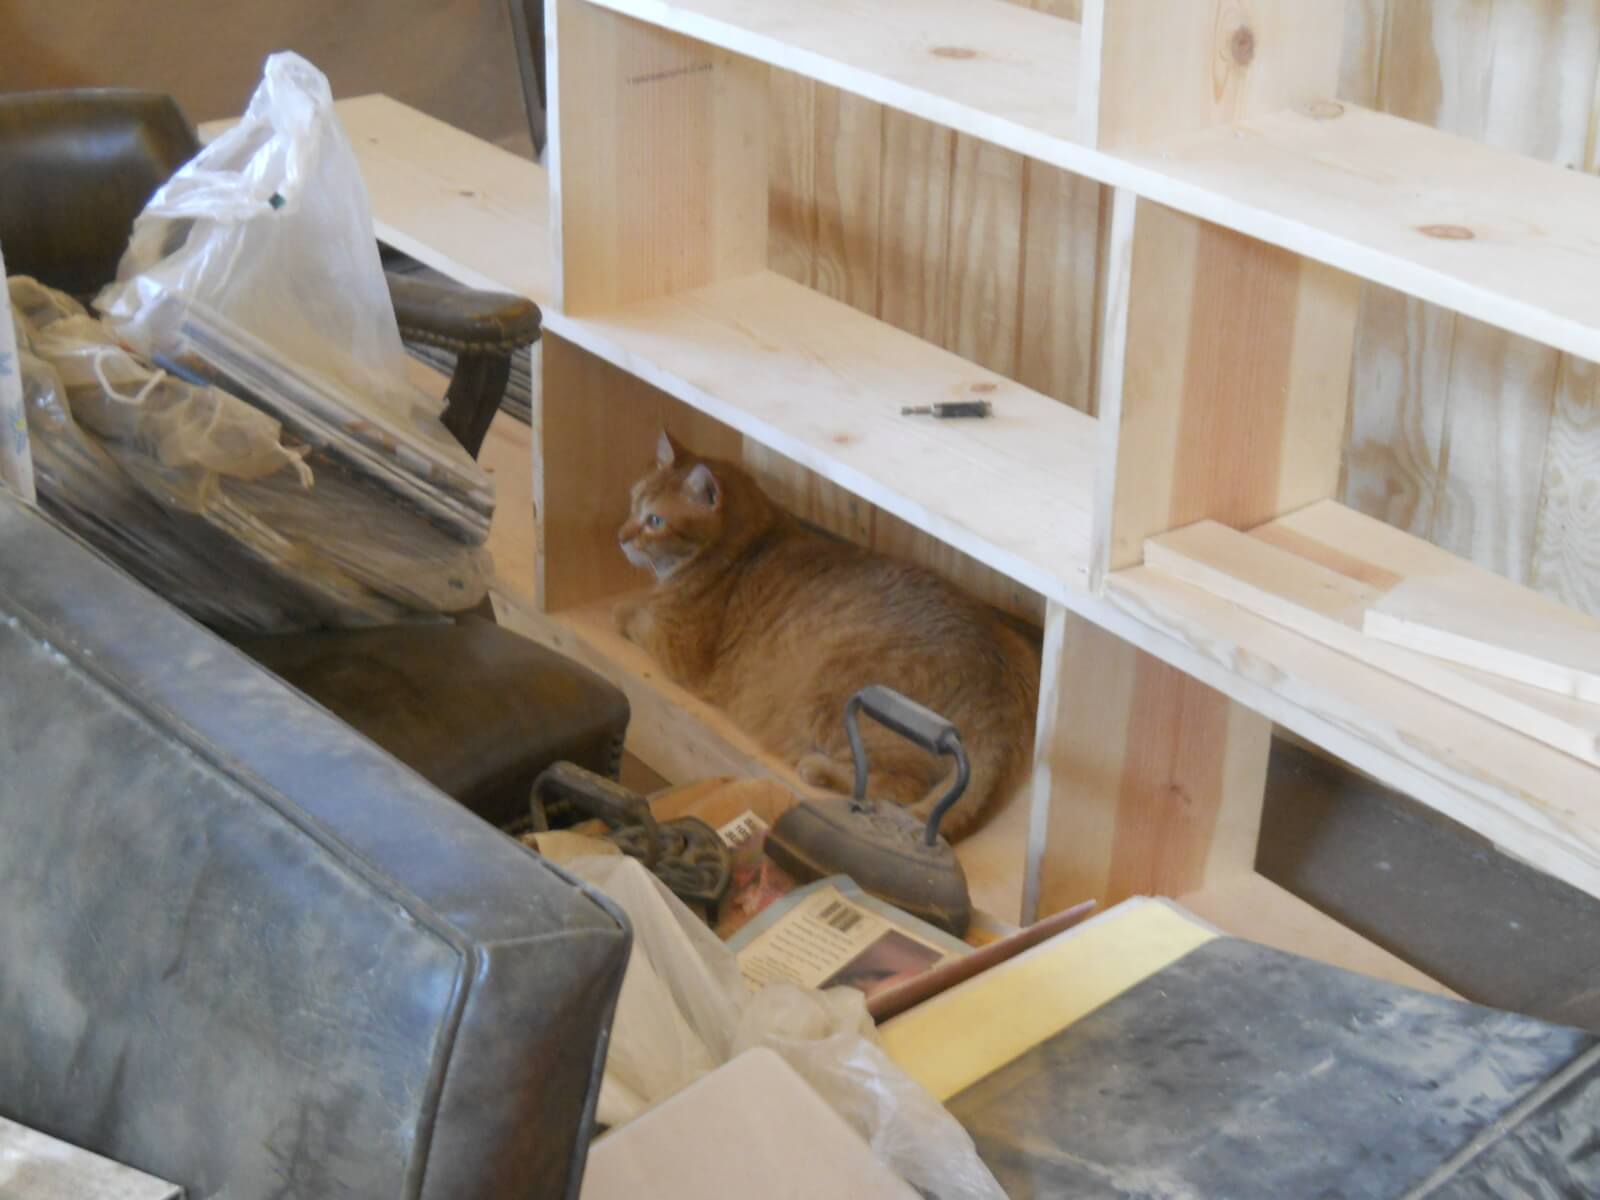
Foreman William making sure they’re going to be comfortable enough as cat cubbies! 😉

William in the Bookshelf

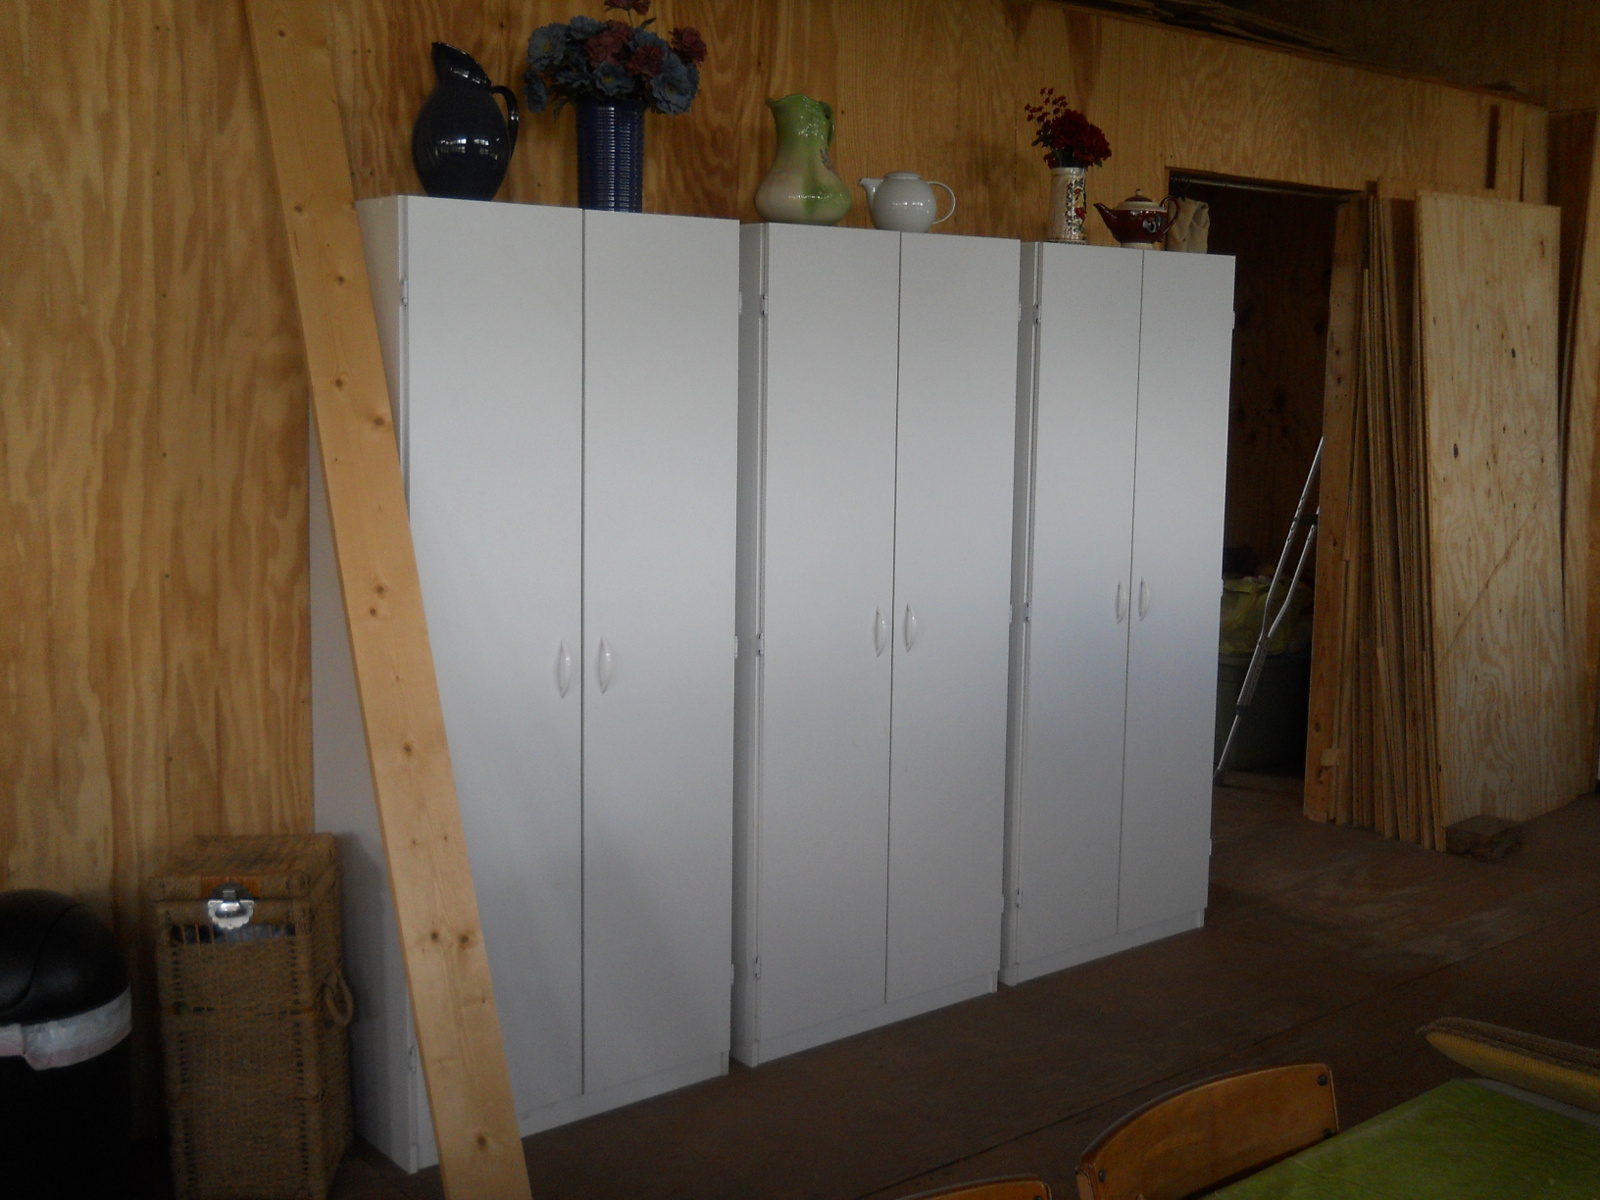
And here are the bookshelves done height-wise with the sides attached:

Bookshelf with Sides Done

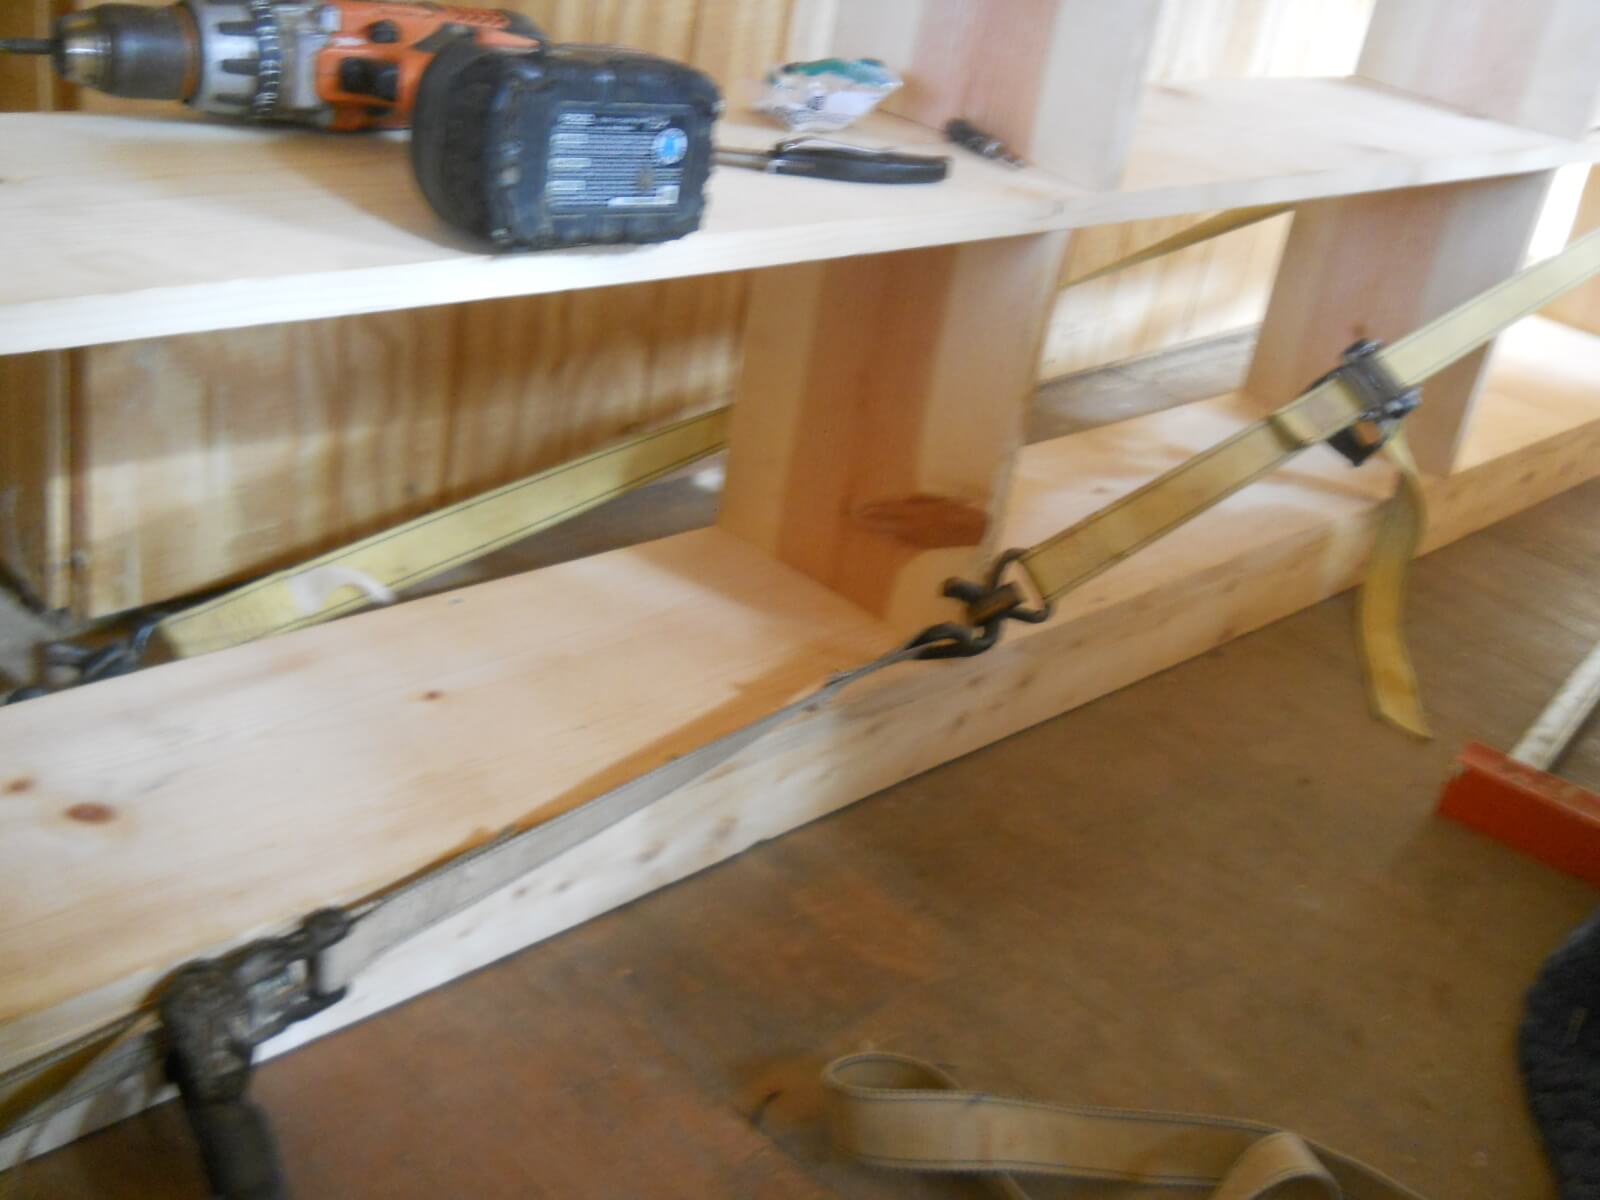
I did have to use a ratchet strap to pull things straight a bit:

Straitening Bookshelves with Ratchet Strap

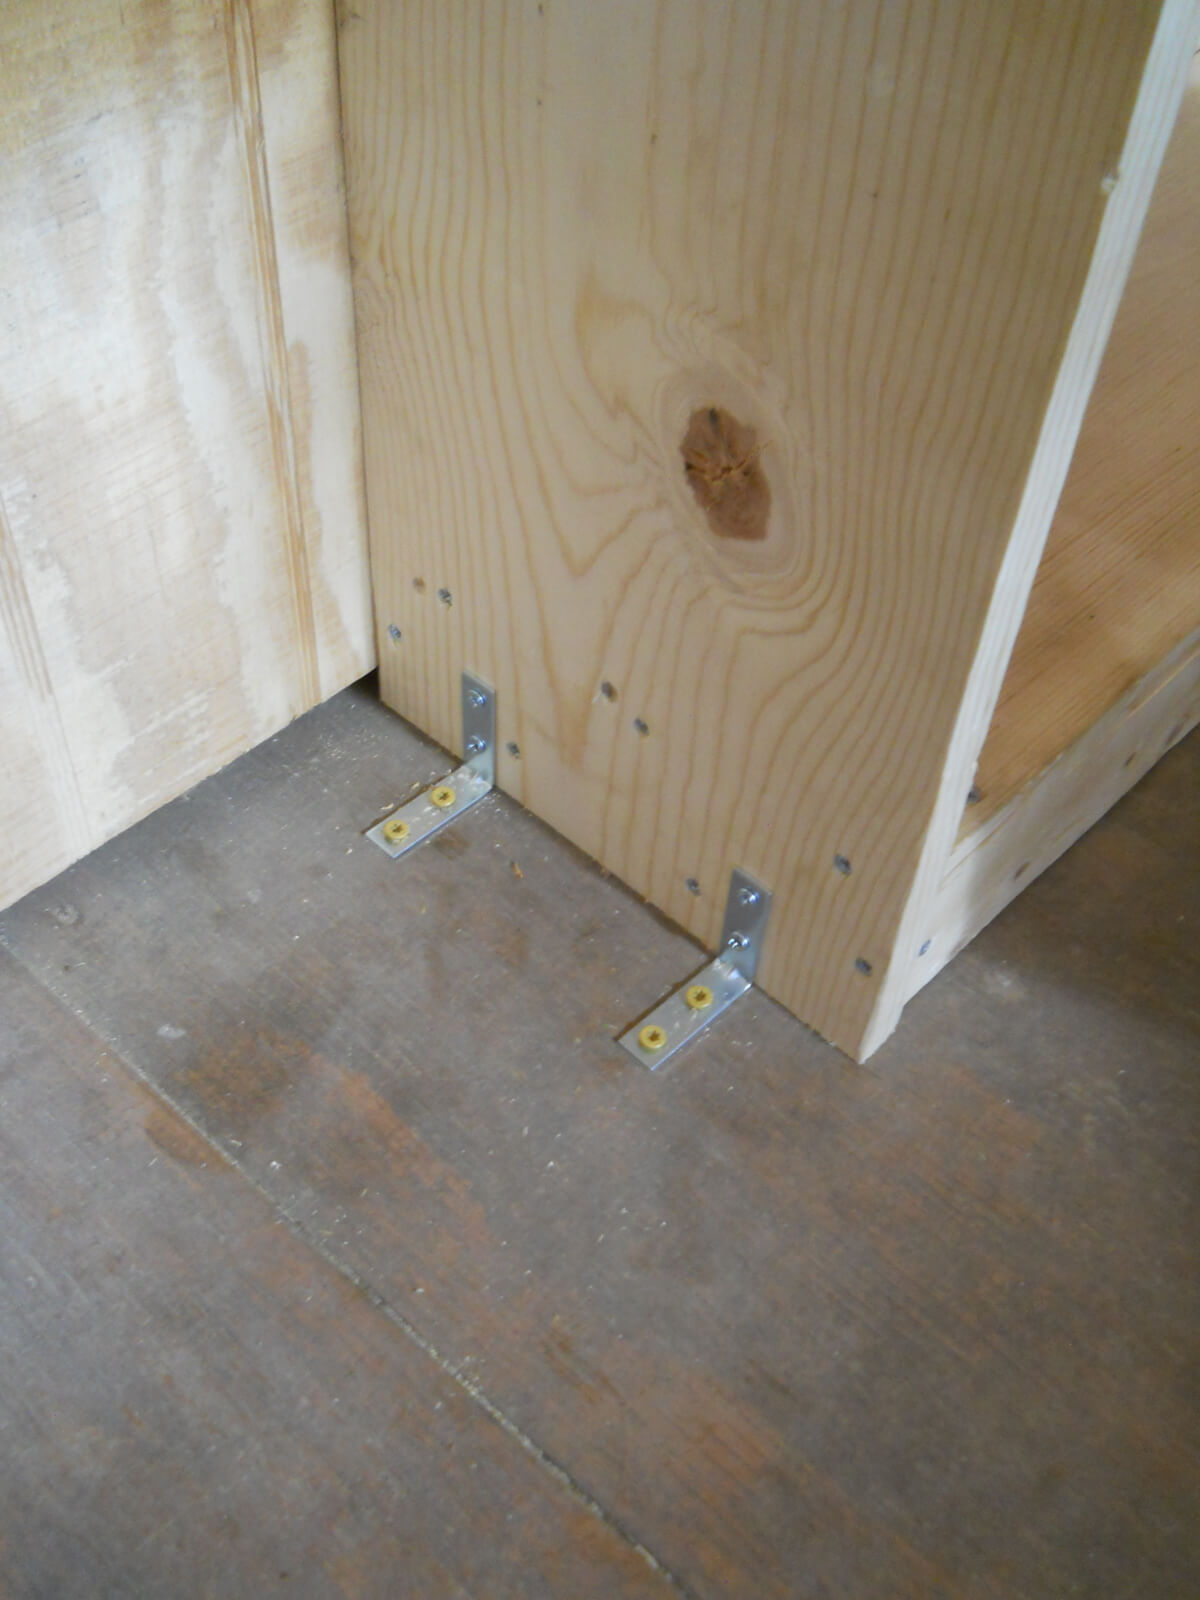
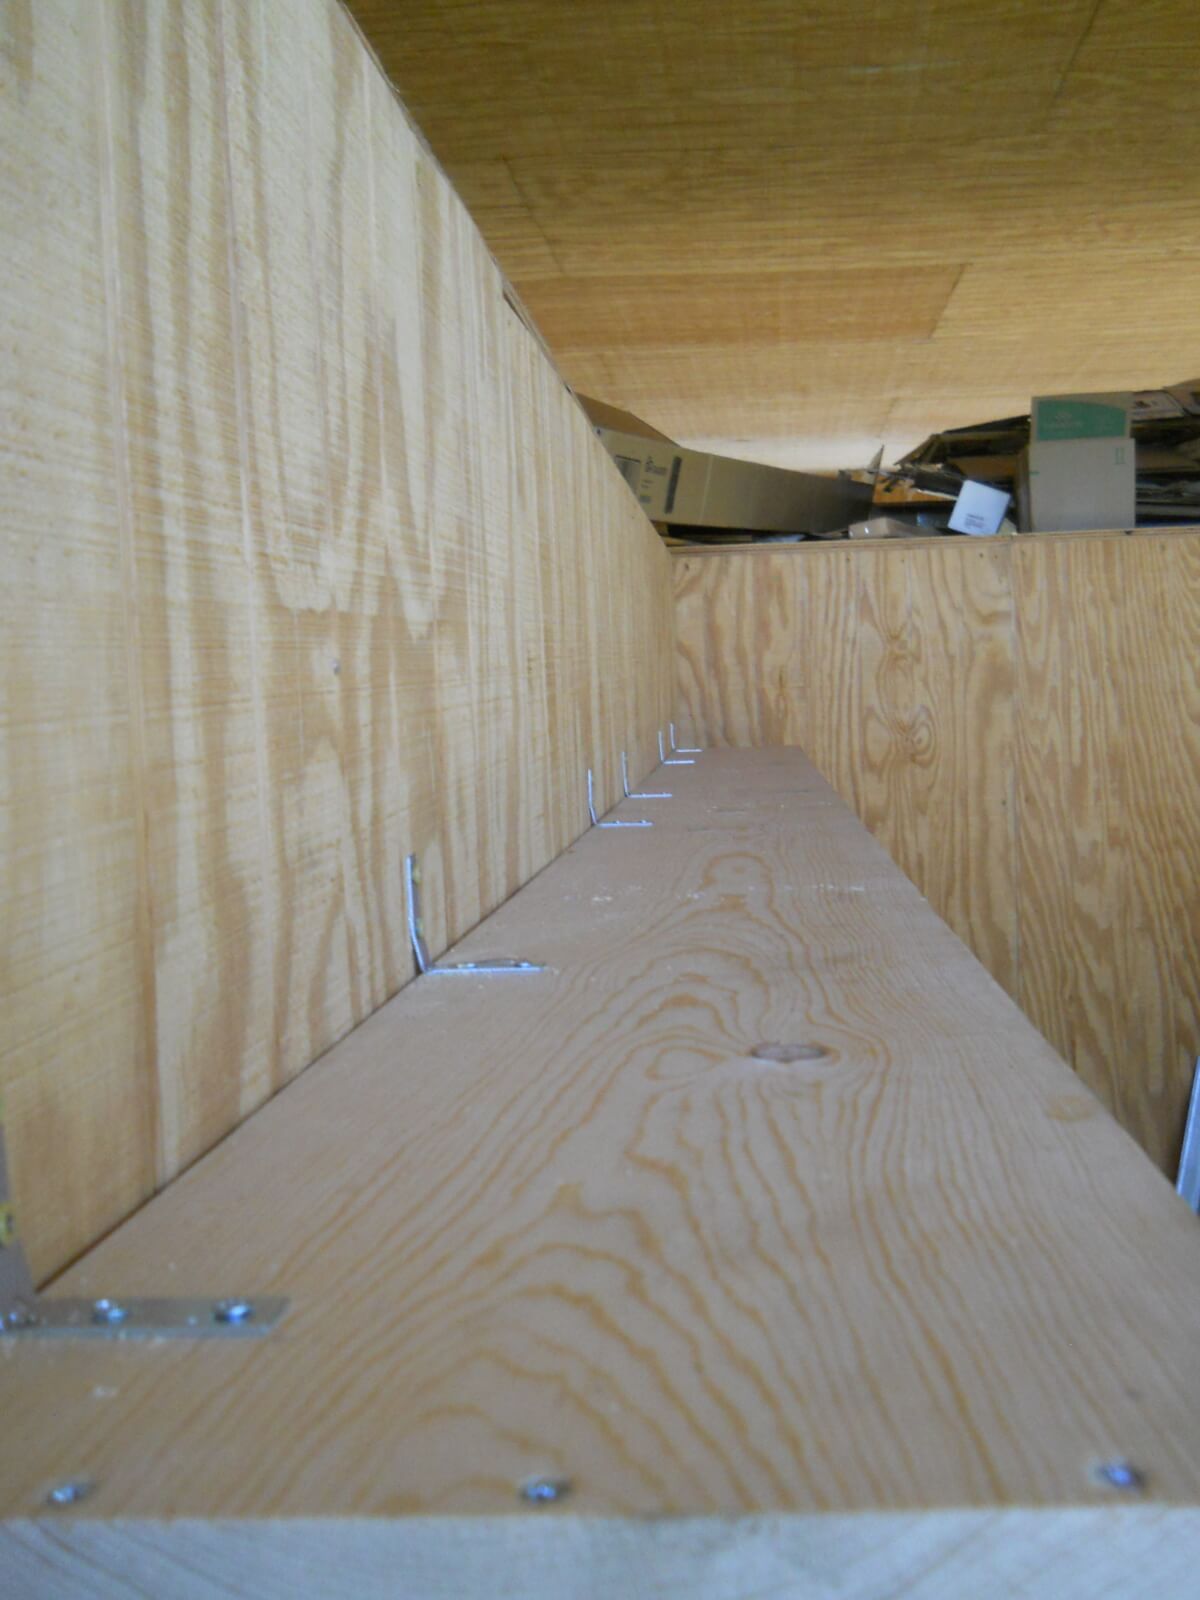
Since the ends attached from the outside, I added extra braces under each shelf end:

Bookshelf End Braces

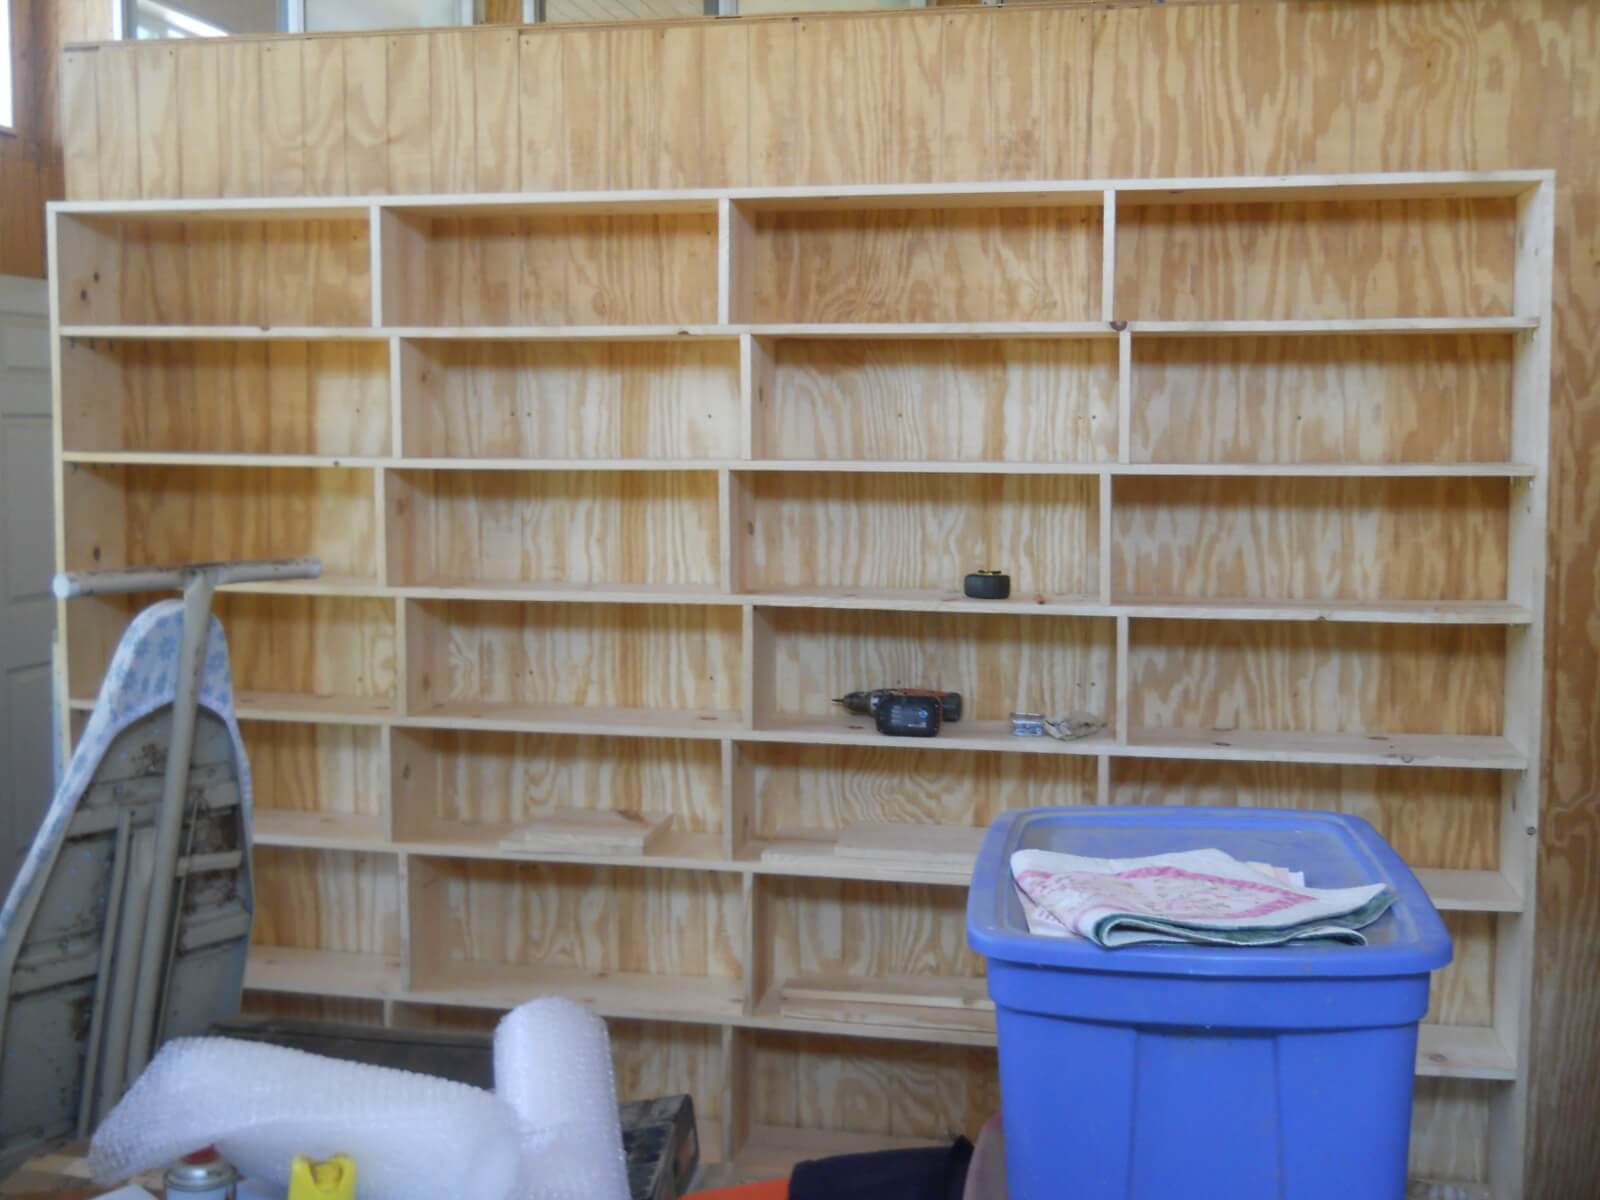
And here are the shelves completed:

Completed Bookshelves

And attached to the floor:

Bookshelves Attached to Floor

And the wall on top:

Bookshelves Attached to Floor

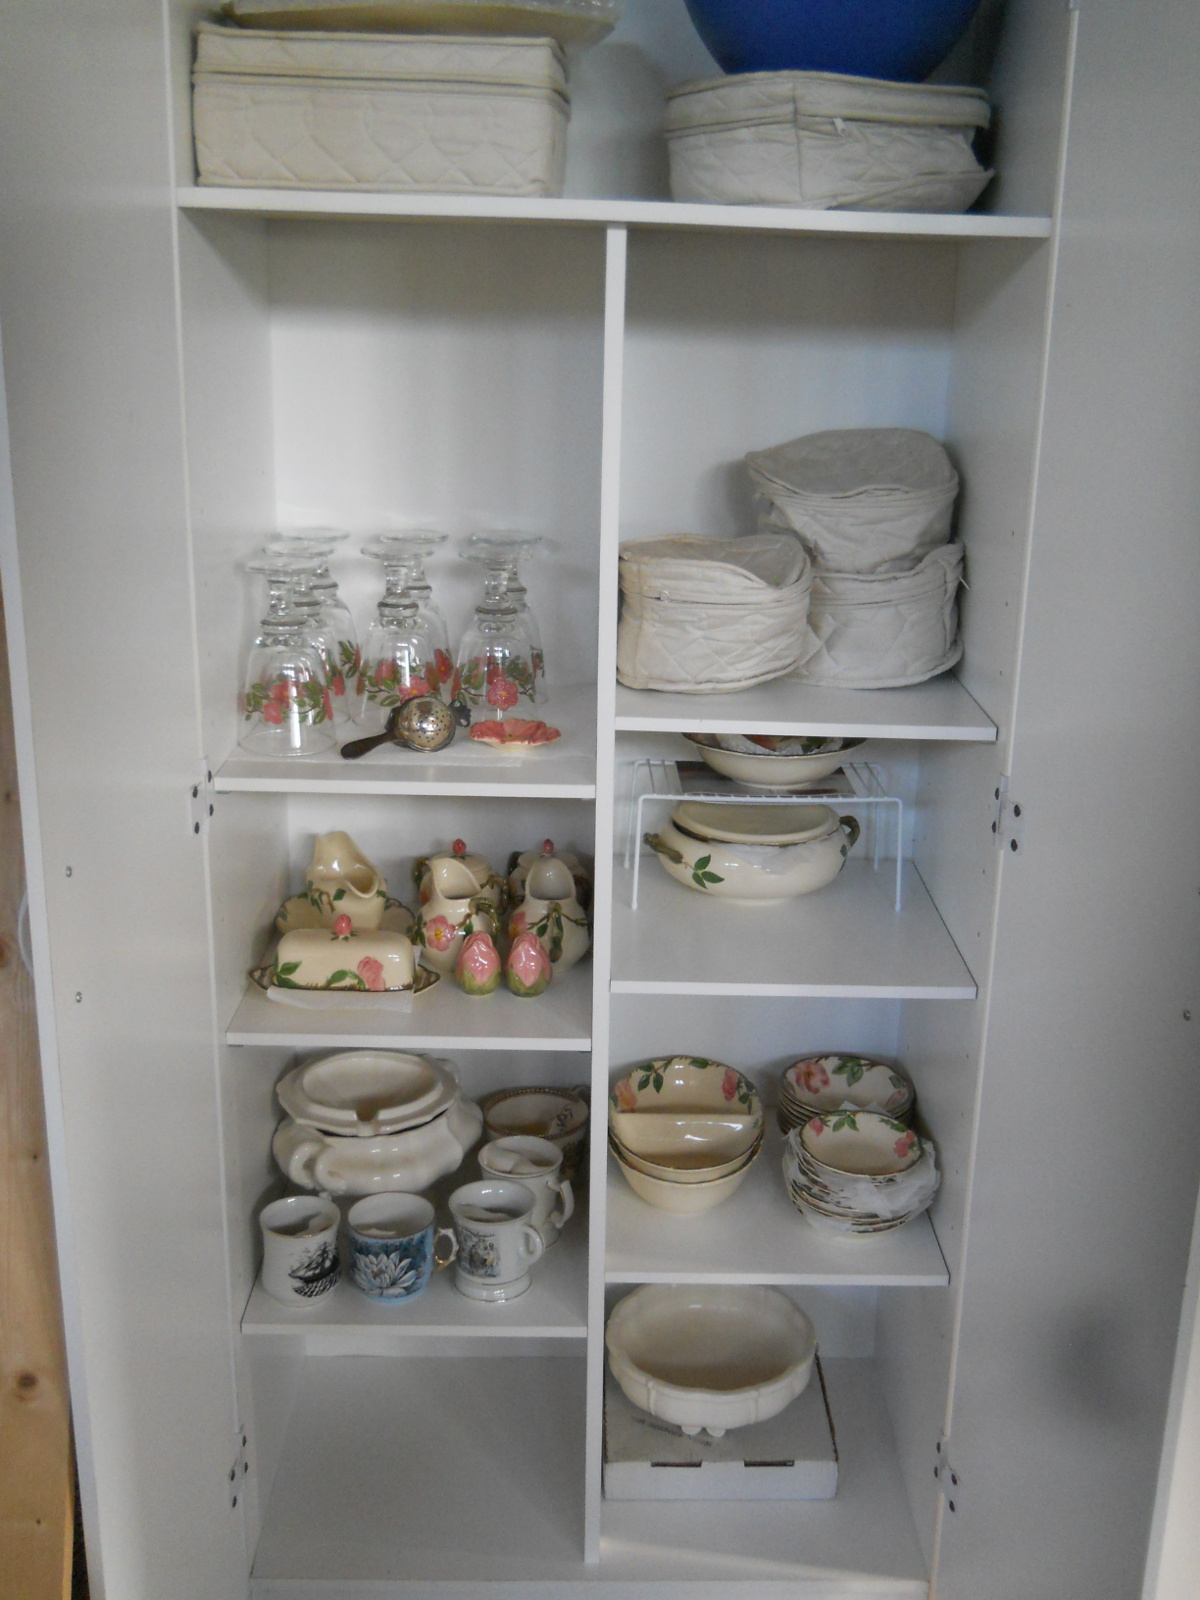
And then it was time to start loading!

Books in Bookshelves

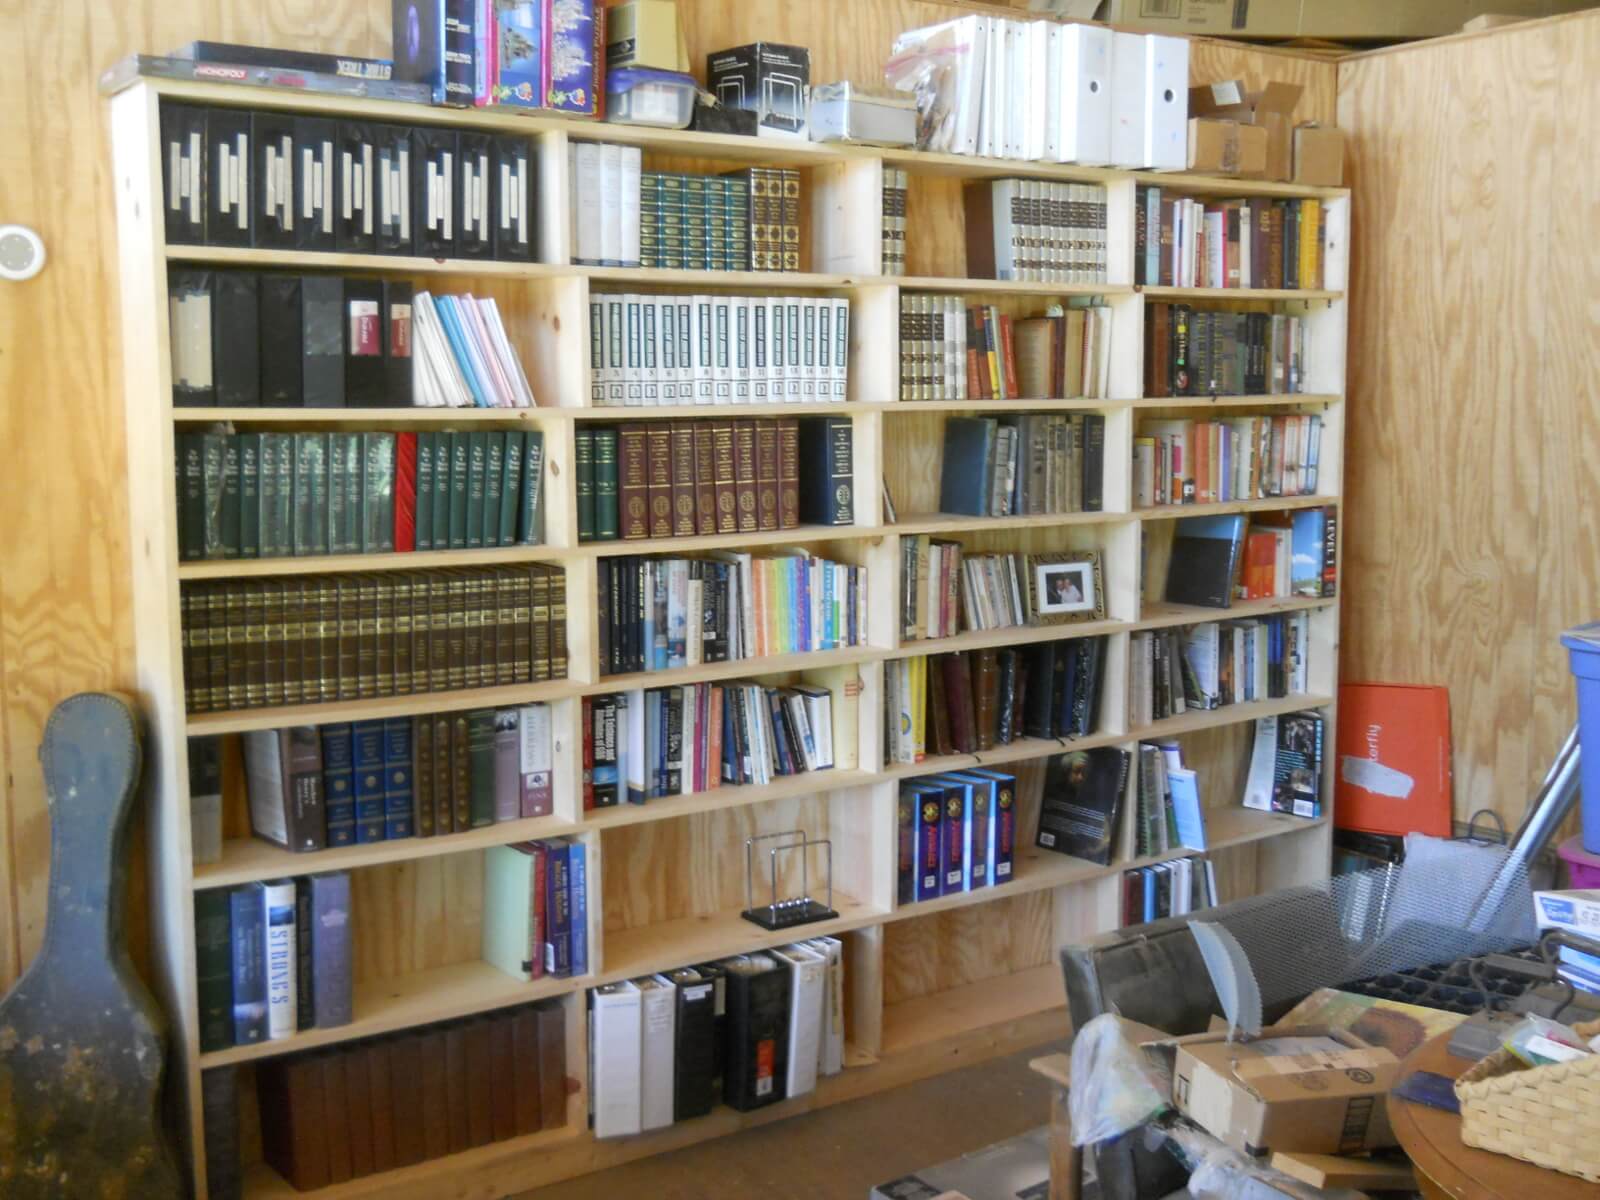
And then on to the other wall:

Library Bookshelves on 2nd Wall

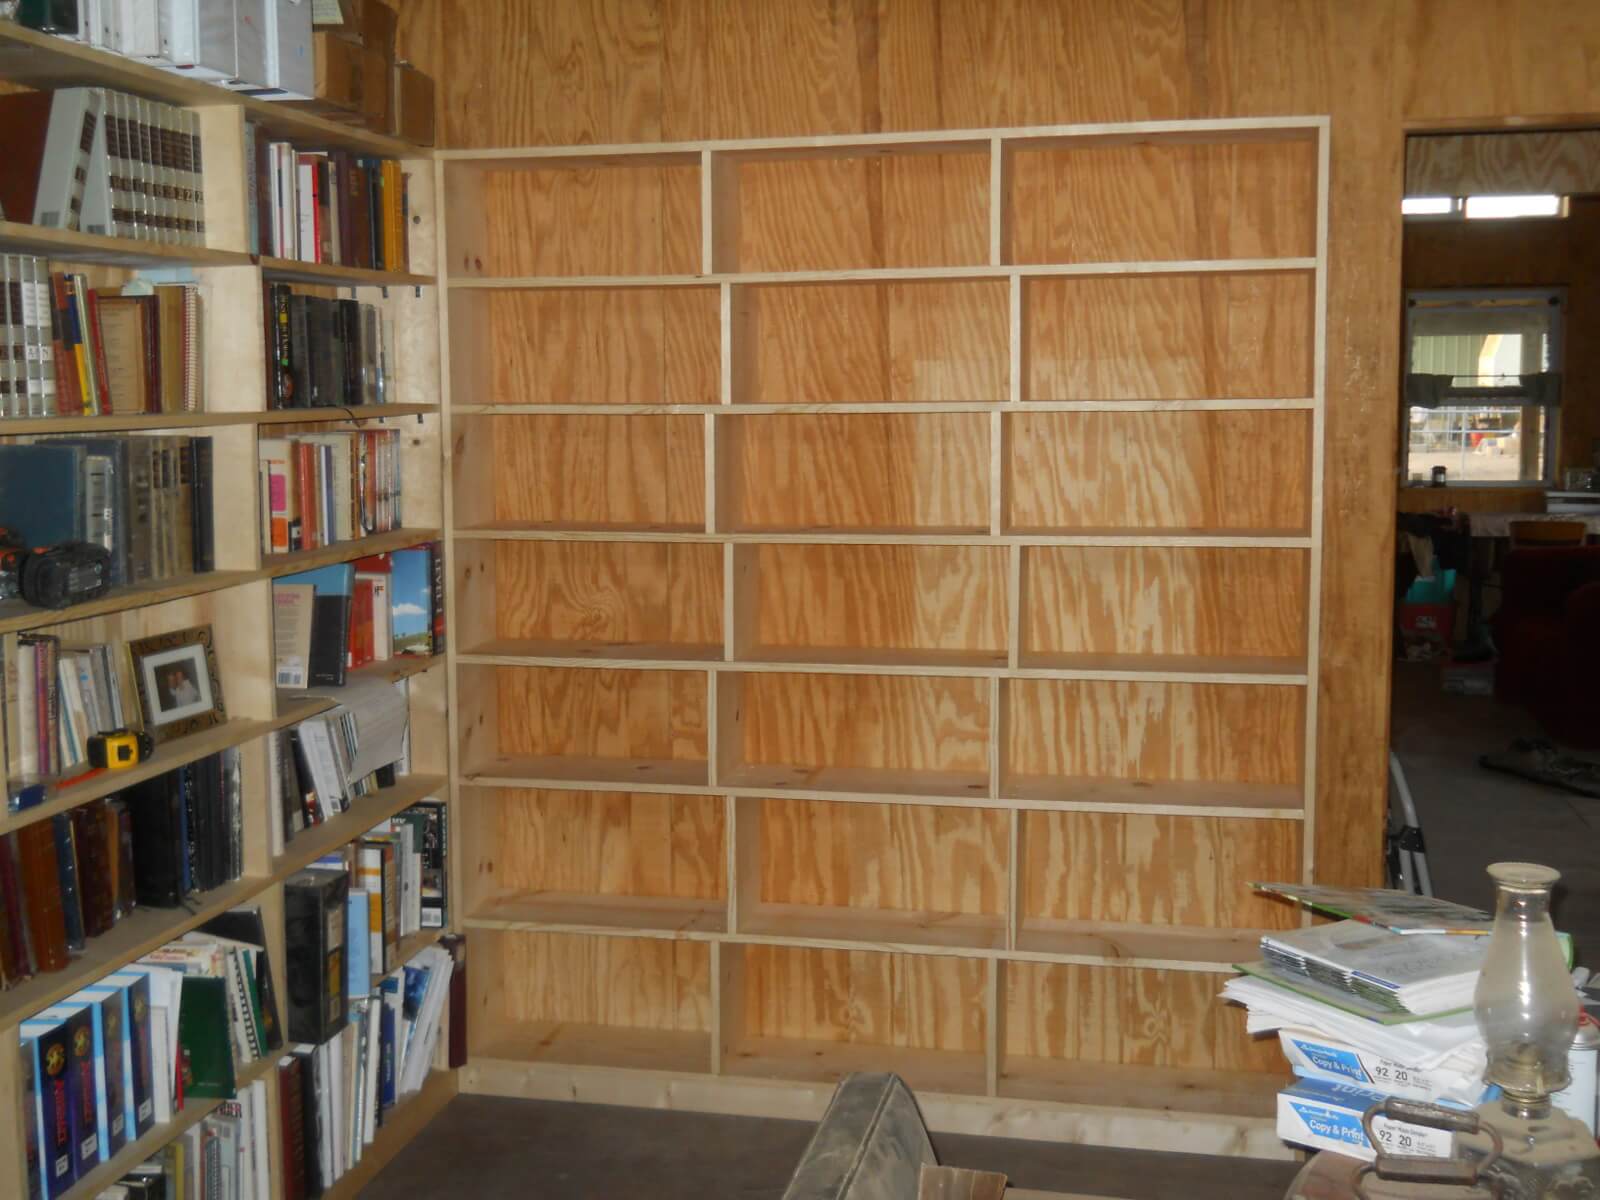
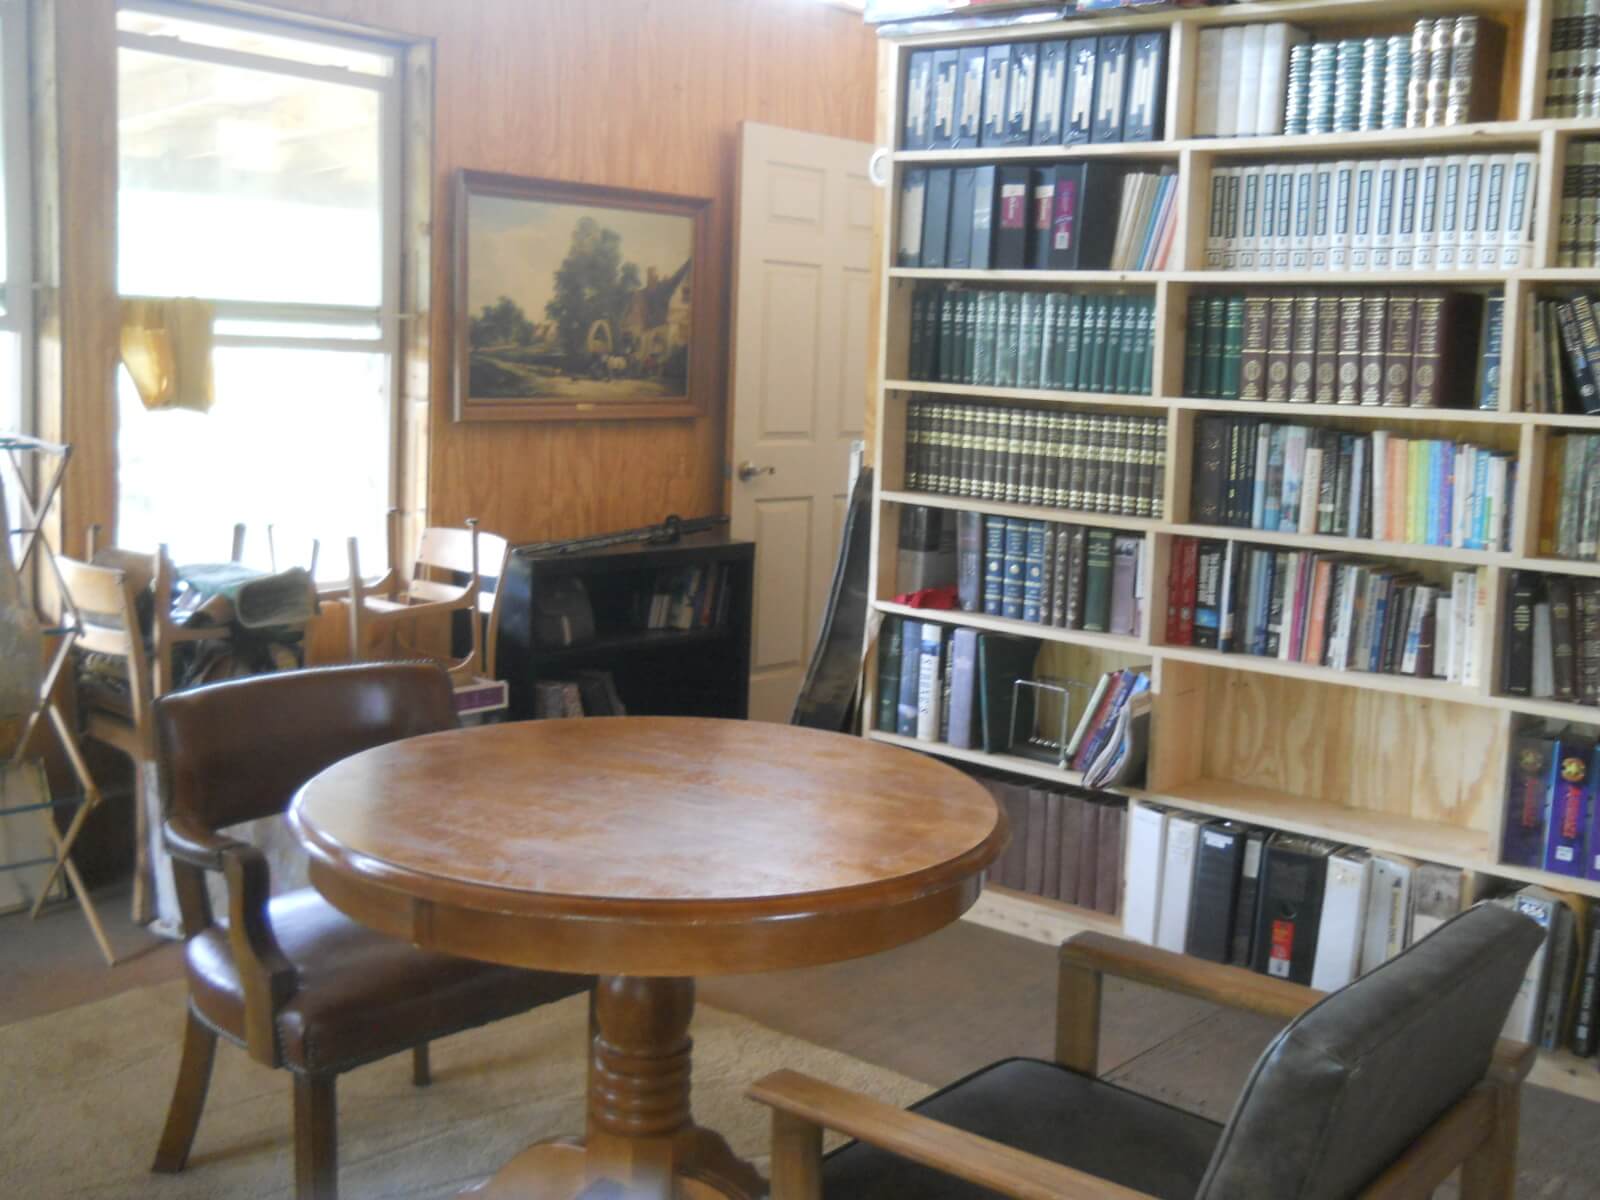
With the two bookshelves in place, here is what the library looked like before starting:

Library Storage

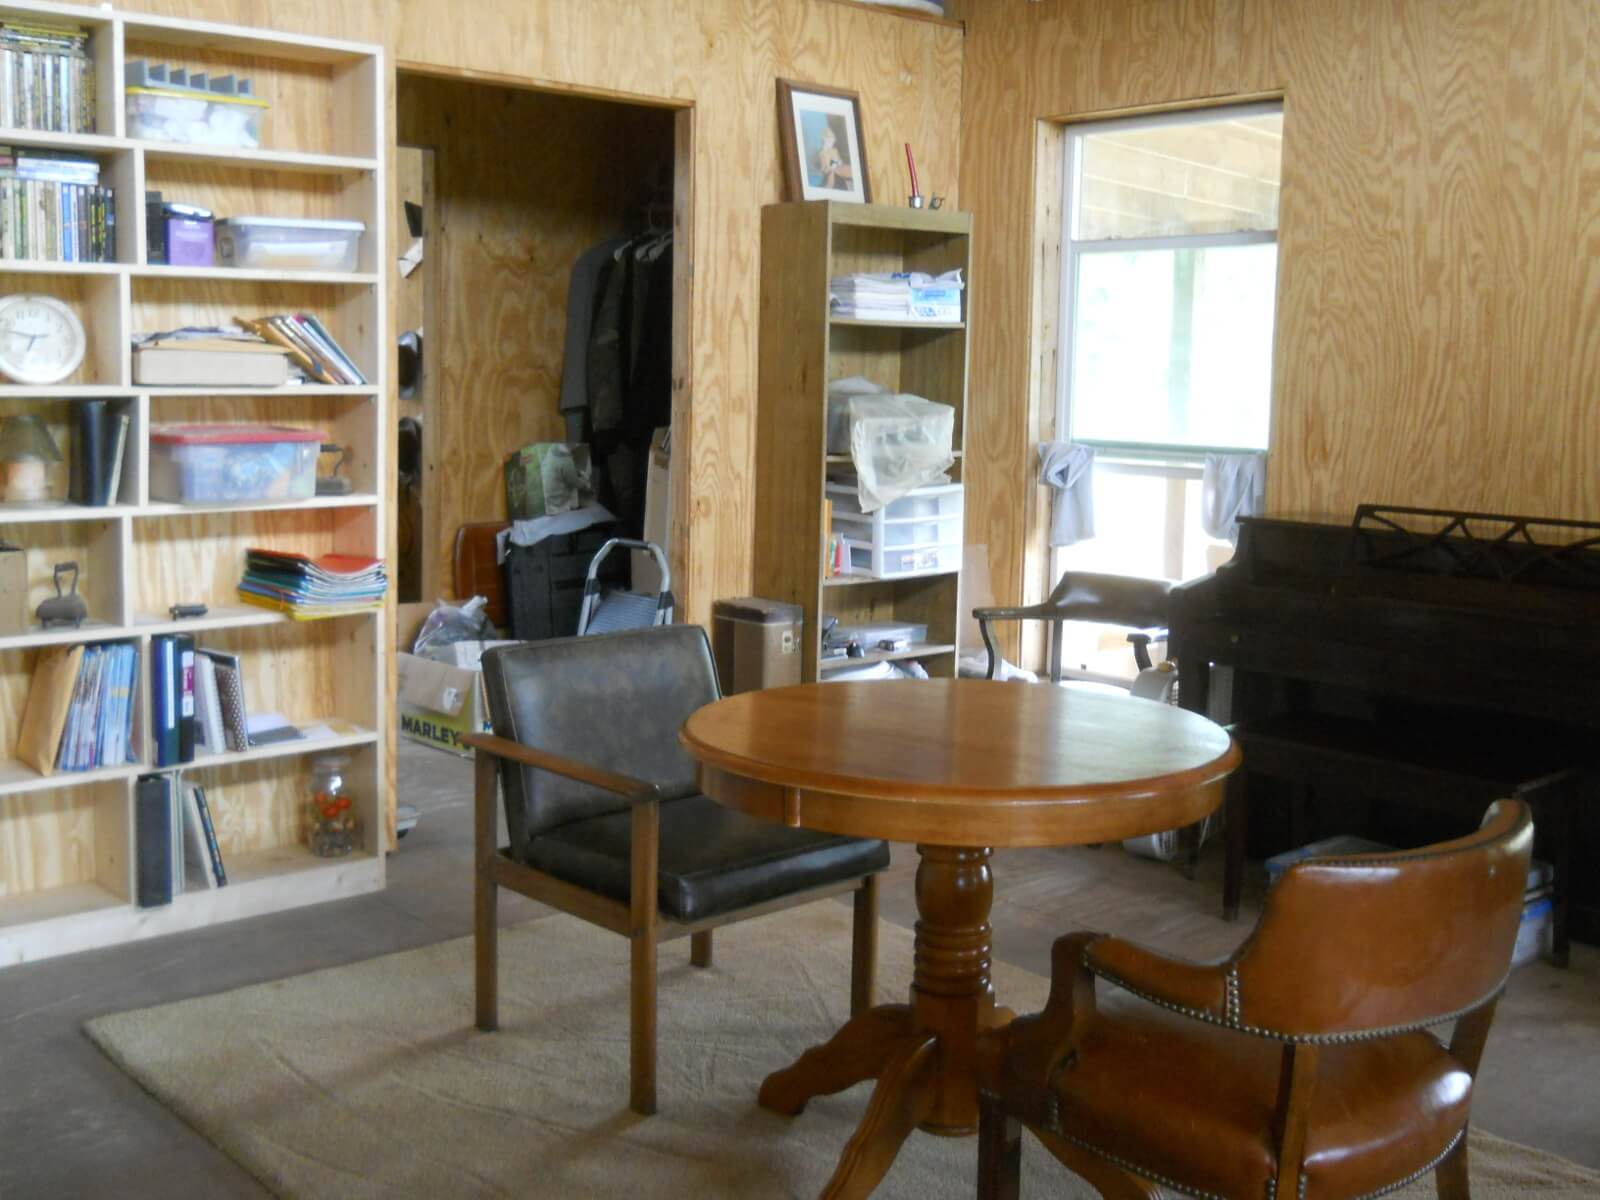
And then, needless to say, we have finally purged a lot of things we believe we would no longer use…

Library Cleaned Up

More Library Cleaned Up

Still More Library Cleaned Up

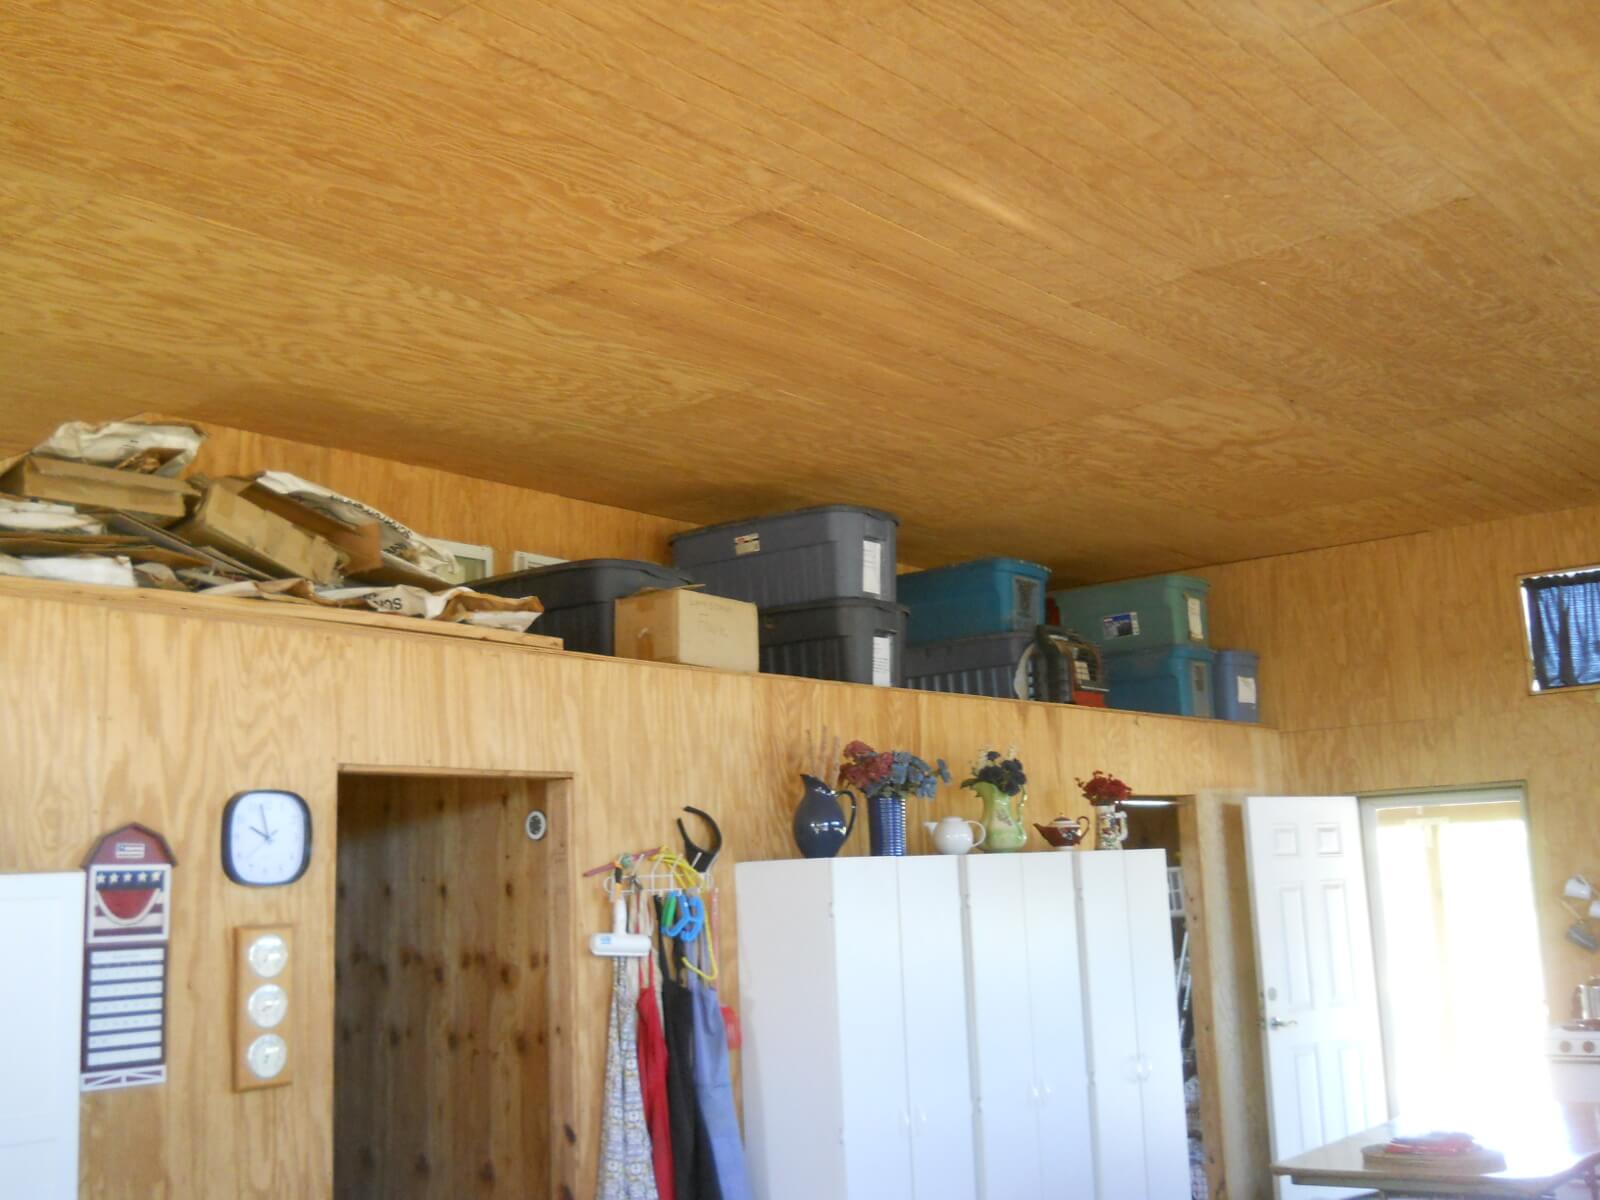
…or stored them in the area above the bathroom/pantry/closet walls, which was part of the purpose of that whole platform:

Upper Storage

As always, we are thankful to the Lord for granting the resources to do these things, and to the folks who have made all of this possible!

May this house be a house of worship to and learning about God at all times!

— David

A House – Update LI – Lower Siding, Update II

With the lower siding of the west side of the house installed, I started on the south side…

Here, the tar paper is up. Thanks again to Sue for the help!

House South Side Lower Siding Tar Paper

And then all of the siding on:

House South Side Lower Siding Complete

And from the other side:

Another View of House South Side Lower Siding

Since I was able to get a couple of extra panels with that month’s budget, I was able to start on the east — and final! — side:

Starting East Lower Siding of House

And here we are continuing with the east side:

More East Lower Siding of House

I forgot that I was not supposed to grab a moving circular saw blade…oops. I am very thankful it wasn’t worse:

Fingers After Grabbing Moving Circular Saw Blade

And here is the east side complete! Wow, all done with the lower siding! Thanks to the Lord for His provisions!

East Lower Siding of House Complete

East & North Sides of the House

Front of the House with Siding Complete

Once again, we are very thankful to God for granting the materials and physical strength to continue, and we again thank those who are making the house possible!

We always pray this house will be a place of worship to the Lord!

— David

A House – Update L – Lower Siding, Update I

In our last house update, we had started on the lower external siding. Well, God has graciously granted we be able to continue with the process, this time on the west side!

Here it is with the porch ledger board, drip edge, and half the tar paper up:

House West Side Lower Siding Ledger Board & Partial Tar Paper

Another of the House West Side Lower Siding Ledger Board & Partial Tar Paper

And then half the siding:

House West Side Lower Siding Half of the Siding Up

And then the siding complete!

House West Side Lower Siding Complete

We are very thankful to the Lord for granting the continued progress on the house! And thanks to those who continue to make it possible for us to do this in resources, and thanks to Sue for the help putting up the tar paper! 😀

On to the south side!

— David

March 2018 Community Work Day: Chicken Tractor Retrofit, Curtains & Pecan Shelling

Chicken Tractor Retrofit

Back in December, 2005, just a few months after we arrived here in Texas, we built a chicken tractor to house our chickens, the original process which you can see here.

Well, fast forward 12 1/2 years, and while it has served us well, it had also begun to fall apart, with uprights rotting, etc.

Given that this was the only real overnight housing for our main flock of chickens, I felt a retrofit really needed to be accomplished in one day. I figured there was no way I would be able to do that myself, and so I requested March 2018’s community work day, and this past Wednesday, we men began the process with haste…

The plan was to pull it all apart, replicate the siding, the front frame, the lower section in the back, and the upper “penthouse” section, and then put the sections back in place, and then the siding pieces. This would allow for not having to re-design things, and allow for using the same roofing and chicken wire pieces without having to re-do those.

But first, we had to pull all of the staples to get the chicken wire pieces off. Everyone got to participate in that, and it actually took a little while:

Removing Chicken Wire from Chicken Tractor

Here, the roof, siding, and lower back section (which you can see on the ground upside down on the right) are removed, with the front frame and penthouse section still in place:

Chicken Tractor Roof, Siding, Back Section Removed

Here you can see the back section center right, upside down, and a youngin’ sitting on the back door:

More Chicken Tractor Roof, Siding, Back Section Removed

Still working on the penthouse section:

Working to Remove Chicken Tractor Penthouse Section

Here on the left, you can see the penthouse section removed:

Chicken Tractor Penthouse Section Removed

And here, the new front framing and new uprights are in place:

New Chicken Tractor Front Frame & Uprights

And here’s the new penthouse section, guarded well by a couple of smiling gents…would you trust these fellers? 😉

New Chicken Tractor Penthouse Section

Skipping forward a little, here we are with the back and penthouse sections in place, and the new siding installed:

New Chicken Tractor Back & Penthouse Sections & Siding Installed

And here’s the front view:

Front View of Chicken Tractor Put Back Together

And from another angle. I was really hoping to get to this point so we would at least be able to box them in for the night, and thanks to the Lord and the guys, we were able to! But, we did pray the Lord would grant the chickens safety through the night, being they were a little more exposed with the chicken wire not put back:

Another View of Chicken Tractor Put Back Together

Here’s looking in the back. I decided to use the same nest-box structure as it was still in fairly good shape:

Back View of Chicken Tractor Put Back Together & Nesting Boxes

And here’s how we attached the roofing tin:

Inside View of Chicken Tractor Roofing Tin

And just a metal flashing piece to cover the roof apex:

Chicken Tractor Roof Apex Flashing Covering

Here’s the smattering of the old pieces and new left-overs all over…quite the war zone! 🙂

Chicken Tractor Pieces & Leftovers

Well, the next day, after God did graciously grant the chickens’ safety through the night, I went ahead and stapled on all of the chicken wire pieces, and they all fit very nicely! Good job to the chicken tractor retrofit crew! Now all we need is some paint:

Retrofit Chicken Tractor with Chicken Wire Stapled Back On

Hopefully a little more so now! 🙂

Happy Chickens

Curtains & Pecan Shelling

Over on the ladies side of things, they graciously helped Sue make some new curtains:

Shelled Pecans

And did some of the pecan shelling from the pecans the Lord granted us from our trees last year, which is something of a time-consuming process. The lady who did this got quite a bit of them done!

New Window Curtains

We are very thankful to God for His graces and mercies in allowing us to be a part of this fellowship. We thank Him for the people here, and we always pray we do these things in love and service for each other out of love and service to Him!

And thanks to the folks for all of the help! May God bless each of you and your households with an abundance of His graces, and temporal, spiritual and eternal blessings!

— David

A House – Update XLIX – The Porch, Lower Siding, & Window Sills

It’s been a while since our last house update — June of last year in fact — and so, we thought we’d catch you up on the progress on the house the Lord has graciously granted!

The Porch

It was finally time to start getting going on some external siding, but before that, we needed to be able to figure out where the porch was going to attach to the house because siding placement would be determined by that. Plus, the stairs we had in front of the house leading into the front door were a little unstable, and so I wanted to get into place a temporary set up that was a little less rickety as well.

We started by going around the outer porch beams along the porch posts to find the highest point so we could level the porch all the way around off of that. We used the water level we used when leveling the foundation piers, which works great for long distances.

Once that was figured out, it was time to put up the siding tar paper:

Lower East Siding Tar Paper

And then the porch ledger board…

Lower East Side with Porch Leadger Board

…bolted to the outside main structure floor joists (which are doubled up on the east and west sides, since walls are sitting on them):

Porch Ledger Board Bolted to Joists

We also needed to put the final porch beams in place. You’ll notice the one side isn’t even with the porch beam next to it. This is because I discovered when trying to find the porch leveling point that the north east corner of the porch is probably 3 inches or so lower than it should be. Oops. I’m not sure how I managed that, but as we go around installing the porch joists, Lord willing, I’ll have to raise the beams to get them more level:

Installing New Porch Beams

And here they are installed:

New Porch Beam in Place

I did some research on how to do the flashing over the ledger board, and this YouTube video is the one I went with. It’s z-shaped with a little lip that juts out from the ledger board, forcing a space between the joist and the ledger board preventing water from being kept next to the joist potentially causing future rot:

Porch Ledger Flashing

And here’s a side view of the flashing:

Porch Ledger Flashing Side View

Here is a joist hanger in place, nailed in with hanger nails:

Porch Joist Hanger on Ledger

And with a joist attached:

Porch Joist Attached to Hanger

This joist I had to notch to get around a porch post:

Porch Joist Notched to Go Around Porch Post

And here is the first set of porch joists in place. I used the 3-4-5 rule to get the first joist square with the house:

Porch Joists in Place with Outside Header

I put this board in place just so the joists would maintain correct separation:

Porch Joist Spacer Board

And then I tacked down a couple of leftover plywood pieces for now, moved the steps to the side of the porch, and added a set of steps to be able to walk over the beams. It’s much easier to get into the house now! 🙂

Temporary Porch with Stairs Over Beams

Lower External Siding

Thankfully, the lower OSB siding is somewhat protected from the elements being under the porch roof, but eventually that won’t last, so we have started putting up siding on the lower external part of the house, beginning with the north side, which seems to see the most weather activity.

Here is some of the tar paper in place behind the porch ledger board:

Lower North Siding Tar Paper

And this what I used to elevate a piece of siding so it doesn’t set directly on the flashing, once again to keep things out of sitting moisture:

Siding Spacer

And here is some of the siding in place:

Lower North Siding Begun

I had to cut a hole in the siding for the electrical inlet:

Lower North Siding Electrical Inlet

And here is more siding done:

Lower North More Siding Done

And then the whole side complete!

Lower North Siding Done

Now, we need to choose a color, paint it, and add window trim, and then it should be all done.

Internal Window Sills

In an attempt to continue to seal in the inside of the house from air leaks to help keep in the warmth, I’ve started putting up boards on the inside of the window sills with the plan to eventually come back and finish the front part of the sills later.

Here is lower bedroom:

Bedroom Lower Windows Inside Sills

And upper kitchen. During one of our recent cold fronts, Sue could see the cobwebs moving, and so it was important to get them done, especially on these upper north-facing ones:

Kitchen Upper Windows Inside Sills

Here is lower great room:

Great Room Lower Windows Inside Sills

And finally, upper great room:

Great Room Upper Windows Inside Sills

As always, we are very thankful to the Lord for granting the provisions to be able to continue on the house. We always pray it’s a place of worship and a nice gathering place for His Church.

— David

A House – Update XLVIII – Kitchen/Great Room Cabinets, Kitchen Island Carts, Pantry Shelves & Cook Book Shelf

It’s been some time since our last house update, but since then, the Lord has granted we be able to collect great room and kitchen storage items, to be able to continue to move in and function more completely in the house.

Here are a couple of great room cabinets:

Great Room Cabinets

And with a stow away catching a nap: 🙂

Mimi in Great Room Storage Cabinet

And the kitchen cabinets:

Kitchen Cabinets

And with Sue’s grandmother’s china, which is very special to her!

Grandmother's China Dishes in Kitchen Cabinet

These are a couple of kitchen island carts:

Kitchen Island Cart

Kitchen Island Cart

And then some more pantry shelves:

More Pantry Shelves

And finally, a little cook book shelf I put on top of the paper towel holder:

Cook Book Shelf

As always, we are very thankful to God to be able to continue on the house and for these provisions! We always pray this place will be a house of worship to Him, for the gathering of His people, and where He might glorify Himself!

— David

A House – Update XLVII – Kitchen Pot Hooks, Utensil Drawer, More Pantry Shelves & Indoor Elevated Water Tank

With some of the kitchen accoutrements being added, the Lord has graciously granted we continue to add some more things in getting it more functional…

Sue liked a utensil drawer and pot hooks idea, so we bought a set of drawers that fit under the counter, and I added some hooks:

Kitchen Pot Hooks & Utensil Drawer

And here are some more pantry shelves added, on the opposite side of the others this time, and with the potential for more levels:

New Kitchen Pantry Shelves

Lastly, all along the plan for the area on the north wall between the counter and the stove was to install an indoor elevated tank for water flow into the kitchen sink. After some research, I settled on a 6 gallon one with a 3/4 inch outlet, that also happens to have a self-venting cap (which I didn’t realize until we got it — bonus!).

And so, I put up a platform, put the tank on it, and ran the tubing and garden hose. On the end at first, I put a hand-squeeze garden sprayer, partially because you could set it to flow automatically, but the outlet was too small, and the flow was minimal. I then replaced that with a valve that is the diameter of the hose, and now it flows nicely, even spraying across the sink when the valve is about 3/4 open.

Here are a couple of pictures:

Indoor Elevated Water Tank

Indoor Elevated Water Tank Hose Valve

And here is a video of it in action:


We are always grateful to God for granting continued progress on the house, and for the ideas He gives us. We always pray this house will be a place of worship to Him!

— David

« Older posts