Just a little update on a few things we’ve been able to continue on with the house, by God’s graces.
Front Screen Door
We’ve had these for some time (bought them with the windows and doors, and with the heat of summer, I wanted to at least try to get the front door screen installed.
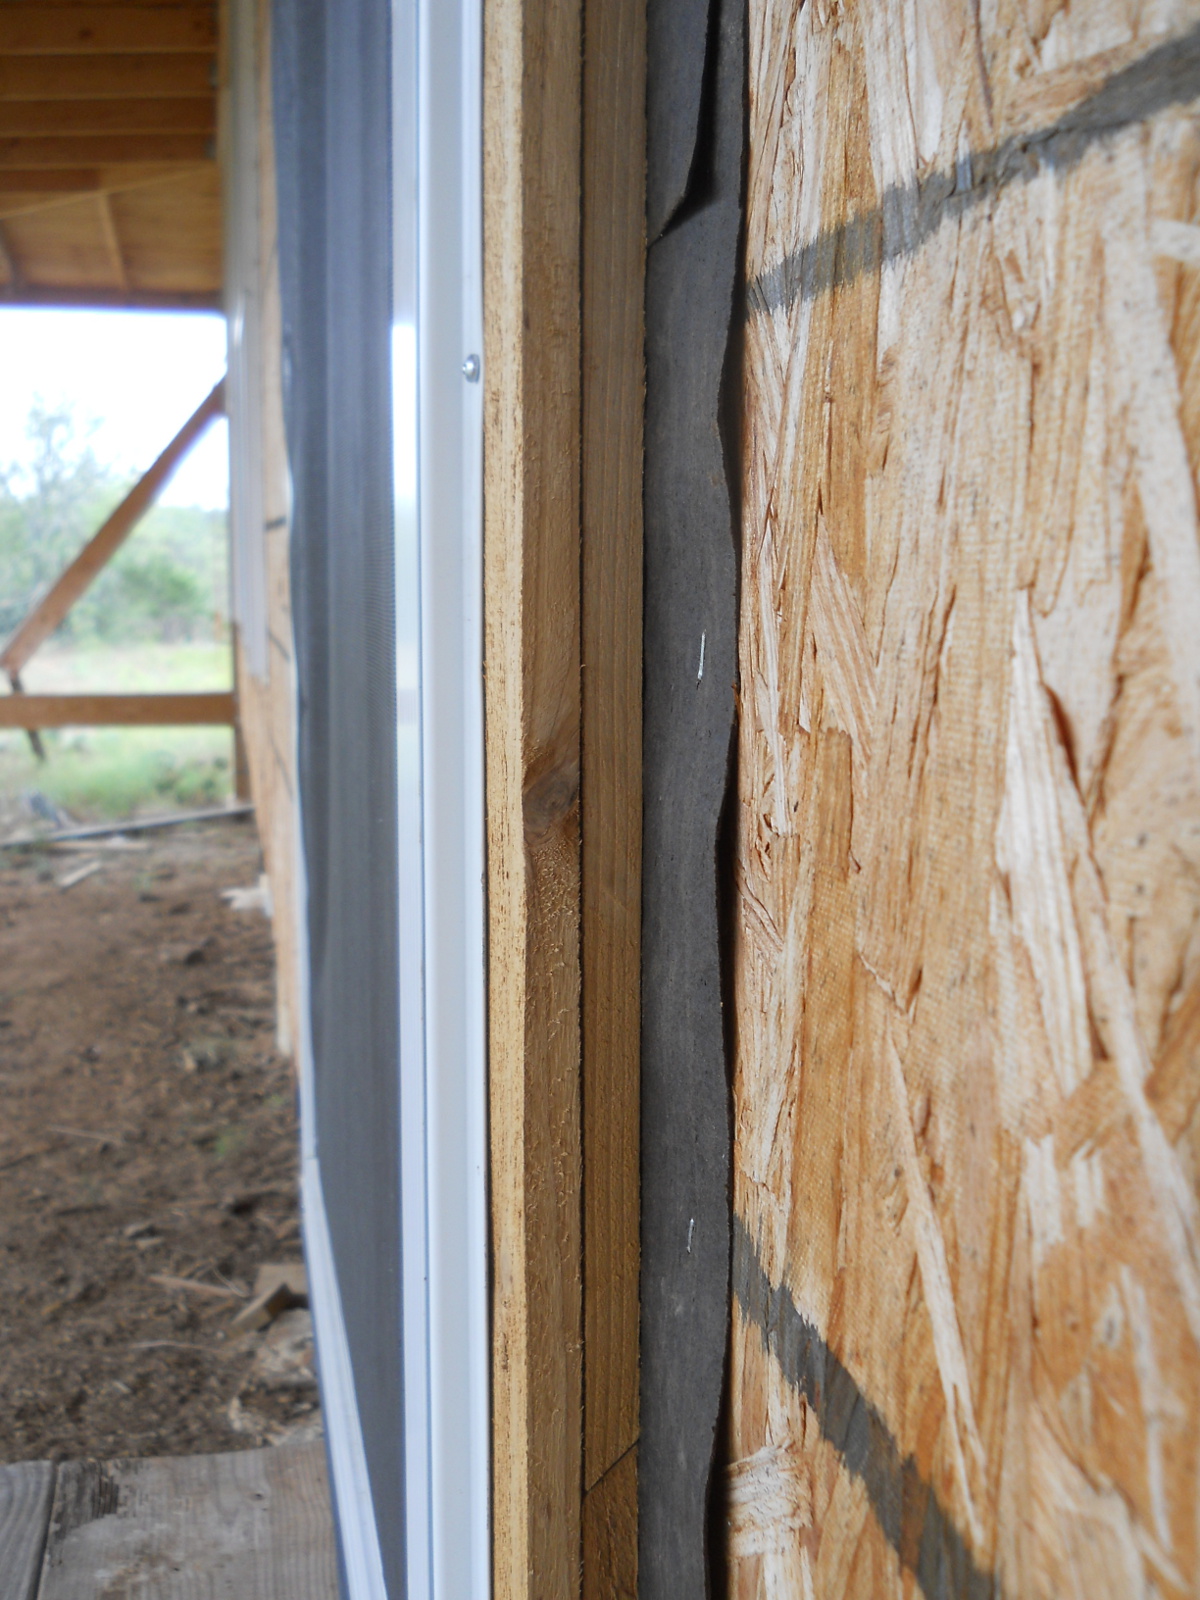
Here’s the tar paper installed:
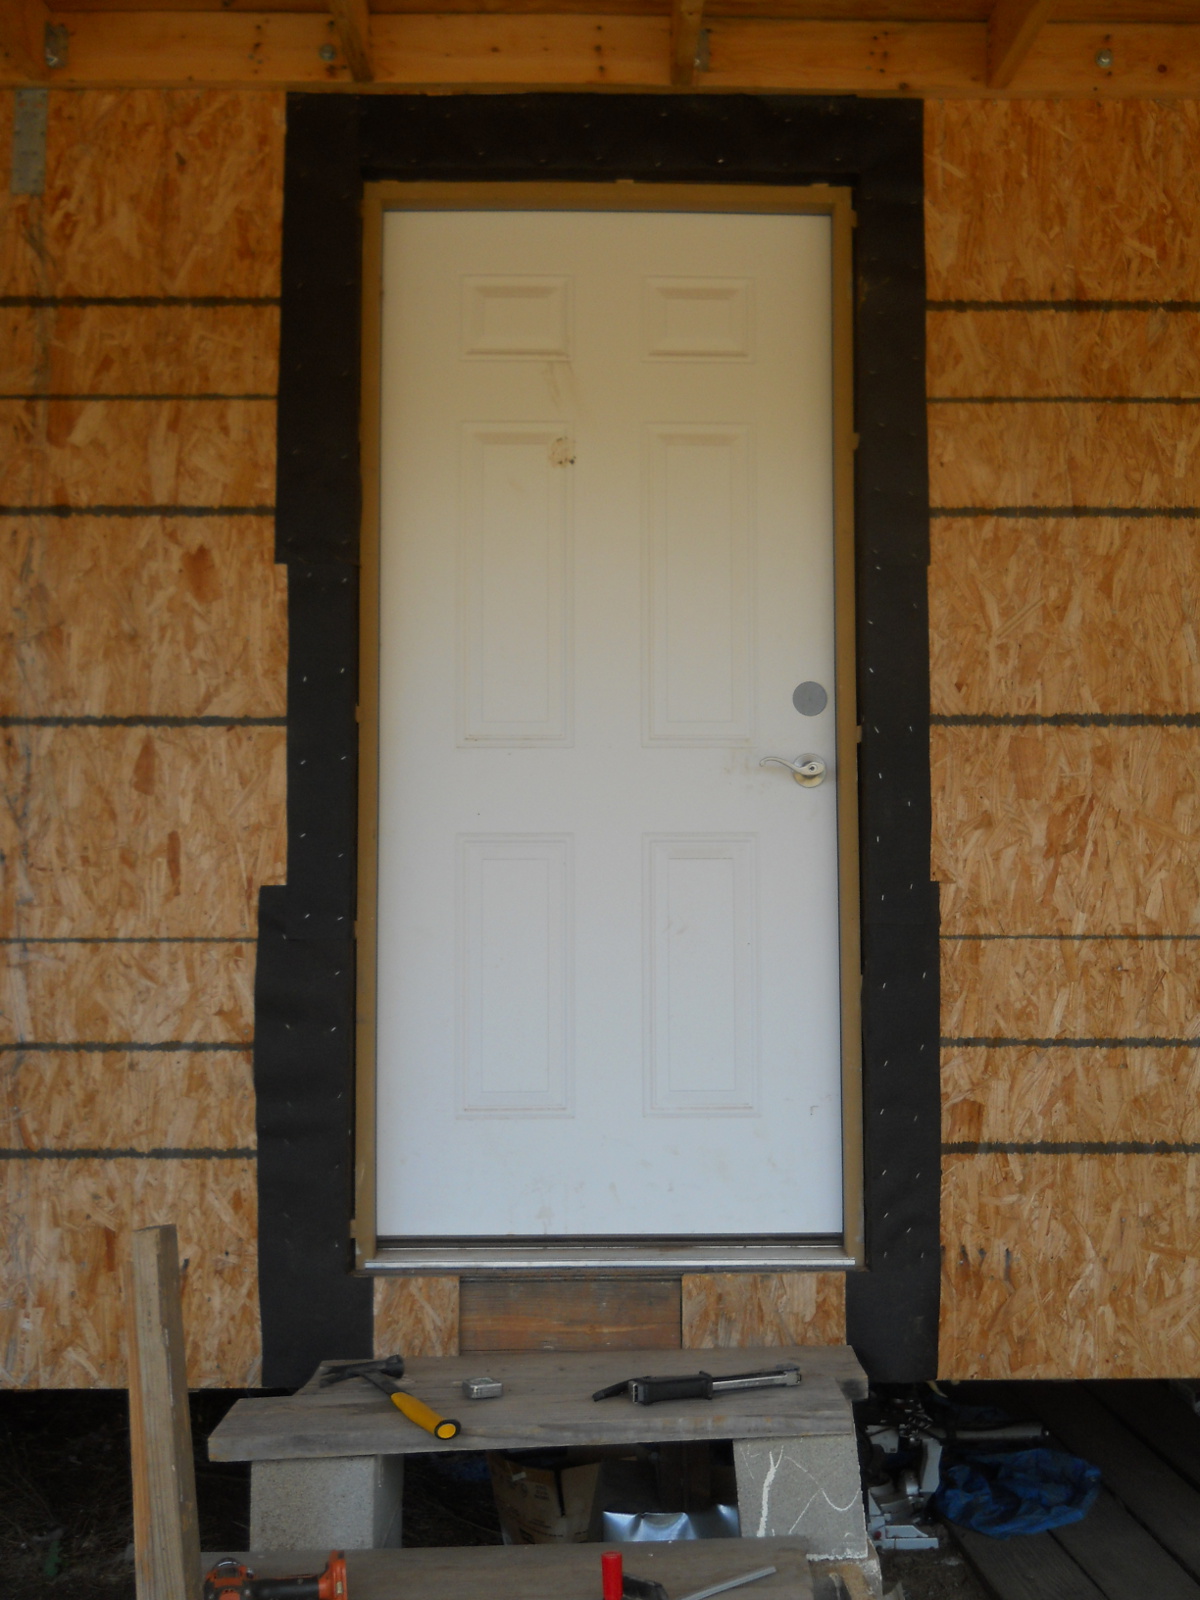
And for the frame, I decided to use cedar fence slats because of the longevity of cedar and the inexpensiveness of the slats. Since we’re planning on a form of lap siding for the house siding, with the fence slats being 1/2 inch thick, I needed to build out the frame by double stacking them (making the frame 1 inch thick).
Here’s the inner frame. I used tan deck screws to hold the pieces in place:
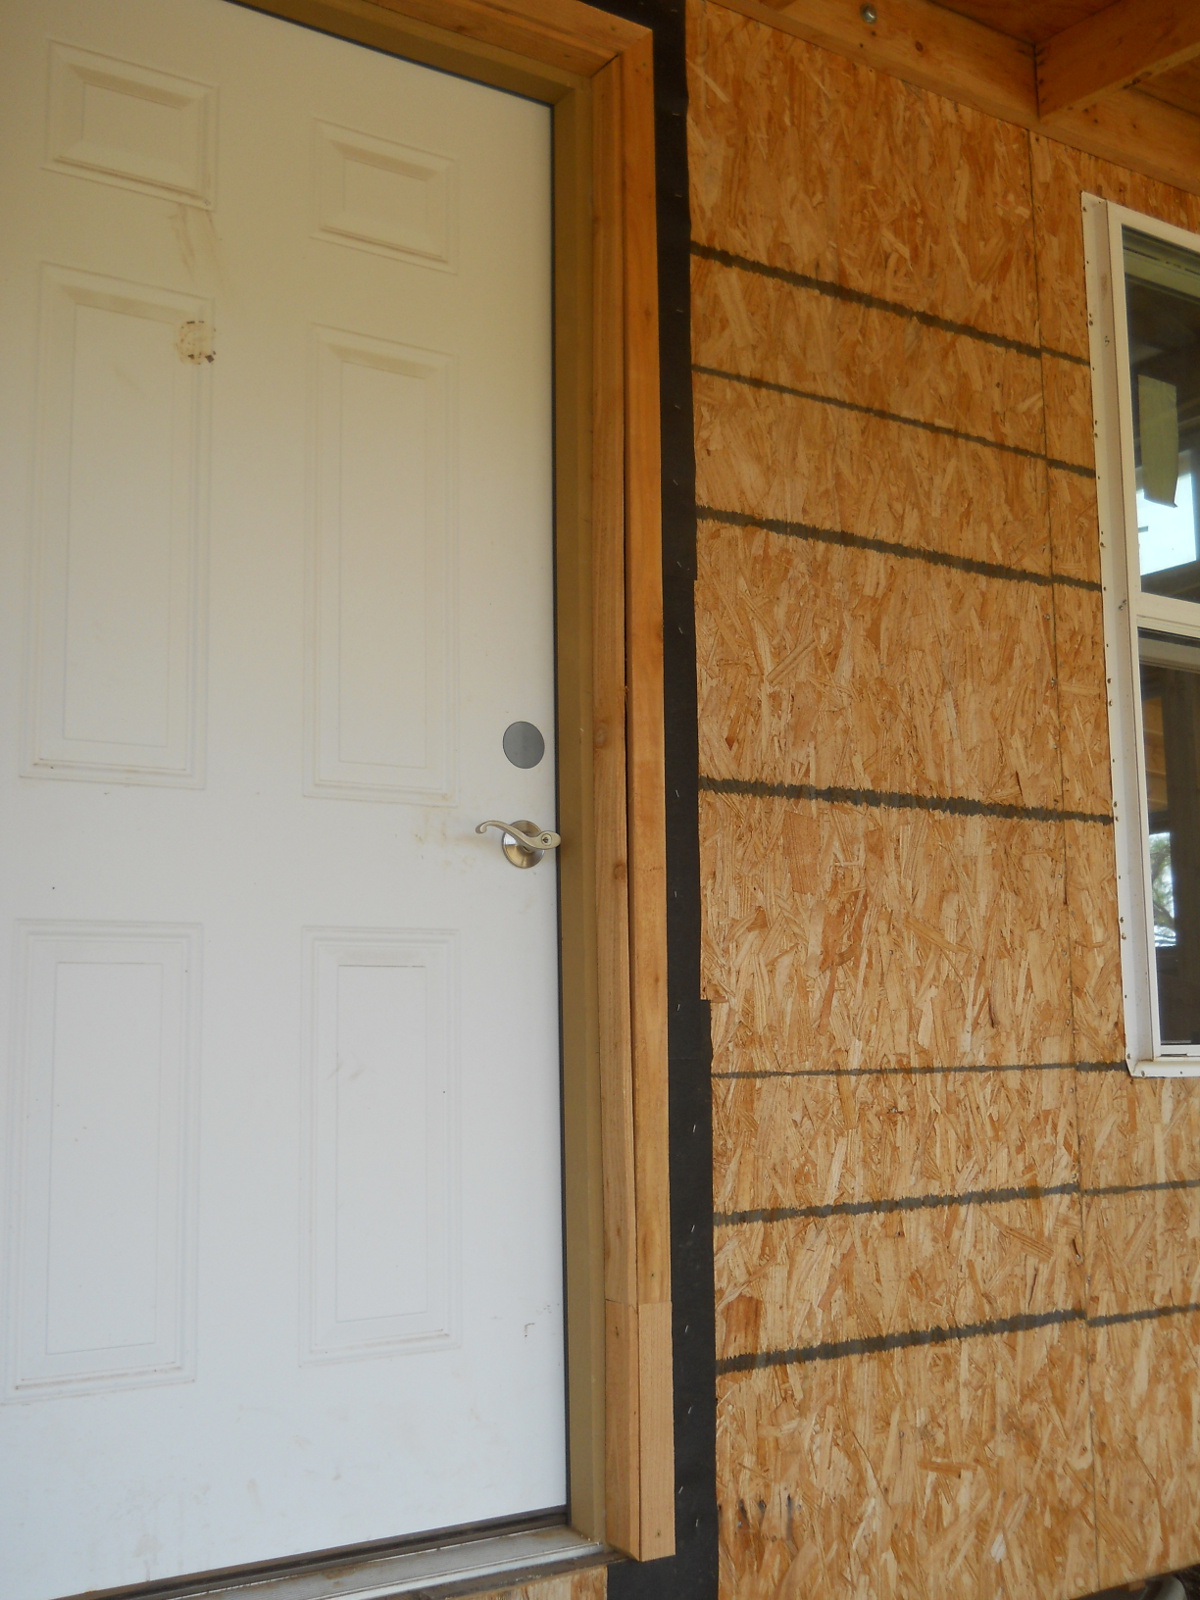
After putting up the entire outer frame, I checked the width measurements of the screen door, and discovered the frame on the inside of the door, being an inch thick, was going to make the screen door frame too small. After trying to fit the screen door in place, I found out I was correct…bummer. So, I took the outer frame pieces off from inside the door frame, and ripped them vertically on the table saw to slice them in half, making them about 1/4 inch thick instead. This ended up leaving table saw burn marks, which I had to belt-sand off, and made them thin, so they ended up splitting some when putting them back in place, even with pilot holes.
I believe for future ones, I would plan to just get 1-by cedar boards, which are going to be 3/4 inch thick, which is what I ended up needing.
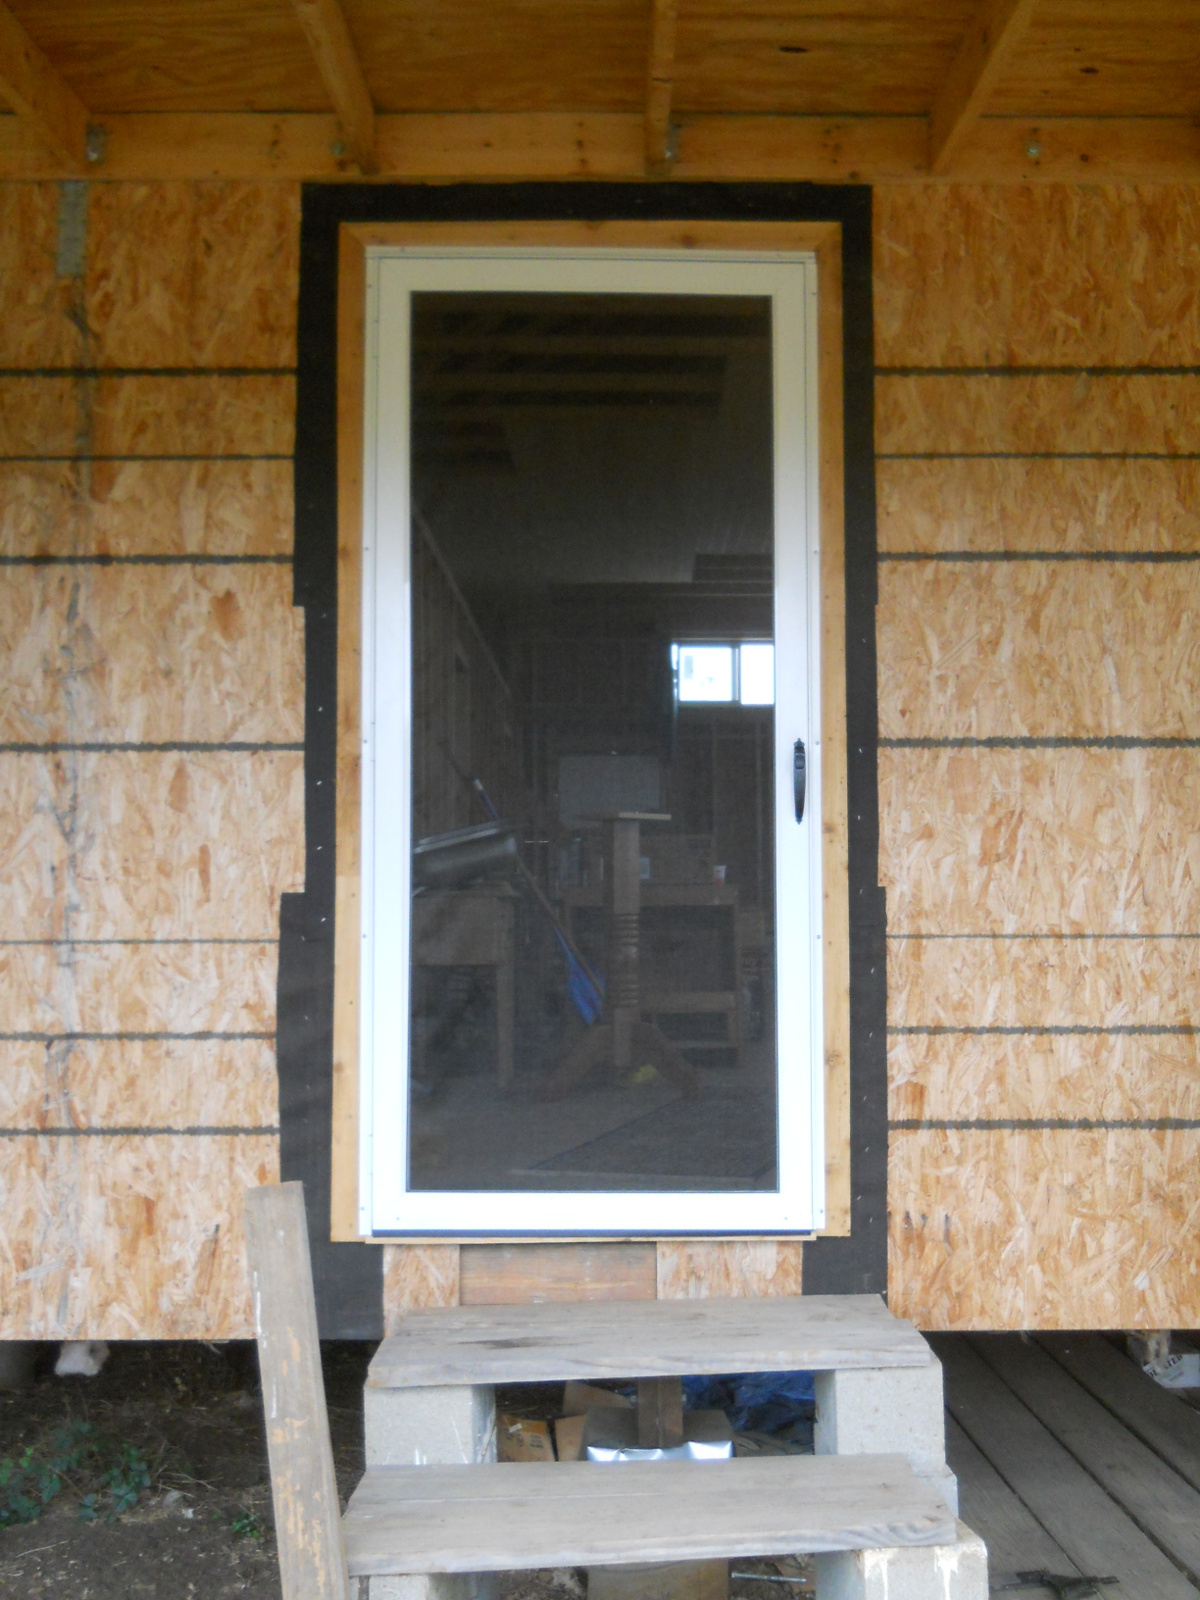
And here is the screen door in place. We have found in other structures that when a partial screen door is wide open, it still allows much more air flow then when it’s closed, even if half of it is a screen; so I wanted something that was full-length screen. The screen is removable and can be replaced with a glass frame instead:
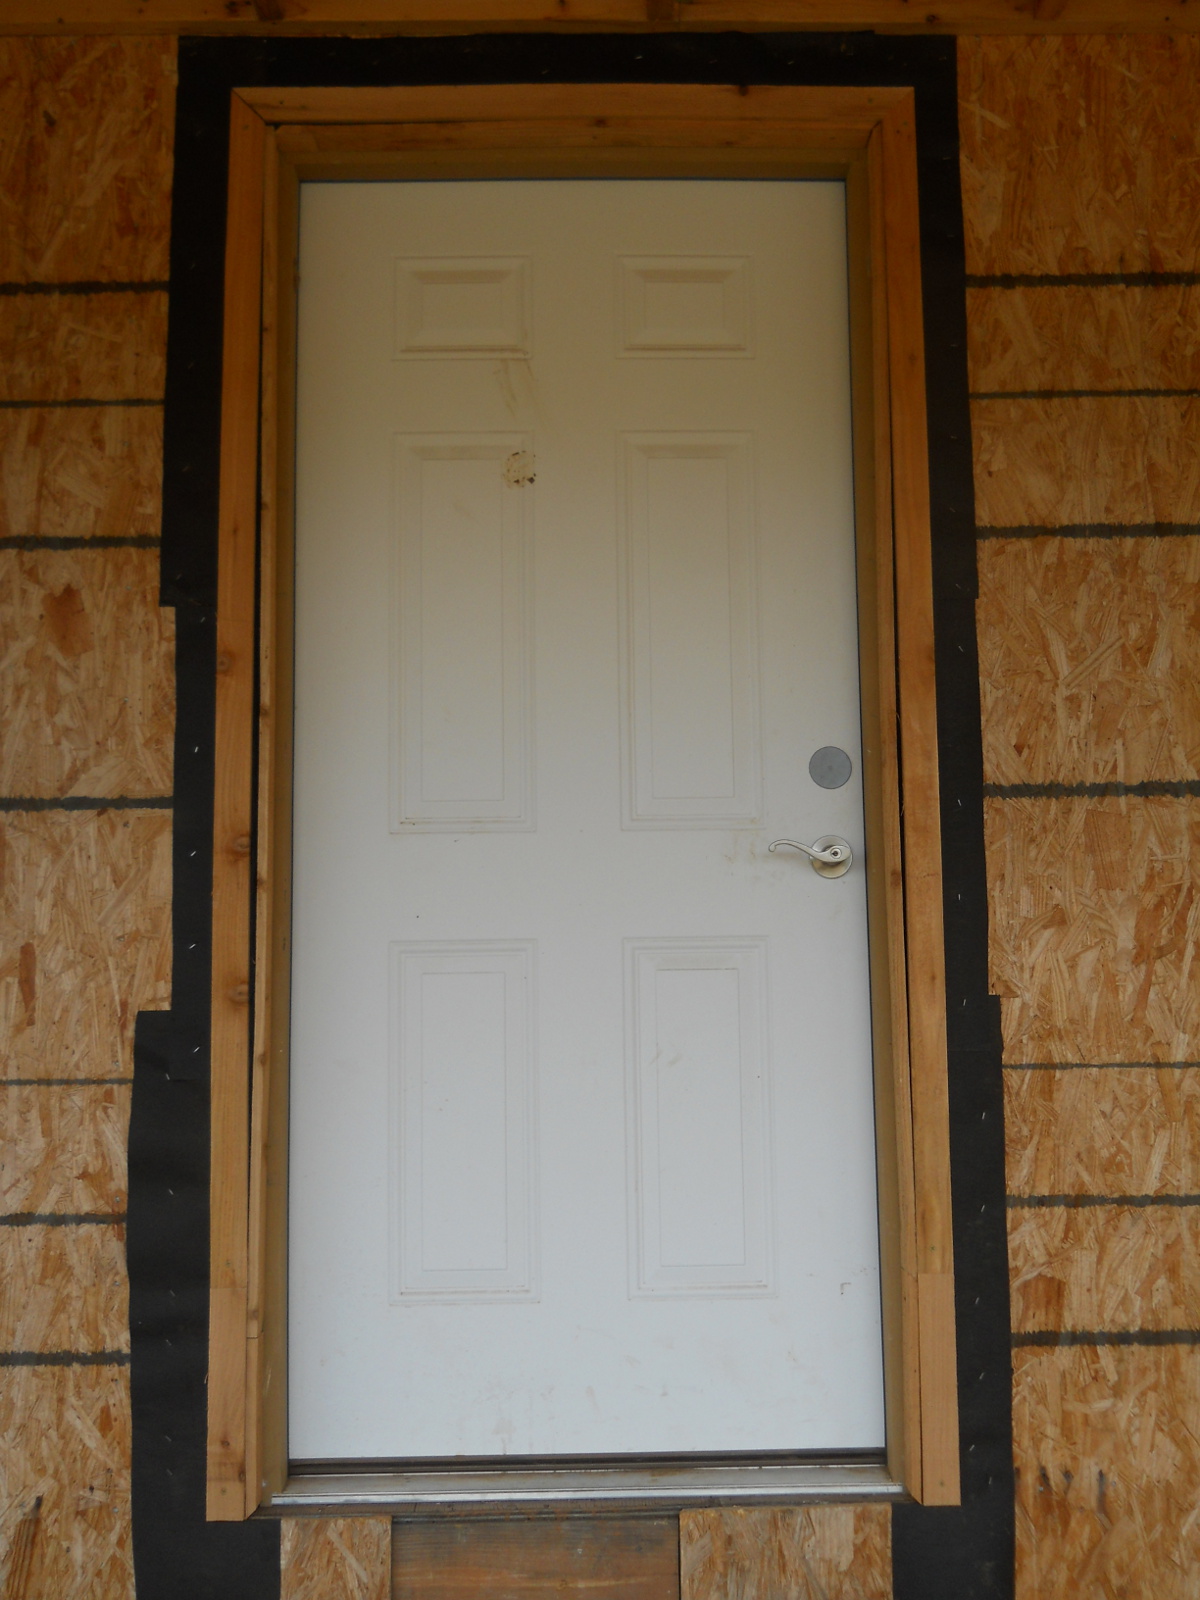
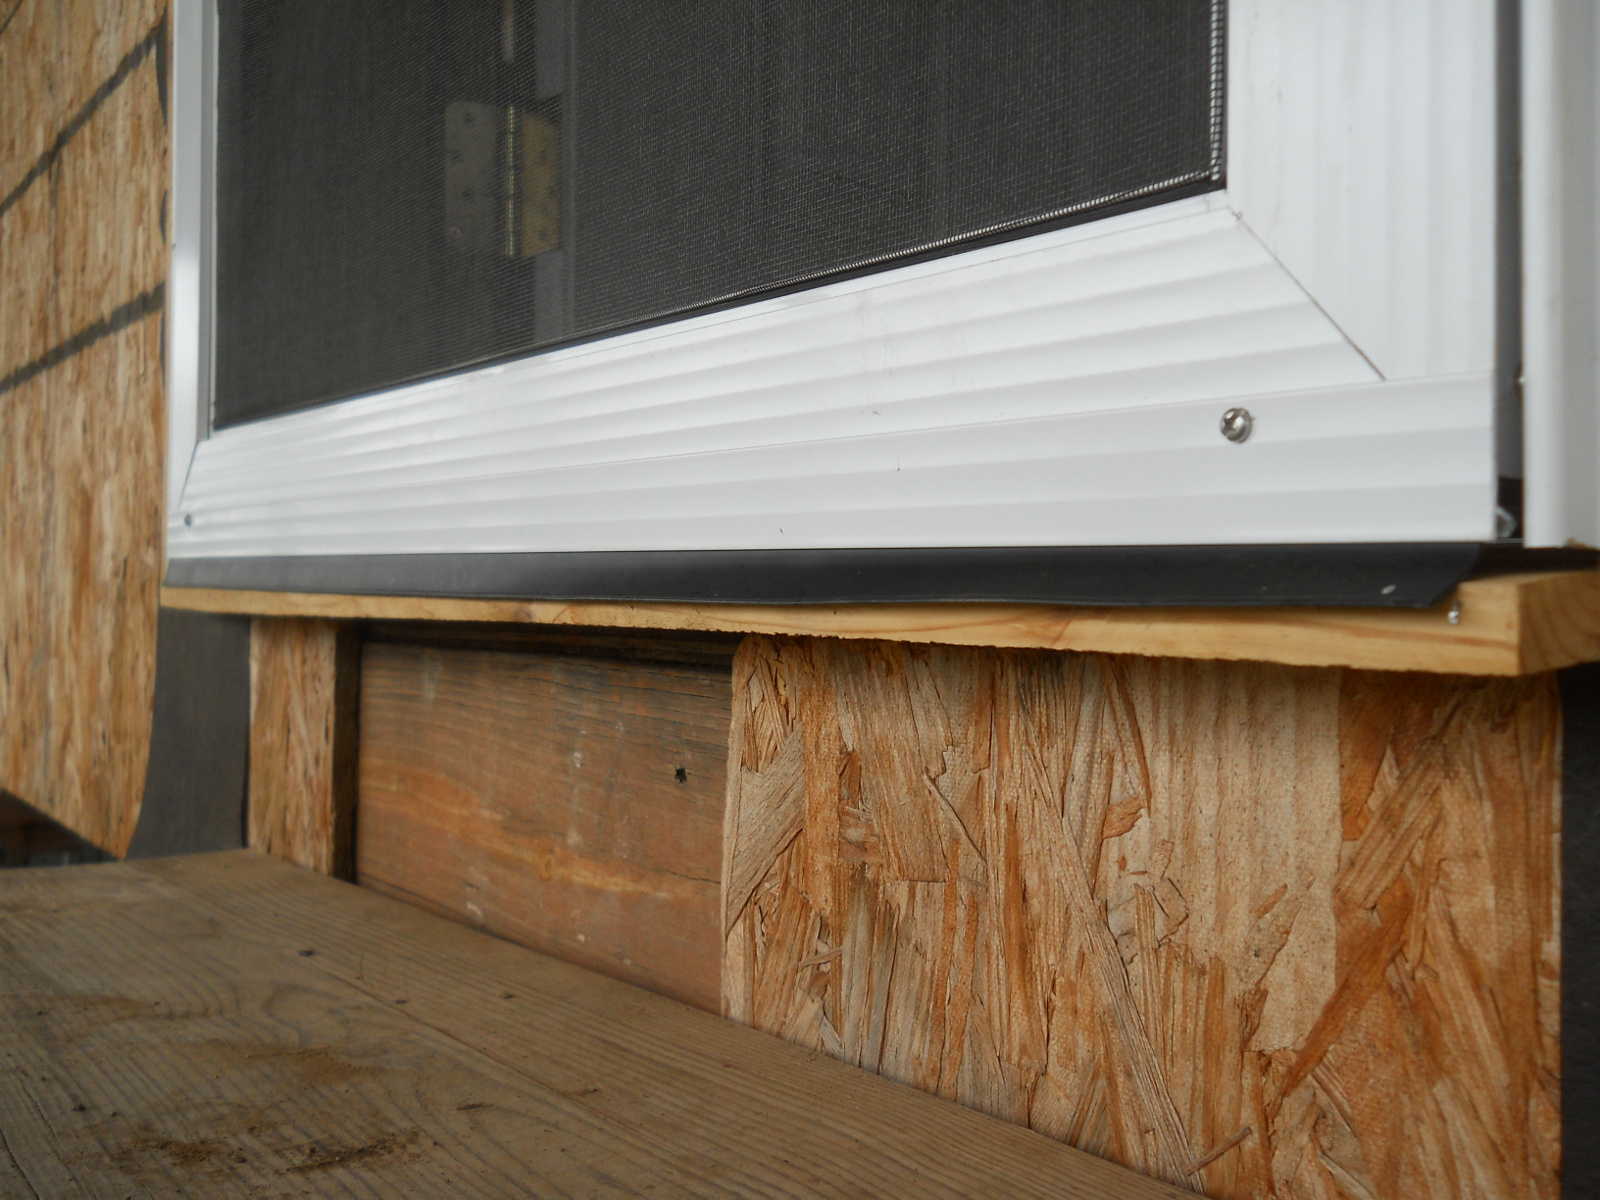
Here’s a look at the screen door frame:
And the base plate:
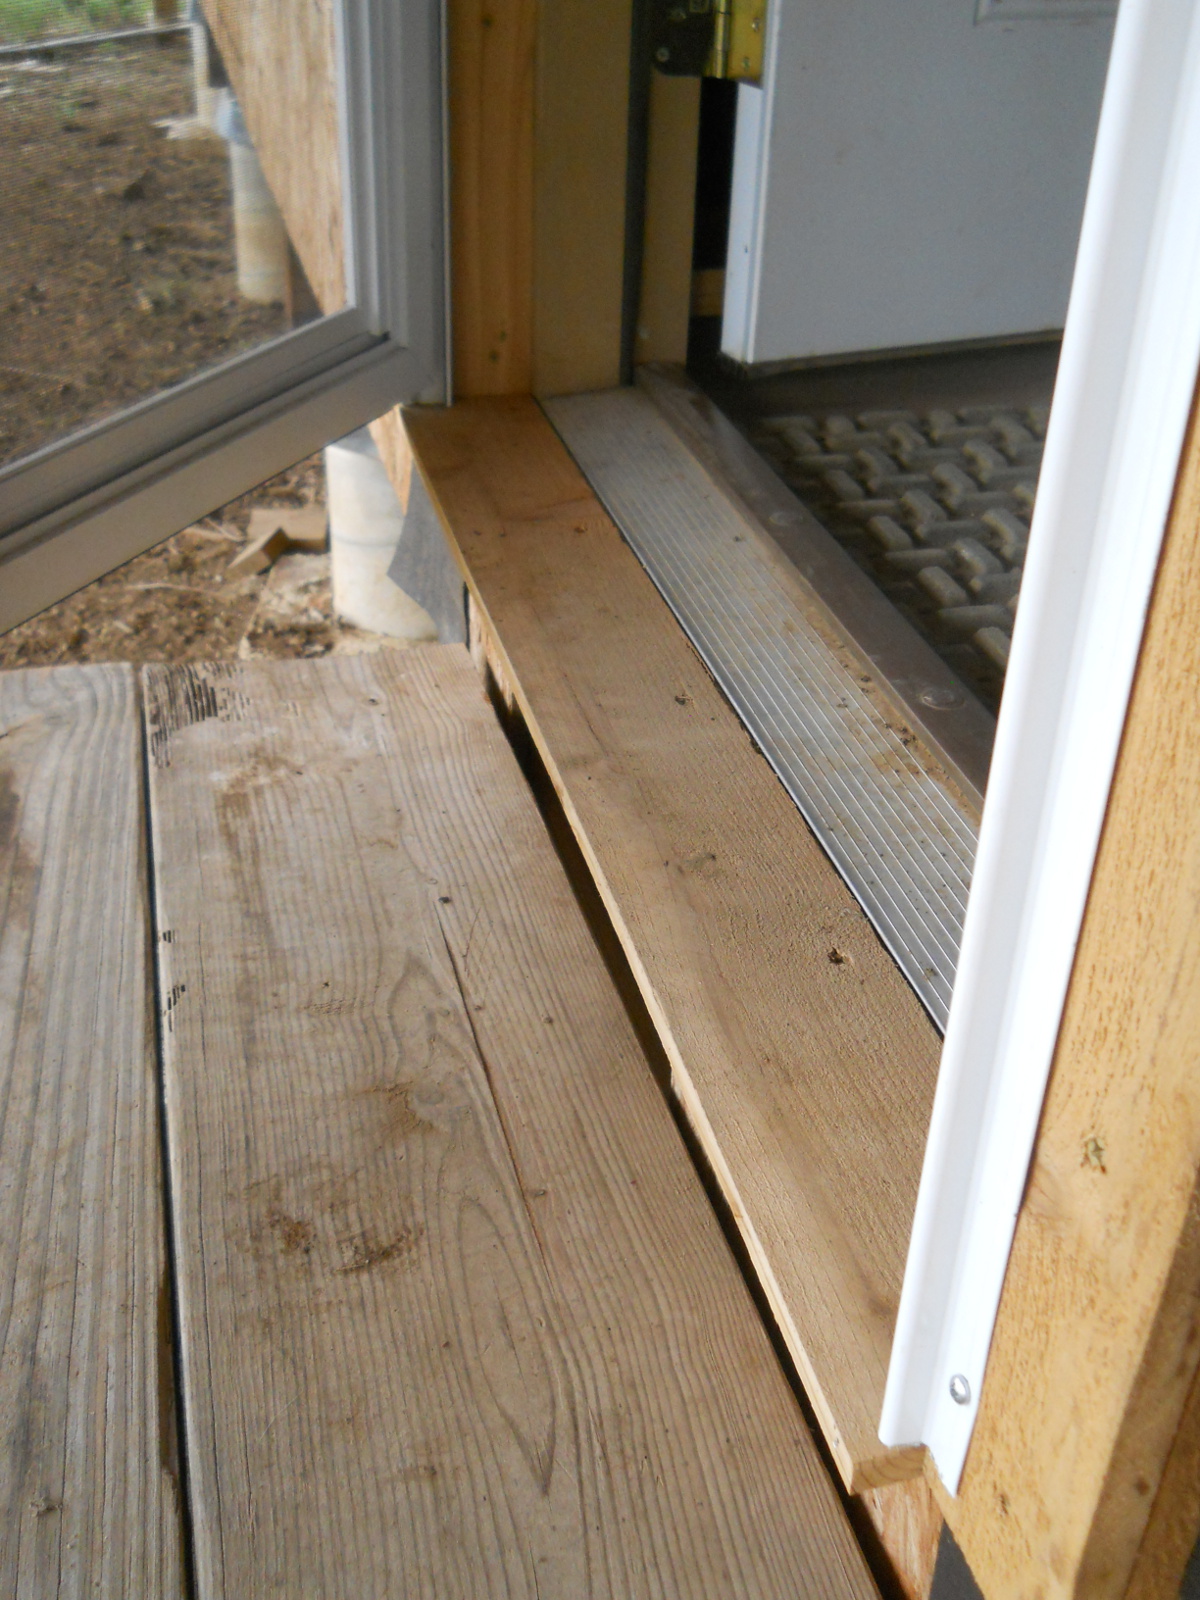
And the door sweep:
And the nice view from the inside!

We’re thankful to the Lord for these screen doors, and for the air flow they allow.
Bedroom Ceiling Insulation
In trying to continue with the bedroom, in hopes of being able to at least sleep there during the winter, and since we had the ceiling panels in place, it was time to start getting some ceiling insulation in place.
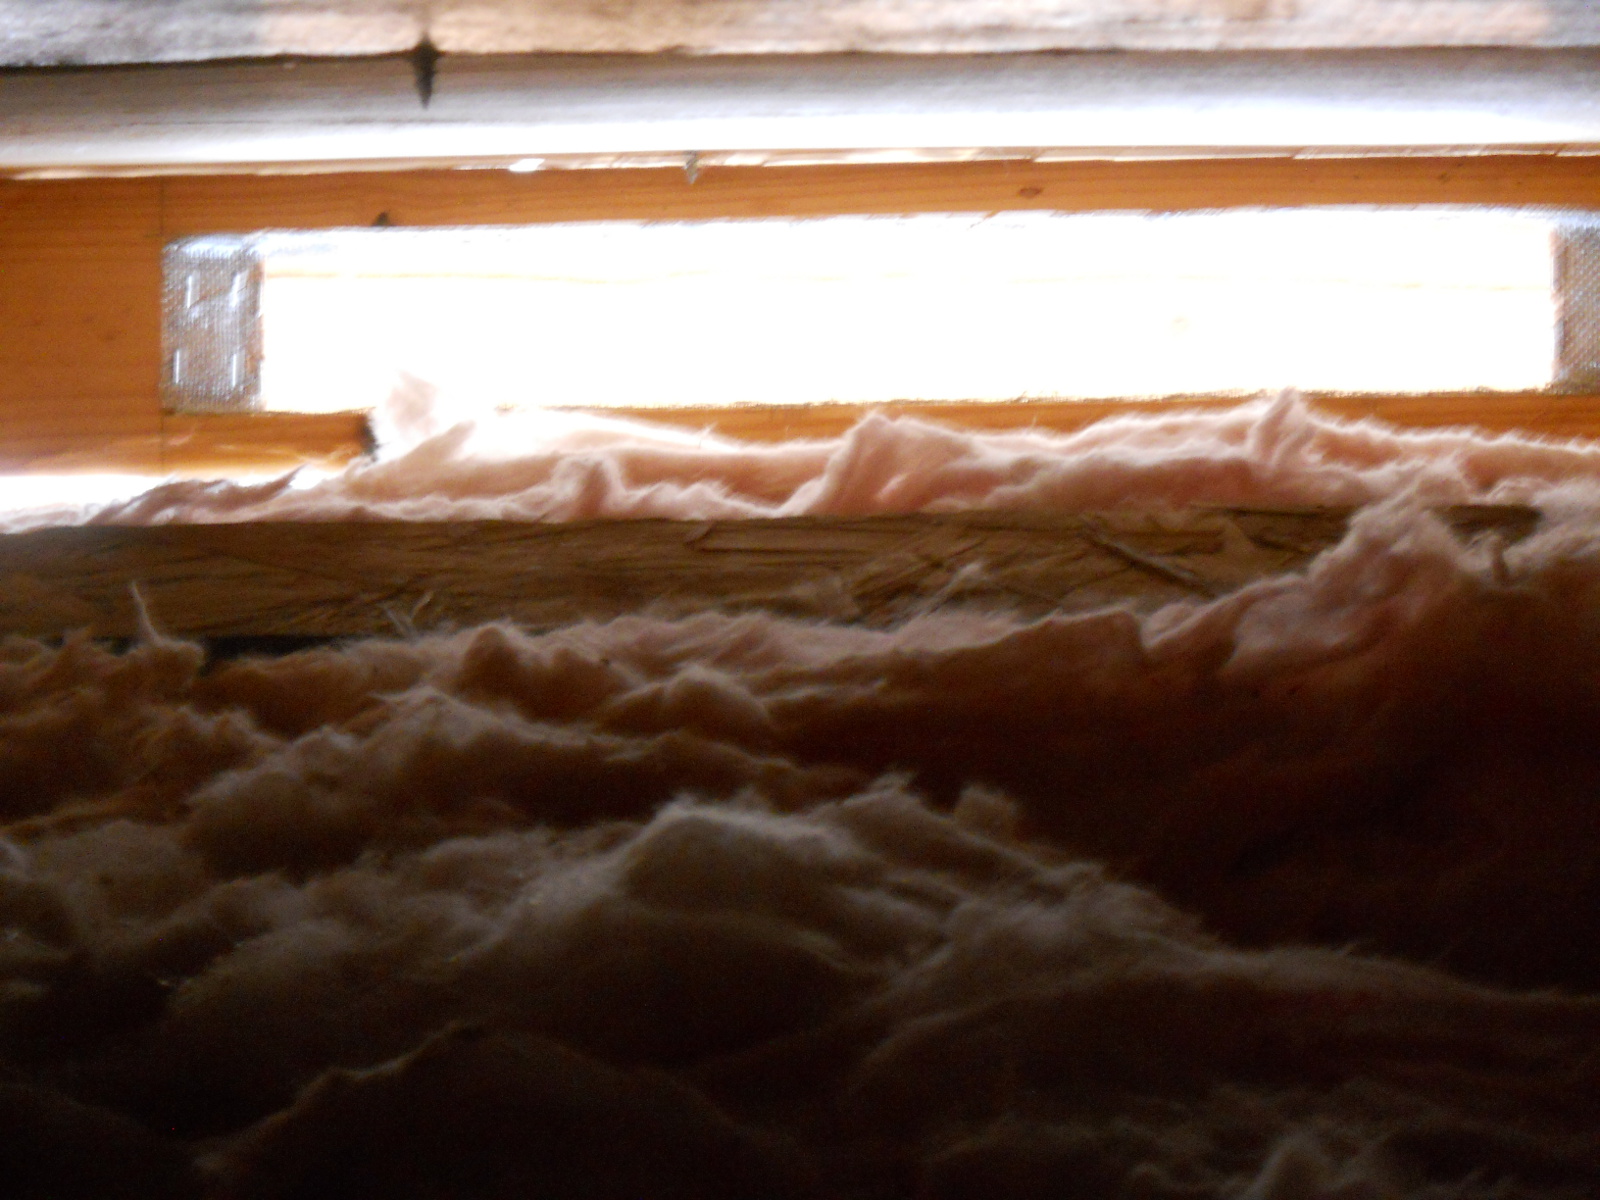
Here is some of the R30 rolled out. Maneuvering the big rolls of insulation in the trusses while trying to make sure to only walk on the trusses, and having to lay down to get the insulation in place at the low end of the trusses, was a little more difficult that anticipated. Some of the grommeted screws from the roof metal got my shirt and the top of my head  :
:
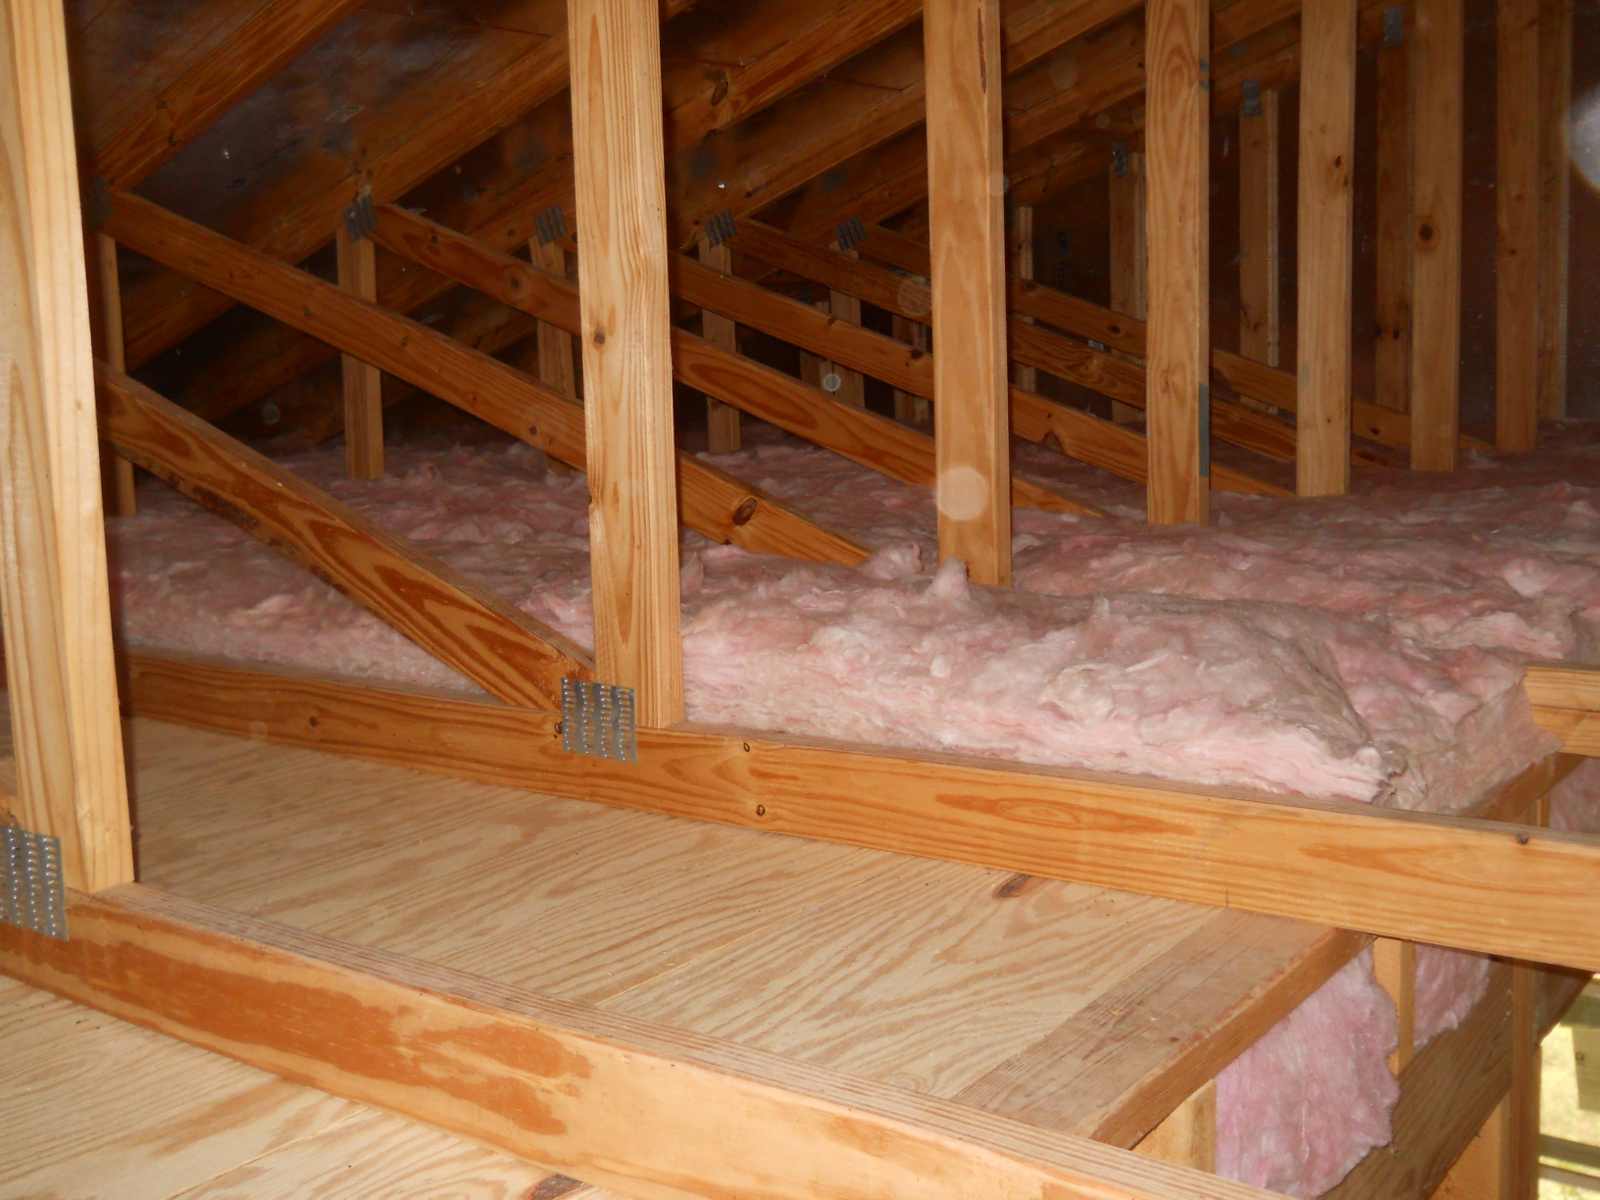
Since the truss-end blocks are vented, we needed a way to push the 9-inch or so insulation down, so the vents wouldn’t be blocked. They have these foam baffles, but they just seemed so flimsy that they wouldn’t press the insulation down enough. While in that area of Home Depot, trying to figure out what I was going to do, I found some metal leaf guards for rain gutters that sort of have a lattice pattern; and in looking at them, their flexibility and tensile strength, I thought maybe they might work:
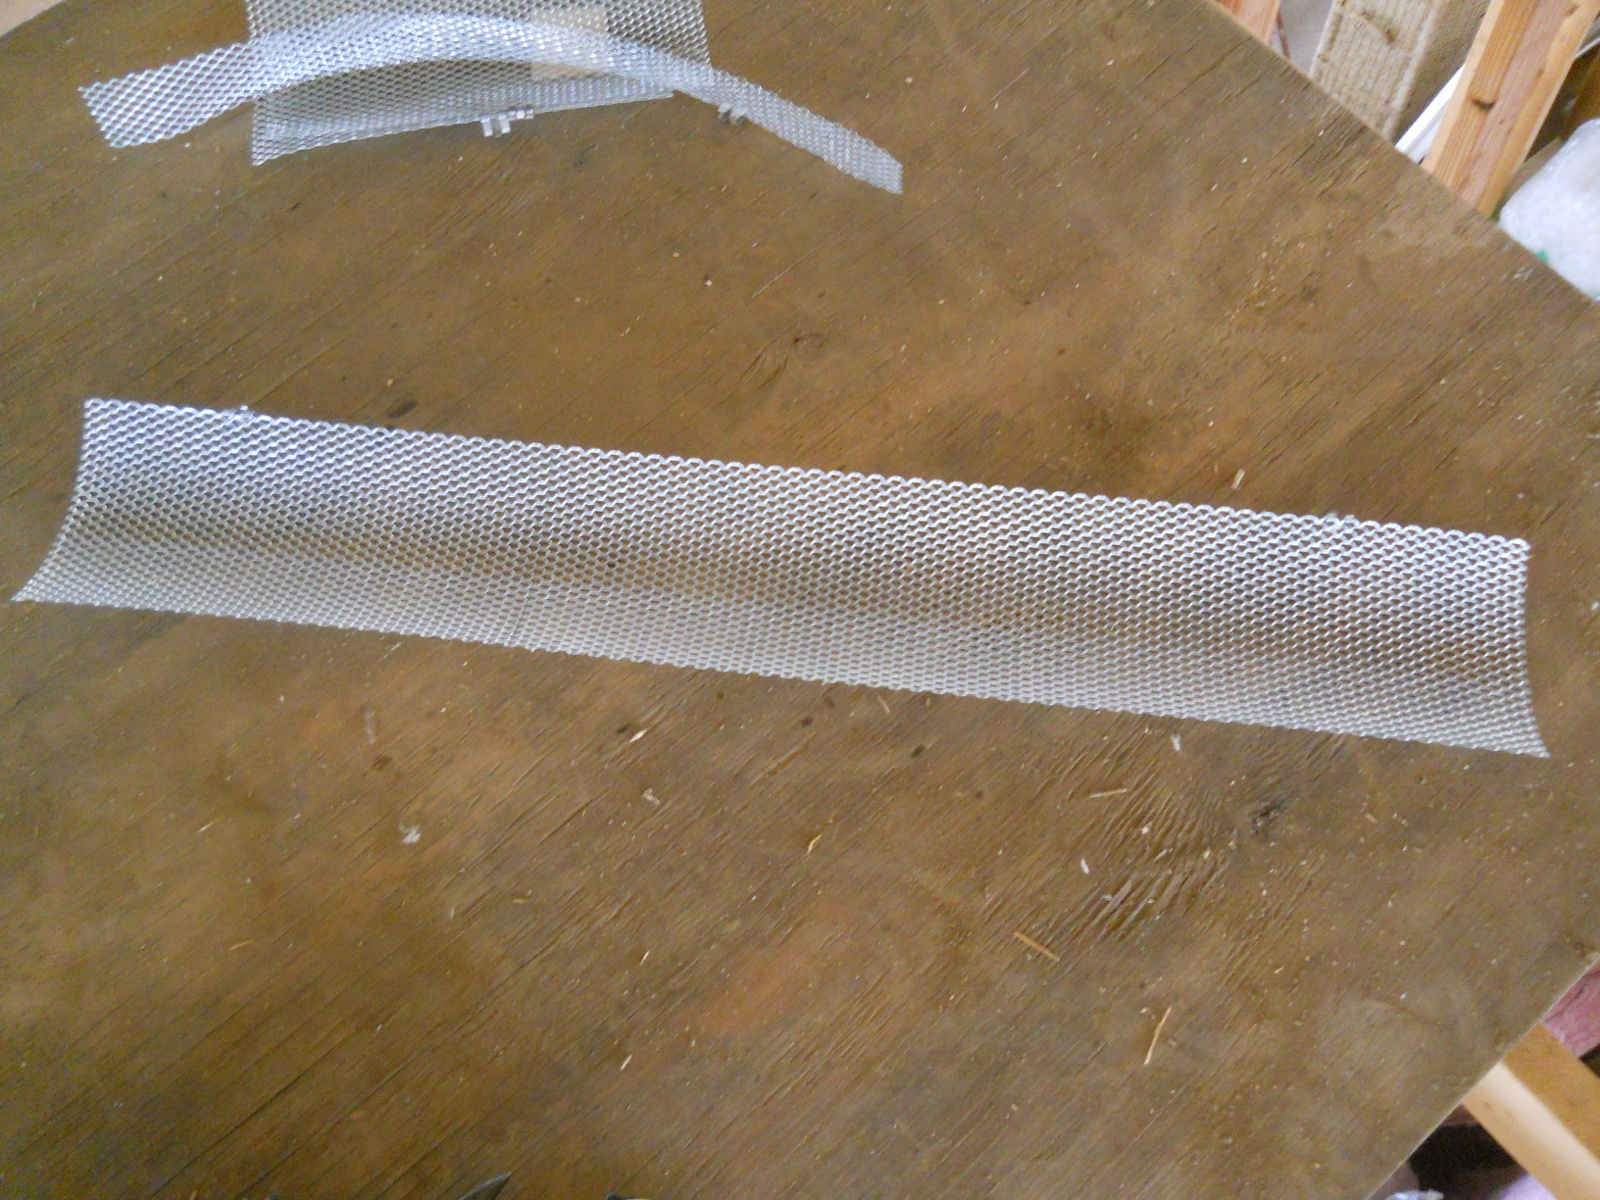
I tried cutting one at 1-inch wide, but that wasn’t strong enough to keep the insulation pressed down. And so I tried just cutting the 6-inch guards in half, about 22 1/2 inches long (after trying 24 and 23 1/4 inches), basically cutting off 6 half-lattice sections back; and after cupping them from end to end, I found they would keep the insulation pressed down:
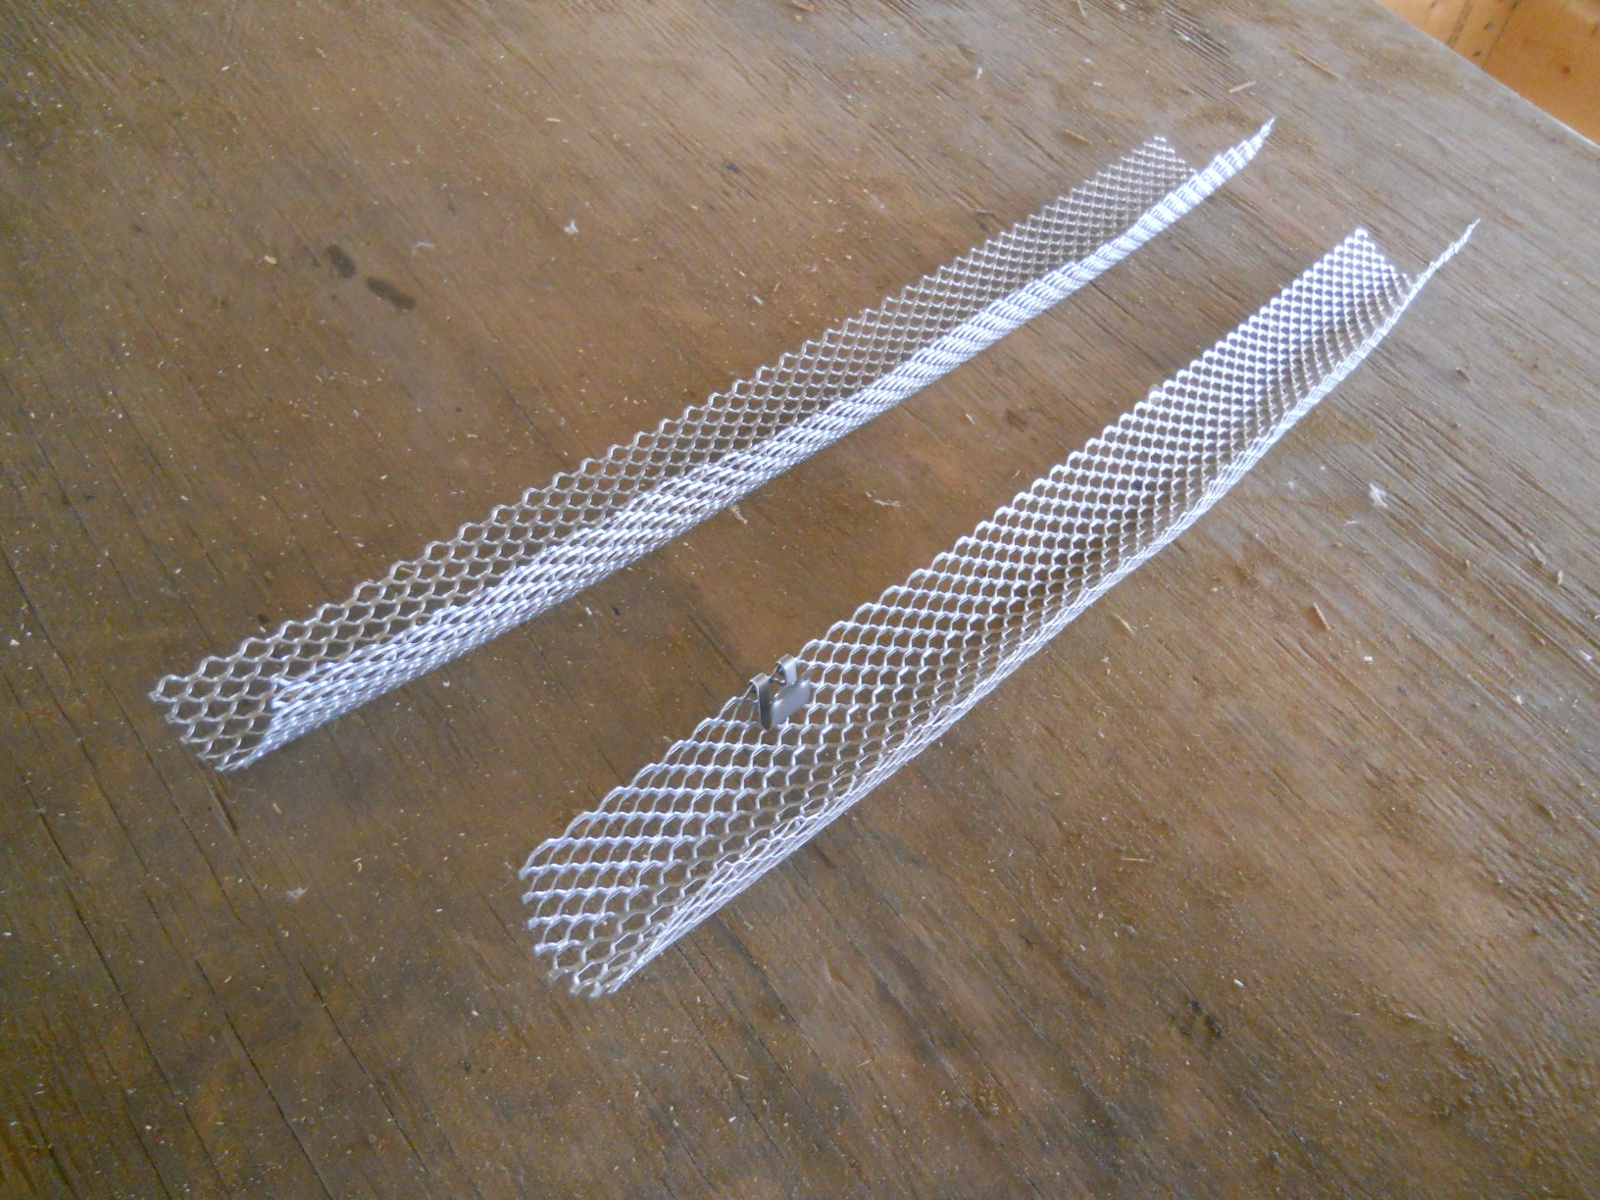
Getting far enough out the low end of the trusses to be able to place the insulation stays was interesting. I used a small OSB board to lay on across the trusses, and while laying there, with the roof so close above that I could barely turn my head, I had to reach out arms length to press the metal stay in place. It sometimes took some messing with, and sometimes pulling it out and re-shaping the the stays, but I was able to get them to hold:
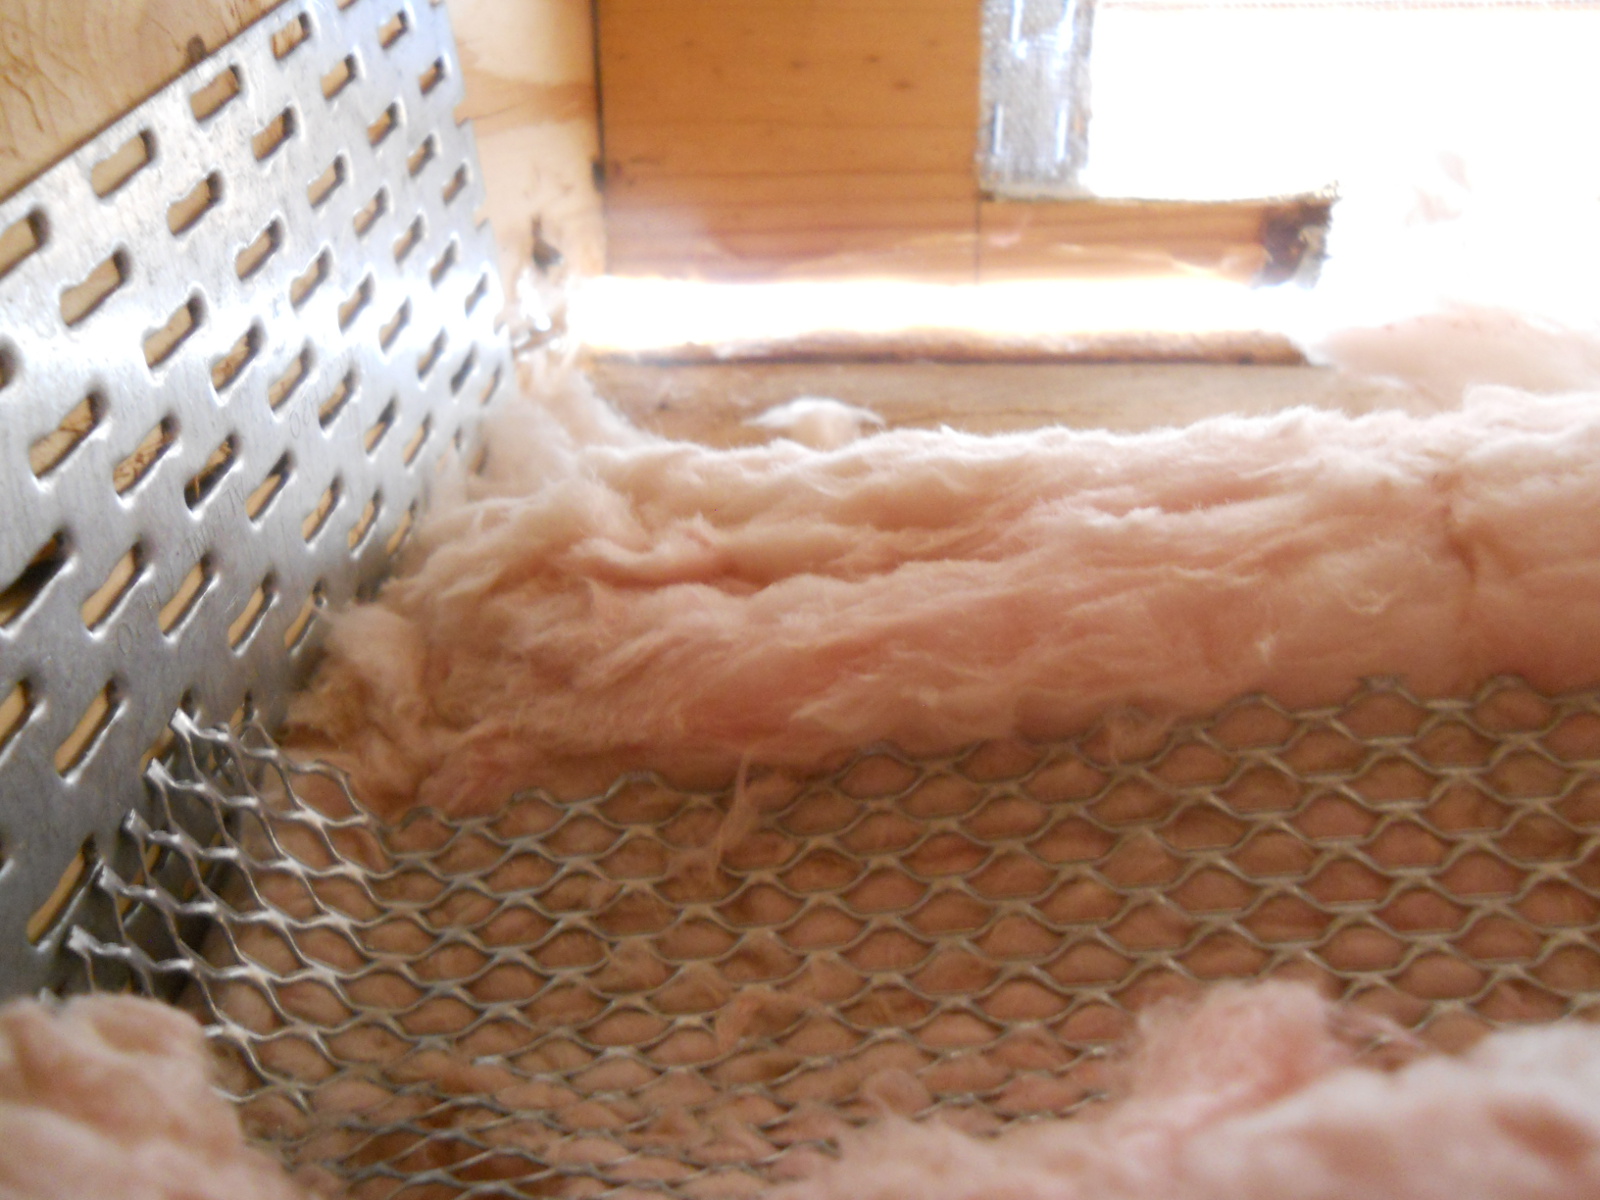
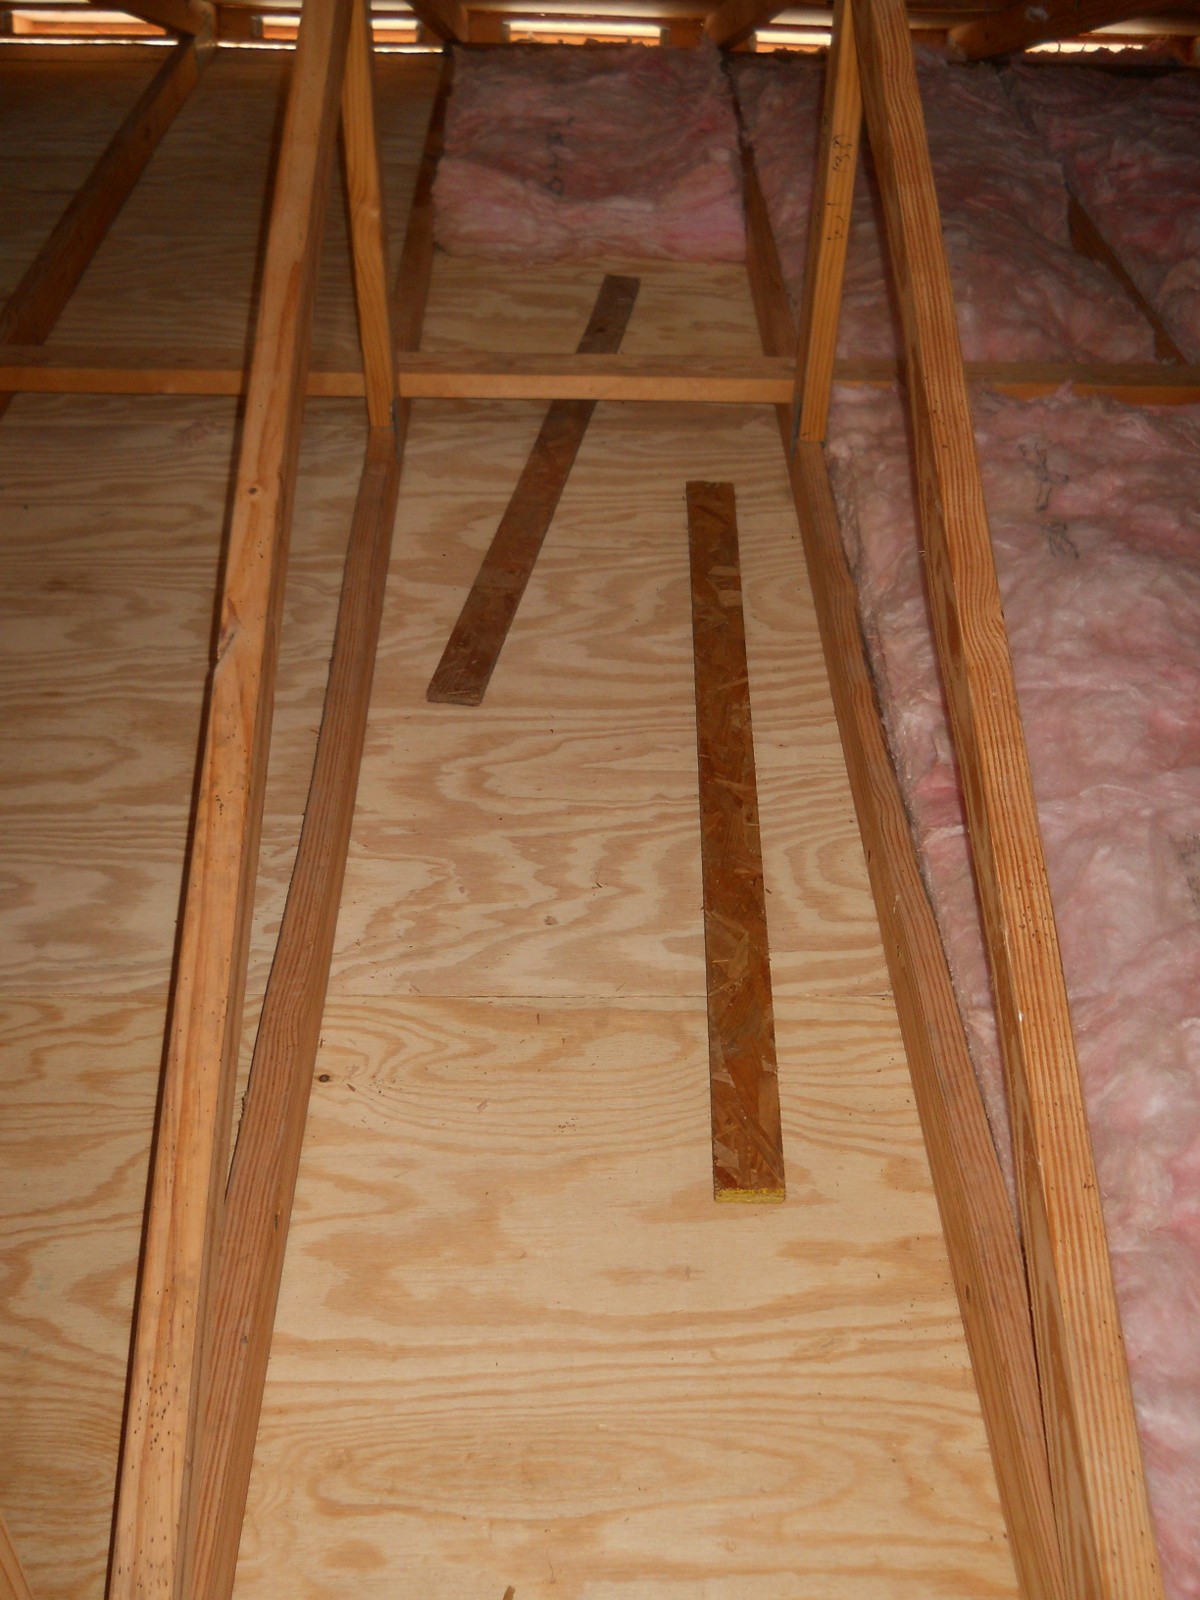
With the the insulation right by the vent held down, I needed it to be pressed down just a bit more, a little farther back, so I took these left-over OSB strips and just slid them all the way to the corner of the horizontal and angled truss boards:
Thanks again to the Lord for the insulation and the stays idea.
Extra Foundation Beam Support Brackets
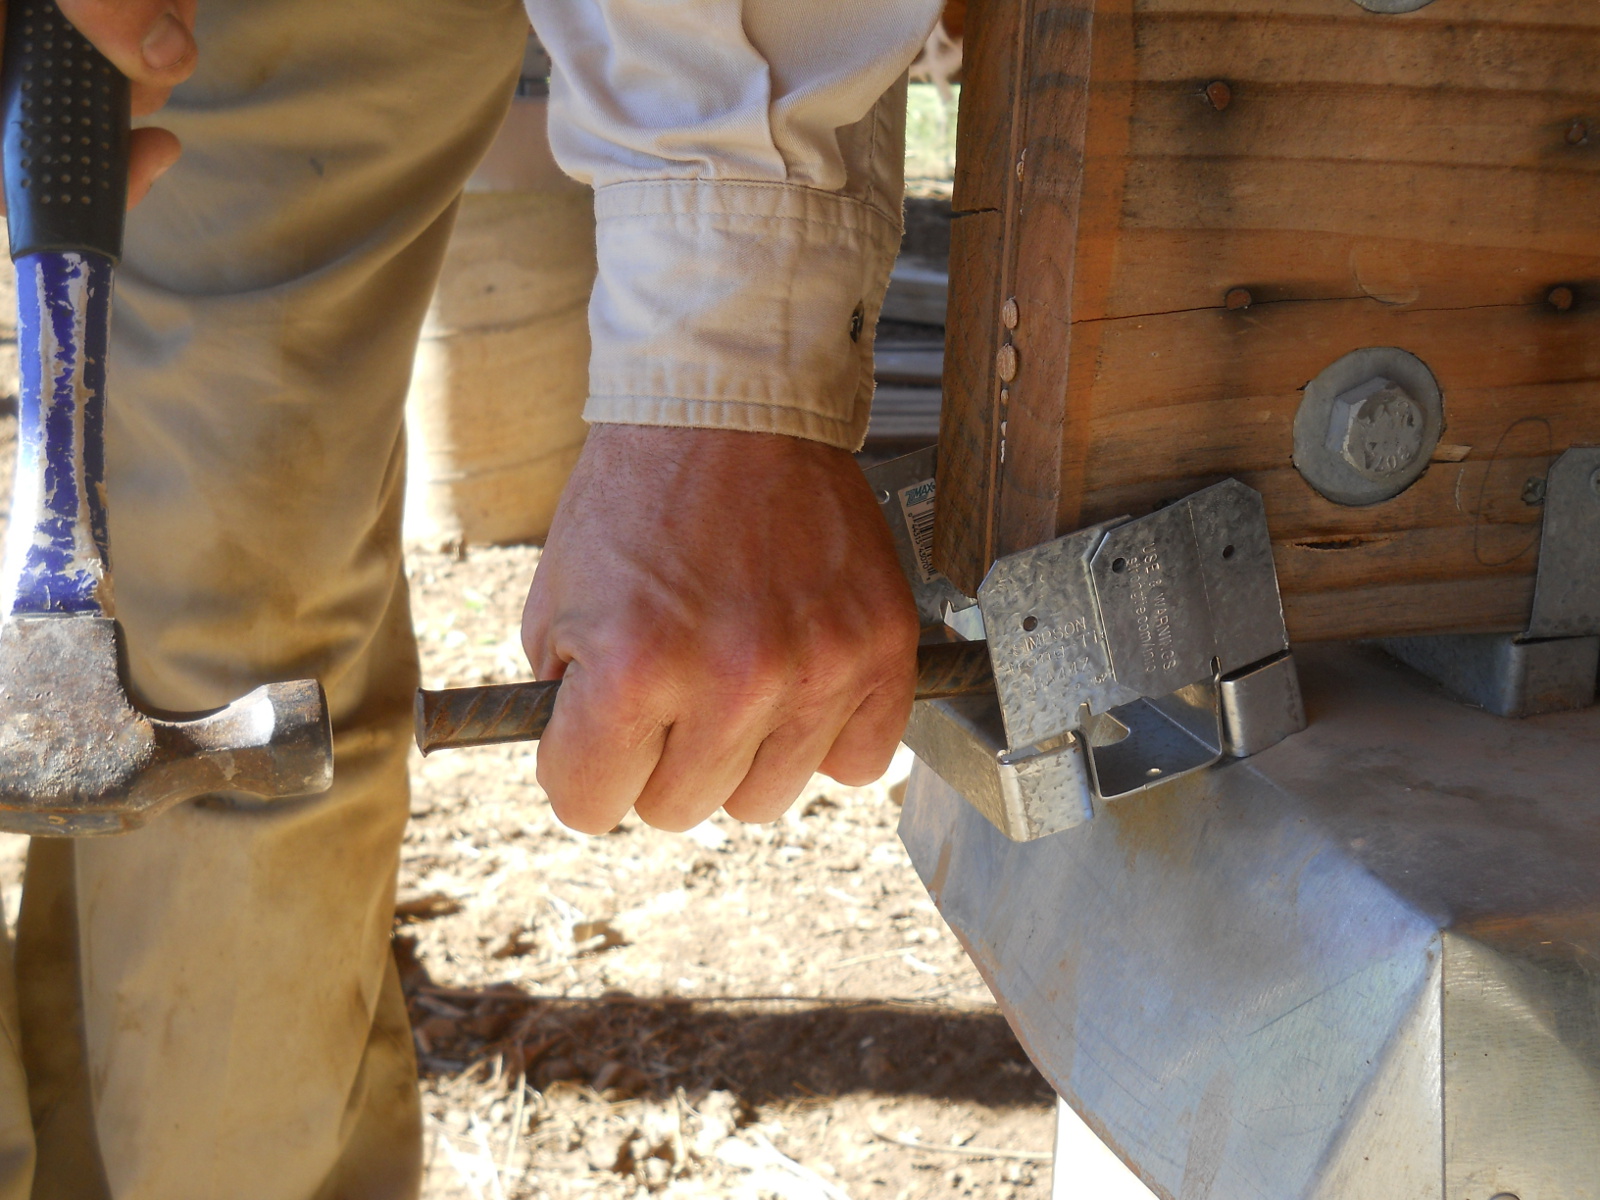
For some time, given how I designed the foundation beams and the weight of the house, I’ve been a little worried about the overhang of the beams over the piers. I have tried to think back as to why I did that, not putting the pier right under the beam end, and I think I had felt I needed to have the whole pier under the floor footprint, I think because I thought a barrier would need to extend from the wall straight down to the ground, but that wouldn’t have worked anyway, given that some of the wide bases of the concrete piers were above ground. At any rate, I had been trying to think of how to support underneath the beam overhangs, and then in struck me one day that I could probably slide into place another bracket like the ones bolted to the piers, just the 4×4 ones instead of the 4×6 I had already used. And so, over time, I’ve been trying to collect them, and slowly install them under each overhang, starting with the corners, which I figured were the most critical and most load-bearing.
To get them to slide in, I had to sometimes chisel out a little of the bottom of the beam, and then often would have to hammer them into place using a piece of 1/2-inch re-bar:
Sometimes the bracket would get caught on some uneven concrete under the termite shield, and I’d have to hammer it back out:
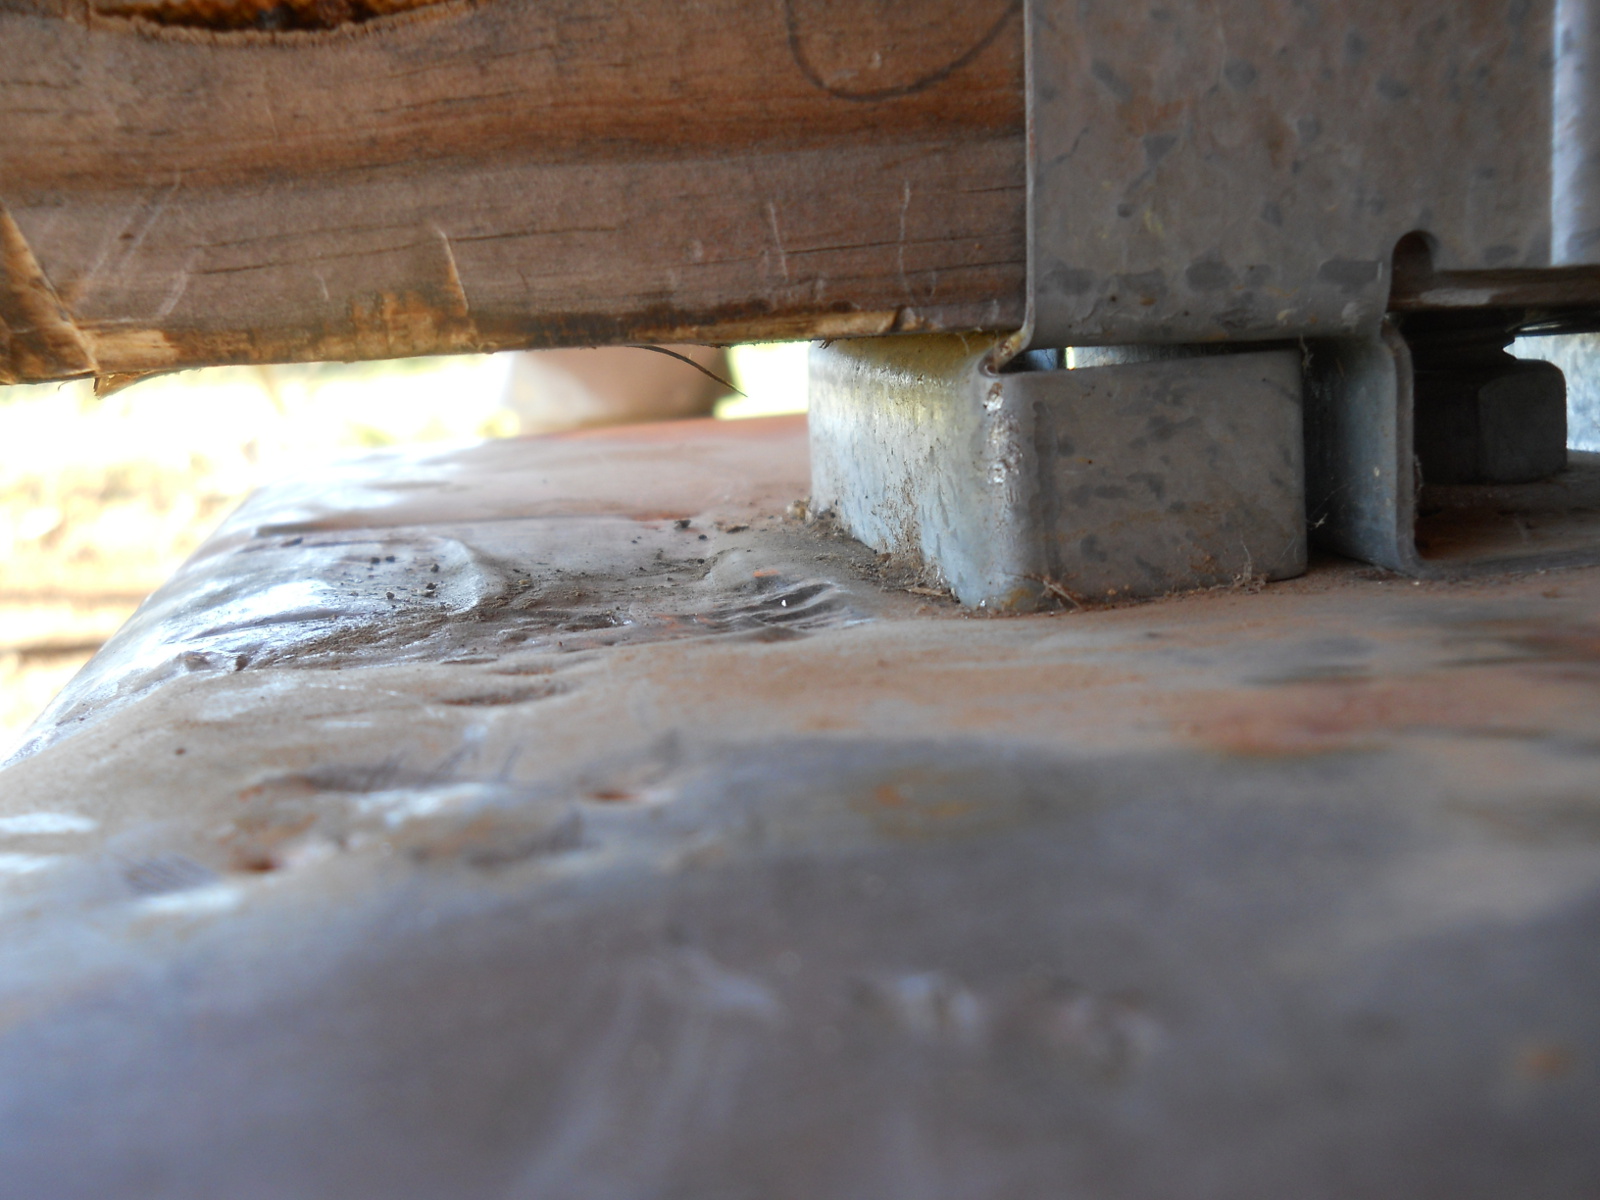
And sometimes it would end up contorted, so I’d have to re-shape it:
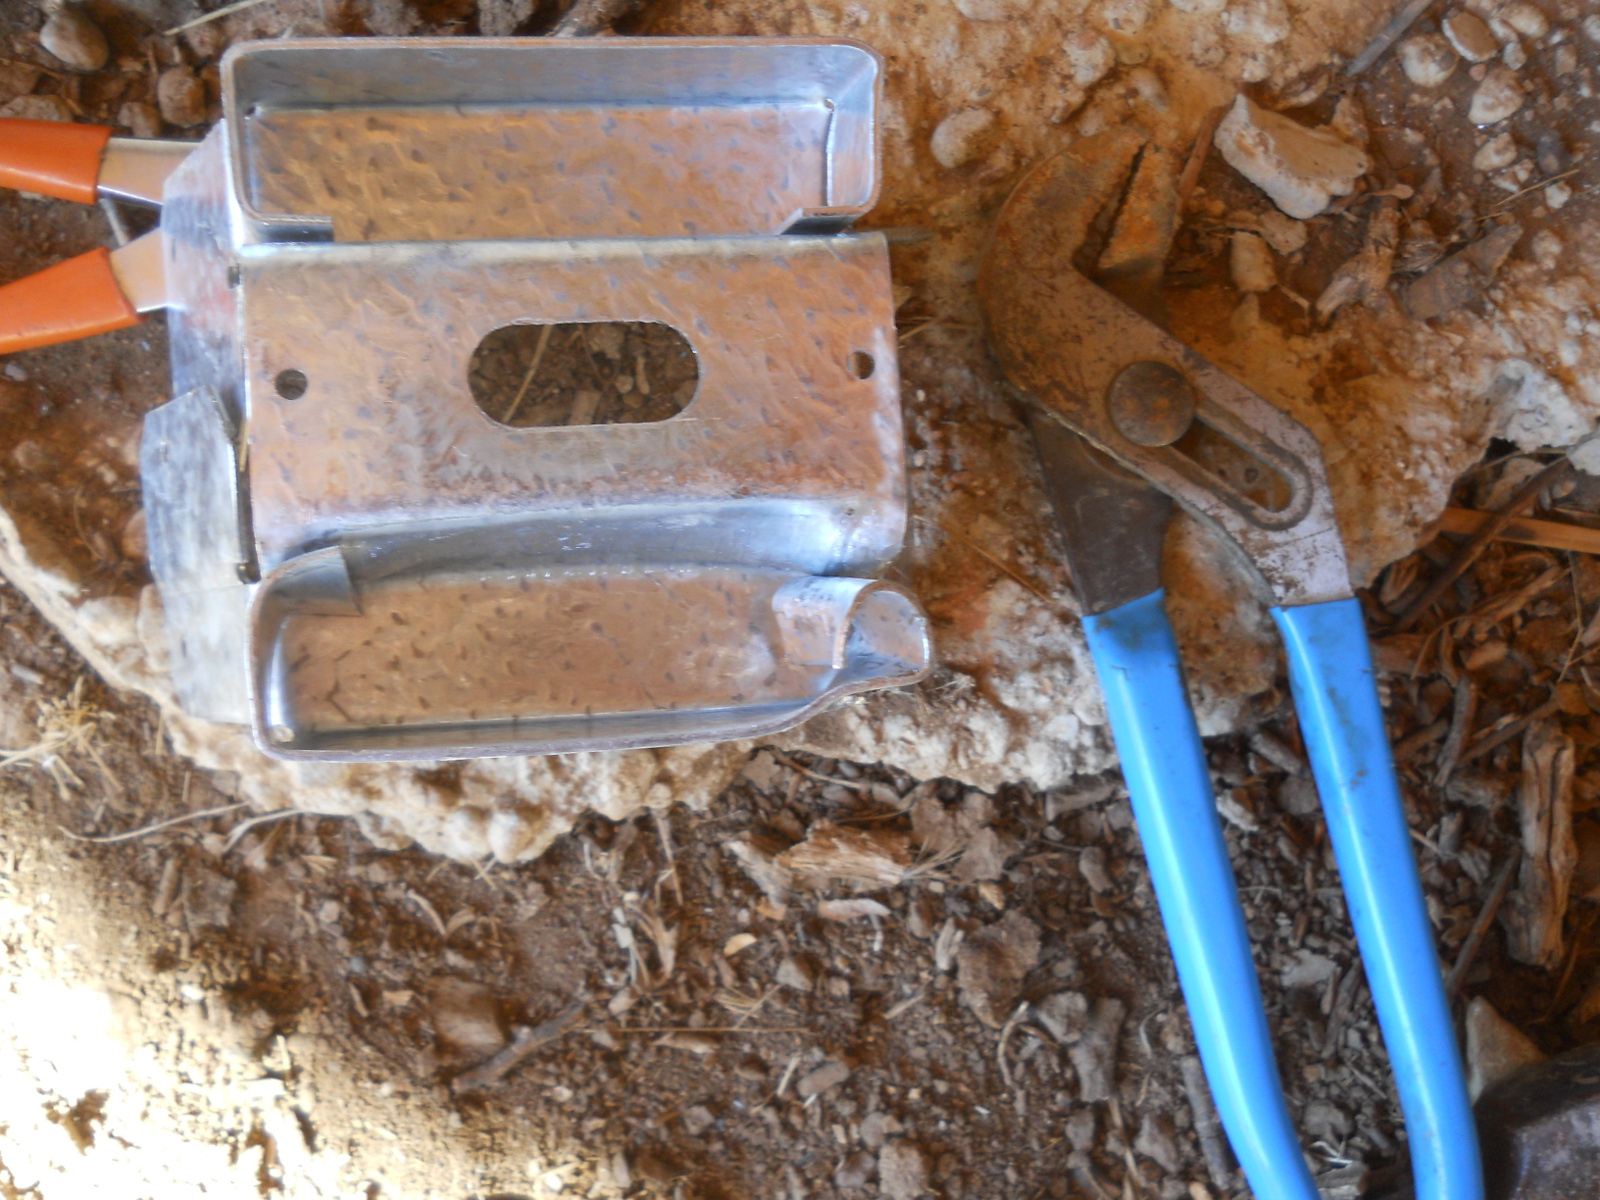
But finally, on this one, after chiseling out some of the wood, I was actually able to slide it into place by hand:
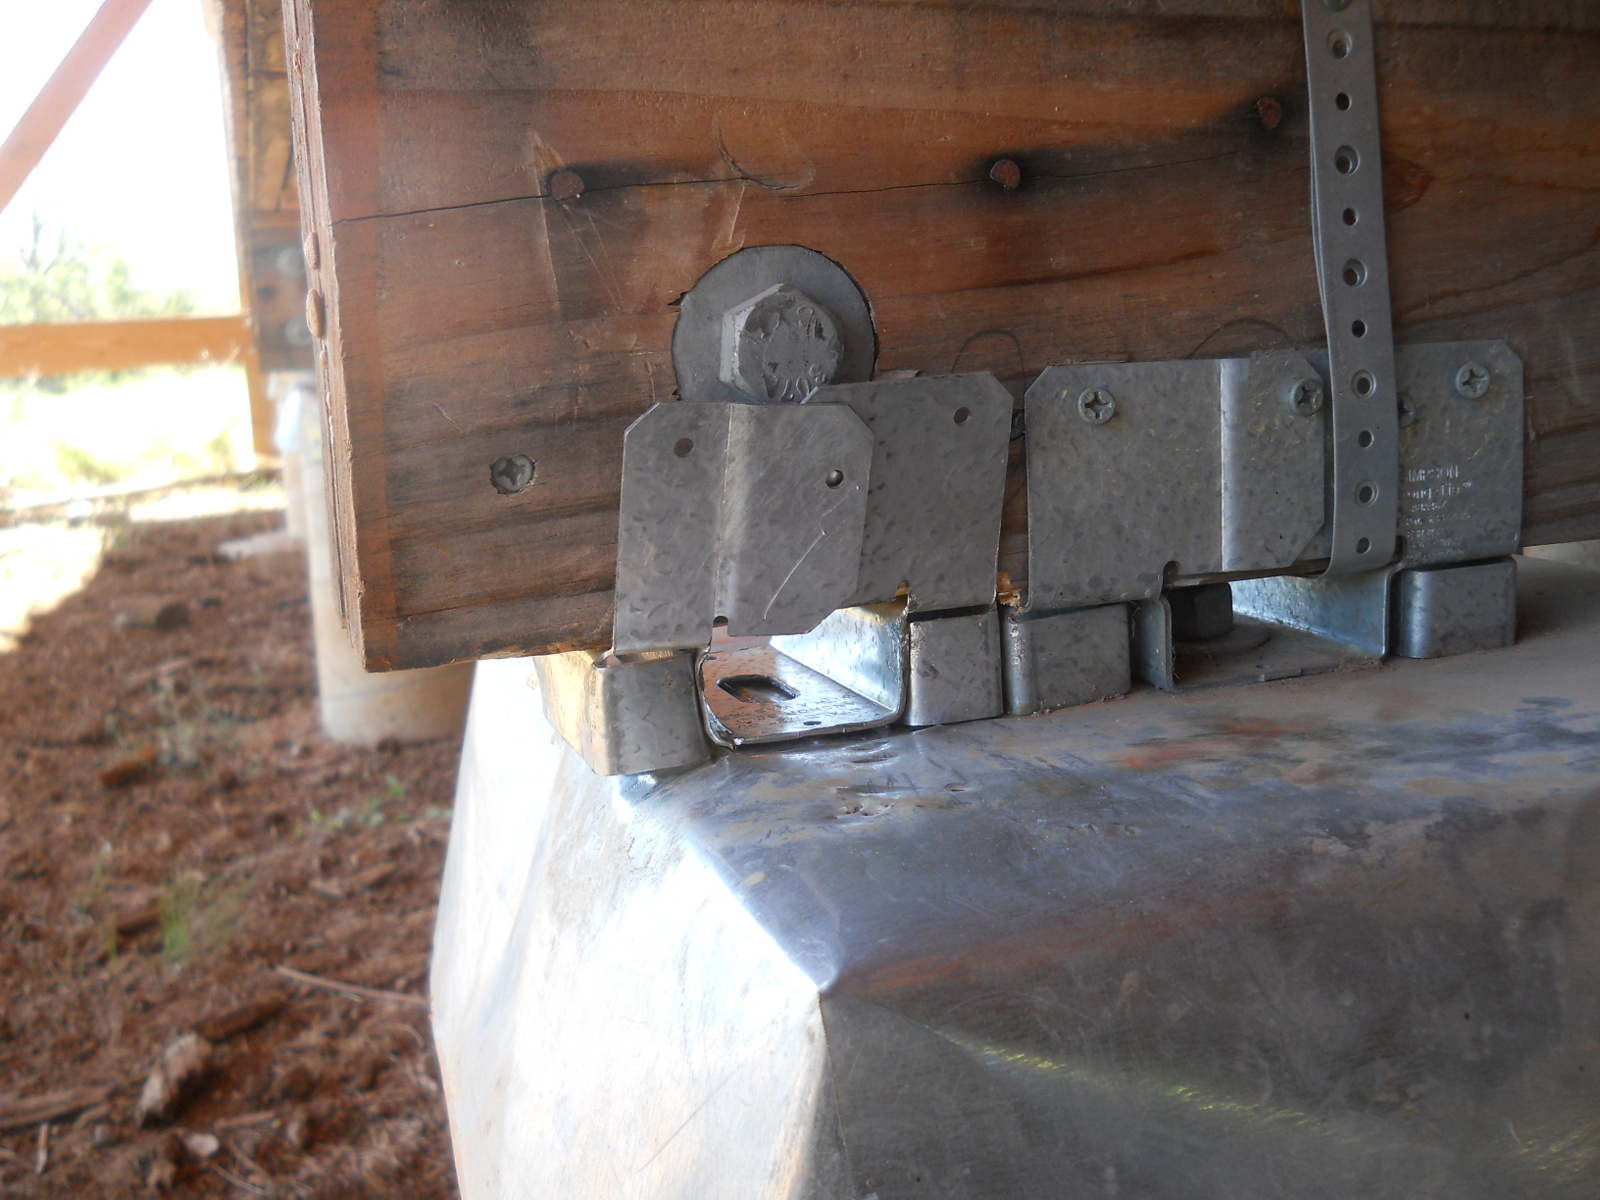
Hopefully these brackets will help any potential beam overhang problem, and not cause any unforeseen problems, and I’m thankful to God for the idea.
First Drapes
With the sun slowly moving south as we head out of summer, it started shining into the house on our working table, and so Sue took some pieces of drapery-type material we had been given, hooked on some drape-rod rings, and we put up some light drapes that at least cast some shade. These are only temporary, but did seem to help against some of the heat from the direct sunlight:
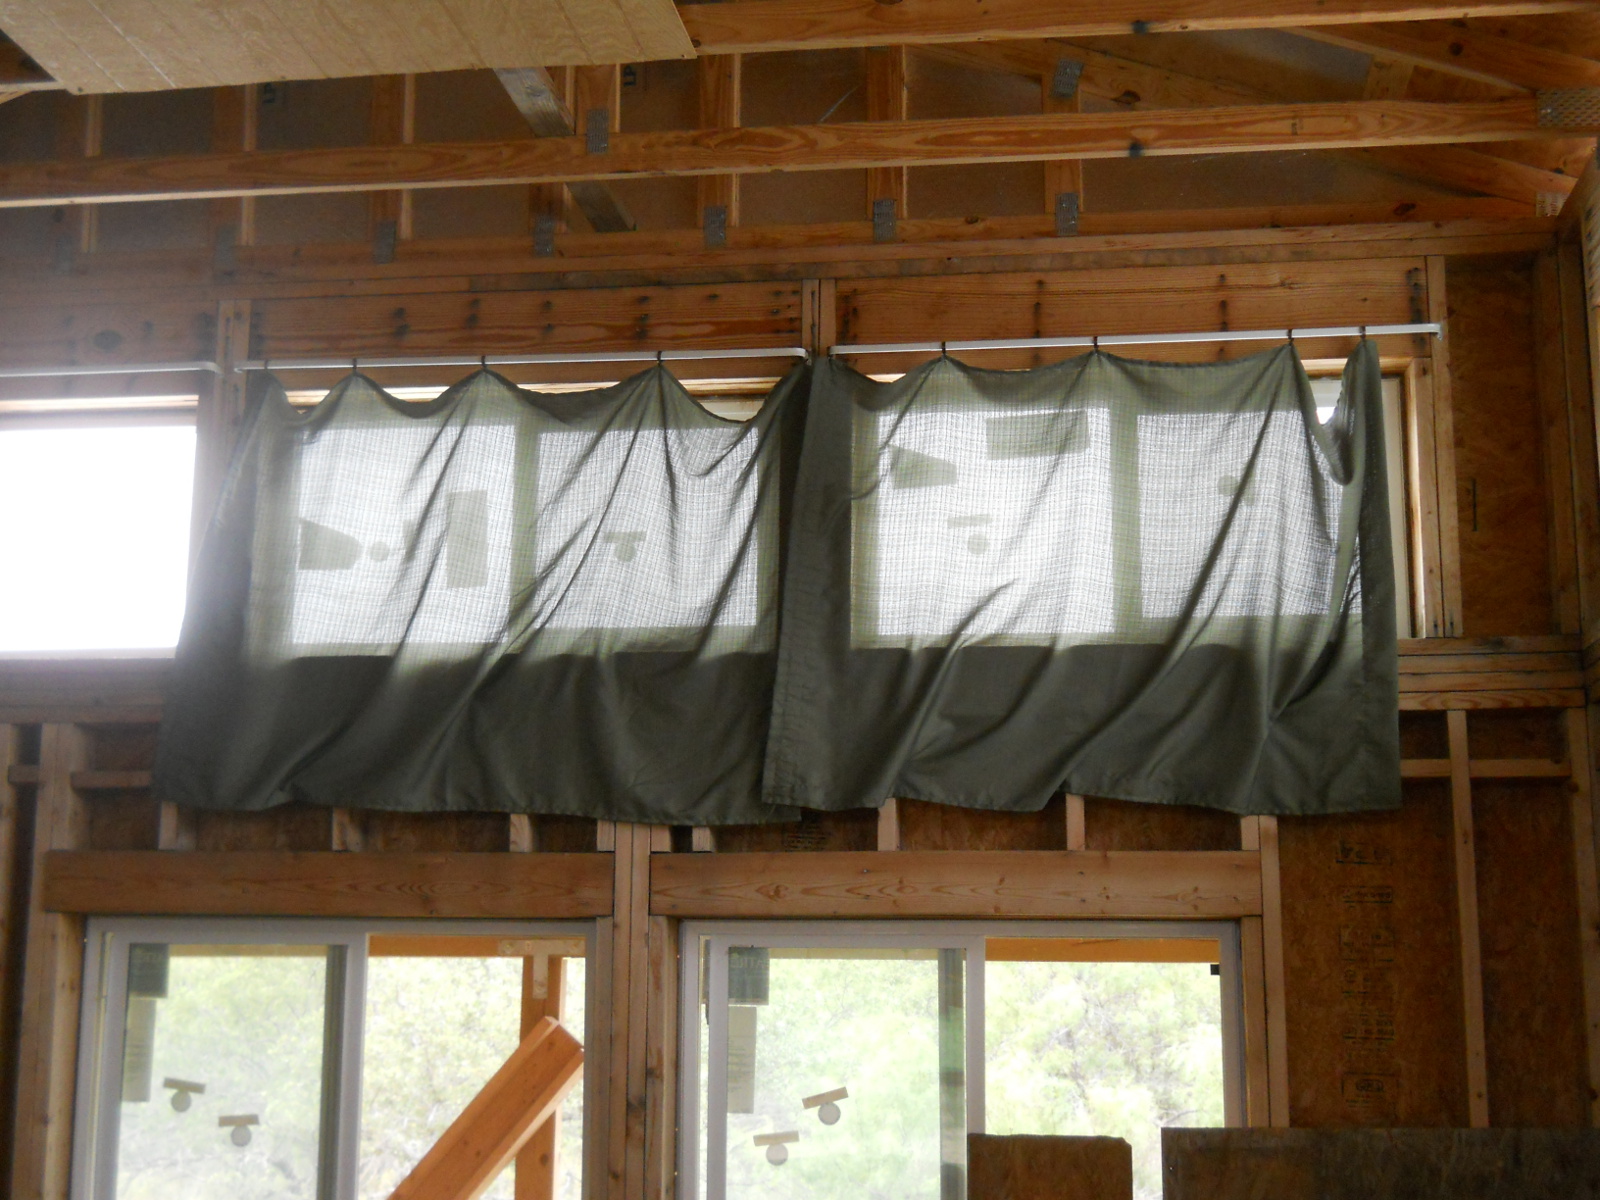
And we thank the Lord for this quick and inexpensive thing we could do.
Once again, we are very grateful to God for allowing the resources and strength to continue this progress on the house!
— David
It's such a blessing to make progress on the house. We've been able to get the deck down in the dogtrot and also the east side porch along with the east door and screen door. We, too, thank God for the strength and ability to work towards completing our home construction. Ya'll keep up the good work!
Judy On Big Turtle Creek
Hi Judy,
We're thankful to the Lord too for granting you continue provision, strength and progress on your place.
Please say hello to Mr. B for us, and thank you for saying hello!
— David
I am just in awe of the wonderful work you guys are getting done and together, that is truly a community effort, its too bad the rest of the country cant have the same togetherness as you guys and other countless like minded groups are doing..
Hi Barn Swallow,
The Lord has shown His graces and mercies with these things, in provisions and resources, and in granting us this time of community and fellowship together. We are grateful, and just pray He glorifies Himself through us and benefits His Church in some way too.
Thanks for saying hi!
— David