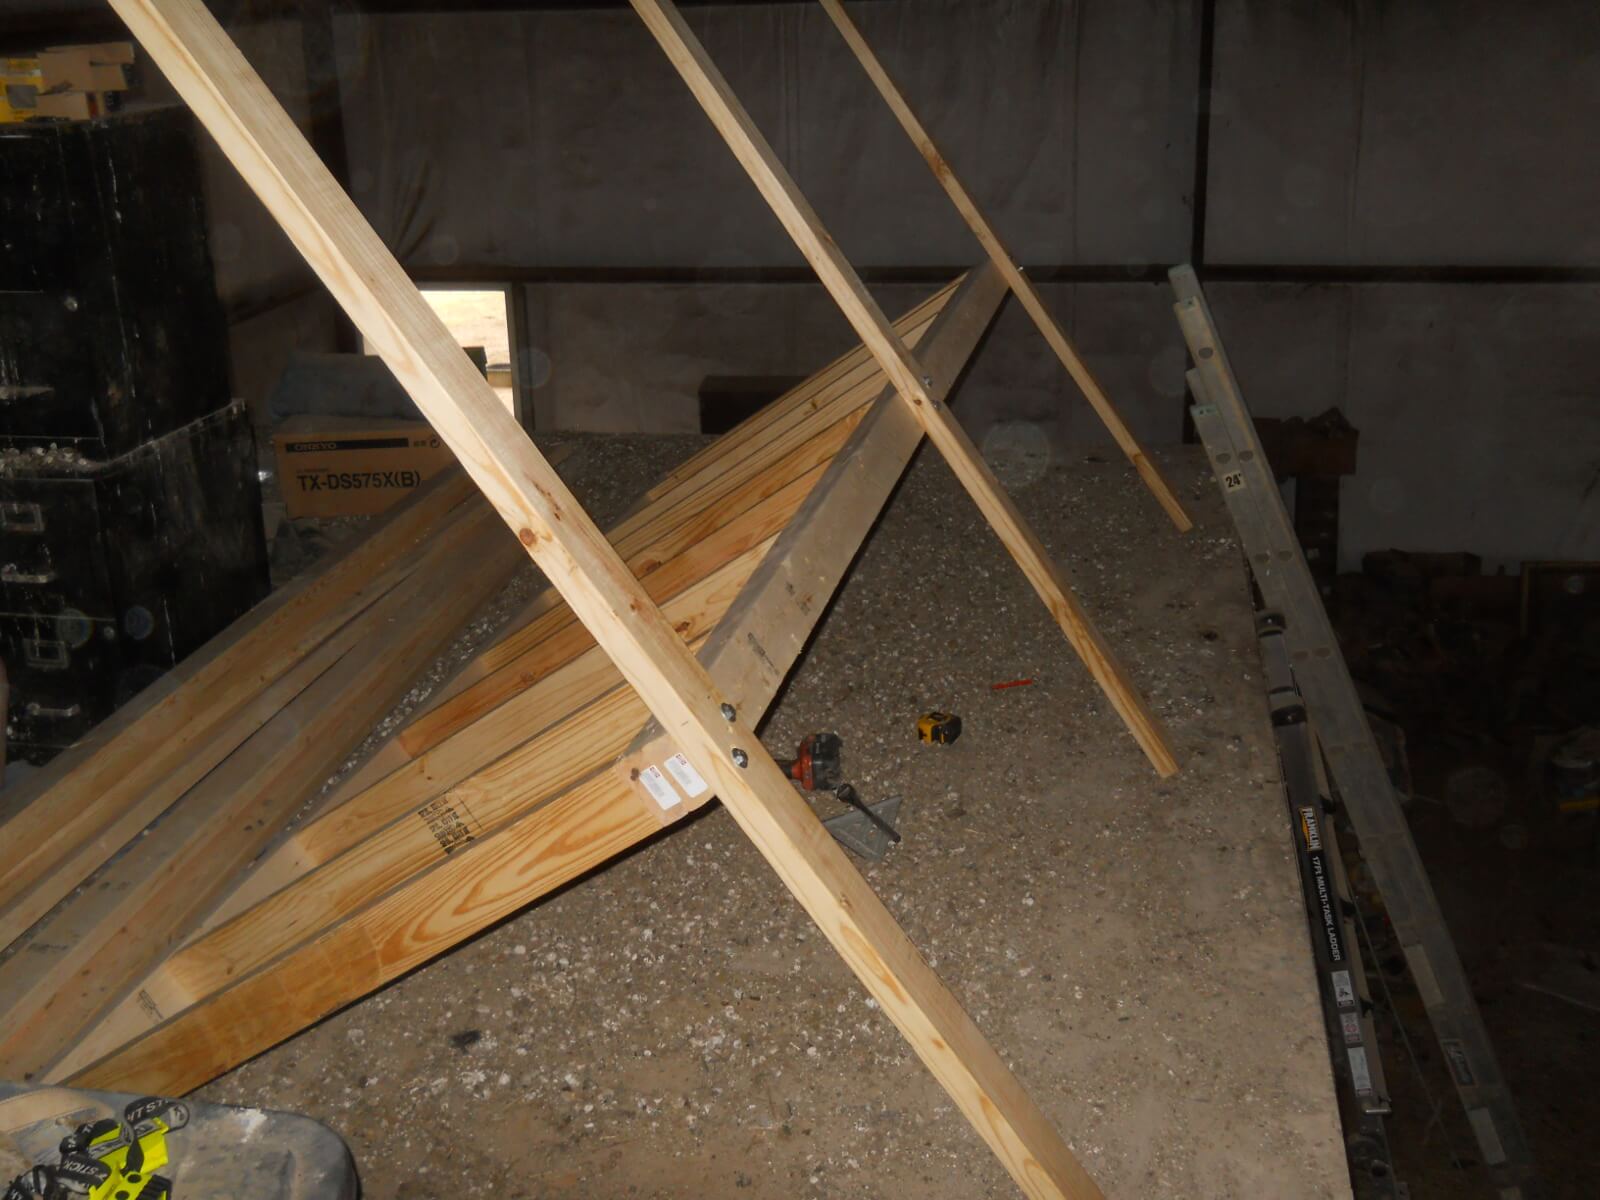
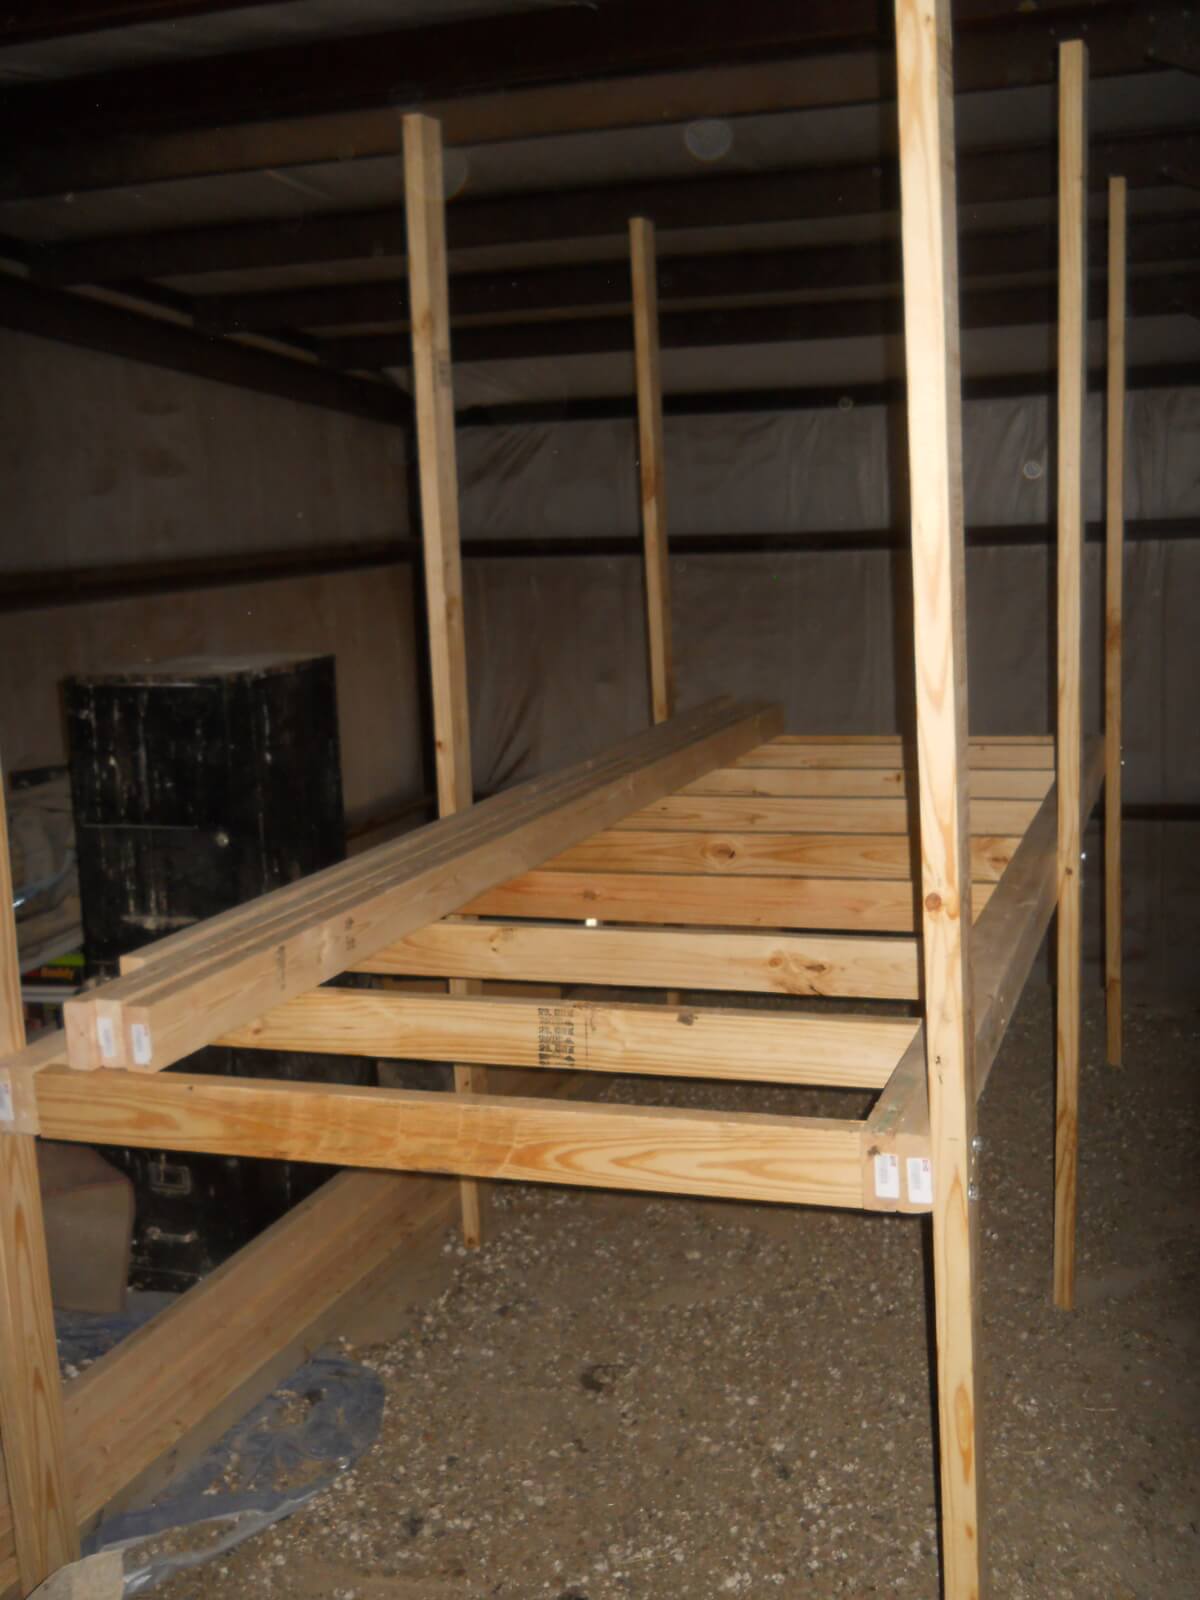
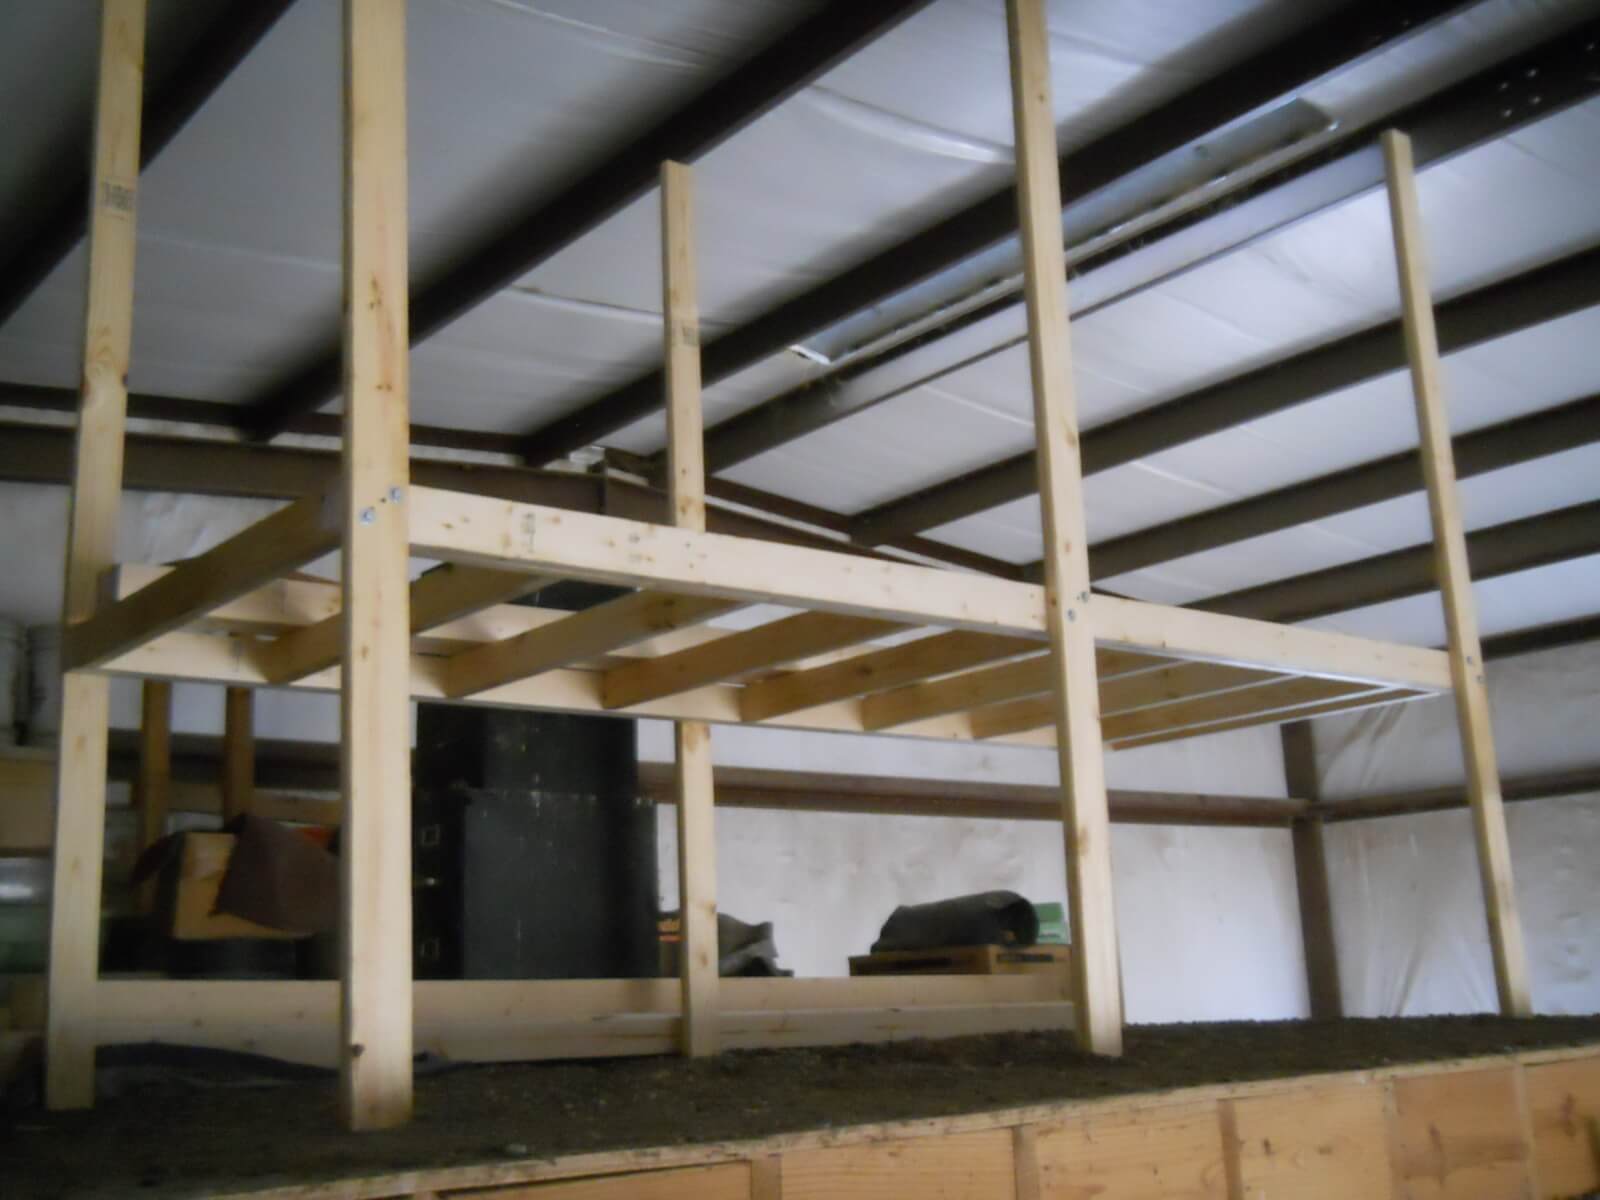
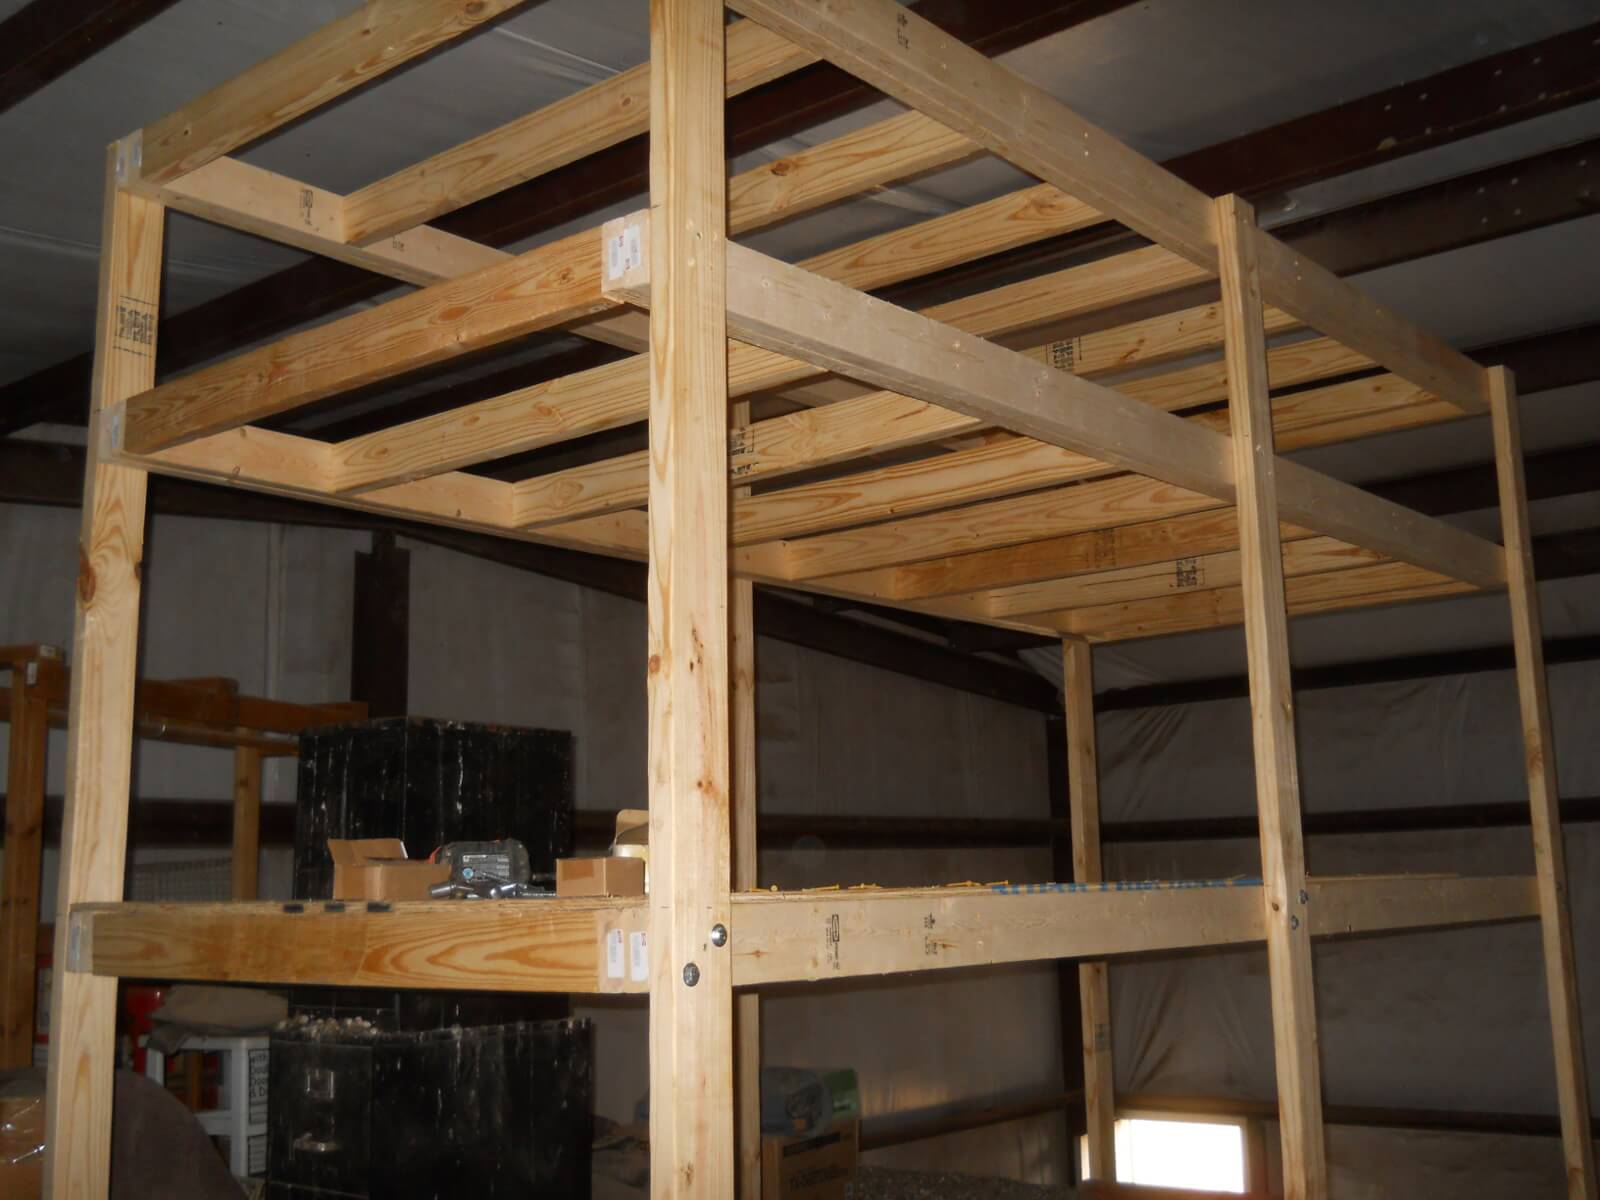
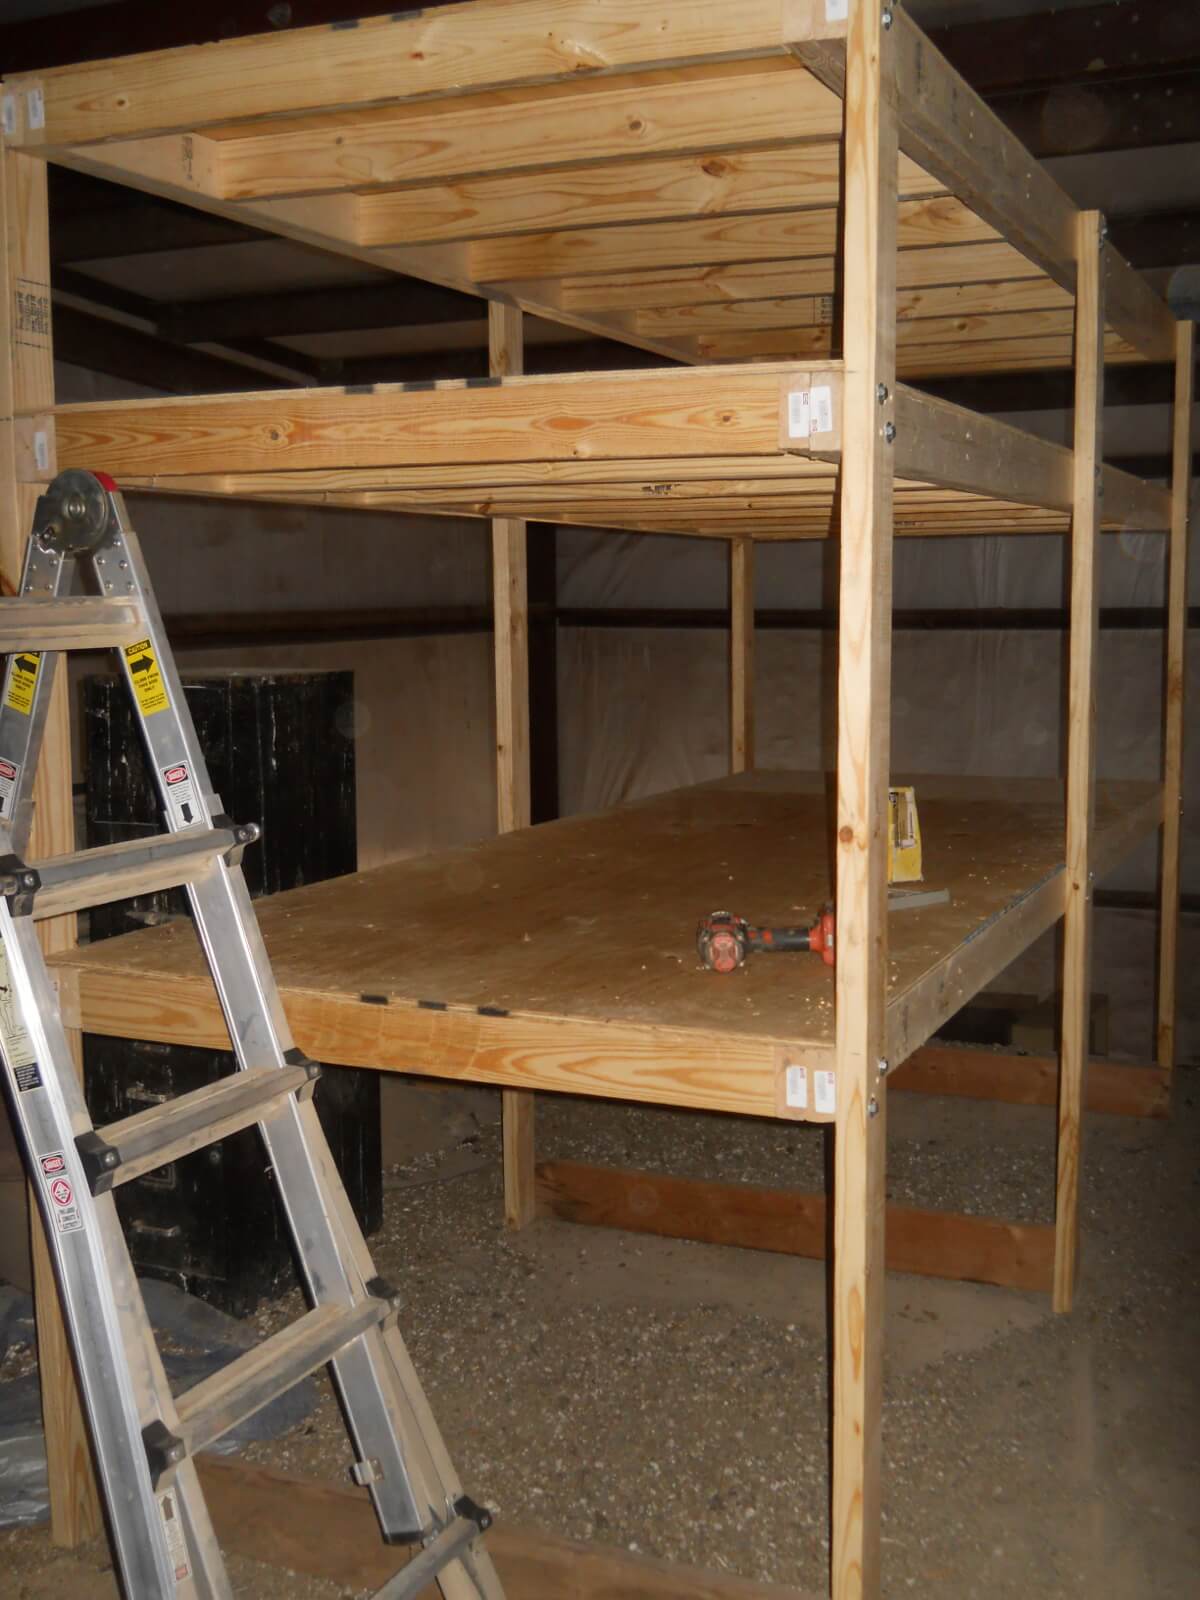
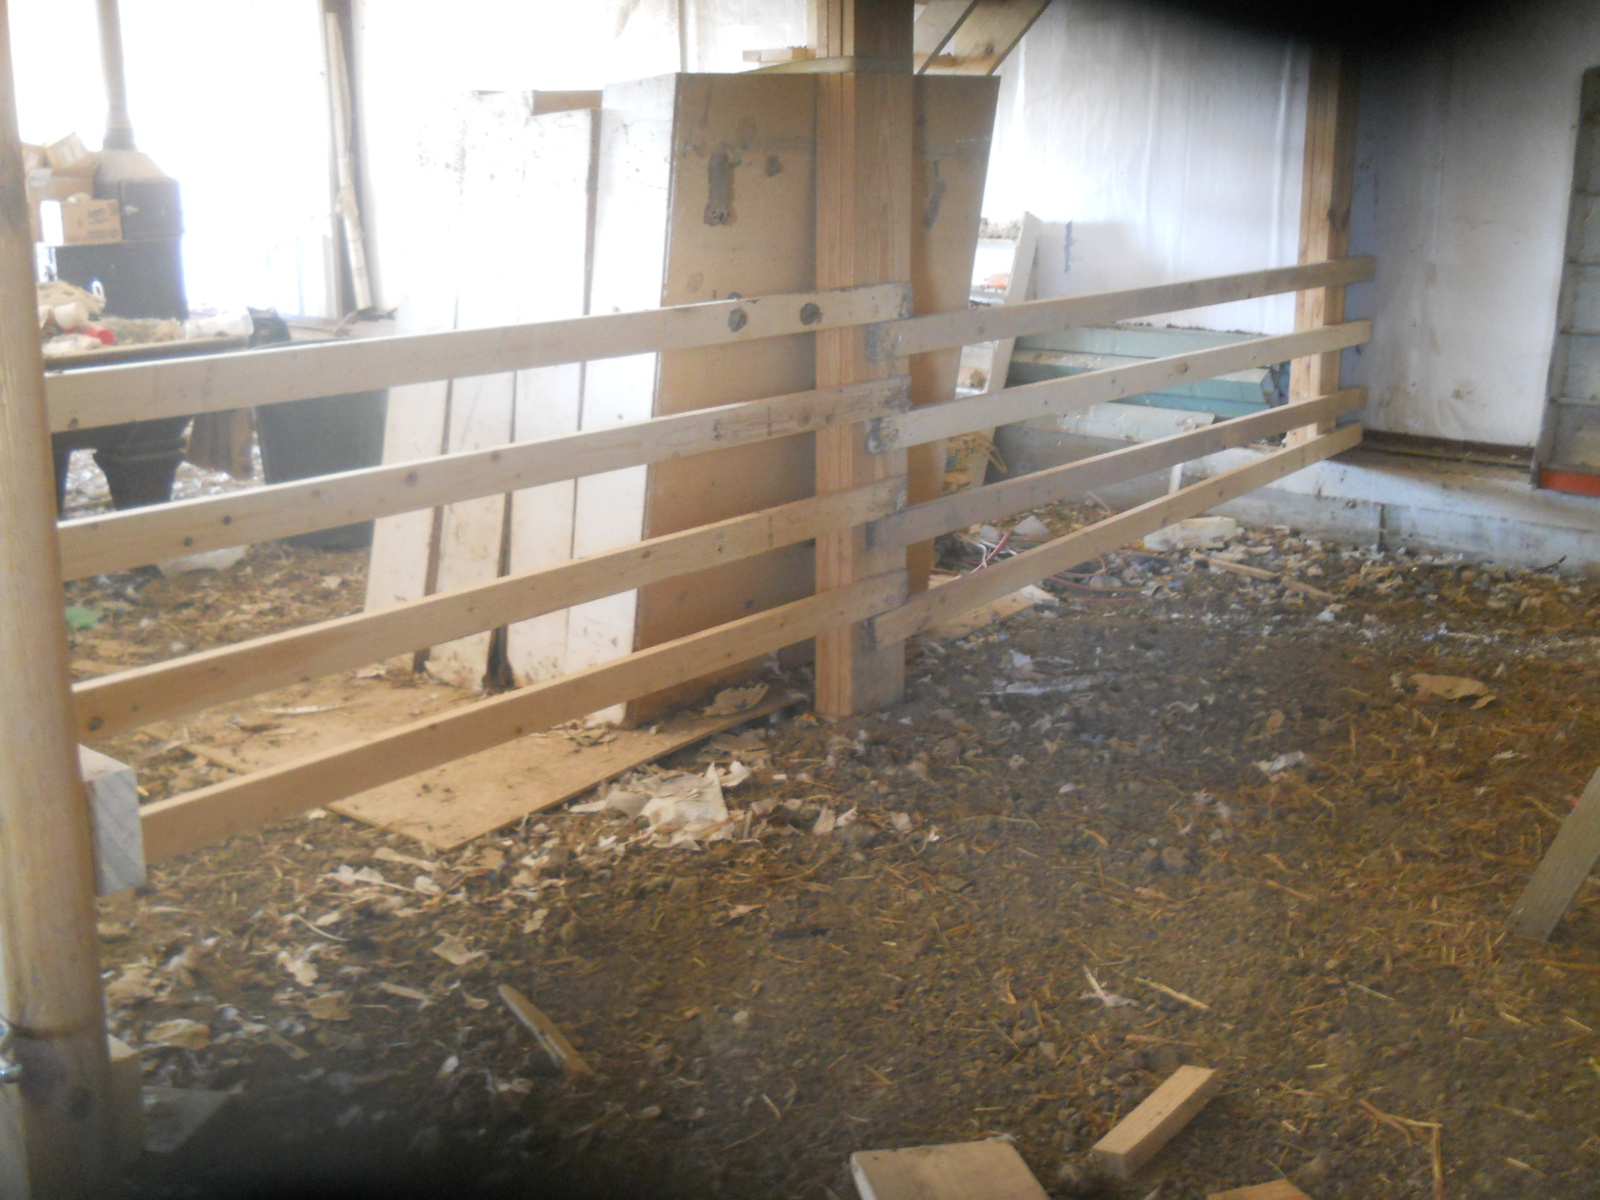
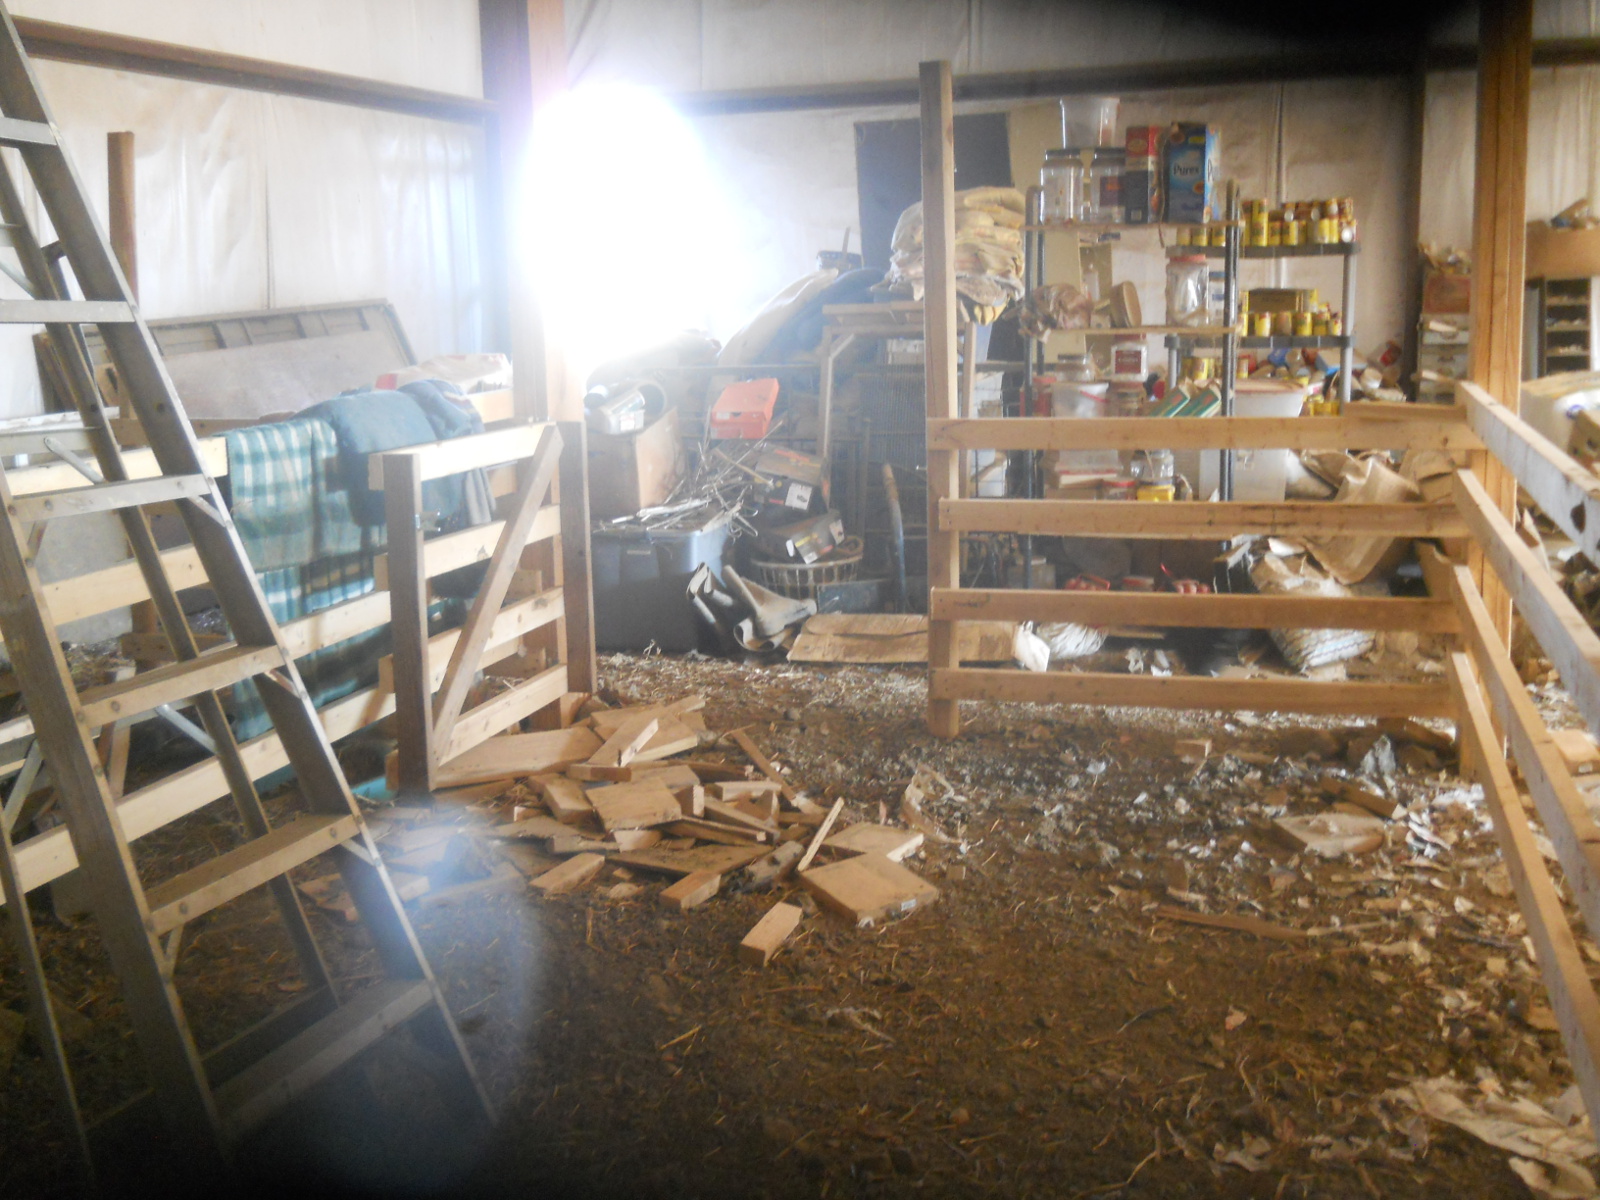
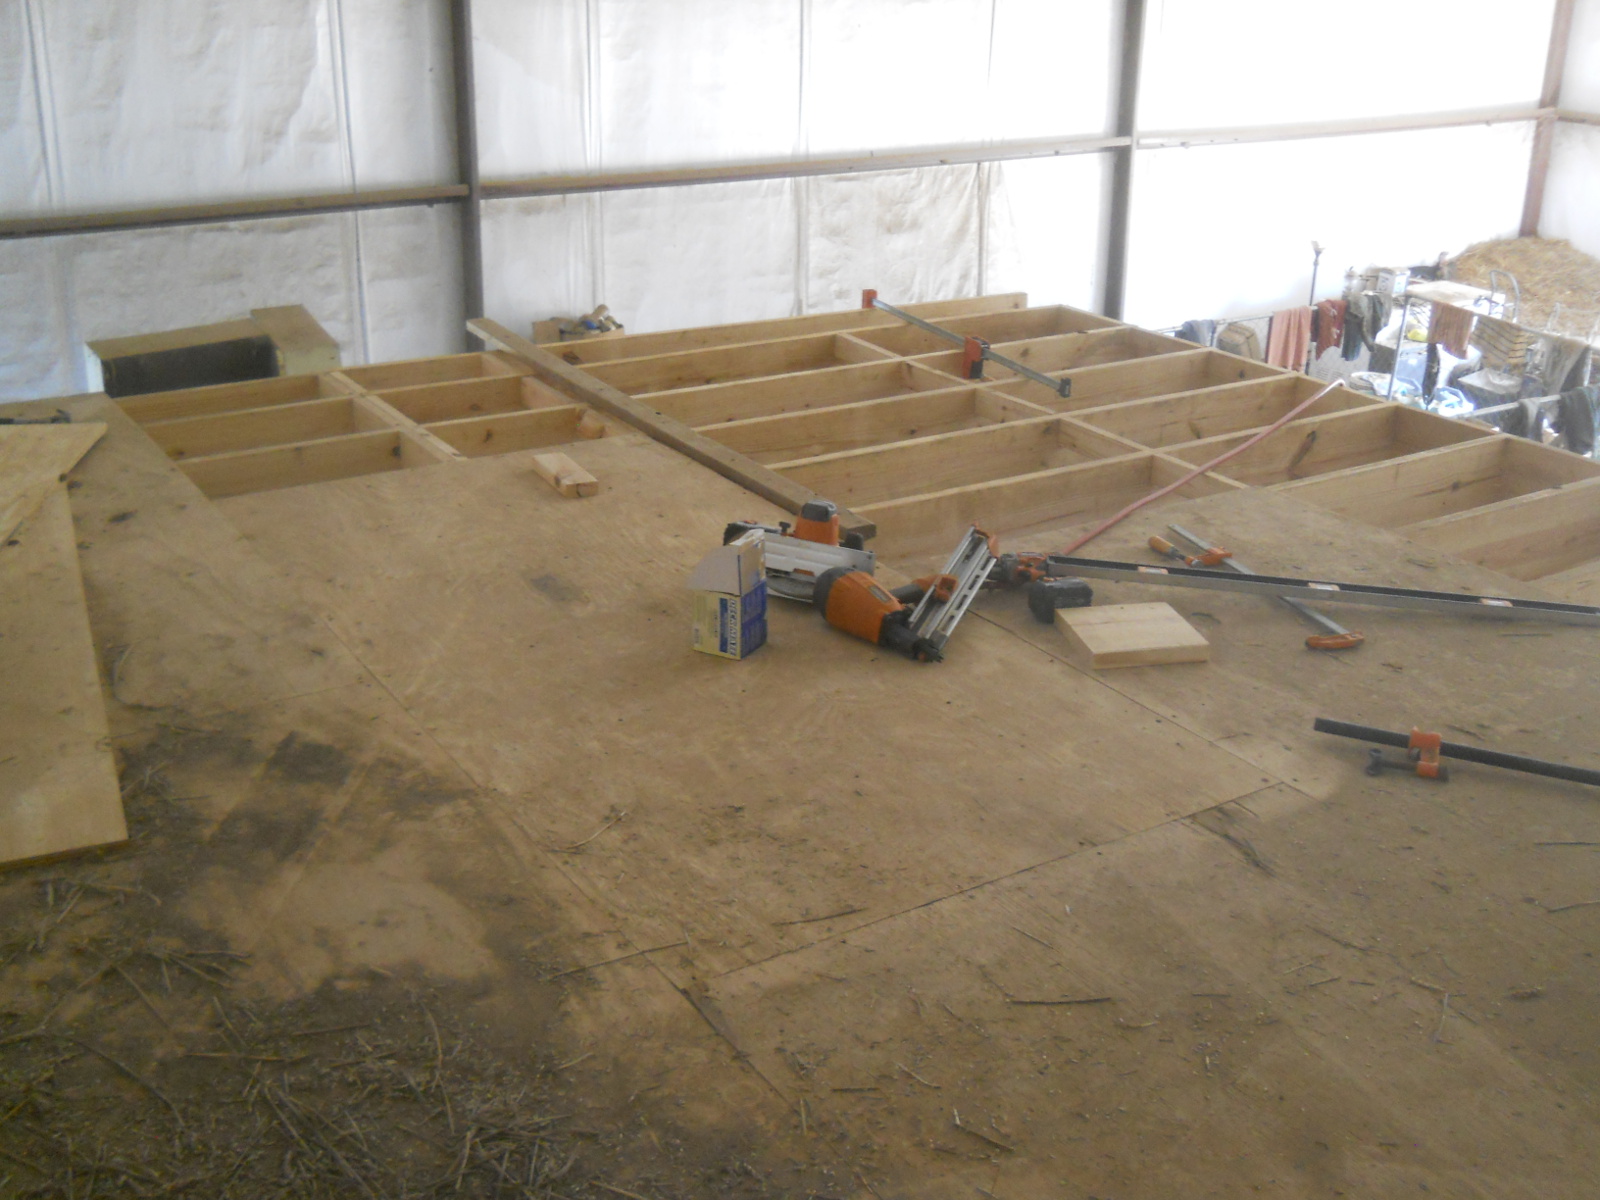
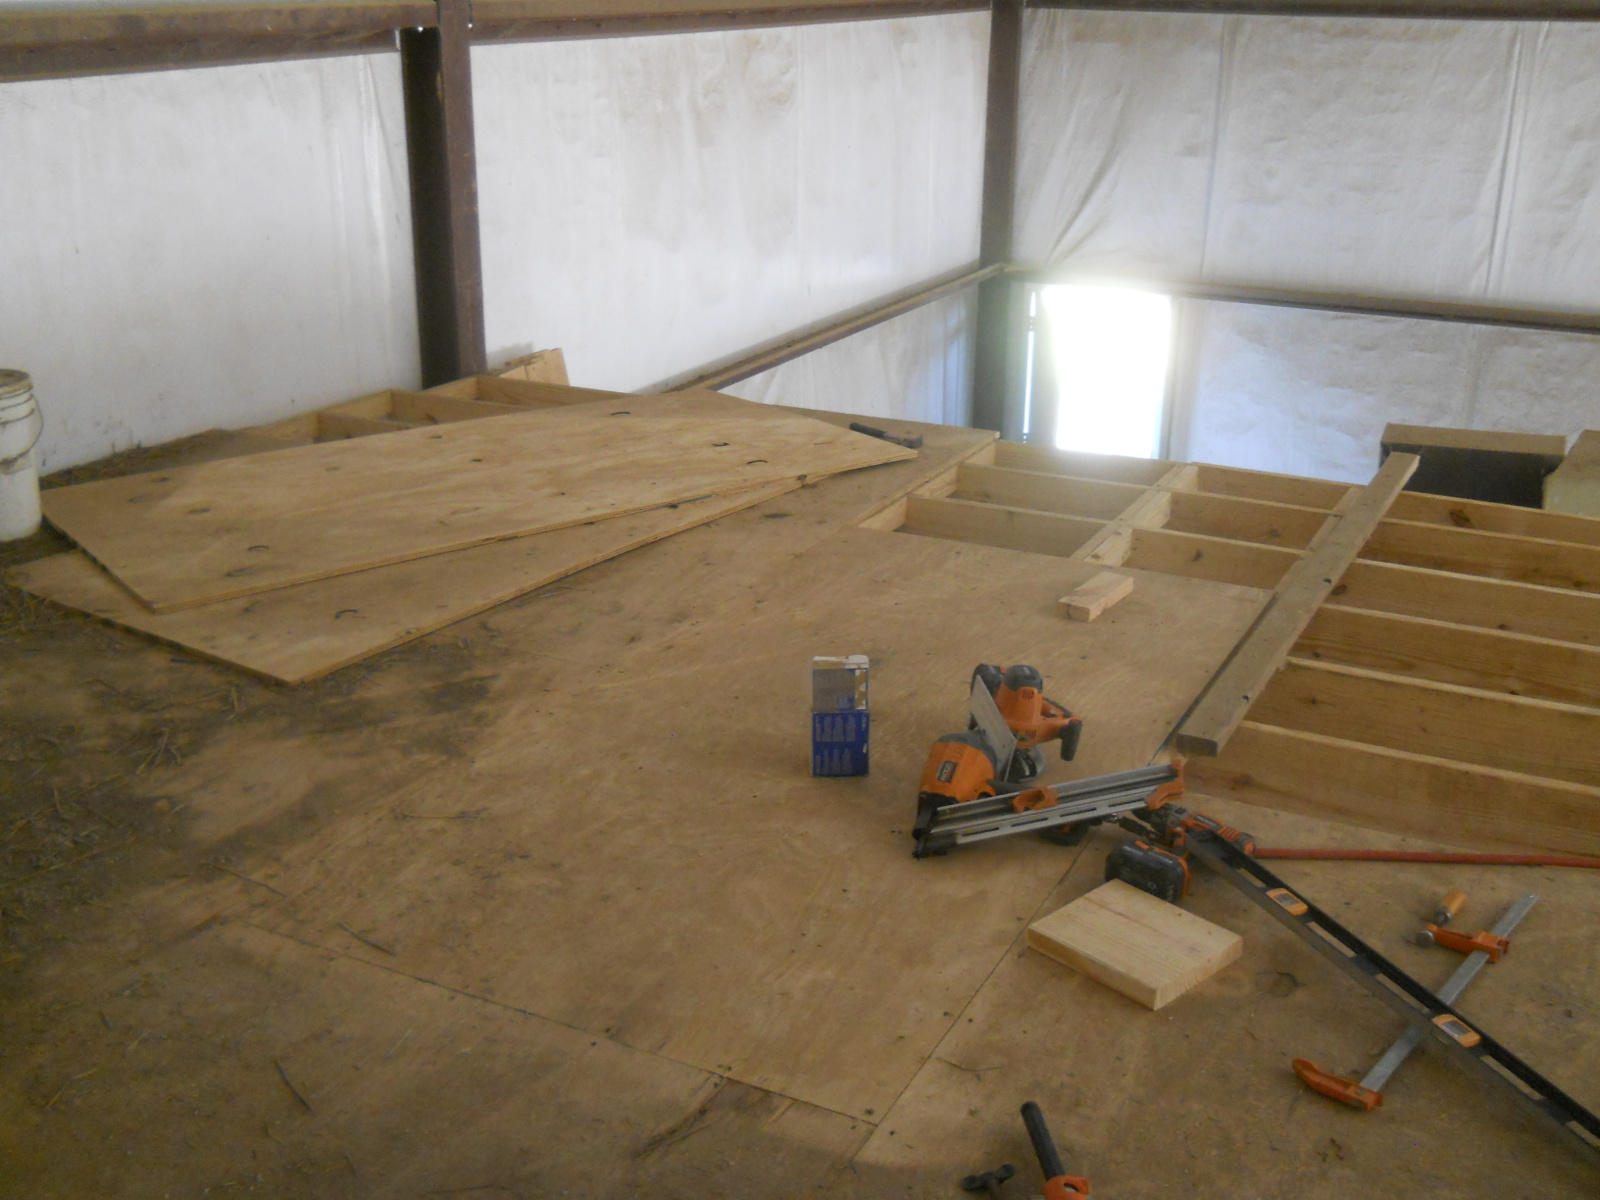
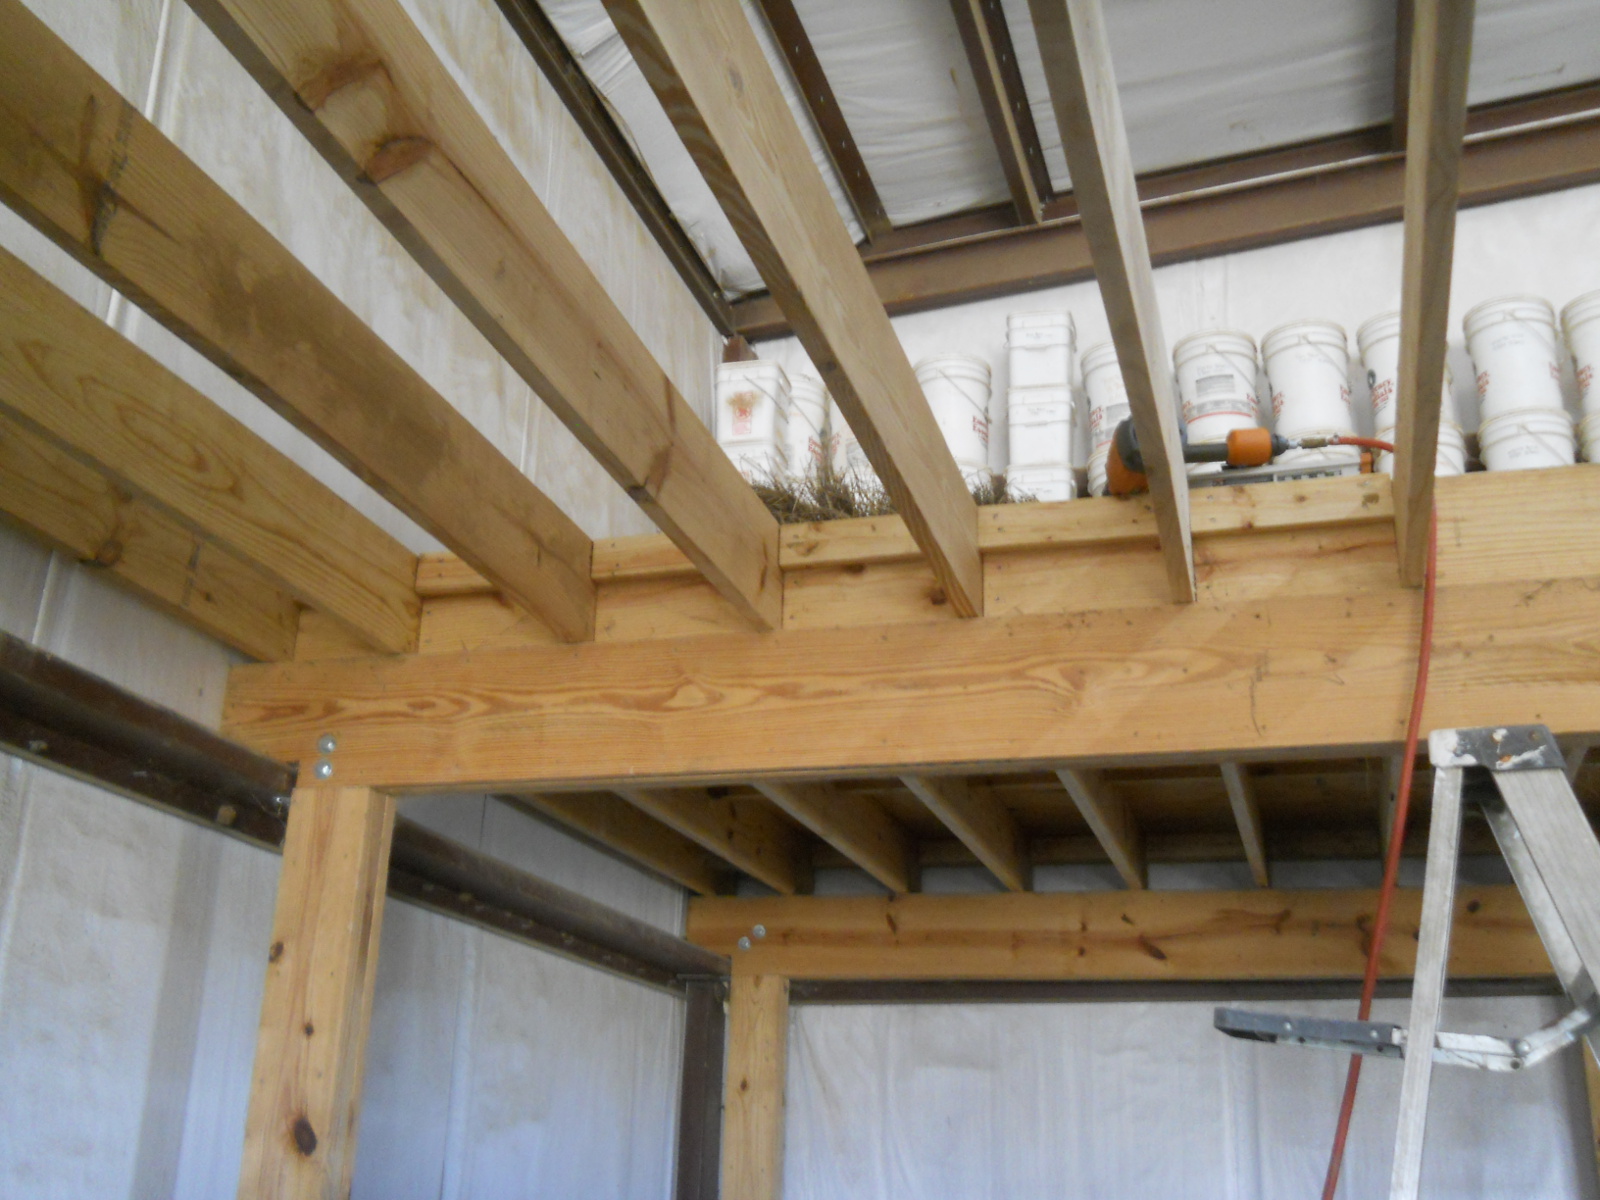
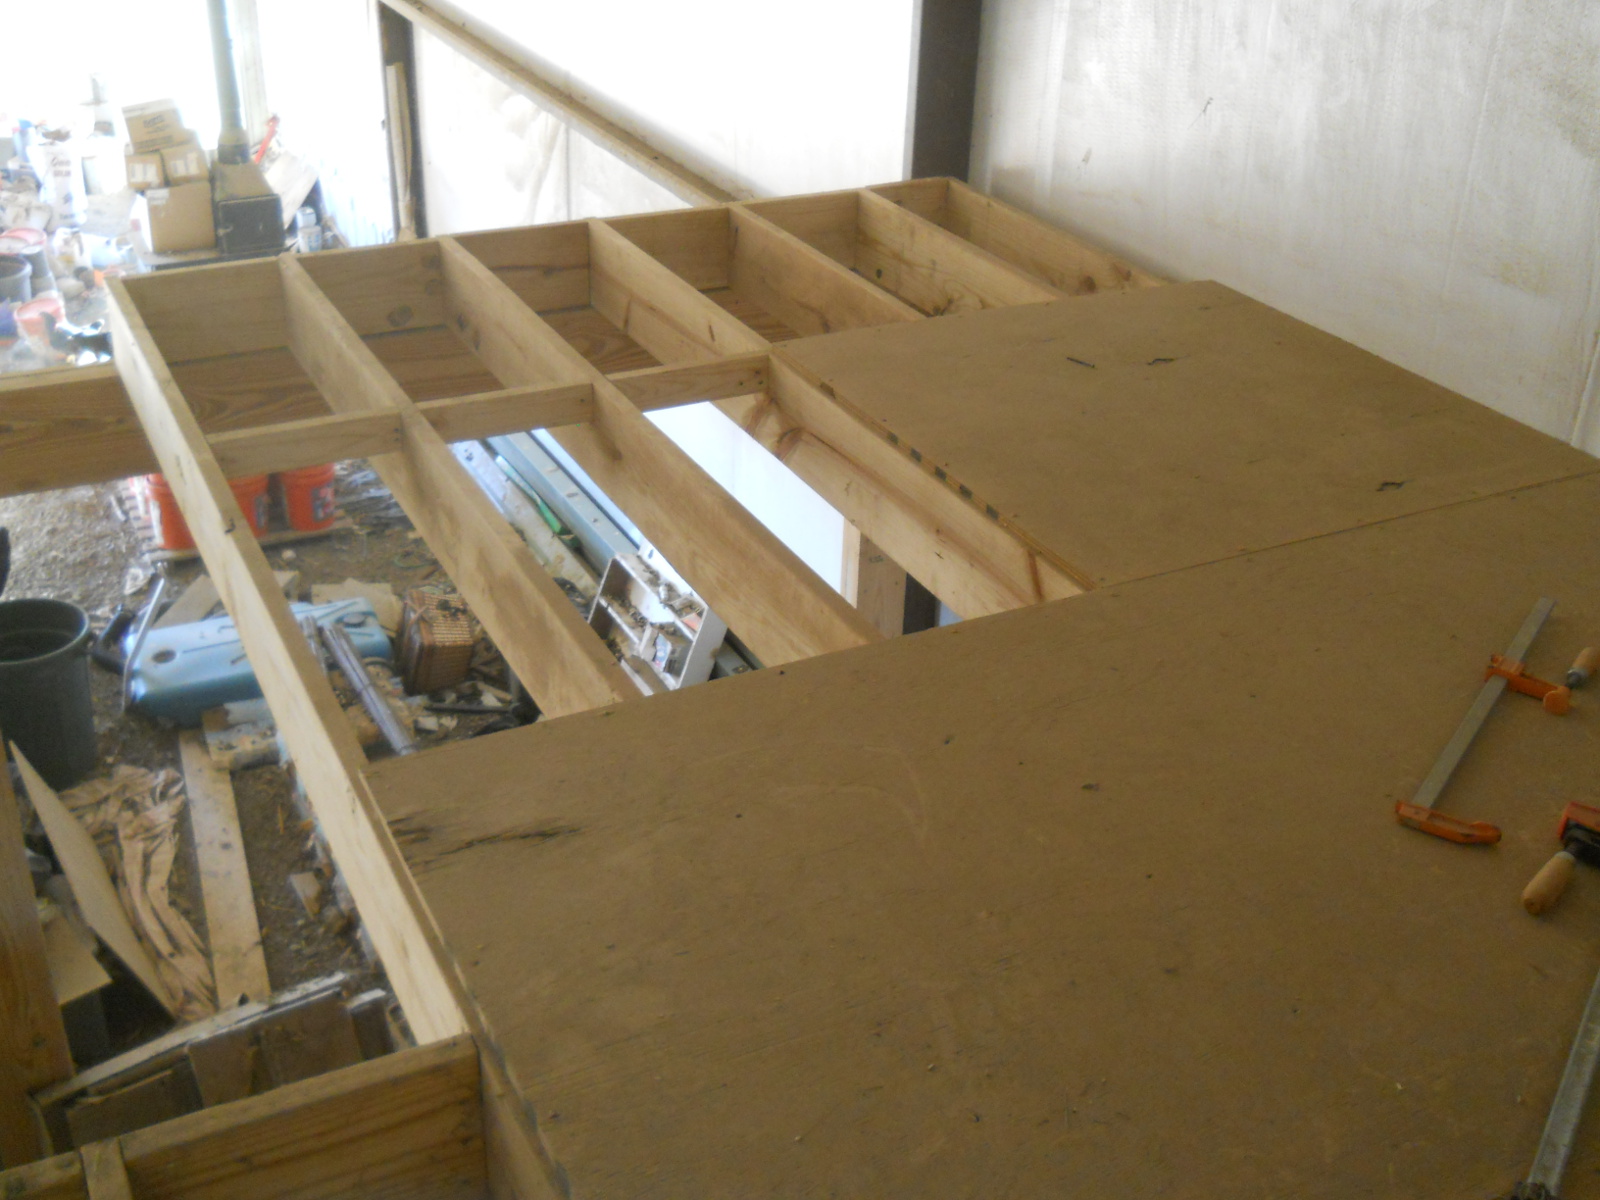
One of the purposes of having a barn was to have animal stalls in it, for keeping animals or for when they would need to be out of the weather. We really wanted to be able to have this shelter for the goats available this winter, and with some of the loft in place, and us having a pretty cold few days of weather, and us having some sick and/or shivering goats, I quickly formulated what I hoped would be a fairly inexpensive plan, got some materials, and started in on putting up our first animal stall!
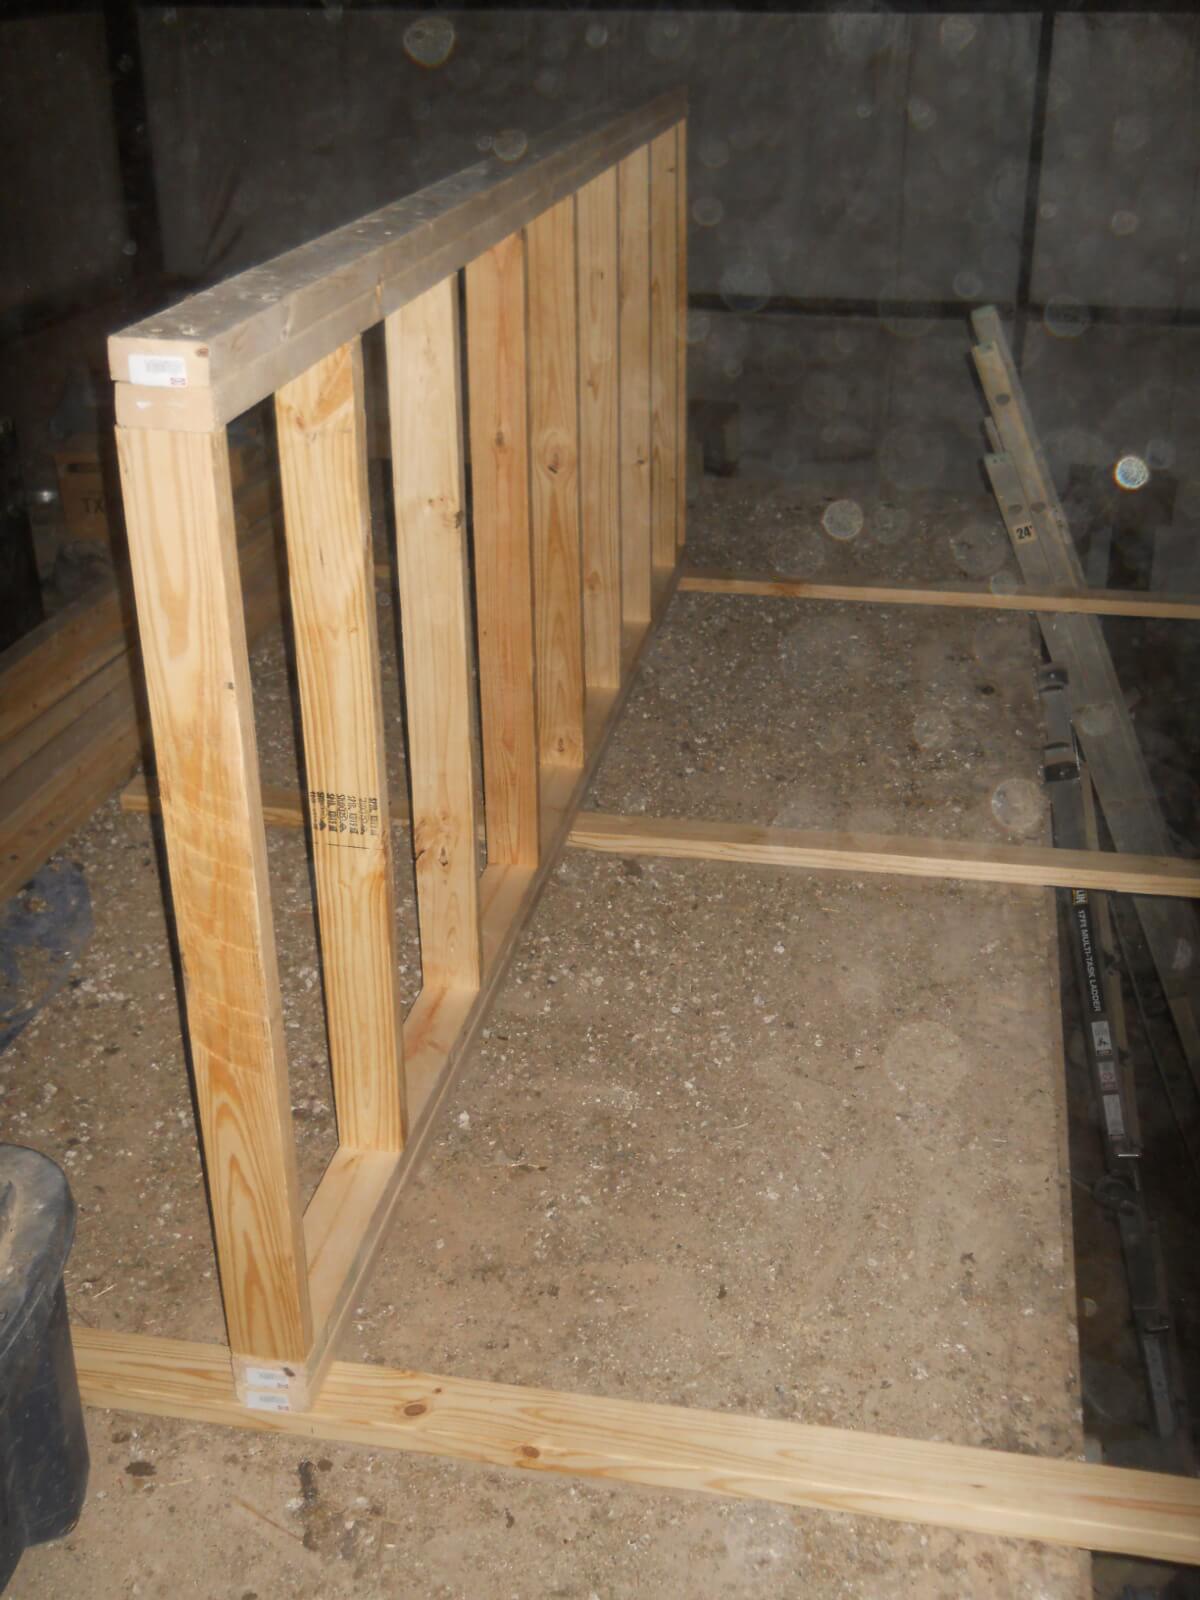
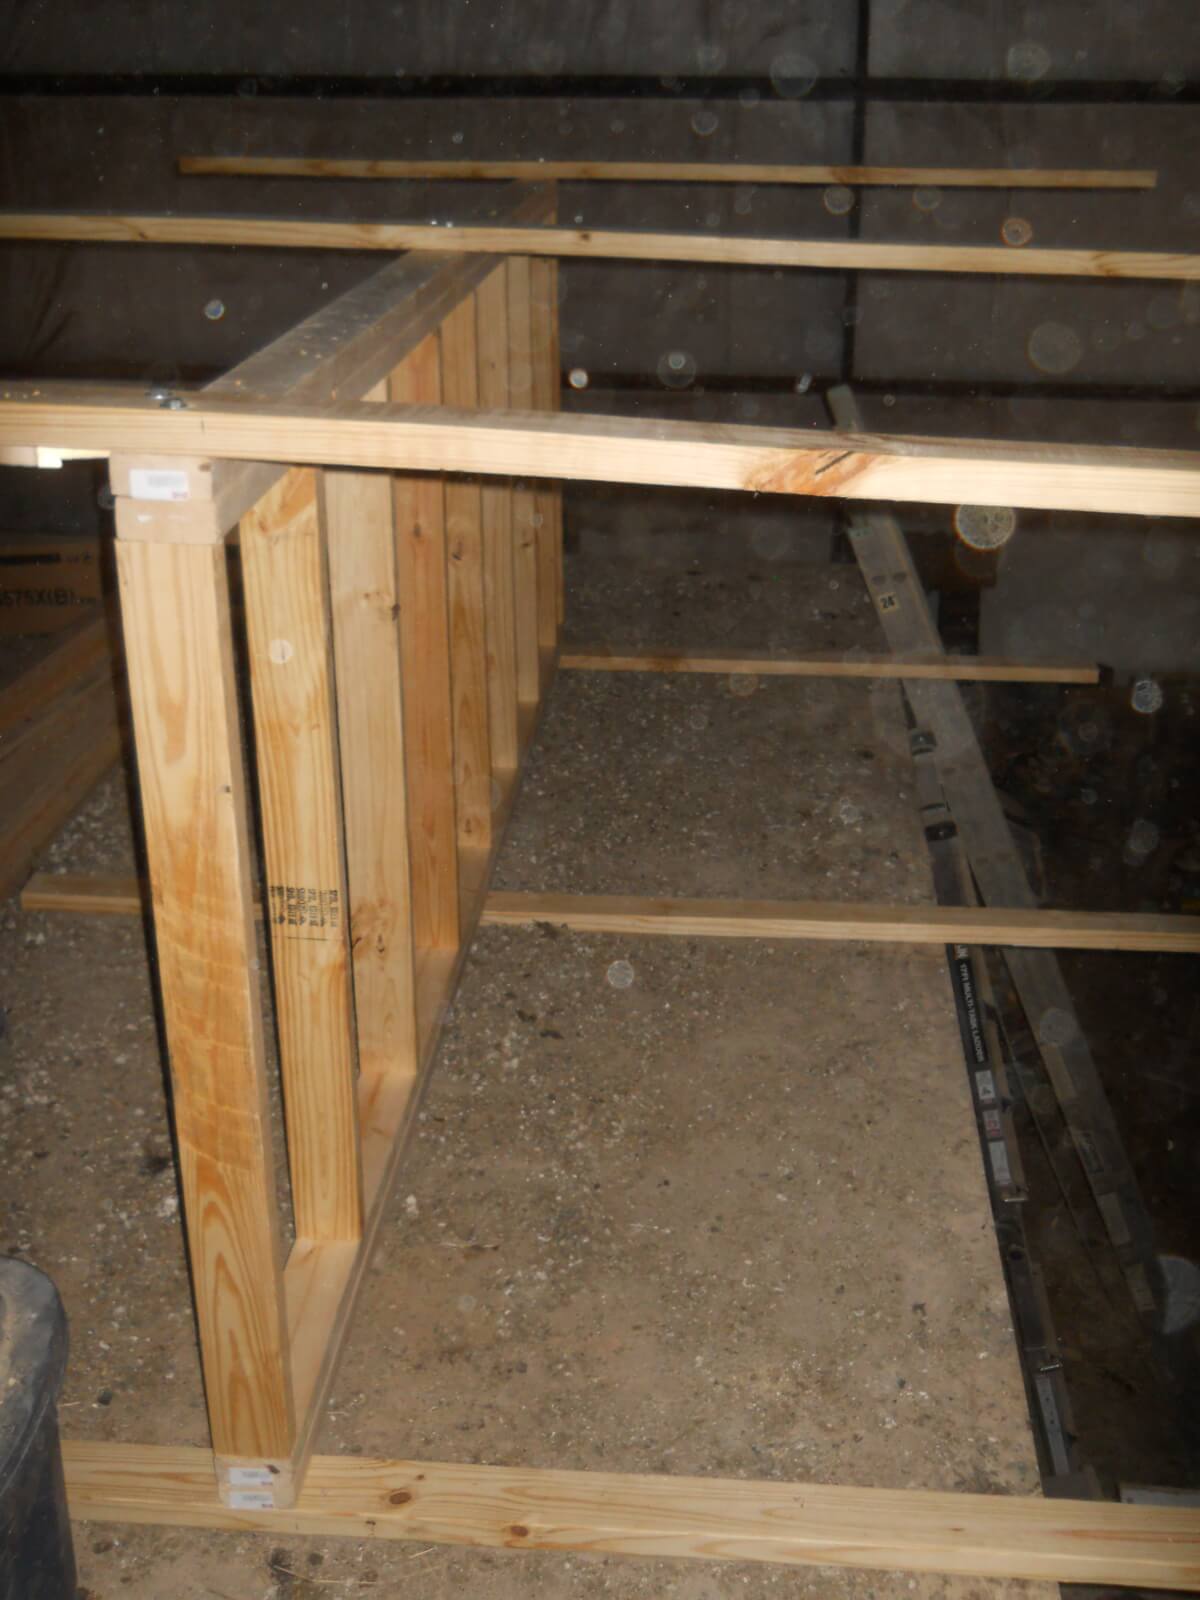
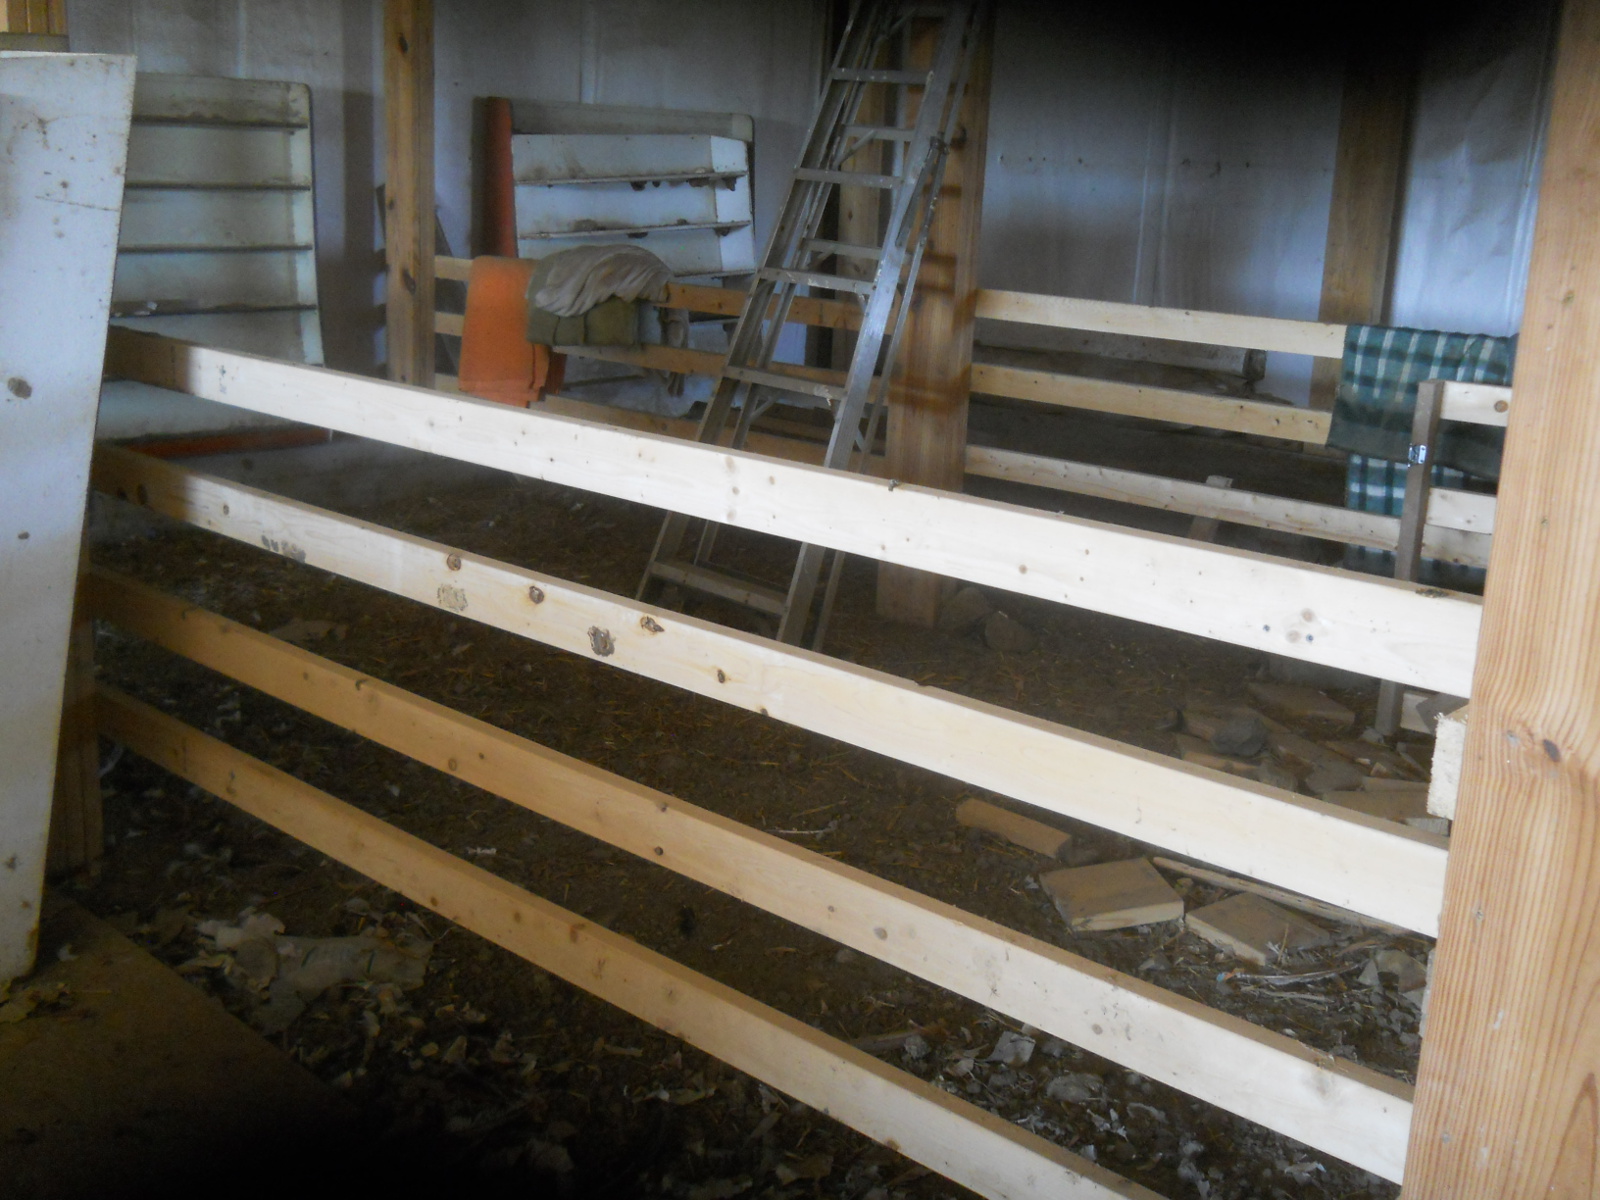
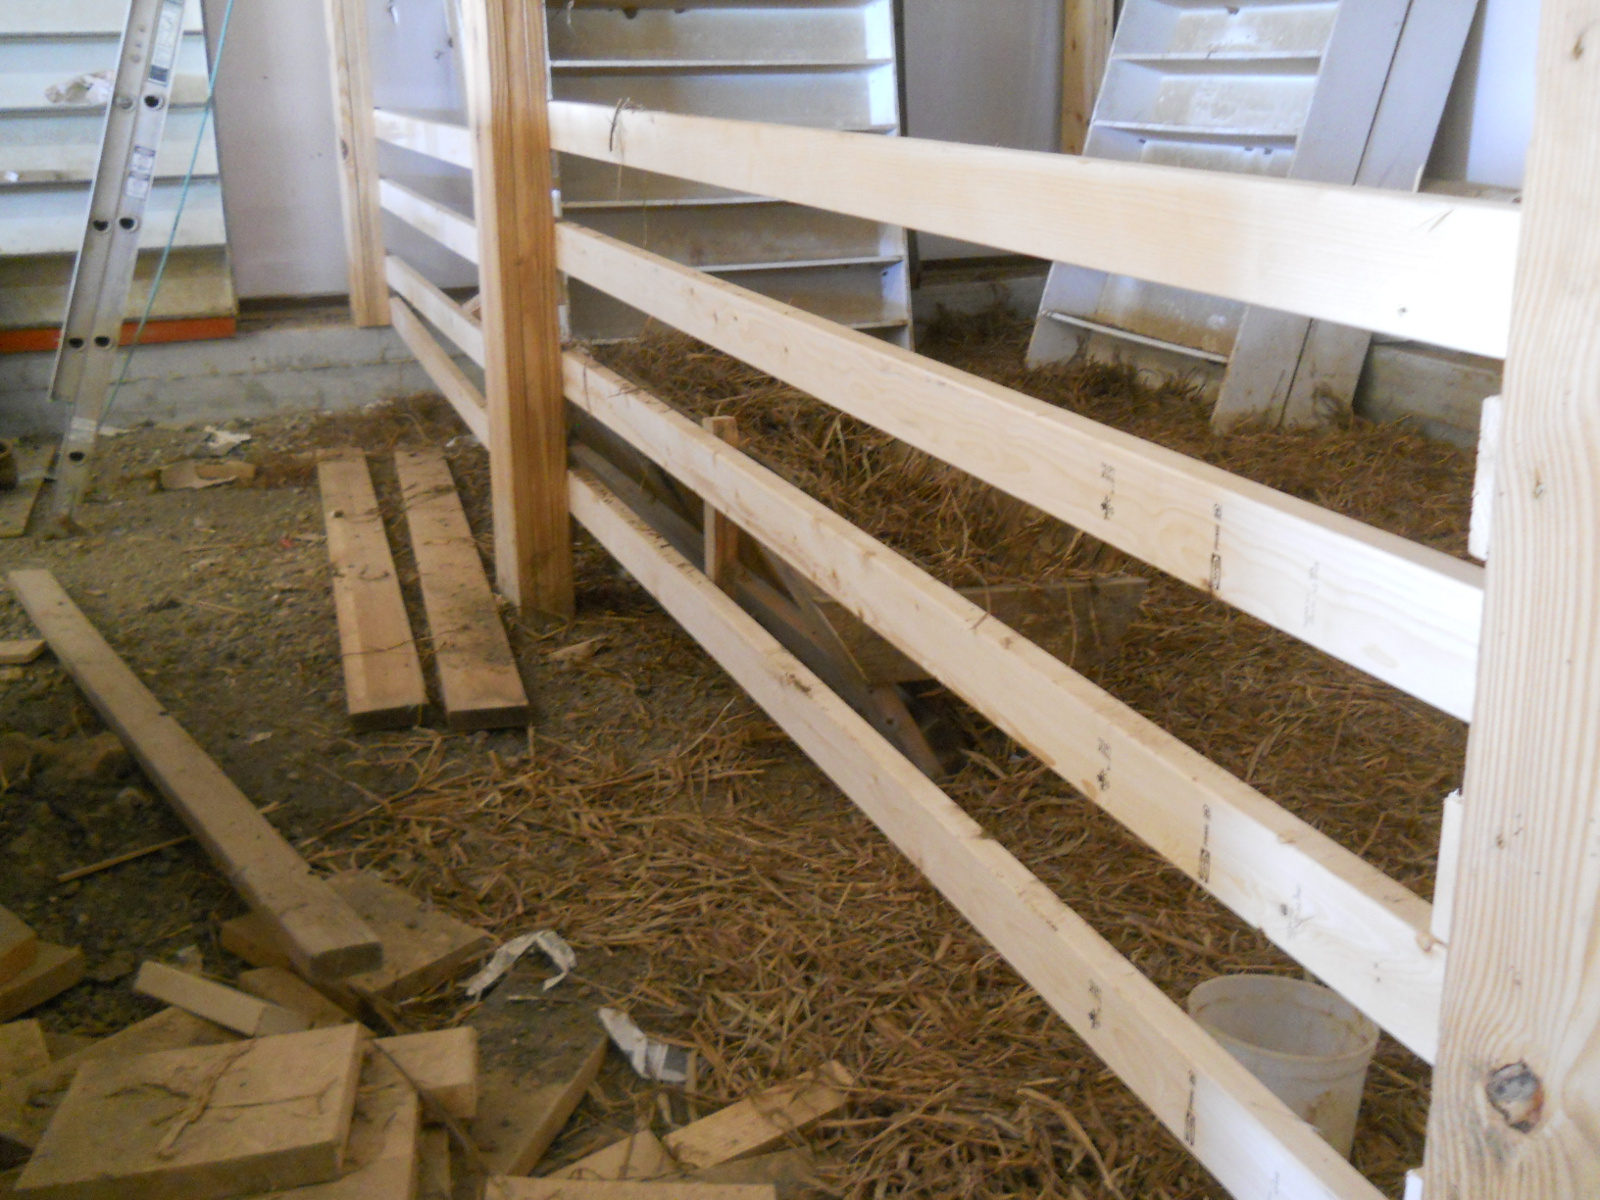
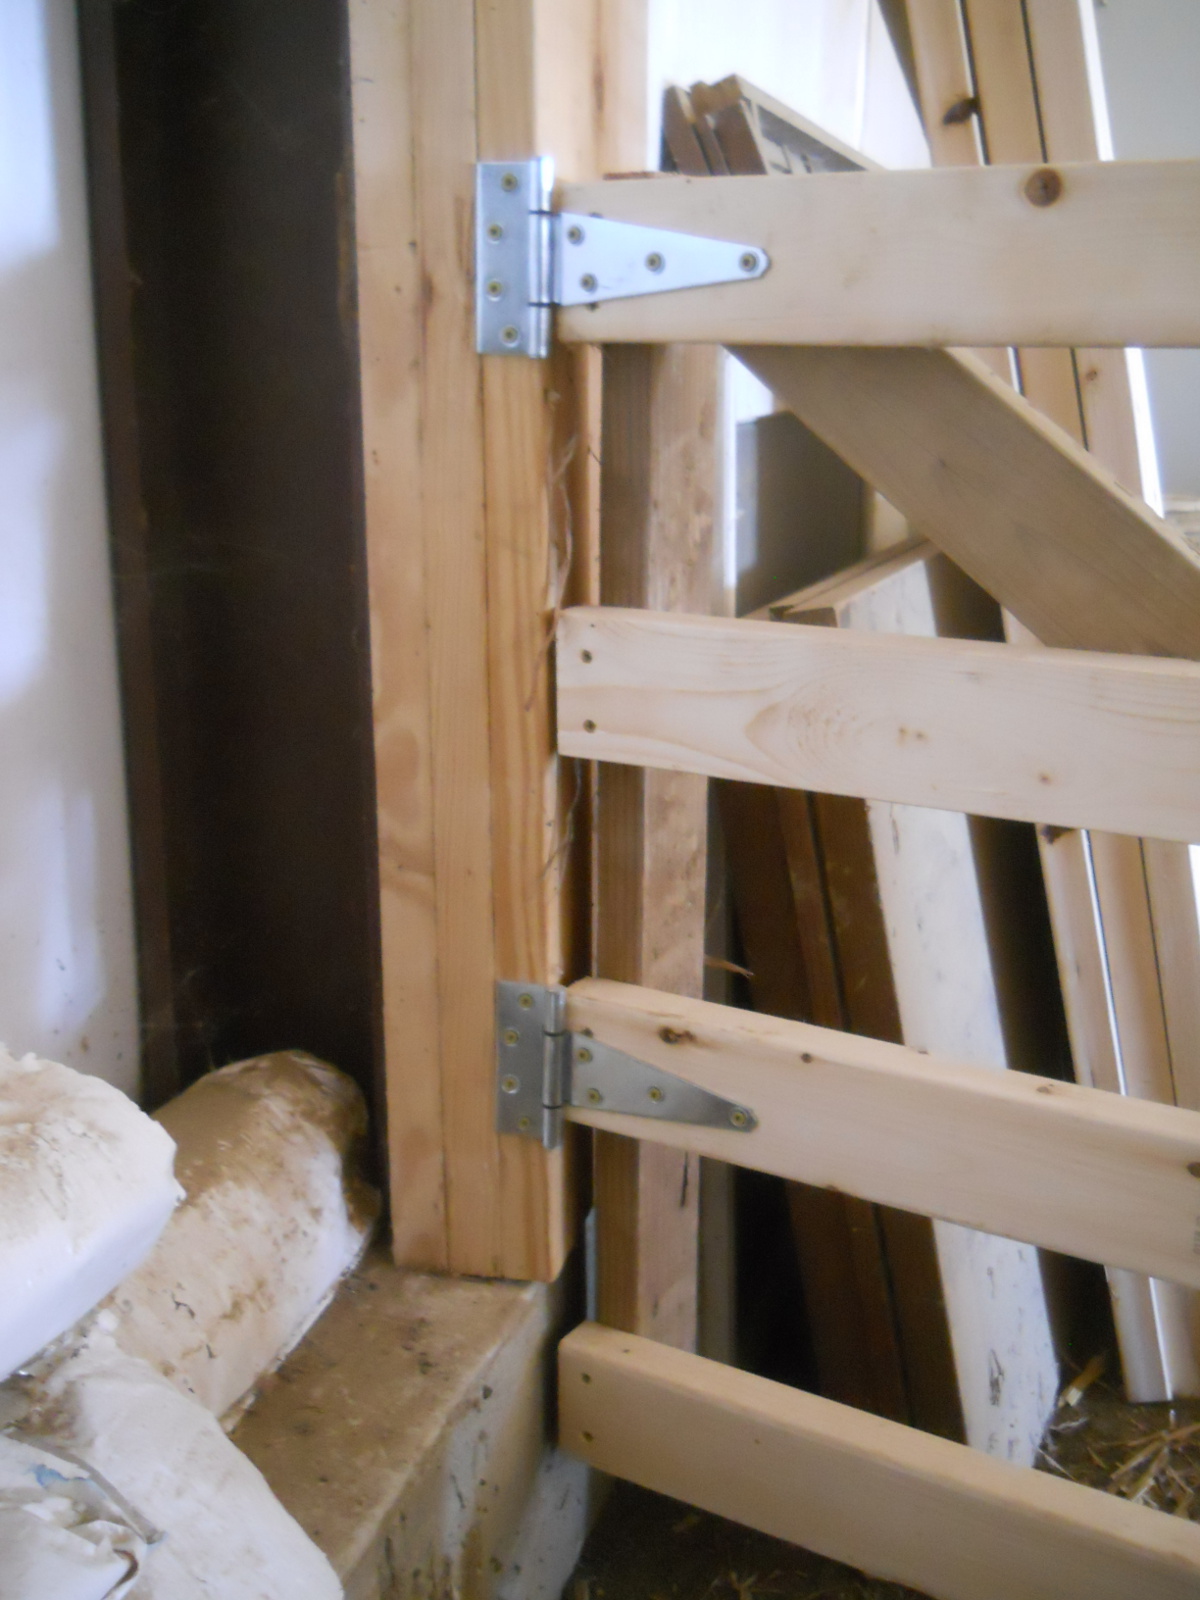
I was originally going to use three rows of 2x6s, but in judging the costs, it was less expensive to use four rows of 2x4s, so that’s what I went with. I simply just screwed them into the loft posts. Here is the long-side wall:
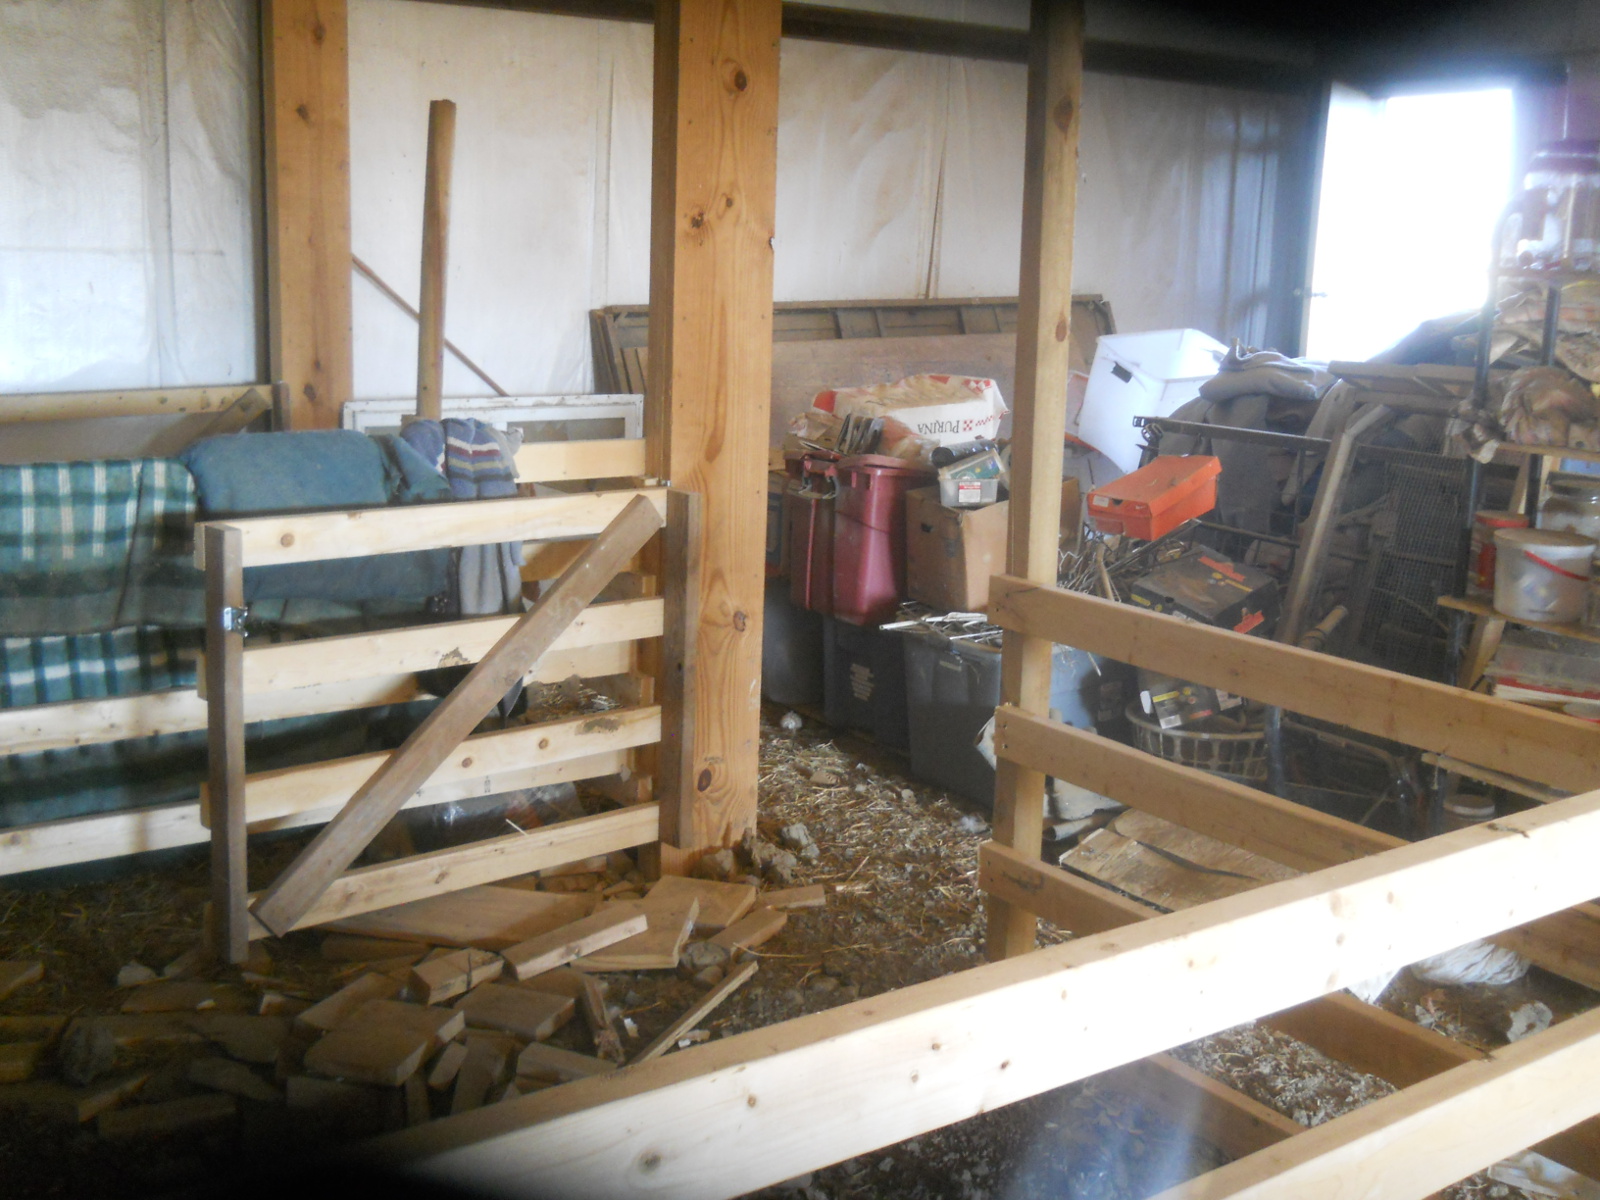
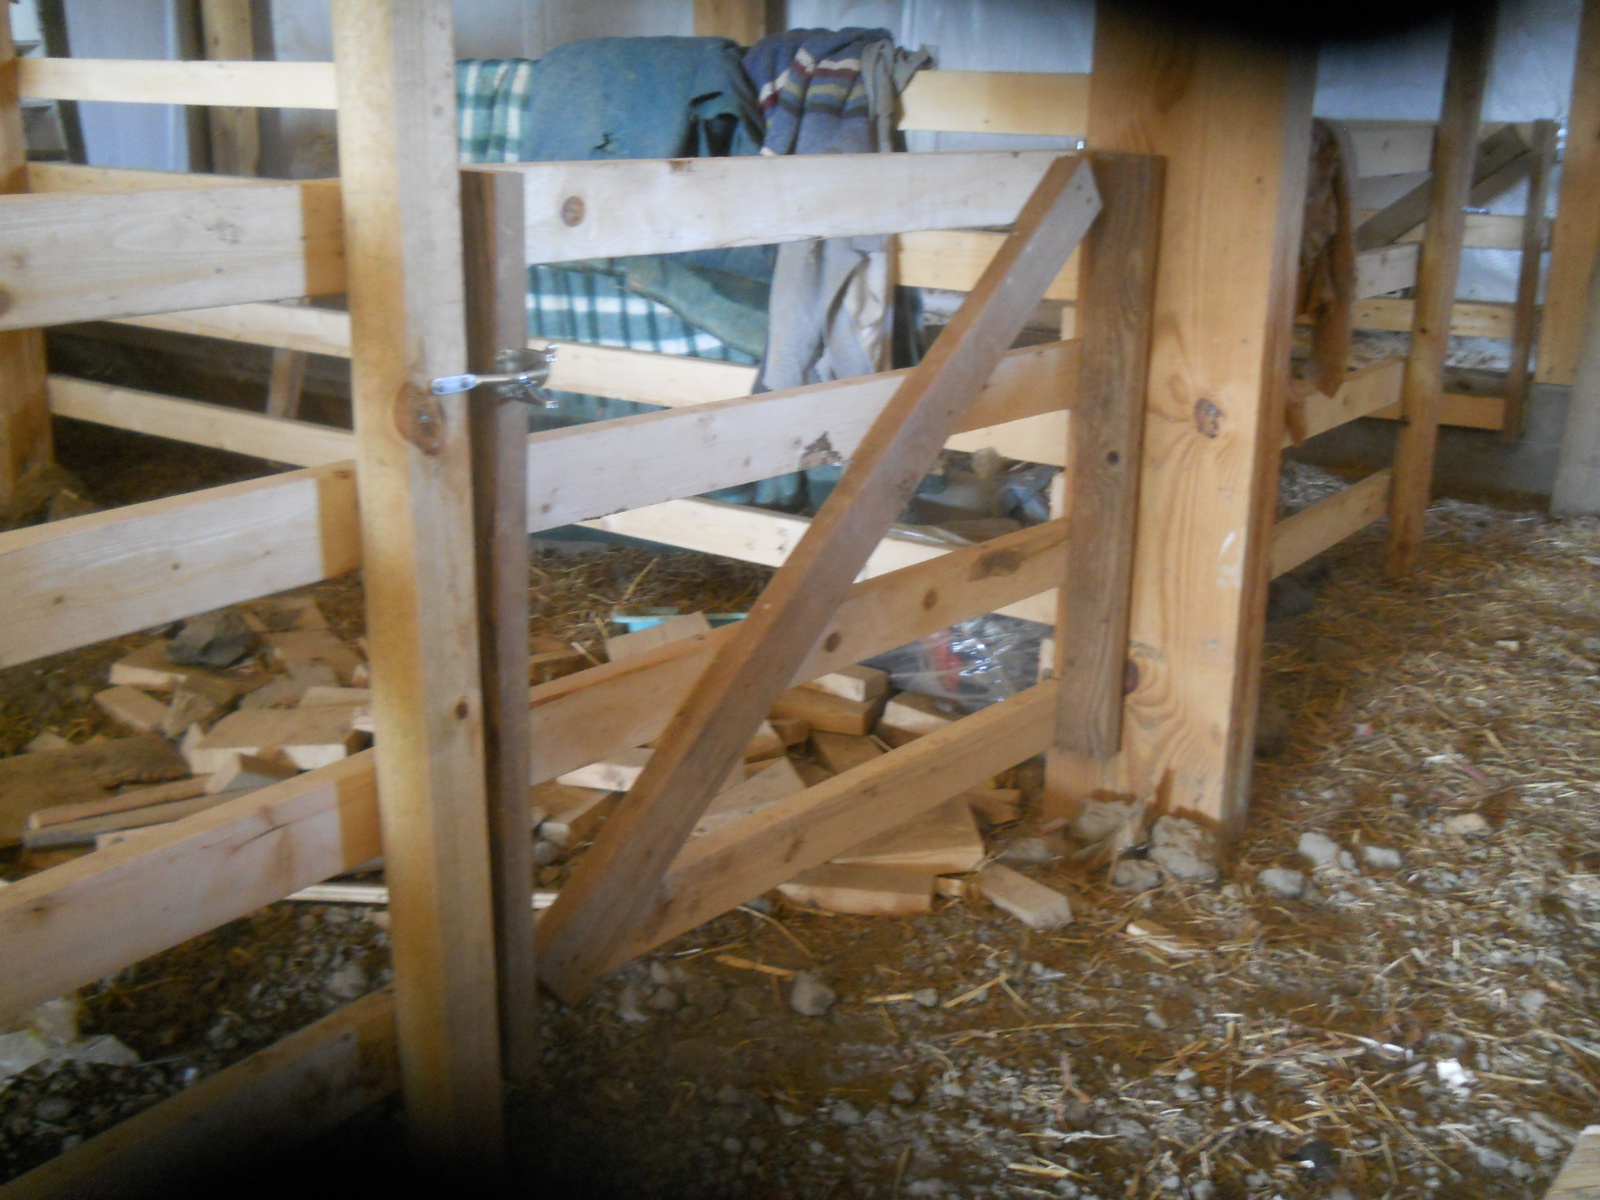
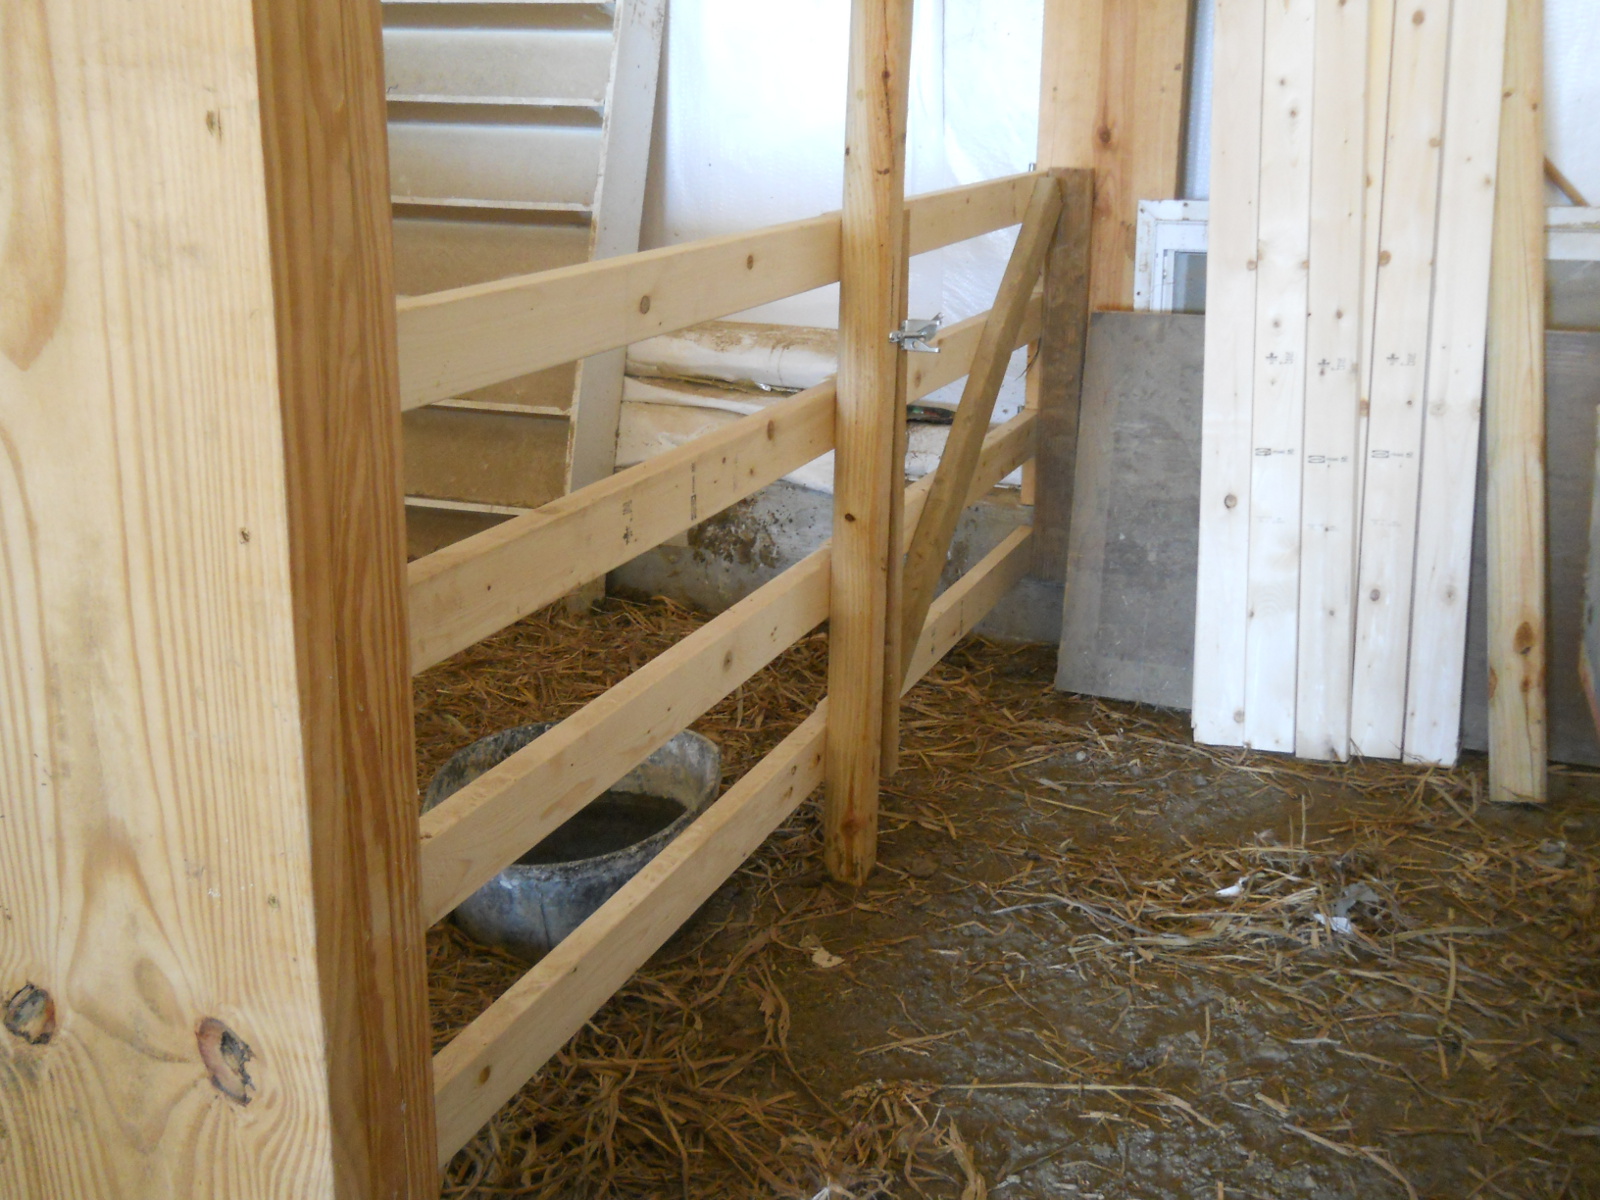
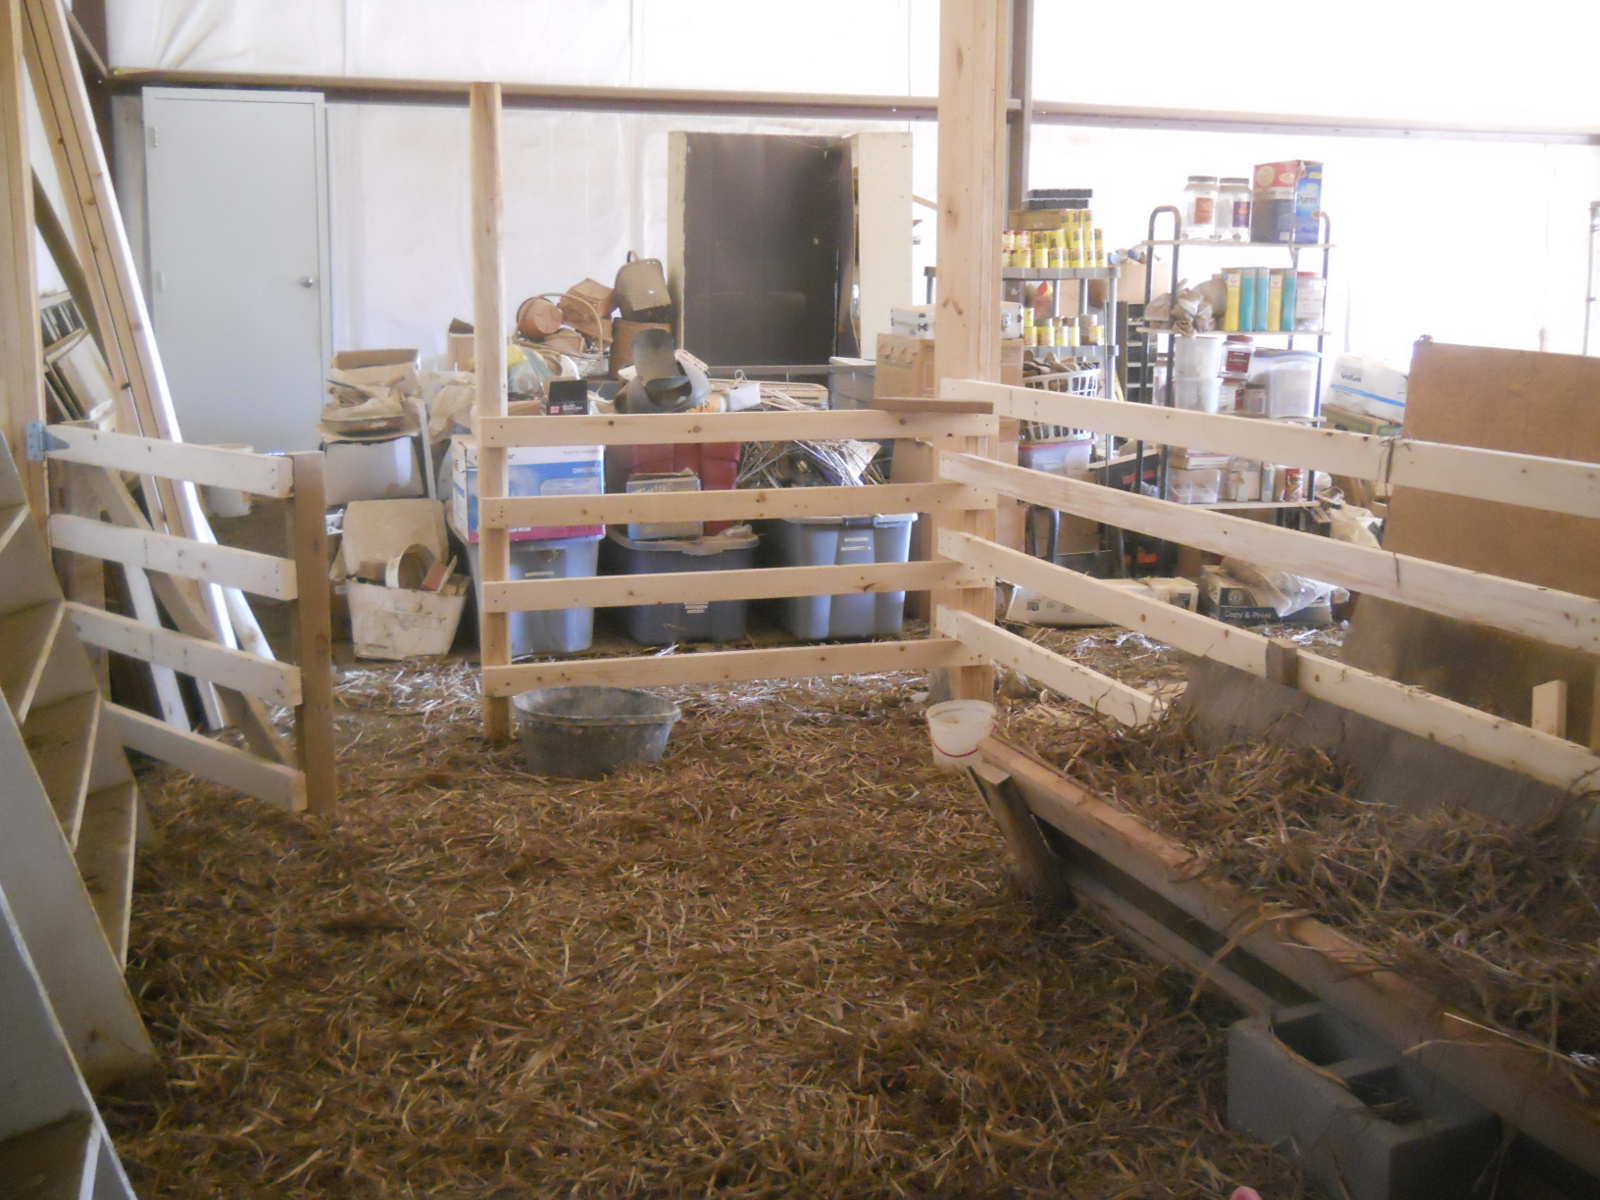
And the short wall and gate. I just buried a landscape timber for the wall end:
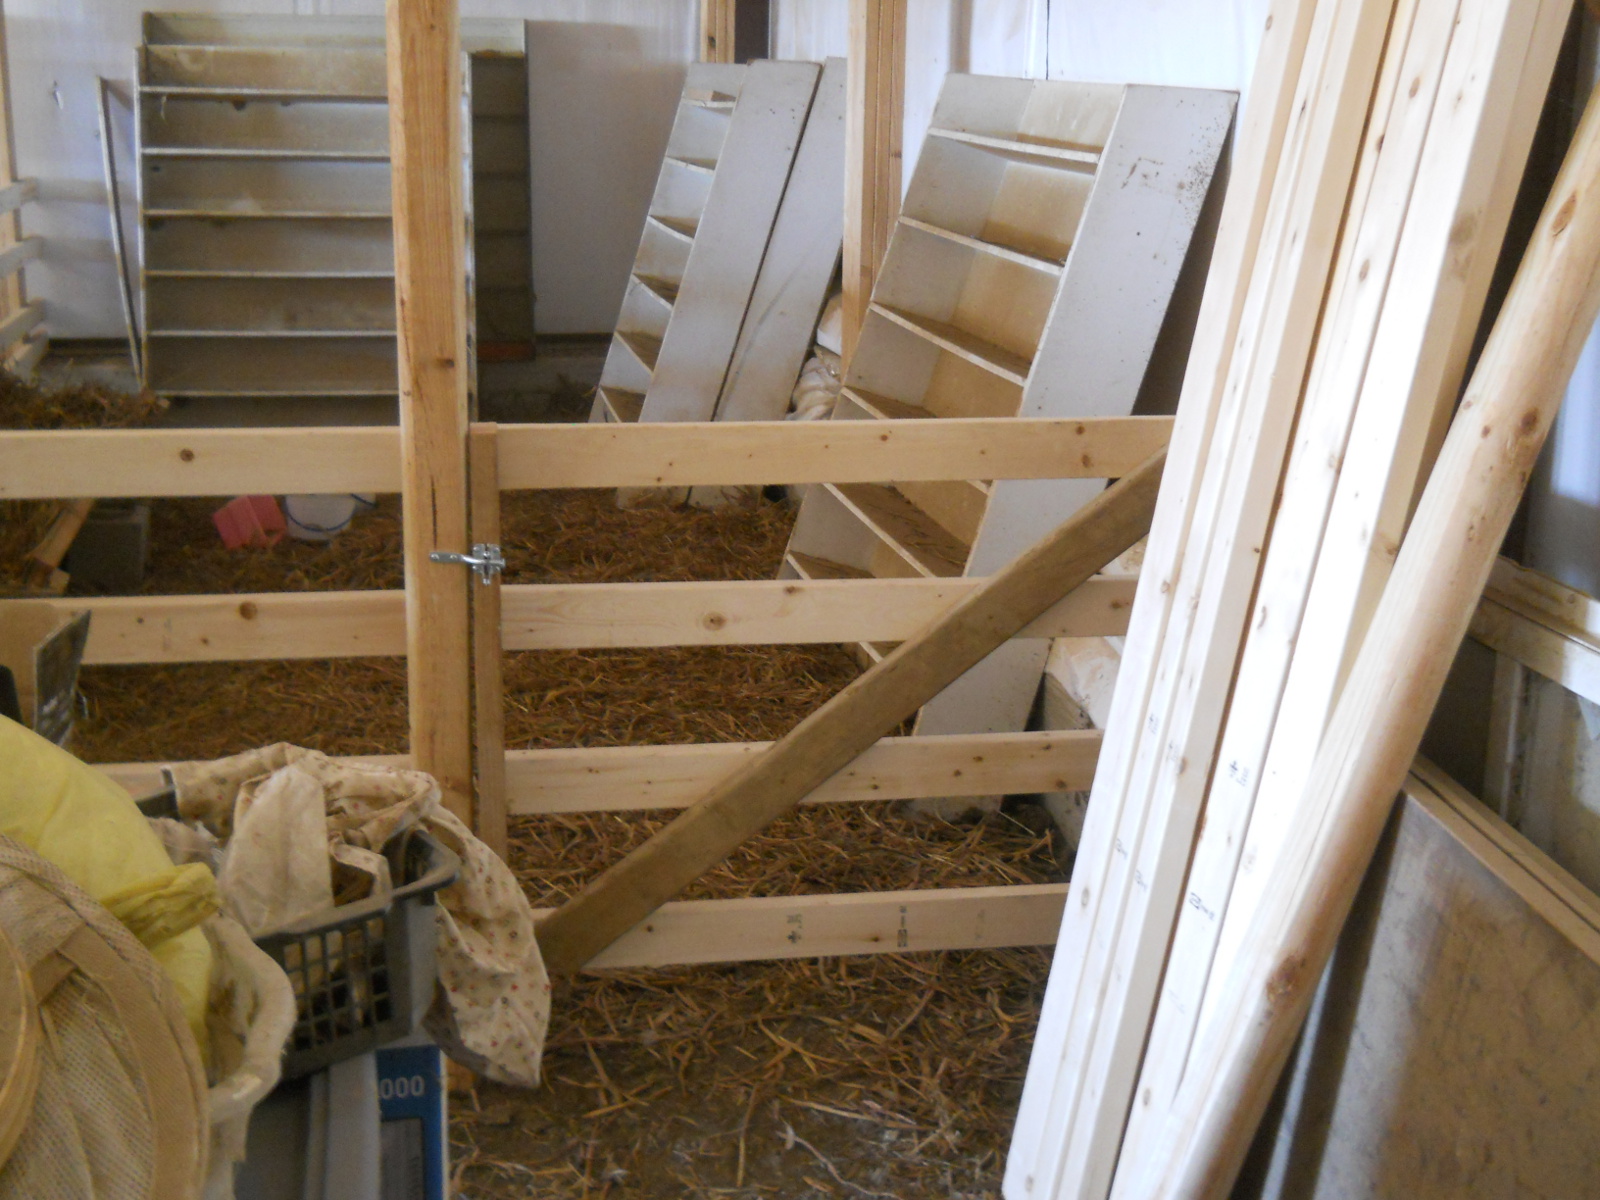
Here it is with the gate closed:
And its hinges:
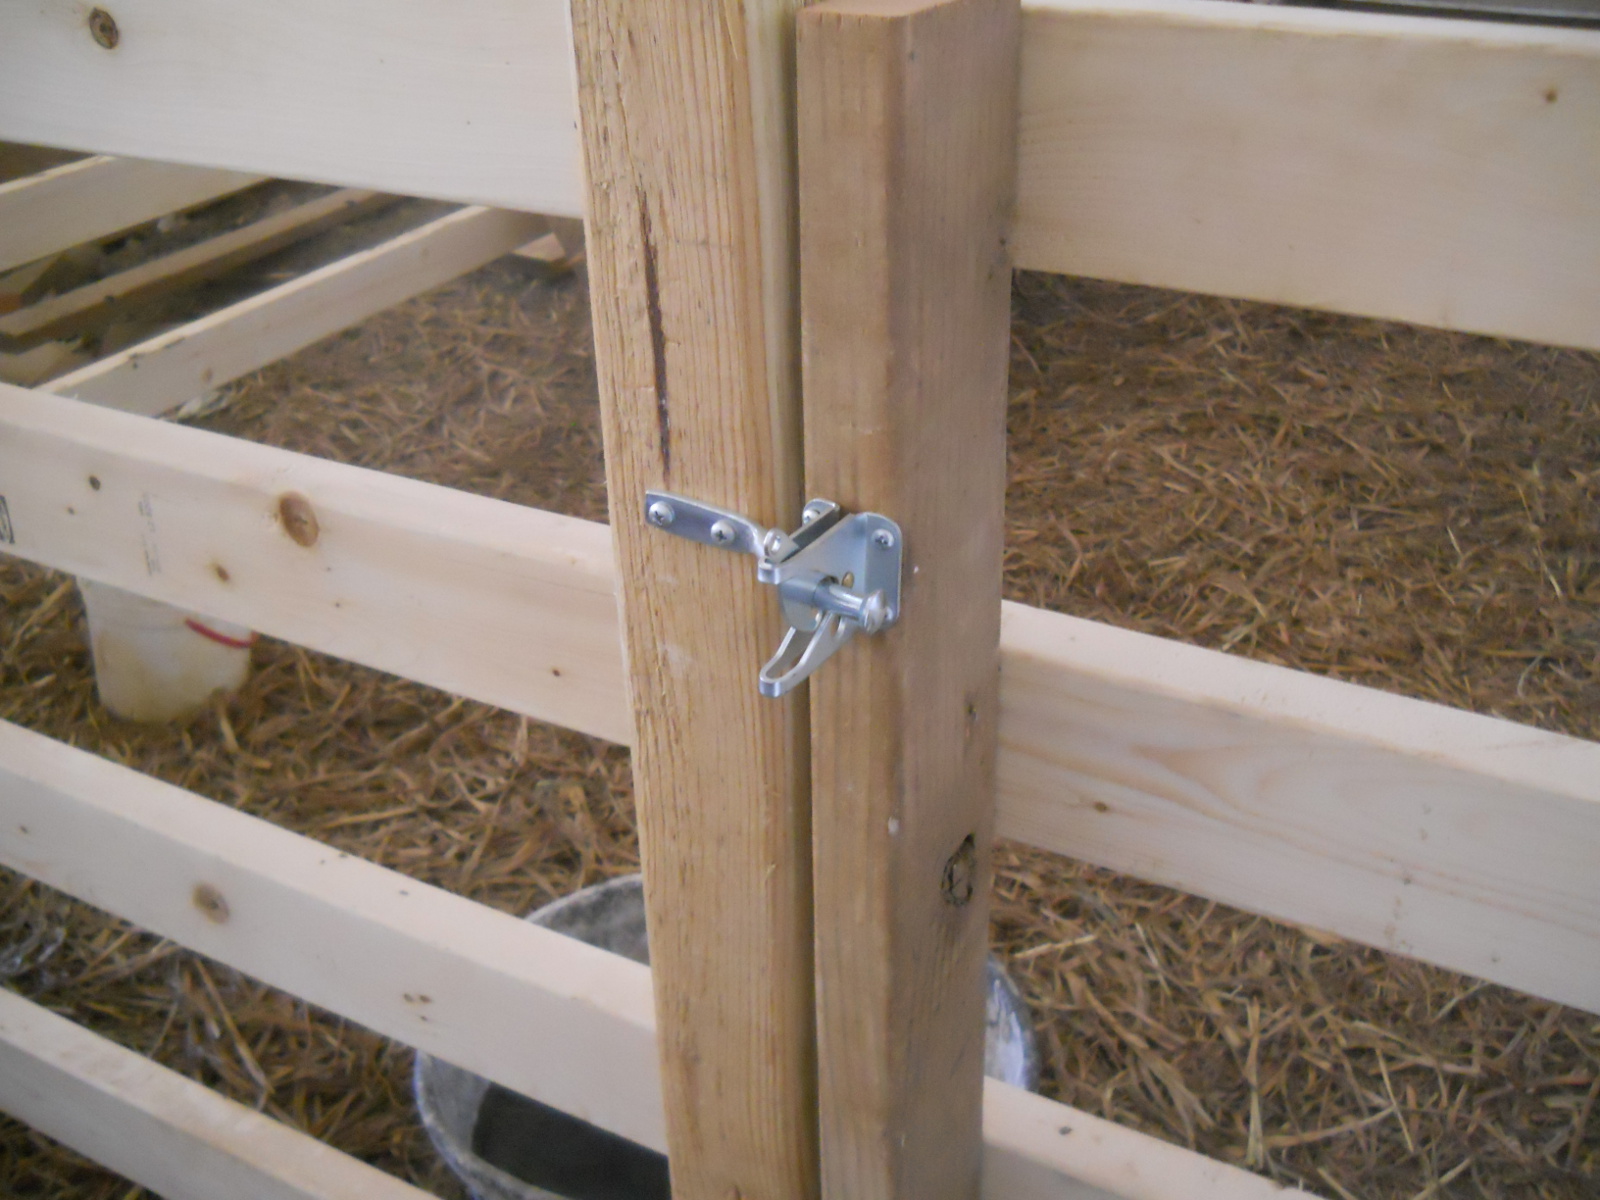
And its latch:
And then open:
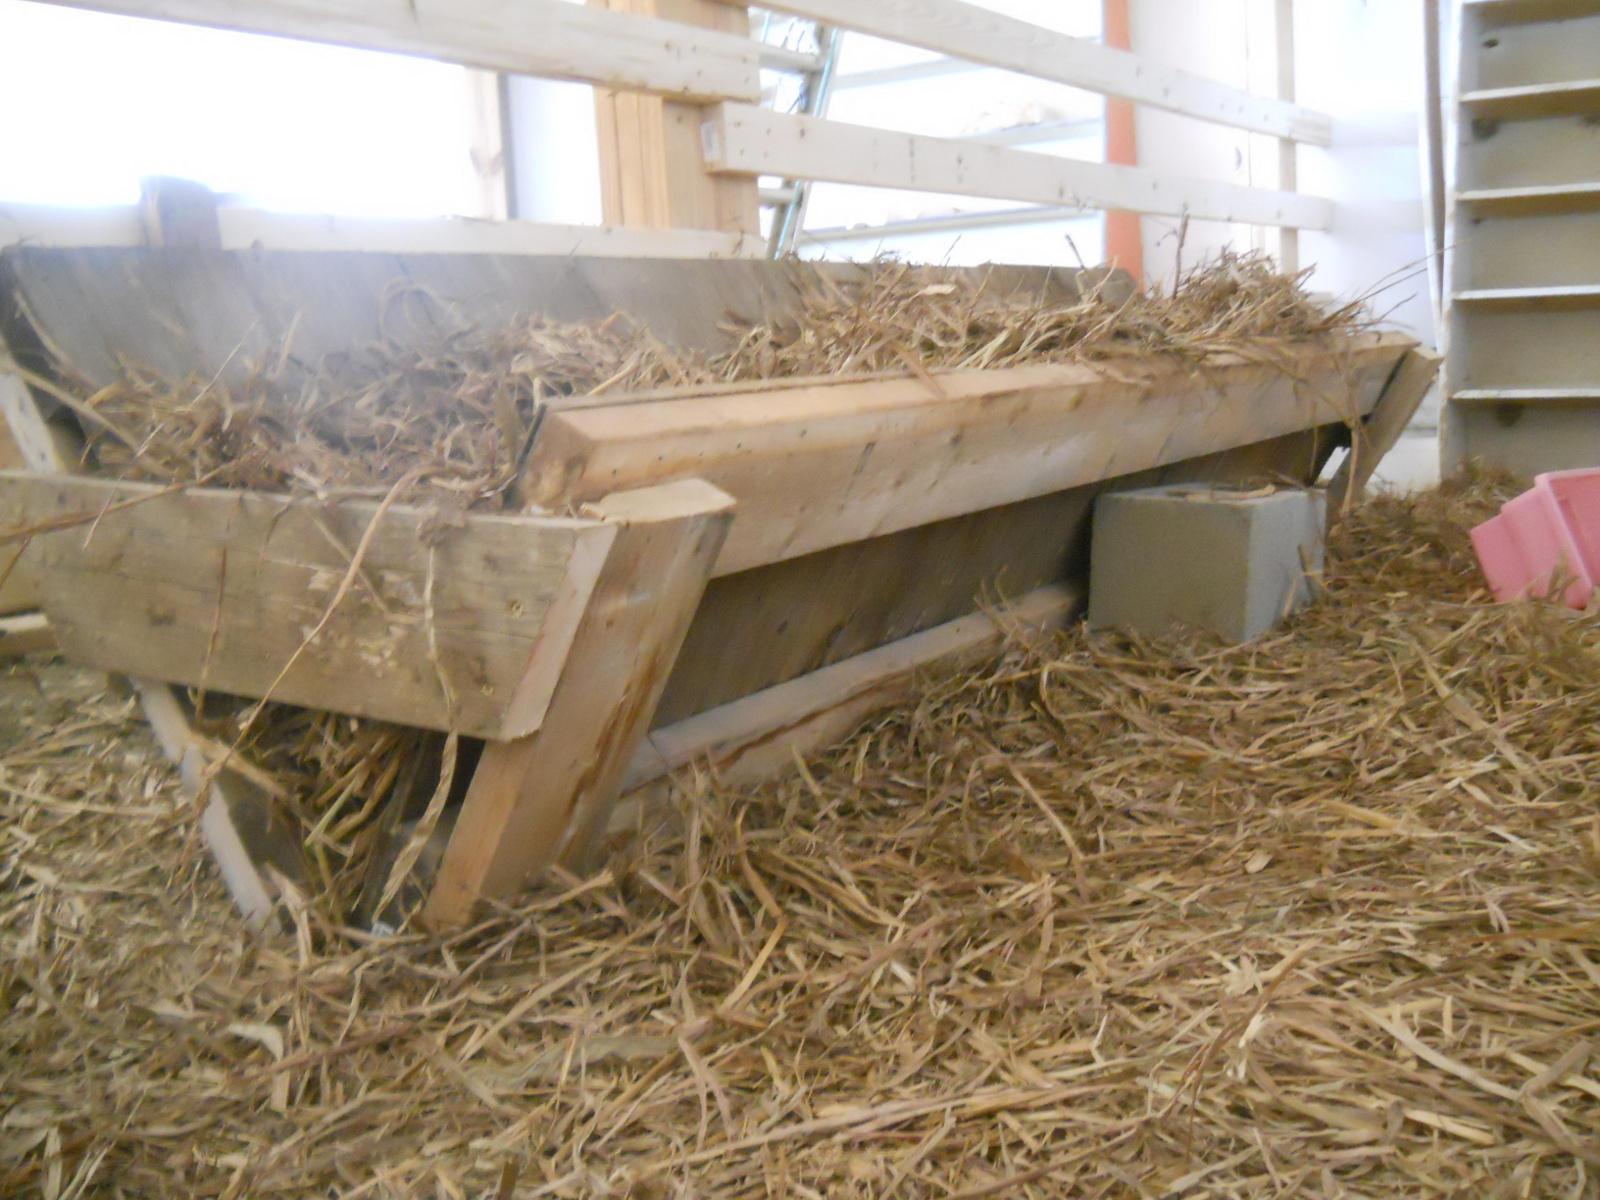
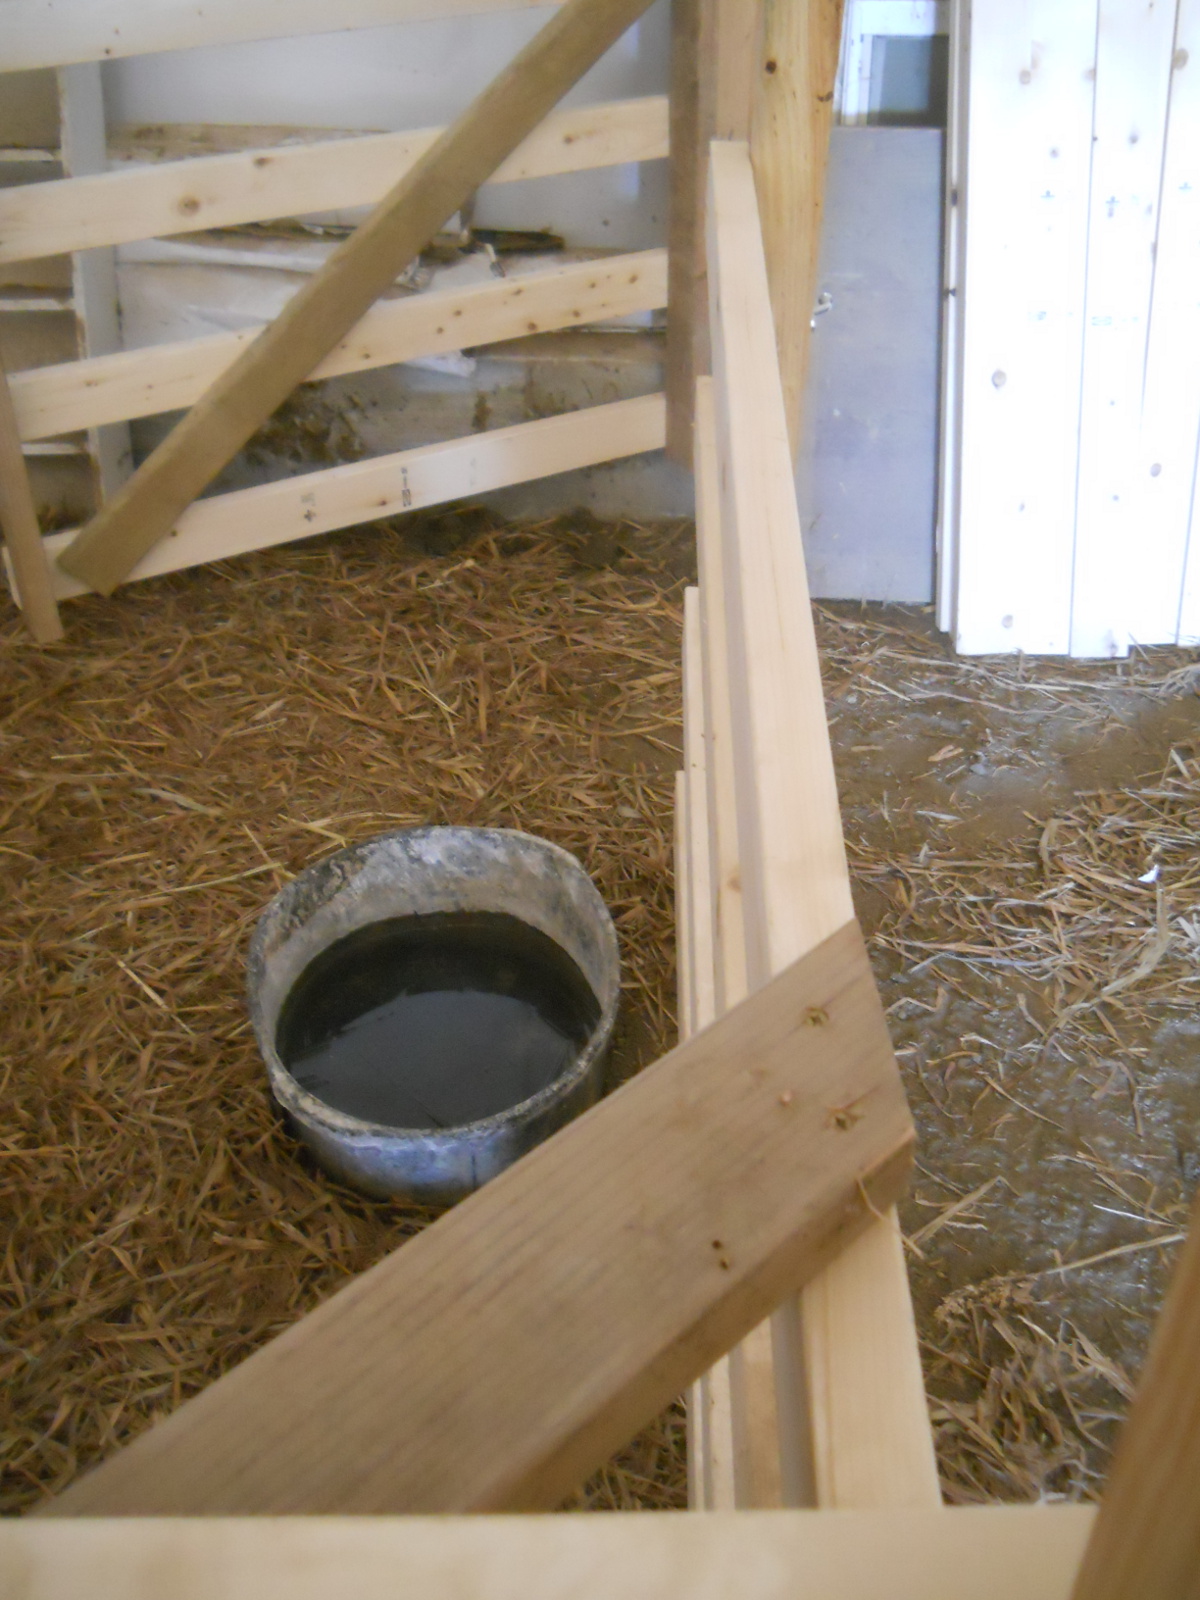
I wanted to make sure their eating-hay was off the ground, so I took some left-over 2x6s from the braces we used to keep the porch posts from twisting, and some left-over plywood, made a couple of frames, with the back one a little higher, tied them together on the ends, et voila! Hay trough! I initially just set it up against the stall wall, but I wondered; and sure enough, soon after putting goats in the stall, they tipped it forward; so as a temporary solution, I stuck a cinder block underneath the front frame:
Here’s a view from inside the stall, with all of the hay on the floor too:
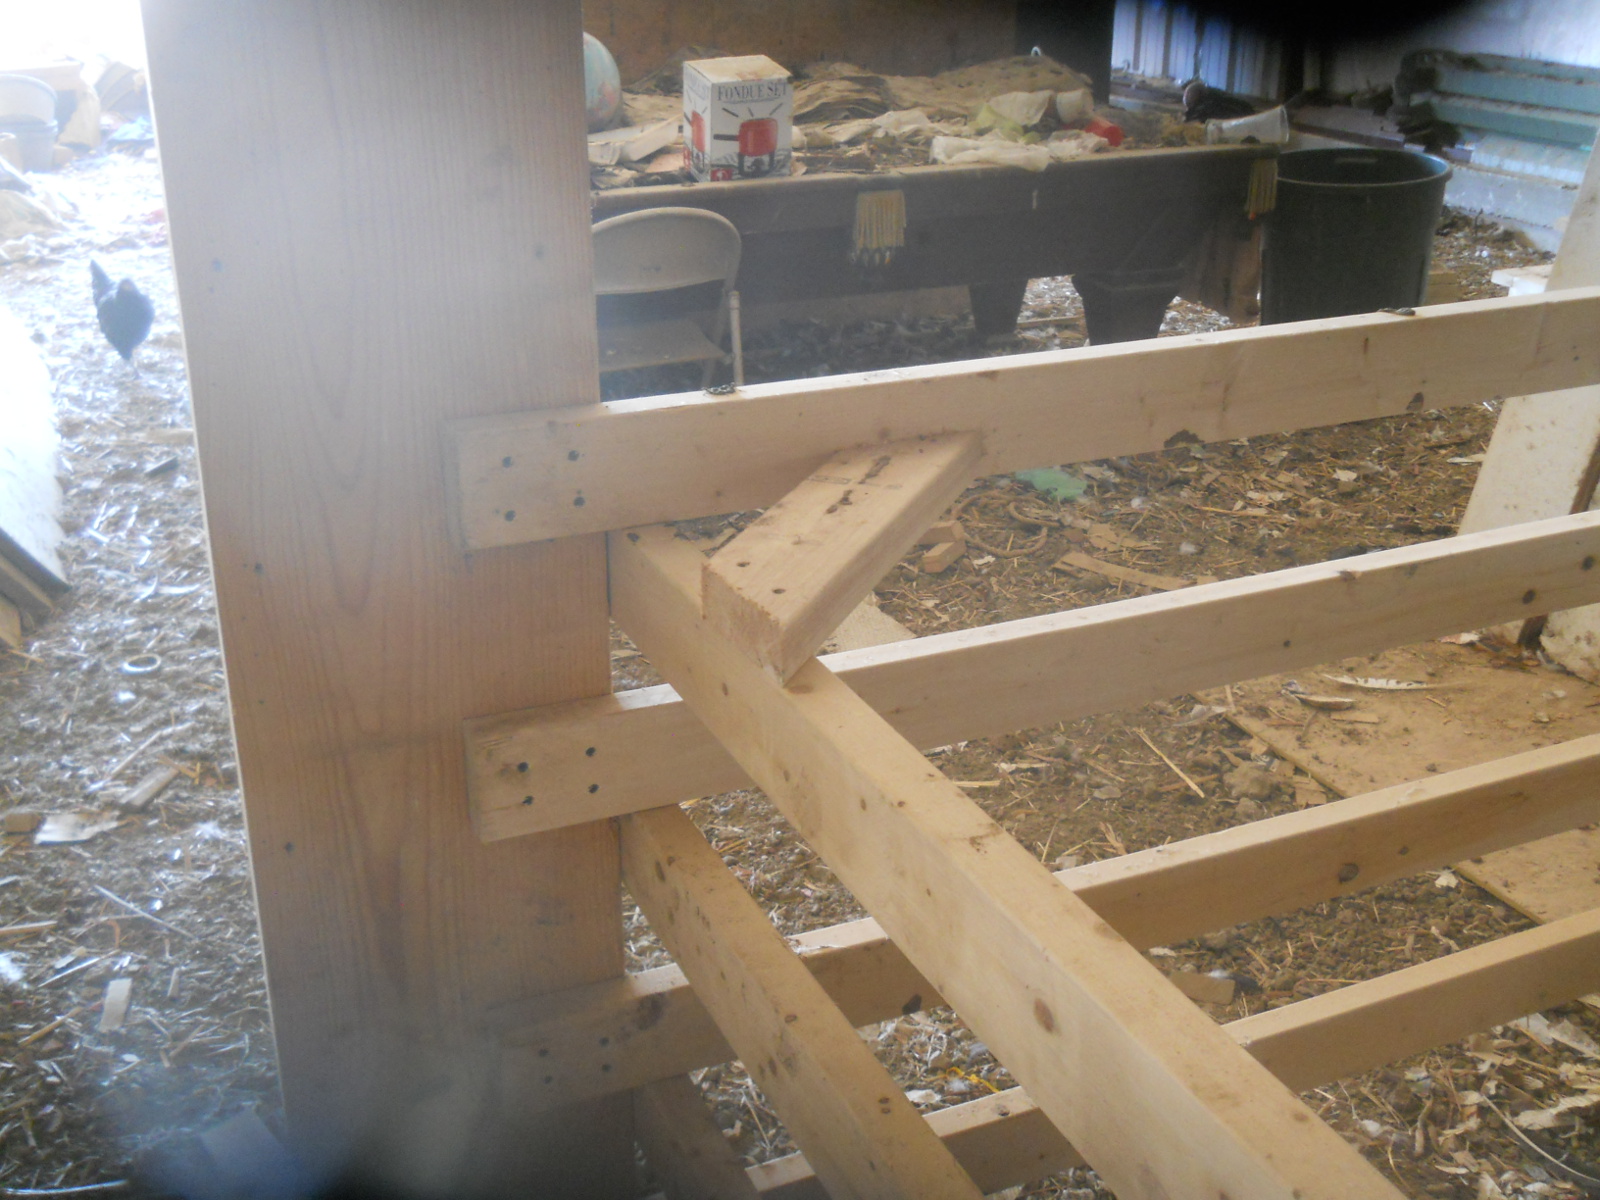
With the gated-wall being not too steady, I added a corner brace that you can see in the lower part of the picture:
And that was it! I put it all together basically in a little longer than a morning.
And we immediately had some customers!
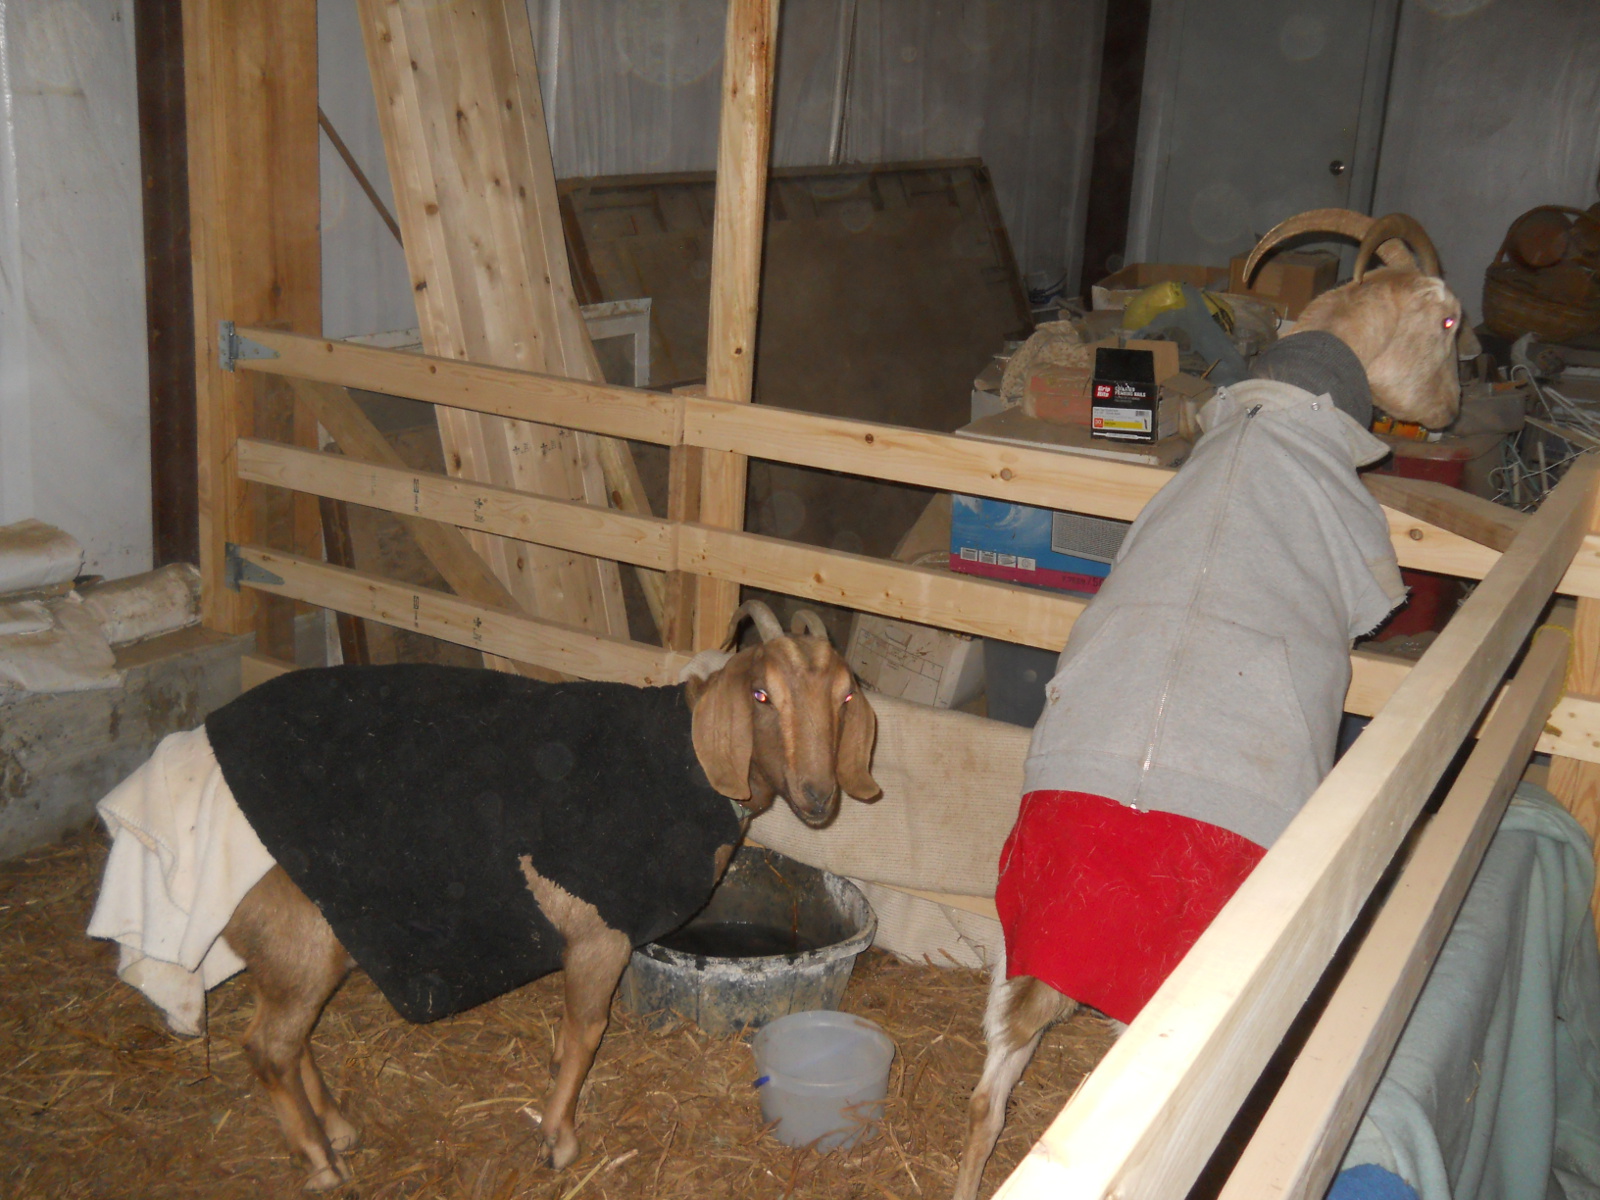
Winnie, the white one, had been having non-eating spells every so often, and was particularly sensitive to the cold; and so, we brought her in, along with Annie to keep her company, and because Annie sometimes is last in a shed because she’s low goat in the “pecking” order. And of course, they had on their sweaters. If you look closely, in this and the final picture, you can see that we draped blankets over the lower rails to help prevent drafts from blowing on them while laying on the hay:
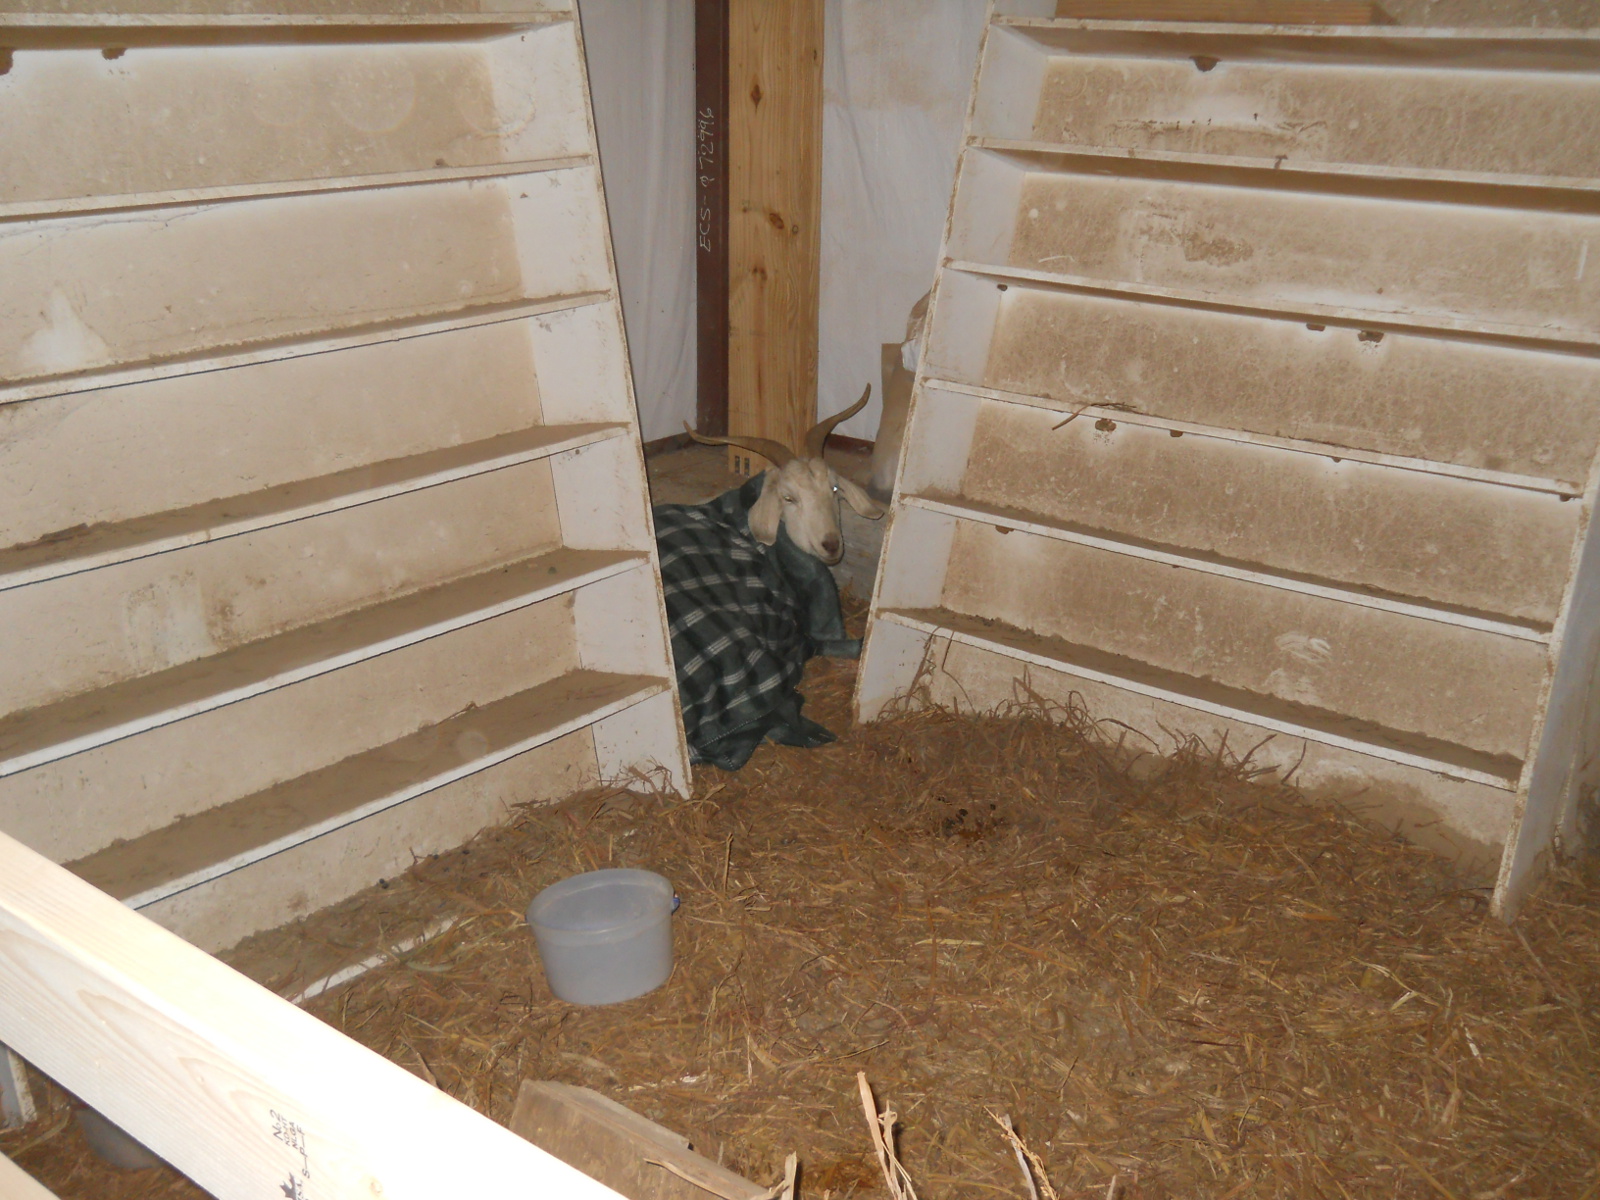
Lucy had also been not eating much and shivering, so at one point we brought her in as well. She needed at least one blanket too, maybe more. So did Winnie at times:
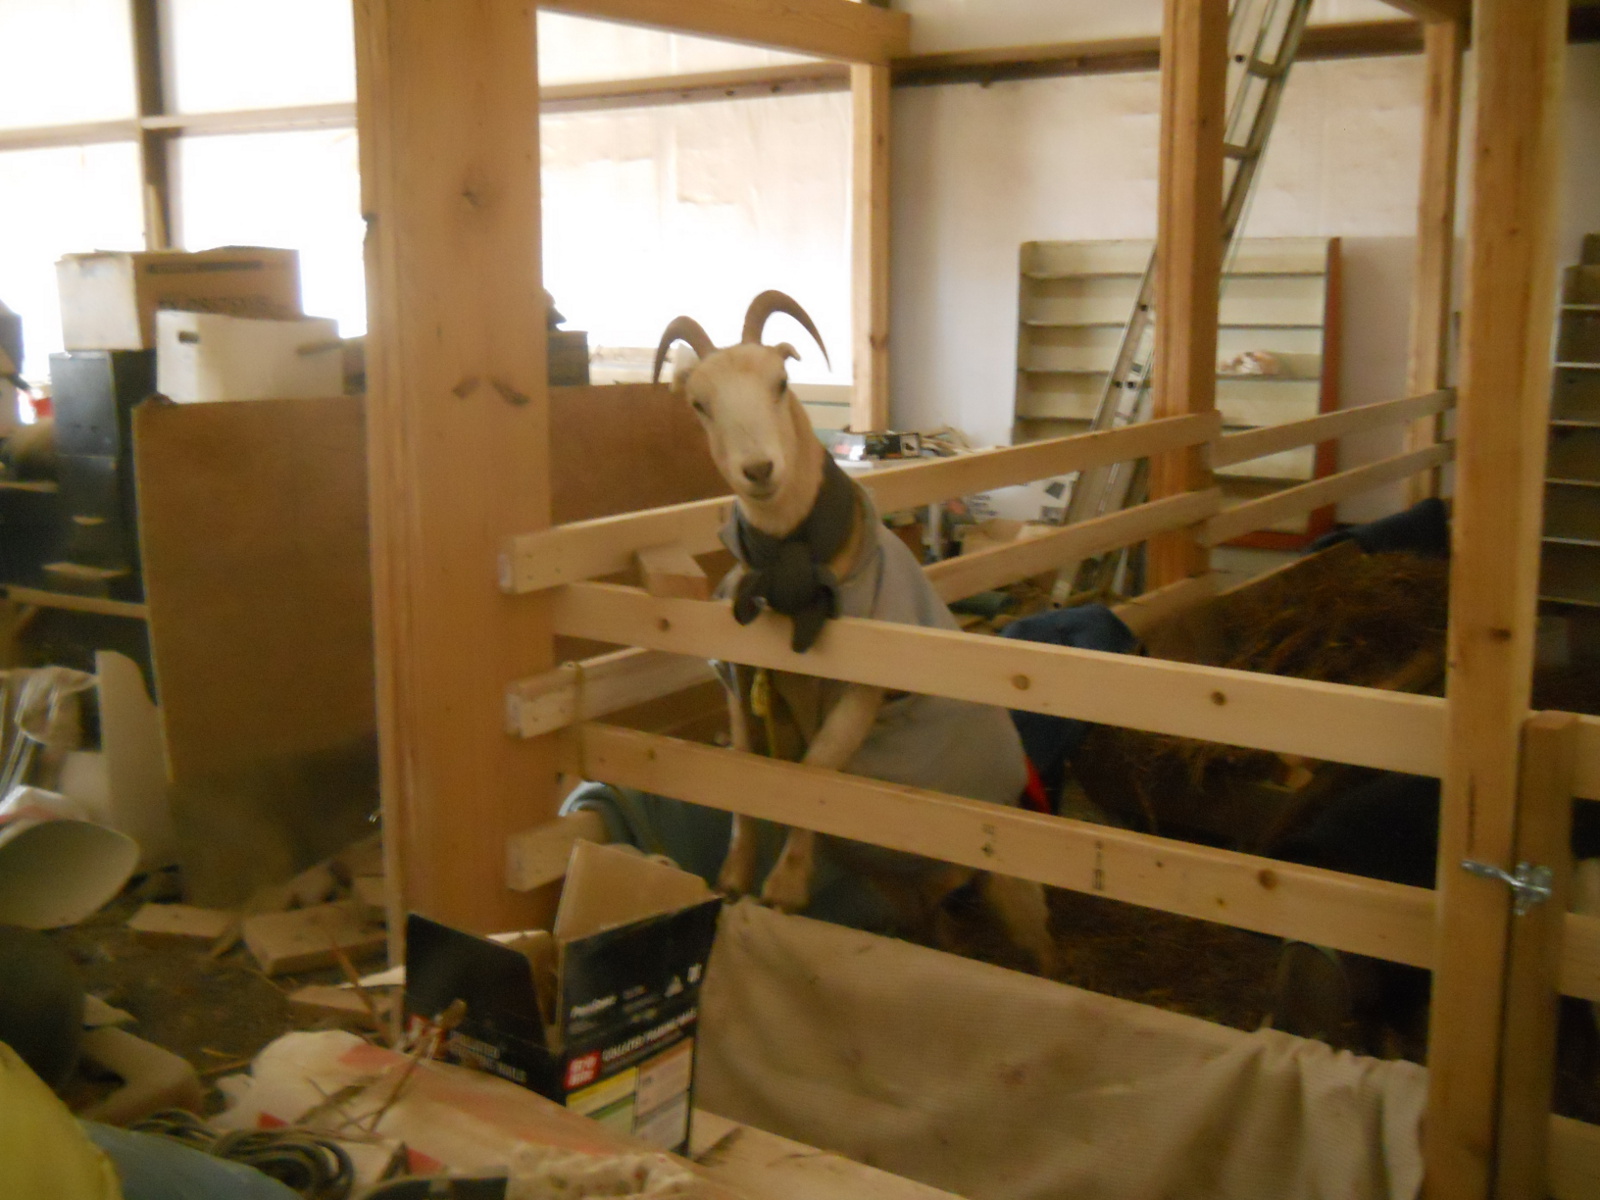
And finally…Winnie being Winnie, and styling with the scarf, I must say! 🙂
In the end, it seemed to really help them all through the cold and wet times. All the goats made it through their non-eating/sick times, thanks to the Lord; and they’re all still with the rest of the herd.
As always, we’re grateful to God for granting the provisions to provide this hideaway for the animals, the idea for its design, and that it seemed to all work pretty well!
— David